I have a confession to make. For the better part of a decade, I’ve been a morning person. Not the “I wake up at 5 AM to journal and drink matcha” kind of person—that’s my sister. I’m the person who wakes up 12 minutes before the alarm, throws on yesterday’s sweatpants, and tries to remember if I left the house key on the counter or in my pocket.
But there was one morning in late October that broke the streak. It was a Tuesday. I had a 9 AM meeting, my daughter had a science fair project due by noon, and my husband was rushing out the door for an early client call. The kitchen was a disaster zone from last night’s dinner prep, and I had exactly zero energy to think about breakfast. I wanted something hot, something crispy, something that didn’t involve chopping vegetables or standing over a sizzling pan while I tried to multitask.
I looked at the bag of frozen shredded potatoes in the freezer. Then I looked at my waffle iron. It was clean, unused, and sitting there like it had a secret to share.
I didn’t have a plan. I just grated a frozen potato, mixed it with an egg, some sharp cheddar, and a handful of chives I’d grown on the windowsill. I dumped the mixture into the waffle iron, closed the lid, and walked away. I went to brush my teeth. I checked the mail. I was genuinely worried I’d ruined my waffle iron and burned down the kitchen.
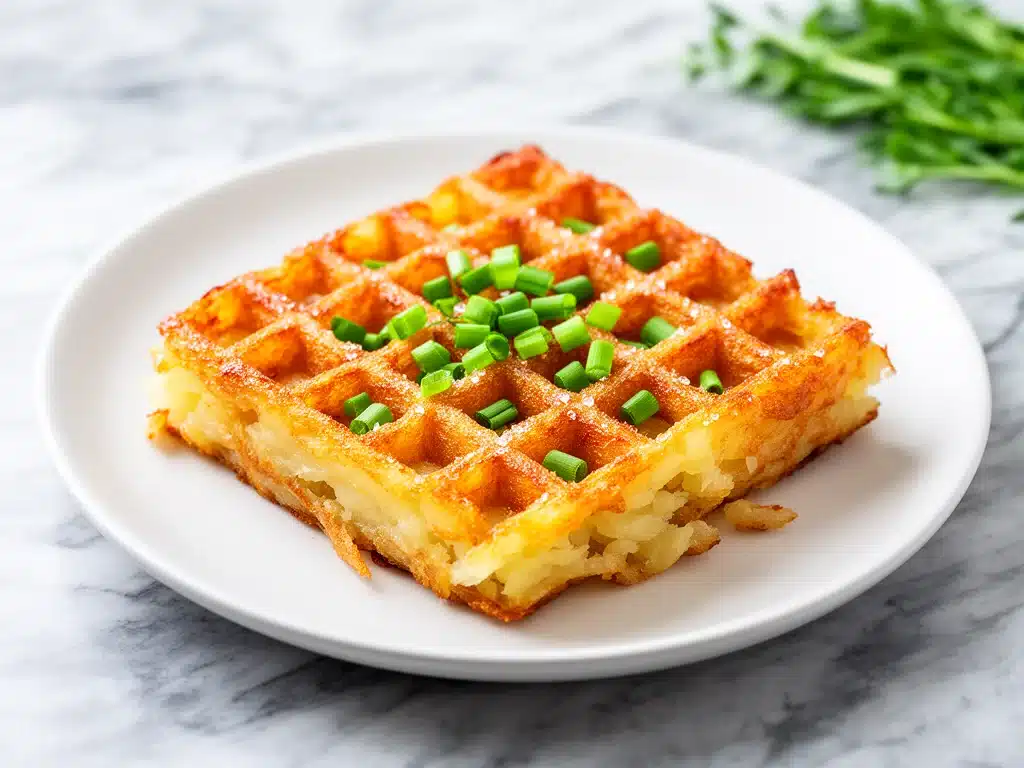
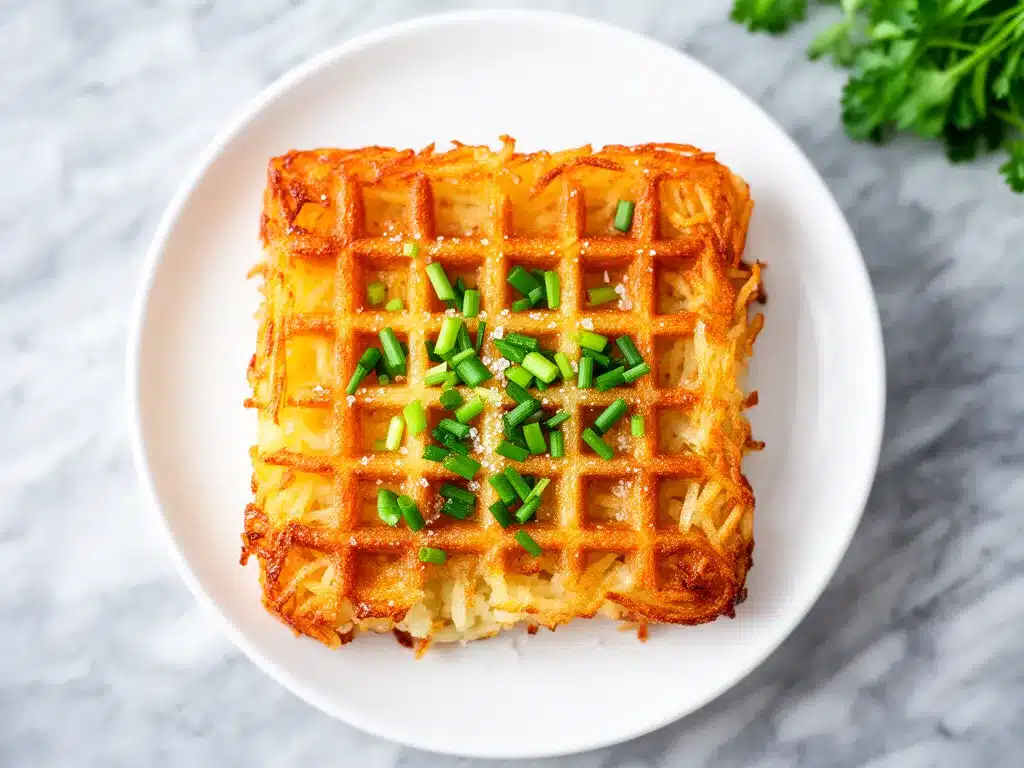
When I walked back into the kitchen, the smell hit me first. It wasn’t the sweet, buttery scent of Belgian waffles. It was savory, earthy, and incredibly appetizing. I opened the lid, and there they were: four perfectly golden, impossibly crispy potato wedges. They held their shape. They were crunchy on the outside and fluffy on the inside. And best of all? I hadn’t stood over the stove for a single minute.
That was three years ago. Since then, I’ve made these crispy waffle iron hash browns with chives at least once a week. Sometimes more. They’ve become my secret weapon for busy mornings, lazy weekends, and even late-night snacks when the craving for comfort food hits. If you’ve never tried cooking hash browns in a waffle maker, consider your mind officially blown. It’s the kind of kitchen hack that feels like cheating, but tastes like you spent hours in the kitchen.
Why You’ll Love This Recipe
Look, I know what you’re thinking. “Hash browns? In a waffle iron? That sounds weird.” And I get it. It’s unconventional. But once you taste the difference between pan-fried hash browns and these waffle-iron versions, you won’t go back.
Here’s why this recipe has taken over my household:
Maximum Crunch, Minimum Effort — The waffle iron’s surface area is a game-changer. Instead of one flat side touching the pan, every square inch of the potato mixture gets direct heat contact. This means crispy edges on all sides, not just the bottom. I’ve tried pan-frying this same recipe, and it just doesn’t get the same texture. It’s soggy in the middle. The waffle iron solves that problem instantly.
Lightning Fast — I’m talking 10 to 12 minutes from start to finish. That’s it. Grate the potato, mix the bowl, dump in the iron, wait, flip, wait, done. It’s faster than making toast. I’ve made this while helping my kids with homework. I’ve made this while the coffee was brewing. It fits into the chaos of real life.
Perfectly Portioned — No more scraping a giant sheet of hash browns off the pan. You get four individual, handheld portions. This is huge for us. My husband likes his extra crispy, my daughter likes hers soft, and I like mine with extra chives. The waffle iron lets us cook them all at once, but we can pull them out at different times if we need to. No more fighting over the last piece of soggy potato.
Easy Cleanup — This is the part I love most. With pan-fried hash browns, you’re scrubbing a greasy skillet for ten minutes after dinner. With this? You just wipe out the waffle plates with a paper towel (while they’re still warm, obviously) and you’re done. If you use a silicone liner or parchment paper (more on that later), it’s literally zero cleanup. I can’t emphasize this enough: the cleanup is the best part.
Versatile AF — Sure, chives and cheese are my go-to, but this base recipe is a blank canvas. I’ve made these with bacon bits, with sweet potato and cinnamon, with spinach and feta. They work for breakfast, brunch, dinner, or that 2 AM snack when you’re hungry but don’t want to cook. It’s the kind of recipe that adapts to your mood.
Real talk: If you’re tired of burnt bottoms, soggy middles, and endless scrubbing, this is your answer. It’s reliable, it’s delicious, and it’s going to save your mornings.
Ingredients You’ll Need
Here’s the best part: you probably have most of this already. I’m not asking you to run to the store for anything obscure. This is pantry-and-fridge friendly. But I am particular about three things, and I’ll tell you exactly why.
Yellow Potatoes (2 large, about 600g) — I prefer yellow potatoes (like Yukon Gold) over russets for this. Russets are starchier and drier, which is great for frying but can make the hash browns crumbly in the waffle iron. Yellow potatoes have a bit more moisture and a creamier texture that holds together better when you’re pressing them in the iron. If you only have russets, soak them in cold water for 10 minutes to remove excess starch, then dry them thoroughly.
Egg (1 large) — This is your binder. Without it, your hash browns will fall apart into the waffle iron’s crevices, and cleaning that up is a nightmare. The egg helps everything stick together so you get those perfect, intact wedges. Don’t skip it.
Sharp Cheddar Cheese (½ cup / 50g, shredded) — Use a block and shred it yourself. Pre-shredded cheese has anti-caking agents (cellulose) that prevent it from melting smoothly. You want gooey, melted cheese binding your potatoes, not granular bits. Sharp cheddar adds a nice punch of flavor that cuts through the earthiness of the potatoes. Mild cheddar works too, but you’ll miss the flavor.
Fresh Chives (2 tablespoons, chopped) — This is the star of the show. Chives add a fresh, onion-like brightness that balances the richness of the cheese and potatoes. Fresh is non-negotiable here. Dried chives just don’t have the same pop. If you can’t find fresh chives, green onions (scallions) work in a pinch, but chop them finely. I grow mine on my windowsill—it’s the easiest herb to grow, honestly.
Garlic Powder (½ teaspoon) — I use garlic powder, not fresh garlic, in this recipe. Fresh garlic can burn in the high heat of the waffle iron and turn bitter. Garlic powder distributes evenly and gives you that savory depth without the risk of burning. It’s a small detail, but it matters.
Smoked Paprika (½ teaspoon) — This adds a subtle smokiness that mimics the taste of pan-fried hash browns. It’s optional, but I highly recommend it. It elevates the flavor profile from “basic potato” to “brunch special.” If you don’t have smoked paprika, regular paprika or even a pinch of cayenne works if you want heat.
Salt and Black Pepper (to taste) — Season generously. Potatoes are bland without salt. I use about ¾ teaspoon of kosher salt, but adjust to your preference. Freshly cracked black pepper adds a nice bite.
Cooking Spray — You need a good non-stick spray. Olive oil spray works, but I prefer avocado oil spray because it has a higher smoke point. Don’t skip this step, or you’ll be scraping potato out of your waffle iron for days.
Equipment Needed
You don’t need fancy equipment for this. Here’s what I actually use.
Waffle Iron — Any standard waffle iron works. I use a Belgian-style waffle maker with deep pockets. If you have a thin, European-style waffle iron, it will still work, but your hash browns will be thinner and potentially crispier (which some people prefer). Just keep an eye on them. Make sure your waffle iron is clean before you start. Old waffle residue will stick to your hash browns.
Box Grater or Food Processor — I grate my potatoes by hand using the large holes on a box grater. It takes about 5 minutes and gives me the perfect texture. If you have a food processor, use the shredding disk—it’s faster and saves your knuckles. I’ve ruined two fingertips on this grater, so I’m telling you: be careful or use the machine.
Mixing Bowl — A medium-sized bowl is perfect for combining the ingredients. Don’t make it too big, or you’ll end up with potato bits all over your counter.
Paper Towels — Crucial. You need paper towels to drain the potatoes. See the tips section for why this matters so much.
Spatula — A silicone or metal spatula works fine. I use a thin metal spatula to lift the hash browns out of the iron. It slides under the crispy edges easily.
Parchment Paper or Silicone Liners (Optional) — I use these sometimes to make cleanup even easier. Cut them to fit the waffle iron plates, spray them with oil, and dump the potato mixture on top. The hash browns cook on the paper, and you just throw the paper away. Pro tip: spray the top of the potato mixture too, so it doesn’t stick to the top plate.
Timer — Your phone works. Set it for 10 minutes so you don’t forget about the hash browns and burn them. I’ve done it. It happens.
How to Make It: Step-by-Step
Alright, let’s make this! I’m walking you through exactly how I do it, including the little tricks I’ve picked up so you get perfect results every time.
Step 1: Prep the Potatoes (5 minutes)
Wash your potatoes thoroughly. You don’t need to peel them—the skin adds texture and nutrients. Using a box grater, shred the potatoes into a large bowl. If you’re using a food processor, pulse until shredded. Be careful not to over-process them into mush.
Step 2: Drain the Potatoes (Crucial Step!)
This is the most important step. Place the shredded potatoes in a clean kitchen towel or several layers of paper towels. Squeeze tightly to remove as much moisture as possible. I know it looks like a lot of water, but you need to get it out. Wet potatoes = soggy hash browns. Dry potatoes = crispy hash browns. Squeeze until the towel is dry. This takes about 2 minutes of hard squeezing.
Step 3: Mix the Ingredients
Transfer the dried potatoes to your mixing bowl. Add the egg, shredded cheddar cheese, chopped chives, garlic powder, smoked paprika, salt, and pepper. Stir everything together until well combined. The mixture should hold together when you press it with your fingers. If it feels too loose, add a little more egg. If it’s too dry, add a splash of milk or another egg yolk.
Step 4: Preheat the Waffle Iron
Plug in your waffle iron and let it heat up to medium-high. You want it hot, but not scorching. If it’s too hot, the outside will burn before the inside cooks. Most waffle irons have a light that tells you when they’re ready. Wait for that light.
Step 5: Spray and Pour
Generously spray both the top and bottom plates of the waffle iron with cooking spray. If you’re using parchment paper or silicone liners, spray those too. Scoop about ½ cup of the potato mixture into the center of the bottom plate. Don’t overfill it—leave a little room for the mixture to spread. Close the lid gently. Don’t press down hard; the weight of the lid is enough.
Step 6: Cook and Flip
Cook for 5-6 minutes. You’ll smell them cooking—that’s the best smell in the world. Open the lid carefully. The hash browns should be golden brown and crispy. If they’re not brown enough, close the lid and cook for another 2-3 minutes. For extra crispiness, flip them over halfway through cooking. Use your spatula to lift them, flip, and press down gently. This ensures both sides get that perfect crunch.
Step 7: Remove and Serve
Once they’re golden and crispy, use your spatula to lift them out. They should release easily if you sprayed well. Place them on a wire rack or paper towel-lined plate. Serve immediately while hot. They lose crispiness if they sit too long, so eat them fresh.
Total Time: About 12 minutes (5 minutes prep, 7 minutes cooking)
Expert Tips & Tricks
Here’s everything I’ve learned from making these dozens of times. These tips will save you from my mistakes.
Moisture is the Enemy
I can’t stress this enough. The drier your potatoes, the crispier your hash browns. After you squeeze them in the towel, check them. If they’re still damp, squeeze again. I also like to let them sit in the bowl for 5 minutes after squeezing to let any remaining moisture rise to the top, then drain that off. It’s extra work, but it makes a huge difference.
Don’t Overcrowd the Iron
It’s tempting to dump in more mixture to save time, but don’t do it. If you overfill the waffle iron, the hash browns won’t cook evenly. The edges will be raw, and the center will be soggy. Stick to ½ cup per batch. It’s worth the extra 5 minutes.
Flip for Double Crunch
I mentioned flipping earlier, but let me emphasize: flipping is the secret to restaurant-quality hash browns. Most people just cook them on one side and call it a day. But flipping ensures both sides get direct heat contact. Yes, it’s an extra step, but the texture difference is night and day.
Keep Them Warm
If you’re making a batch for a family, keep the cooked hash browns warm in a 200°F oven on a wire rack. Don’t stack them on a plate—they’ll steam each other and get soggy. The wire rack lets air circulate, keeping them crispy until everyone is ready to eat.
Clean While Warm
Wipe out your waffle iron while it’s still warm (but not hot enough to burn you). Use a damp paper towel or a soft brush. If you wait until it’s cold, the potato residue will harden and be much harder to remove. A quick wipe takes 30 seconds and keeps your iron in perfect shape.
Common Mistakes (and how to avoid them)
Mistake: Hash browns are soggy.
Fix: You didn’t drain enough moisture. Next time, squeeze harder and let them sit to drain. Also, make sure your waffle iron is fully preheated.
Mistake: Hash browns stick to the iron.
Fix: You didn’t spray enough oil. Spray liberally, and consider using parchment paper for the first few tries until you get the hang of it.
Mistake: Hash browns are burnt on the outside, raw inside.
Fix: Your heat was too high. Lower the temperature to medium. Also, don’t open the lid too early—wait at least 5 minutes before checking.
Variations & Substitutions
Once you’ve nailed the basic version, here’s how you can mix it up. I’ve tried all of these, and they’re all winners.
Bacon and Cheddar
Add ¼ cup of cooked, crumbled bacon to the mixture along with the cheese. This is my husband’s favorite version. The salty bacon pairs perfectly with the cheddar and chives. Just make sure the bacon is fully cooked and cooled before adding it.
Sweet Potato and Maple
Swap the yellow potatoes for sweet potatoes. Add 1 tablespoon of maple syrup and ½ teaspoon of cinnamon to the mixture. These are amazing with a dollop of Greek yogurt or sour cream. They’re slightly sweeter but still savory enough for breakfast.
Spinach and Feta
Replace the cheddar with crumbled feta cheese and add ½ cup of finely chopped fresh spinach. The spinach wilts in the heat and adds a nice pop of color. This version is lighter and feels more Mediterranean.
Breakfast Sausage
Mix in ¼ cup of cooked, crumbled breakfast sausage. This is hearty and filling—perfect if you have a long day ahead. I use mild sausage, but hot sausage works if you like spice.
Avocado and Jalapeño
Add ¼ cup of finely diced jalapeño (seeds removed for less heat) and 2 tablespoons of diced avocado. The avocado adds creaminess, and the jalapeño adds kick. This version is best eaten immediately, as avocado can oxidize and turn brown if it sits.
Dietary Modifications:
Gluten-Free: This recipe is naturally gluten-free, as long as your waffle iron hasn’t been used for gluten-containing waffles. If you’re cross-contaminating, clean the iron thoroughly or use dedicated gluten-free waffle plates.
Dairy-Free: Skip the cheese or use a dairy-free cheese alternative. Add an extra tablespoon of oil to the mixture to help with binding. It won’t be as rich, but it still works.
Egg-Free: Replace the egg with 2 tablespoons of flax meal mixed with 5 tablespoons of water. Let it sit for 5 minutes to gel. It binds okay, but the texture won’t be quite as firm. I’ve made this for my egg-allergic friend, and she liked it.
Serving & Storage
How to Serve:
I usually serve these straight from the waffle iron, hot and crispy. They’re amazing on their own, but here are some ways I’ve enjoyed them:
- With Eggs: A fried or scrambled egg on top is classic. The runny yolk mixes with the crispy potato for heaven.
- With Sour Cream: A dollop of sour cream adds tanginess and creaminess. Mix in some chives for extra flavor.
- With Salsa: For a Tex-Mex twist, top with fresh salsa and guacamole.
- With Ketchup: Simple, classic, and always satisfying.
Storage Instructions:
Refrigerator: Store leftover hash browns in an airtight container for up to 3 days. They’ll lose some crispiness in the fridge, but they’re still good.
Reheating: The best way to reheat these is in a toaster oven or air fryer at 375°F for 3-4 minutes. This restores the crispiness. Microwave them, and they’ll be soft and chewy—which is fine if you don’t mind texture, but it’s not ideal.
Freezing: You can freeze these! Cook them until just barely done, let them cool completely, then freeze on a baking sheet. Once frozen, transfer to a bag. They’ll keep for up to 2 months. Reheat from frozen in the toaster oven or air fryer. They won’t be as crispy as fresh, but they’re convenient for busy mornings.
Pro Tip: If you’re meal prepping, make a big batch of the potato mixture, portion it into freezer bags, and freeze it raw. When you want hash browns, just thaw the mixture, mix in the egg, and cook. It saves even more time.
Nutrition Information
I’m not a nutritionist, but here’s the breakdown if you’re tracking.
Per Serving (based on 4 servings, 1 hash brown each):
- Calories: 180
- Protein: 8g
- Carbs: 22g
- Fiber: 3g
- Sugar: 2g
- Fat: 8g
- Saturated Fat: 3g
- Cholesterol: 50mg
- Sodium: 350mg
- Calcium: 120mg
What’s Good:
- Decent protein from the egg and cheese
- Calcium from the cheddar
- Relatively low calorie for a breakfast item
- Can add vegetables to boost nutrition
What to Know:
- Higher in calories if you add extra cheese or bacon
- Contains dairy and egg
- Moderate sodium (use low-sodium cheese to reduce)
My Take:
Look, this is comfort food. It’s potatoes and cheese. It’s not a diet recipe. But it’s way better than frozen hash browns from the store, and I know exactly what’s in it. When I want to make it lighter, I skip the cheese and add extra veggies. But usually? I just eat one or two and enjoy it. Balance is key.
Final Thoughts
So that’s my go-to crispy waffle iron hash browns with chives! I’ve probably talked your ear off at this point, but when you make a recipe this often, you have a lot to say about it.
This has saved my mornings more times than I can count. It’s my answer to “what’s for breakfast” when I’m tired, don’t want to cook, and still want something that tastes really good. My kids are happy, my husband’s happy, and I’m happy because I’m not stressed about cooking.
Make it yours! Try different add-ins, swap in your favorite cheeses, adjust the spices. The best recipes are the ones you adapt to your family’s tastes. And if you’re looking for other easy breakfast ideas, check out these chewy banana oat breakfast cookies for a sweet alternative on weekends.
If you make this, drop a comment and let me know what you think! I love hearing how recipes turn out in your kitchen. And if something doesn’t work, tell me that too—I’m here to help troubleshoot.
Happy cooking! And I hope your kitchen smells half as good as mine does right now.
Frequently Asked Questions
Q: Can I use sweet potatoes instead of yellow potatoes?
A: Absolutely! Sweet potatoes work great, but they have more moisture, so you’ll need to squeeze them extra dry. They’ll also cook slightly faster, so keep an eye on them. Add a little cinnamon and maple syrup for a sweeter version.
Q: Why did my hash browns stick to the waffle iron?
A: Usually means you didn’t spray enough oil, or the iron wasn’t hot enough. Make sure to spray both plates generously, and wait until the iron is fully preheated before adding the mixture. Using parchment paper can also help prevent sticking.
Q: Can I make this ahead for a crowd?
A: Yes! Make the potato mixture ahead and store it in the fridge for up to 24 hours. When you’re ready to cook, just mix in the egg and other ingredients. Cook them in batches. Keep the cooked hash browns warm in a 200°F oven on a wire rack.
Q: Why did my hash browns fall apart?
A: You probably didn’t use enough egg, or you didn’t drain the potatoes enough. The egg is the binder, so make sure you’re using a full egg. Also, ensure the potatoes are very dry before mixing.
Q: Can I freeze the raw potato mixture?
A: I don’t recommend freezing the mixture with the egg, as the texture can get weird. Instead, freeze the plain, drained potatoes in portions. When you’re ready to cook, thaw them, mix in the egg and other ingredients, and cook as usual.
Q: How do I clean my waffle iron after making hash browns?
A: Wipe it out while it’s still warm (but not hot). Use a damp paper towel or a soft brush to remove any residue. If there’s stuck-on potato, add a little water to the iron, turn it on for a minute to steam it out, then wipe clean. Never use soap unless your iron is fully submersible (most aren’t).
Q: Can I use this recipe for other things besides hash browns?
A: Yes! You can make waffle iron cornbread, waffle iron meatloaf, and even waffle iron grilled cheese. The waffle iron is surprisingly versatile for savory dishes. Just adjust the cooking time based on the thickness of the food.
Pin This Recipe!
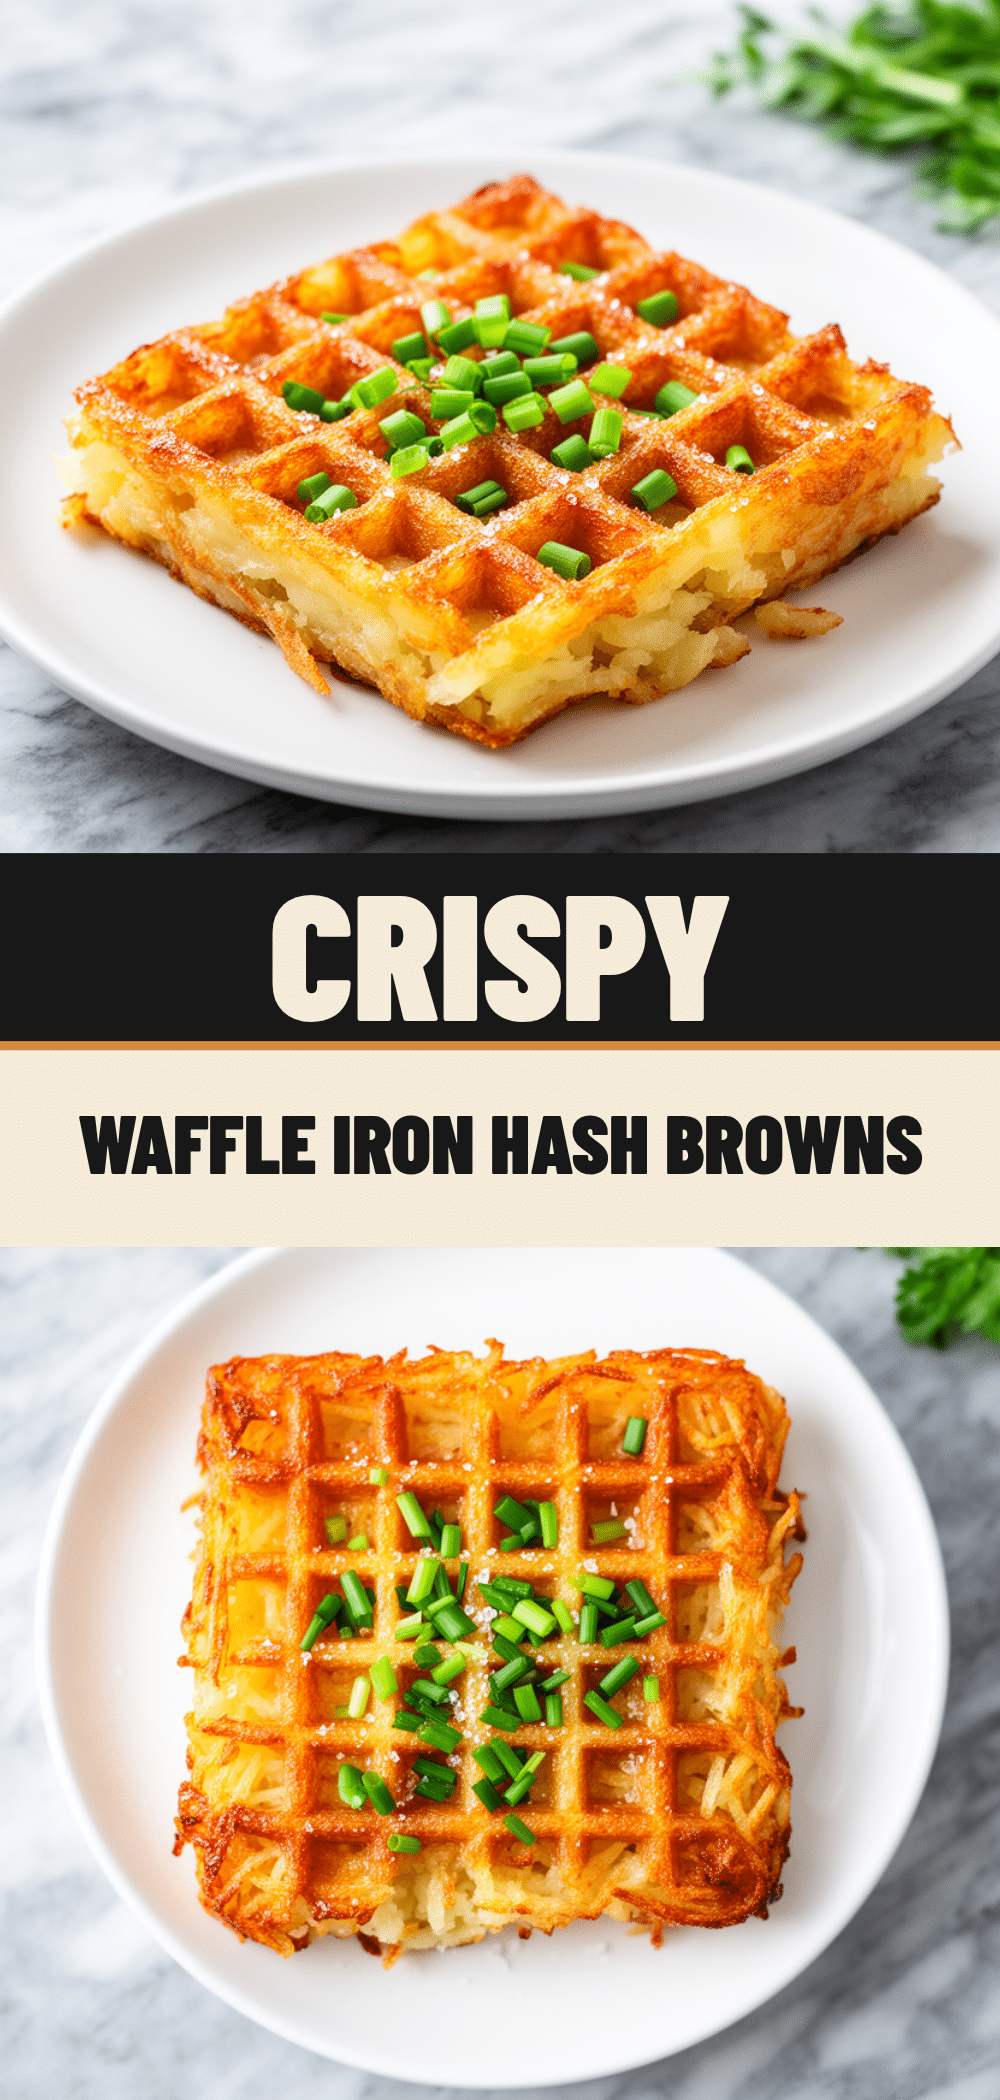
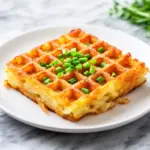
Crispy Waffle Iron Hash Browns with Chives
- Total Time: 12 minutes
- Yield: 4 servings 1x
Description
A quick and easy breakfast hack using a waffle iron to create perfectly crispy, golden hash browns with minimal effort and cleanup. These savory wedges are packed with cheddar cheese and fresh chives.
Ingredients
- 2 large yellow potatoes (about 600g, such as Yukon Gold)
- 1 large egg
- ½ cup (50g) sharp cheddar cheese, shredded
- 2 tablespoons fresh chives, chopped
- ½ teaspoon garlic powder
- ½ teaspoon smoked paprika
- ¾ teaspoon kosher salt (or to taste)
- Freshly cracked black pepper (to taste)
- Cooking spray (avocado oil or olive oil spray recommended)
Instructions
- Wash the potatoes thoroughly (no need to peel). Shred them using a box grater or food processor.
- Place the shredded potatoes in a clean kitchen towel or layers of paper towels. Squeeze tightly to remove as much moisture as possible. This step is crucial for crispiness.
- Transfer the dried potatoes to a mixing bowl. Add the egg, shredded cheddar cheese, chopped chives, garlic powder, smoked paprika, salt, and pepper. Stir until well combined.
- Preheat your waffle iron to medium-high heat.
- Generously spray both the top and bottom plates of the waffle iron with cooking spray.
- Scoop about ½ cup of the potato mixture into the center of the bottom plate. Close the lid gently without pressing down hard.
- Cook for 5-6 minutes. For extra crispiness, flip the hash browns halfway through cooking.
- Check for golden brown color and crispiness. If needed, cook for another 2-3 minutes.
- Remove hash browns with a spatula and serve immediately while hot.
Notes
Ensure potatoes are very dry before mixing to achieve maximum crispiness. Do not overcrowd the waffle iron; use ½ cup per batch. If making ahead, keep cooked hash browns warm in a 200°F oven on a wire rack to maintain crispness. Clean the waffle iron while it is still warm.
- Prep Time: 5 minutes
- Cook Time: 7 minutes
- Category: Breakfast
- Cuisine: American
Nutrition
- Serving Size: 1 hash brown wedge
- Calories: 180
- Sugar: 2
- Sodium: 350
- Fat: 8
- Saturated Fat: 3
- Carbohydrates: 22
- Fiber: 3
- Protein: 8
Keywords: waffle iron hash browns, crispy hash browns, breakfast recipe, easy breakfast, potato wedges, cheddar chives, meal prep, gluten-free breakfast