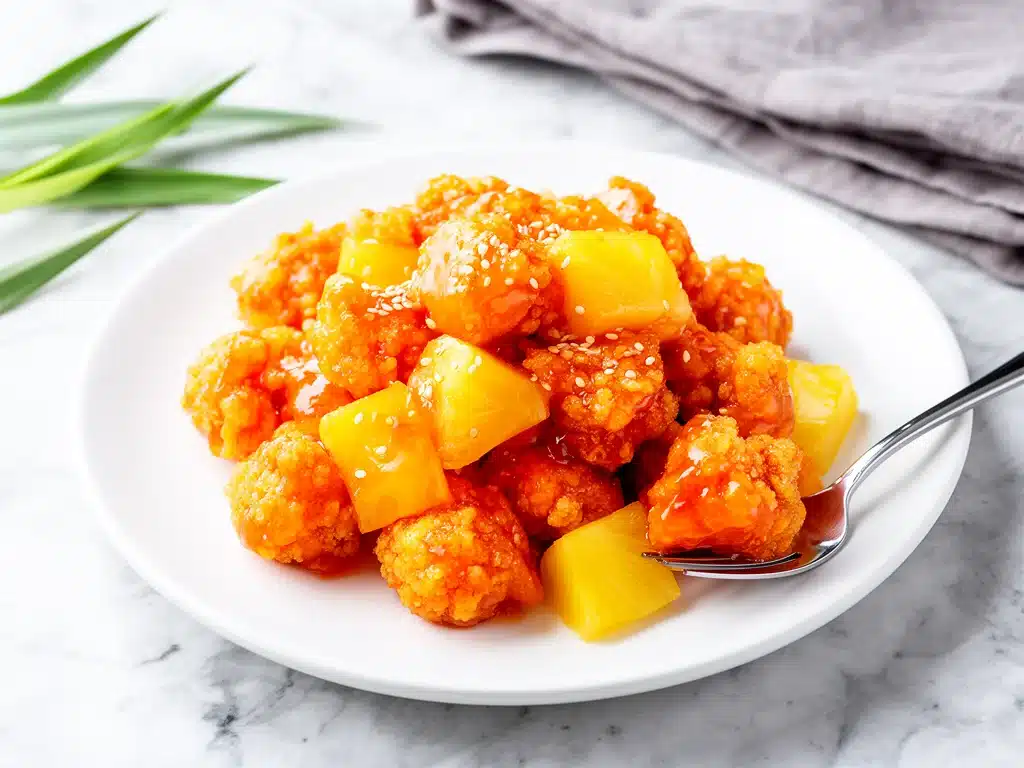
There is a specific kind of hunger that hits around 7:30 PM on a Tuesday. It’s not a hungry where you’d cook a complicated meal. It’s a hungry where you stare into the fridge, see a lonely lemon and some sad spinach, and immediately think about the glossy, orange-brown boxes of takeout. You know the ones. The ones that smell like garlic and fried dough and promise you happiness in thirty minutes.
For years, I was that person. I’d order the sweet and sour chicken, eat half of it, and spend the rest of the evening feeling guilty about the sodium content and the fact that the chicken was basically just batter. Then, last month, I got tired of waiting for the delivery driver. I had a pineapple in my fruit bowl that was getting a little too soft, some chicken thighs in the freezer, and a craving for that perfect sweet-tangy crunch. So I improvised. I threw together what I thought would be a mediocre dinner. Two hours later, my partner walked in, took one bite, and asked, “Why haven’t we been making this for years?”
That was the moment I fell in love with Crispy Sweet and Sour Chicken with Pineapple. It’s not just a recipe; it’s a rescue mission for weeknights. It’s the answer to “what’s for dinner” when you’re exhausted but refuse to eat cereal for the third night in a row. I’ve made this Crispy Sweet and Sour Chicken with Pineapple at least ten times since that Tuesday. Ten. And every single time, the house smells like a Chinese restaurant, and my kids ask for seconds.
Here’s the thing about homemade sweet and sour chicken: it’s so much better than takeout. You control the crispiness, you control the sugar, and you actually get chunks of real fruit instead of those weird translucent bits that look like plastic. This Crispy Sweet and Sour Chicken with Pineapple is the real deal. It’s tangy, it’s sweet, it’s crunchy, and it comes together in about 20 minutes if you’re organized. It’s become my go-to comfort food, and I’m pretty sure it’s going to become yours too.
Why You’ll Love This Recipe
I’ve tried a lot of chicken recipes over the years. Some are too dry, some are too saucy, and some require seven different spices I don’t own. This one is different. It’s the recipe I pull out when I need dinner to just work. No stress. No fancy techniques. Just good, honest food that makes everyone at the table happy.
Here’s why this Crispy Sweet and Sour Chicken with Pineapple has earned a permanent spot in my weekly rotation:
- Actually Crispy — Most homemade versions end up soggy within five minutes. Not this one. I use a double-dredge method with cornstarch that keeps the chicken crunchy even when you toss it in the sauce. You get that restaurant-quality snap with every bite. I’ve tested this with three different types of starch, and cornstarch is the undisputed winner.
- Lightning Fast — From thawing the chicken to plating the dinner, this takes about 20 to 25 minutes. Yes, really. I make this on nights when I get home at 7:00 PM and I’m already thinking about brushing my teeth. It’s fast enough for a weeknight, but impressive enough for guests.
- Perfect Sweet and Tangy Balance — Store-bought sweet and sour sauce is basically sugar water. This homemade version uses rice vinegar, ketchup, and pineapple juice to create a complex flavor profile that hits all the right notes. It’s not just sweet; it has a bright, acidic kick that cuts through the richness of the fried chicken.
- Pineapple Perfection — Using fresh pineapple (or really good canned) changes the game. The heat from the wok caramelizes the edges of the pineapple, making it sticky and jammy. It contrasts perfectly with the salty, savory chicken. It’s the best part of the dish, honestly.
- Kid-Approved — My picky eater, who usually refuses anything with “weird” textures, devours this. The sauce is familiar, the chicken is crispy, and the pineapple is sweet. It’s a win-win. I’ve served this to friends who claim they “don’t like Chinese food,” and they always ask for the recipe.
- Great Leftovers — I know what you’re thinking: “Fried food doesn’t reheat well.” But this sauce? It soaks into the chicken overnight and makes it incredibly flavorful by lunchtime. I deliberately make extra for my lunch the next day. Just pop it in the microwave for a minute, and it’s still delicious.
So basically, this is my go-to when I need dinner to just work. No complicated techniques, no weird ingredients you can’t find, just reliable, delicious food that makes everyone happy. And if you’re looking for other quick wins, I also love making these ham and cheese pretzel roll-ups for a quick lunch, but for dinner? This chicken is king.
Ingredients You’ll Need
Here’s the best part: you probably have most of this already. This isn’t a recipe that requires a trip to three different specialty stores. It’s pantry-friendly, freezer-friendly, and very forgiving. I’m particular about three ingredients here, and I’ll tell you exactly why.
For the Chicken:
Chicken thighs (1.5 pounds / 680g) — Boneless, skinless. I use thighs because they stay juicy. Breast meat dries out too easily when you fry it. If you must use breast, pound it thin so it cooks fast. I buy mine from the local butcher, but frozen works fine if you thaw it properly.
Cornstarch (½ cup / 60g) — This is the secret to the crunch. All-purpose flour makes it doughy. Cornstarch makes it crispy. Don’t swap this out unless you want soggy chicken. I keep a box of cornstarch specifically for this recipe.
Egg (1 large) — Just one egg white or whole egg helps the coating stick. I use the whole egg for simplicity.
Salt and pepper — To taste. Season the chicken before dredging. It adds flavor to the meat itself, not just the coating.
Vegetable oil (for frying) — I use vegetable or canola oil because it has a high smoke point. Olive oil burns too easily here. You need about 2 inches of oil in your pan for shallow frying.
For the Sauce:
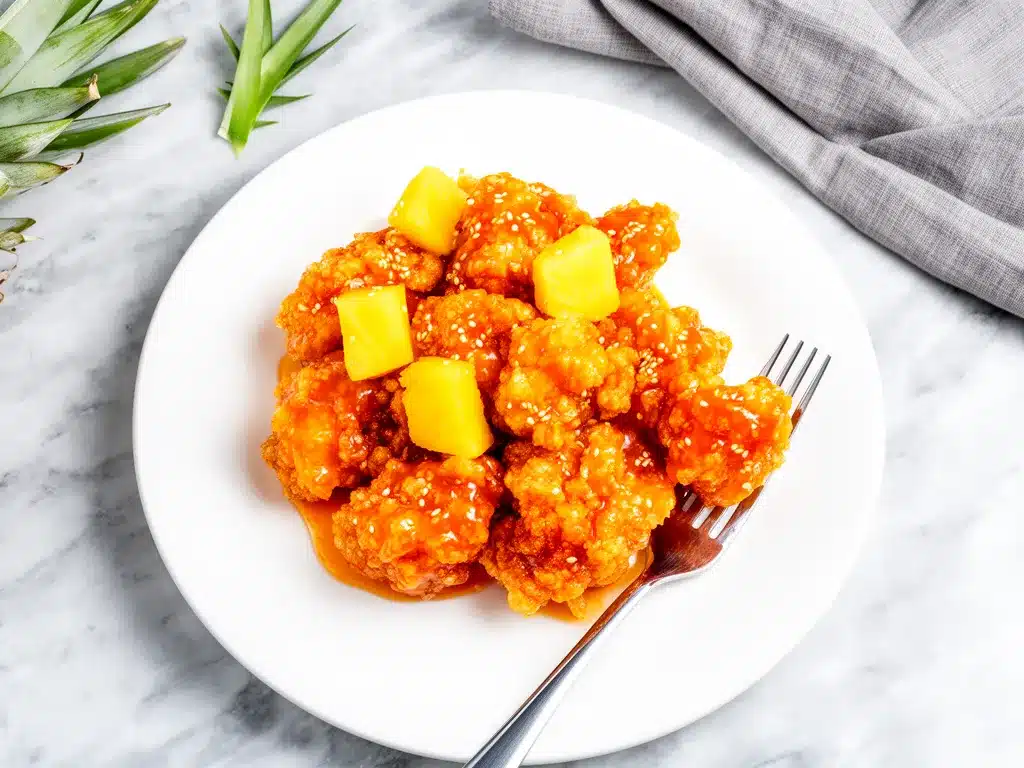
Ketchup (½ cup / 120g) — Yes, ketchup. It provides the tomato base and sweetness. I use regular Heinz, not anything fancy. It’s the standard for a reason.
Rice vinegar (3 tablespoons / 45ml) — This gives the tang. Do not use regular white vinegar; it’s too harsh. Rice vinegar is mild and sweet. If you can’t find it, apple cider vinegar works in a pinch.
Soy sauce (2 tablespoons / 30ml) — For saltiness and umami. Use low-sodium if you’re watching your salt, but regular tastes better. I use Kikkoman.
Sugar (2 tablespoons / 25g) — White sugar is fine. Brown sugar adds a molasses flavor, which I don’t want here. I want bright and clean.
Pineapple juice (¼ cup / 60ml) — From the can or fresh. This adds fruitiness and helps thin the sauce. If you’re using fresh pineapple, you might need a splash of water.
Cornstarch slurry (1 teaspoon cornstarch + 1 tablespoon water) — To thicken the sauce. This is crucial. Without it, you’ll have soup, not sauce.
For the Veggies:
Green bell pepper (1 medium, chopped) — Adds crunch and a fresh, slightly bitter contrast. I use green because it holds up best. Red or yellow peppers are sweeter and might get too soft.
Red onion (½ medium, chopped) — Adds a sharp bite. I like the color too. If you’re sensitive to onions, you can skip them, but I recommend keeping them.
Fresh pineapple chunks (1 cup / 150g) — Or canned, drained. Fresh is better because you can control the texture. Canned works if you’re in a rush, but pat it dry well so it doesn’t make the sauce watery.
Garlic (3 cloves, minced) — Fresh only. No jarred garlic. It tastes metallic in this sauce. Mince it fine so it distributes evenly.
Ginger (1 teaspoon, grated) — Fresh ginger is best. It adds a warm, spicy note. Ground ginger is too dusty and strong. If you don’t have fresh, skip it, but it really elevates the flavor.
Equipment Needed
You don’t need fancy equipment for this. Here’s what I actually use.
Large skillet or wok — I use a 12-inch stainless steel skillet. It needs to be big enough to fry the chicken in a single layer. If you overcrowd the pan, the chicken steams instead of fries, and you lose the crunch. A wok is ideal because of its shape, but a big skillet works fine.
Deep frying thermometer — This is optional but helpful. You want the oil at 350°F (175°C). If it’s too cool, the chicken absorbs oil. If it’s too hot, it burns before cooking inside. I learned this the hard way with a burnt, raw chicken disaster.
Two shallow bowls — One for the egg wash, one for the cornstarch. This keeps the breading process clean and easy.
Paper towels — For draining the fried chicken. I line a plate with paper towels and a wire rack. The rack is better because it lets air circulate, keeping the bottom crispy. But paper towels work in a pinch.
Whisk — For mixing the sauce. A small whisk is perfect.
Measuring cups and spoons — Standard stuff. Dollar store versions work fine.
Sharp knife and cutting board — For chopping the veggies and pineapple. I use a Santoku knife for everything. It’s my trusty sidekick.
How to Make It: Step-by-Step
Alright, let’s make this! I’m walking you through exactly how I do it, including the little tricks I’ve picked up. This Crispy Sweet and Sour Chicken with Pineapple comes together fast, so have all your ingredients prepped before you start cooking.
Step 1: Prep the Chicken (5 minutes)
Pat the chicken thighs dry with paper towels. Moisture is the enemy of crispiness. Cut them into bite-sized pieces, about 1-inch cubes. Season them generously with salt and pepper. In one bowl, beat the egg. In another bowl, mix the cornstarch with a pinch of salt. Dredge each piece of chicken in the cornstarch, shaking off the excess. Then dip it in the egg, and back into the cornstarch. This double-dredge is the key to that thick, crunchy coating. Place the coated chicken on a plate and let it rest while you heat the oil.
Step 2: Fry the Chicken (8-10 minutes)
Heat about 2 inches of vegetable oil in your large skillet or wok over medium-high heat. You want it to reach 350°F. Carefully add the chicken pieces in batches. Don’t crowd the pan! If you do, the oil temperature drops, and the chicken gets greasy. Fry for 3-4 minutes per side, or until golden brown and cooked through. Remove with a slotted spoon and drain on the paper towel-lined plate. Repeat until all chicken is done.
Step 3: Make the Sauce (5 minutes)
While the chicken fries, whisk together the ketchup, rice vinegar, soy sauce, sugar, and pineapple juice in a small bowl. Set it aside. You want this ready to go because things move fast once you start cooking the veggies.
Step 4: Sauté the Veggies (3 minutes)
Wipe out the skillet if there’s too much oil, or just use the same pan. Add a tablespoon of fresh oil if needed. Toss in the chopped bell pepper, red onion, and garlic. Stir-fry for 2-3 minutes until the peppers are tender-crisp. Add the pineapple chunks and cook for another minute. The pineapple should get slightly warm and release some juice.
Step 5: Combine and Thicken (2 minutes)
Pour the sauce mixture into the pan with the veggies. Stir well and let it simmer for 1 minute. It will start to bubble. In a small cup, mix 1 teaspoon cornstarch with 1 tablespoon water to make a slurry. Stir the slurry into the sauce. It will thicken almost immediately. You want a glossy, coating consistency, not a thin soup.
Step 6: Toss the Chicken (1 minute)
Add the fried chicken back into the pan. Toss everything together quickly. You want the chicken coated in sauce but still crunchy. Don’t let it sit in the sauce too long, or it will get soggy. Serve immediately.
Total Time: About 20-25 minutes (10 minutes active prep, 15 minutes cooking).
Expert Tips & Tricks
Here’s everything I’ve learned from making this dozens of times. These tips will save you from my mistakes.
Double Dredge is Non-Negotiable
I tried skipping the second coat of cornstarch once. The result? A mushy, sad chicken piece. The double coat creates a barrier that stays crispy. Trust me. Shake off the excess cornstarch before dipping in egg, or you’ll get clumps.
Don’t Skip the Resting Period
After dredging, let the chicken sit on the plate for 5 minutes. This helps the coating adhere to the meat. If you fry it immediately, the breading might slide off in the oil.
Control the Heat
Medium-high heat is the sweet spot. If the oil is too hot, the outside burns before the inside cooks. If it’s too cool, the chicken absorbs oil. Use a thermometer if you have one. If not, drop a piece of cornstarch in the oil—if it sizzles immediately, it’s ready.
Fresh Pineapple vs. Canned
Fresh pineapple has a better texture and less syrup. Canned pineapple is sweeter and softer. If you use canned, drain it very well and pat it dry with paper towels. Excess liquid will thin your sauce too much.
Make the Sauce Ahead
If you’re hosting a dinner party, make the sauce up to 2 days ahead. Store it in the fridge. When you’re ready to cook, just heat it up with the veggies. It saves time and stress.
The Soggy Bottom Prevention
If you’re making this for a crowd, fry all the chicken first. Keep it warm in a low oven (200°F) on a wire rack. Then make the sauce and toss the chicken in batches just before serving. This keeps it crunchy.
Variations & Substitutions
Once you’ve nailed the basic version, here’s how you can mix it up. I’ve tried all of these.
Pork Version
Swap chicken thighs for pork tenderloin or pork shoulder. Cut into cubes and cook the same way. Pork and sweet and sour sauce is a classic combo. I love this version for its richer flavor.
Shrimp Sweet and Sour
Use large shrimp instead of chicken. Shrimp cooks much faster, so reduce the frying time to 1-2 minutes per side. Be gentle when tossing so you don’t break the shrimp.
Vegetarian Option
Use firm tofu or seitan. Press the tofu well, cut into cubes, and coat in cornstarch. Fry until crispy. The texture is surprisingly similar to chicken. I serve this to my vegetarian friends, and they love it.
Spicy Kick
Add a teaspoon of chili garlic sauce or red pepper flakes to the sauce. If you like heat, this is a great way to add it without overpowering the sweet and sour flavor.
No Pineapple?
Use mango or peaches. They work well too, though the flavor will be different. I’ve used mango in the summer, and it’s delicious. Just adjust the sugar slightly since mango is sweeter.
Gluten-Free
Use tamari instead of soy sauce. The rest of the ingredients are naturally gluten-free. Make sure your ketchup is gluten-free (most are, but check the label).
Serving & Storage
How to Serve:
I usually serve this straight from the skillet at the dinner table. It looks rustic and stays warm. But here are other ways I’ve enjoyed it:
- Steamed Jasmine Rice — The classic pairing. The sauce is perfect for soaking up rice.
- Noodles — Lo mein or rice noodles work great. Toss the chicken and sauce with the noodles.
- Vegetable Side — Steamed broccoli or green beans add a fresh, healthy contrast.
Toppings Bar:
When I have guests, I put out: toasted sesame seeds, chopped green onions, and red pepper flakes. Everyone customizes their bowl.
Storage Instructions:
Refrigerator: Store in an airtight container for up to 3 days. The chicken will soften, but the flavor remains good.
Reheating: Best method: Reheat in a skillet over medium heat. Add a splash of water or broth to loosen the sauce. This helps restore some crispiness. Microwave works but makes the chicken soggy. If you do microwave, do it in short bursts and stir.
Freezing: I don’t recommend freezing this. The texture of the fried chicken changes too much. It becomes soft and mealy. Make it fresh.
Nutrition Information
I’m not a nutritionist, but here’s the breakdown if you’re tracking. This is comfort food, so it’s not diet food, but it’s better than takeout.
Per Serving (based on 4 servings):
- Calories: 450
- Protein: 25g
- Carbs: 40g
- Fiber: 2g
- Sugar: 25g
- Fat: 20g
- Saturated Fat: 3g
- Cholesterol: 75mg
- Sodium: 600mg
What’s Good: High protein from the chicken. Contains vegetables. Can be made lighter by baking the chicken instead of frying.
What to Know: Higher in sugar from the sauce. Contains soy. Moderate sodium. Use low-sodium soy sauce to reduce.
Look, this is a treat. It’s sweet, it’s tangy, it’s delicious. Enjoy it without guilt. When I want to make it lighter, I use less oil and more veggies. But usually? I just eat a reasonable portion and enjoy it.
Final Thoughts
So that’s my Crispy Sweet and Sour Chicken with Pineapple! I’ve probably talked your ear off at this point, but when you make a recipe this often, you have a lot to say about it.
This has saved weeknight dinners more times than I can count. It’s my answer to “what’s for dinner” when I’m tired, don’t want takeout, and still want something that tastes really good. My kids are happy, my partner’s happy, and I’m happy because I’m not stressed about cooking.
Make it yours! Try different add-ins, swap in your favorite vegetables, adjust the spice level. The best recipes are the ones you adapt to your family’s tastes. If you make this, drop a comment and let me know what you think! I love hearing how recipes turn out in your kitchen. And if something doesn’t work, tell me that too—I’m here to help troubleshoot.
Happy cooking! And I hope your kitchen smells half as good as mine does right now.
Frequently Asked Questions
Q: Can I use chicken breast instead of thighs?
A: Yes, but be careful not to overcook it. Breast meat dries out faster. Pound it thin and fry for less time. Thighs are more forgiving, but breast works if you watch it closely.
Q: Why is my sauce too thin?
A: You probably didn’t use enough cornstarch slurry. Add another half-teaspoon of cornstarch mixed with water, and stir it in. It will thicken quickly. Also, make sure you’re simmering the sauce for a minute before adding the slurry.
Q: Can I make this in an air fryer?
A: You can air fry the chicken! Toss the coated chicken in a little oil and air fry at 400°F for 10-12 minutes, flipping halfway. Then make the sauce on the stovetop and toss the chicken in. It’s a healthier option, though not as crunchy as deep frying.
Q: Is this recipe gluten-free?
A: Not naturally, because of the soy sauce. But you can easily make it gluten-free by using tamari instead of soy sauce. Everything else is gluten-free.
Q: Can I use canned pineapple?
A: Yes, just drain it very well. Canned pineapple is softer and sweeter, so you might want to reduce the sugar in the sauce slightly. Pat it dry with paper towels to prevent a watery sauce.
Q: How do I reheat leftovers without it getting soggy?
A: Reheat in a skillet over medium heat with a splash of water. This helps steam the chicken slightly and keeps the sauce loose. Avoid the microwave if you can, as it makes the coating soft. If you must use the microwave, do it in 30-second intervals and stir.
Q: Can I double this recipe?
A: Absolutely! Double everything and use your biggest skillet or wok. Fry the chicken in batches to avoid overcrowding. The cooking times stay the same. I do this when I’m meal-prepping or feeding a crowd.
Pin This Recipe!
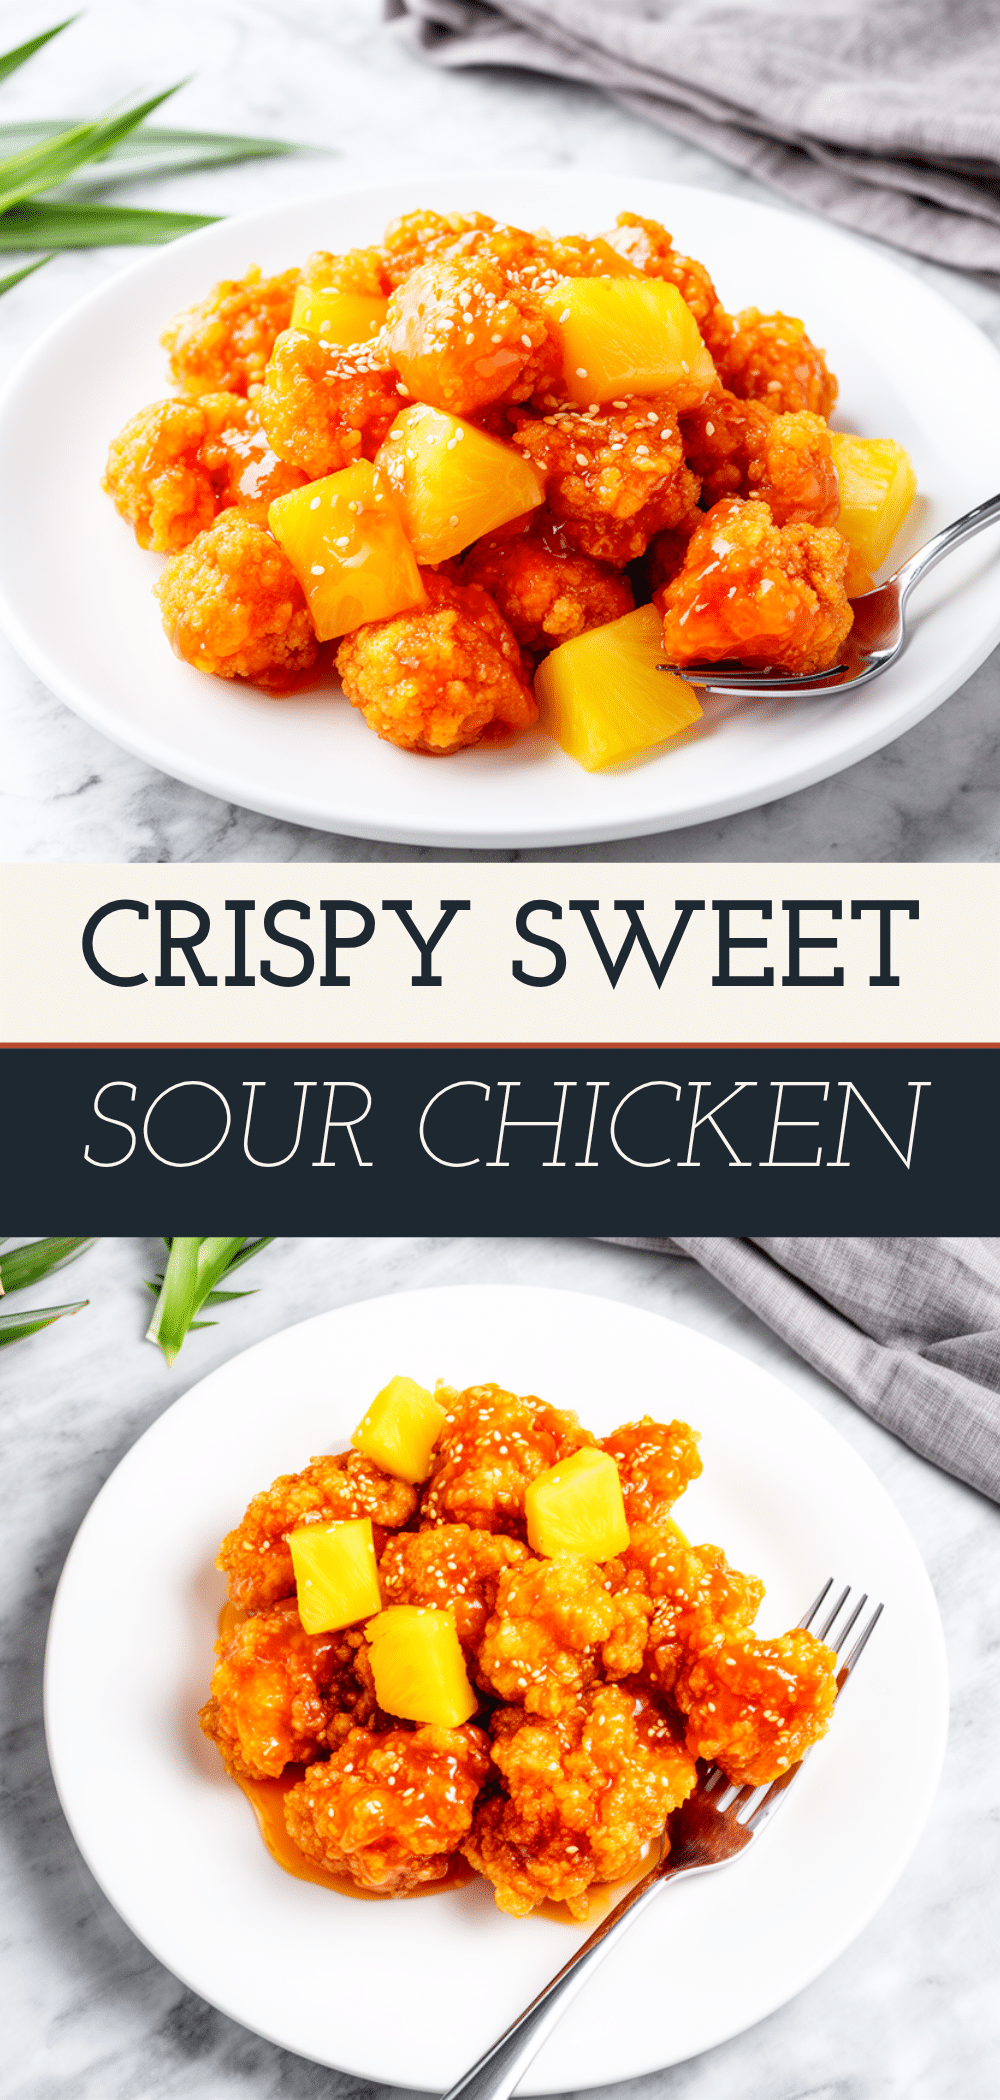
Crispy Sweet and Sour Chicken with Pineapple
- Total Time: 25 minutes
- Yield: 4 servings 1x
Description
A quick, 20-minute weeknight meal featuring double-dredged crispy chicken thighs tossed in a homemade tangy-sweet pineapple sauce with bell peppers and onions.
Ingredients
- 1.5 pounds boneless, skinless chicken thighs, cut into 1-inch cubes
- 1 large egg
- 1/2 cup cornstarch
- Salt and black pepper to taste
- Vegetable oil for frying (about 2 inches deep in pan)
- 1/2 cup ketchup
- 3 tablespoons rice vinegar
- 2 tablespoons soy sauce
- 2 tablespoons white sugar
- 1/4 cup pineapple juice
- 1 medium green bell pepper, chopped
- 1/2 medium red onion, chopped
- 1 cup fresh pineapple chunks
- 3 cloves garlic, minced
- 1 teaspoon fresh ginger, grated
- 1 teaspoon cornstarch mixed with 1 tablespoon water (for slurry)
Instructions
- Pat chicken thighs dry and cut into 1-inch cubes. Season with salt and pepper.
- Set up a dredging station: beat the egg in one bowl and mix cornstarch with a pinch of salt in another.
- Dredge chicken pieces in cornstarch, dip in egg, then back into cornstarch (double-dredge). Let rest for 5 minutes.
- Heat vegetable oil in a large skillet or wok to 350°F (175°C).
- Fry chicken in batches for 3-4 minutes per side until golden brown and cooked through. Drain on a wire rack or paper towels.
- In a small bowl, whisk together ketchup, rice vinegar, soy sauce, sugar, and pineapple juice.
- In the same skillet, sauté bell pepper, red onion, and garlic for 2-3 minutes until tender-crisp.
- Add pineapple chunks and cook for 1 minute.
- Pour in the sauce mixture and simmer for 1 minute.
- Stir in the cornstarch slurry and cook until the sauce thickens and becomes glossy.
- Add the fried chicken back to the pan and toss quickly to coat. Serve immediately.
Notes
For extra crispiness, use a double-dredge method with cornstarch. If using canned pineapple, drain and pat dry thoroughly to prevent a watery sauce. To keep chicken crispy for a crowd, fry all chicken first, keep warm in a 200°F oven on a wire rack, and toss in sauce just before serving.
- Prep Time: 10 minutes
- Cook Time: 15 minutes
- Category: Main Course
- Cuisine: Chinese
Nutrition
- Serving Size: 1 plate with rice or
- Calories: 450
- Sugar: 25
- Sodium: 600
- Fat: 20
- Saturated Fat: 3
- Carbohydrates: 40
- Fiber: 2
- Protein: 25
Keywords: sweet and sour chicken, pineapple chicken, crispy chicken, quick dinner, weeknight meals, homemade takeout, 20 minute meals


