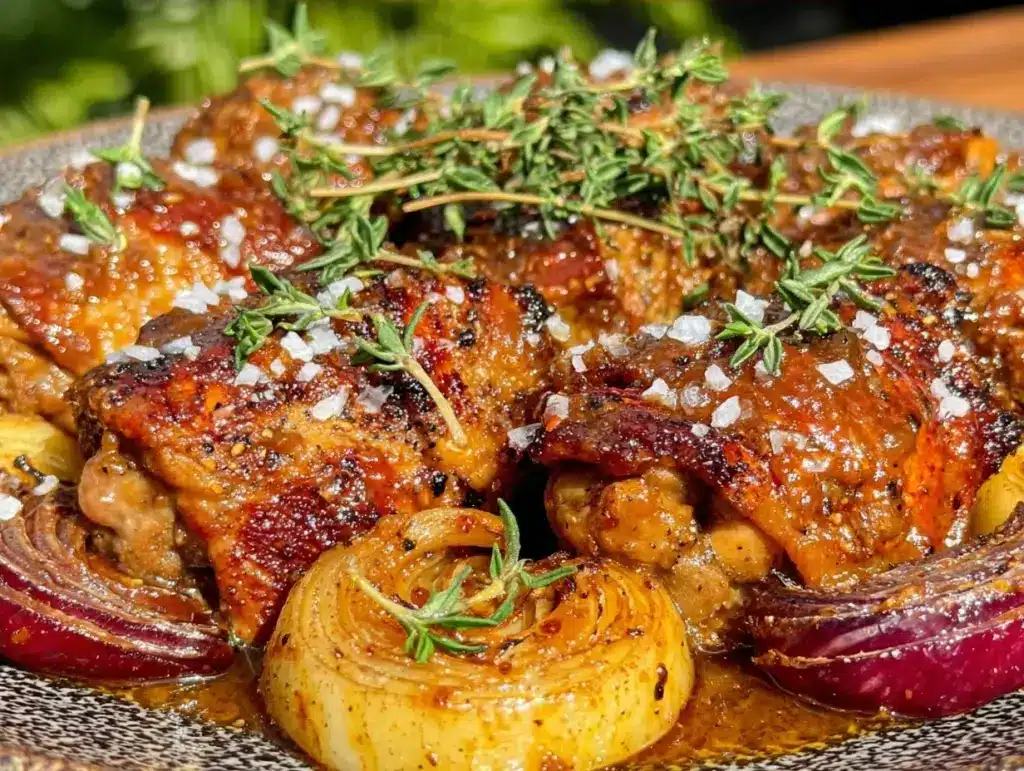
There is a specific kind of magic that happens in my kitchen when the first true chill hits the air. You know the feeling—the windows fog up just from breathing, and the smell of woodsmoke drifts over the fence from a neighbor’s fire pit. It’s that sweet spot between Halloween and Thanksgiving when the air is crisp but the ground isn’t frozen yet. This is my favorite time of year to cook, mostly because it excuses me from making anything too complicated. I want warmth. I want comfort. I want dinner to taste like a hug.
Last October, I was trying to figure out what to make for a small gathering of friends who were all complaining about how cold it was. I didn’t want to stand over a stove for three hours, but I also didn’t want to serve something that felt like “diet food” just because it was autumn. So, I threw chicken thighs, tart apples, and sweet onions into a roasting pan with some butter and herbs. I expected a simple weeknight meal. What I got was a dish so fragrant and beautiful that three different people asked for the recipe before the first bite was even gone. The apples turned jammy and sweet, the onions caramelized into something savory, and the chicken skin crisped up while staying juicy underneath.
That night, I realized I had stumbled onto a new favorite. It’s rustic, it’s elegant enough for guests but easy enough for a Tuesday, and it makes your entire house smell like a bakery. These Cozy Fall Chicken Thighs with Roasted Apples and Onions have become my go-to for everything from casual weeknight dinners to last-minute dinner parties. It’s the kind of meal that feels special without any of the stress. If you love the idea of one-pan dinners that deliver maximum flavor with minimum cleanup, you’re going to want to make this on repeat all season long.
Why You’ll Love This Recipe
I’ve made this dish at least a dozen times since that first October night, and it never fails to impress. There are a few reasons why this has earned a permanent spot in my weekly rotation, especially as the weather turns colder.
One-Pan Wonder — Seriously, the best part of this meal is the cleanup. Or lack thereof. Everything roasts on a single sheet pan. No boiling pots, no sautéing pans, no washing a dozen dishes while your guests wait. I love that I can prep this in 15 minutes and then have my hands free to pour a glass of wine or set the table.
Sweet and Savory Balance — The combination of savory, crispy chicken skin with the natural sweetness of roasted apples is just perfect. The onions add a deep, caramelized umami that ties it all together. It’s a flavor profile that feels sophisticated but is actually incredibly simple to pull off. It reminds me a bit of the balance you get in crispy sweet and sour chicken, but in a much more wholesome, autumnal way.
Hands-Off Cooking — This is perfect for when you’re multitasking. While the chicken roasts, you can chop a quick salad, open a bottle of wine, or even bake those cinnamon apple cider donut bars for dessert. The oven does all the heavy lifting, and the timer tells you when it’s ready.
Budget-Friendly — Chicken thighs are one of the most affordable cuts of meat, and apples and onions are cheap year-round (but especially in the fall). You can feed four adults for a very reasonable price, and it tastes like something from a nice bistro.
Meal Prep Friendly — This actually tastes even better the next day. The flavors meld together overnight, making the apples softer and the sauce richer. I love packing this for lunch, though I admit it’s hard to leave leftovers in the fridge because it smells so good.
Ingredients You’ll Need
This recipe relies on simple, high-quality ingredients. The beauty of roasting is that the heat concentrates the flavors, so you don’t need a long list of spices. Here is what you’ll need to get that perfect golden-brown crust and tender, juicy meat.
For the Chicken and Veggies
Chicken thighs (2 pounds / 900g) — Bone-in, skin-on thighs are non-negotiable here. Boneless thighs will dry out in the oven, and without the skin, you lose that essential crispy texture. Look for thighs that are roughly the same size so they cook evenly. I usually buy a family pack and freeze half if I’m not cooking immediately.
Apples (3 medium, about 1.5 pounds / 700g) — You need an apple that holds its shape but gets tender. Honeycrisp, Fuji, or Braeburn are my top picks. They have a nice balance of sweetness and tartness. Avoid Red Delicious—they turn to mush. Avoid Granny Smith unless you like them very tart; if you use them, add a pinch more sugar.
Yellow onions (2 medium, sliced into wedges / about 300g) — Yellow onions caramelize beautifully and add a savory backbone to the dish. You can use red onions for a prettier color, but yellow onions have a better flavor profile here. Slice them into thick wedges so they don’t burn.
Shallots (3-4 medium, halved / about 100g) — Optional, but highly recommended. Shallots add a delicate, sweet onion flavor that complements the apples perfectly. If you can’t find them, just use more yellow onion.
For the Roasting Liquid and Seasoning
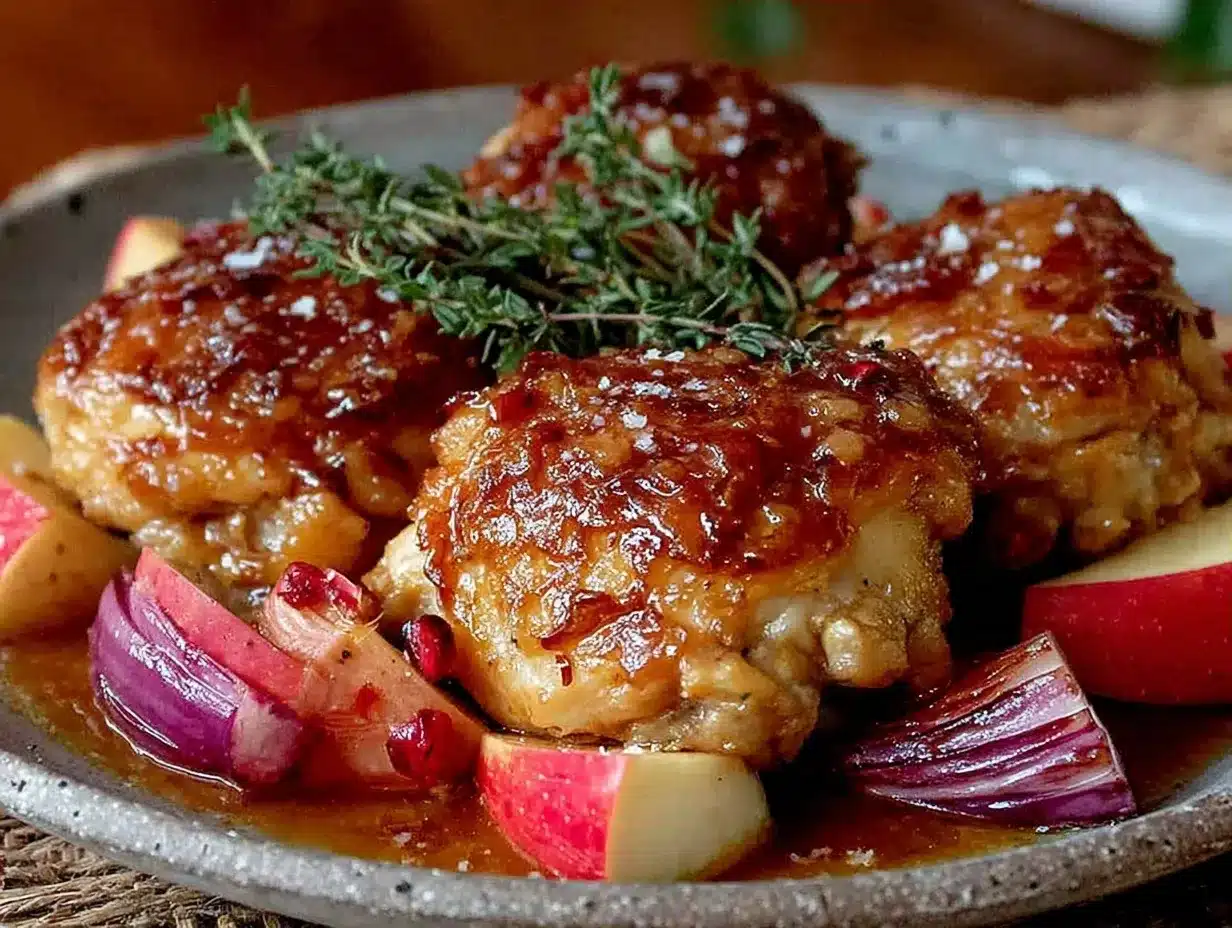
Unsalted butter (4 tablespoons / 60g) — Melted. Butter helps the skin crisp up and adds richness. I use unsalted so I can control the sodium, but salted works if you reduce the added salt slightly.
Apple cider (½ cup / 120ml) — This is the secret weapon. It deglazes the pan, creates a light sauce, and infuses the dish with that unmistakable fall flavor. You can use chicken broth if you don’t have cider, but cider is worth it. It’s not too sweet, just enough aromatic depth.
Apple cider vinegar (1 tablespoon) — A splash of vinegar cuts through the richness of the butter and chicken skin. It brightens up the whole dish. Don’t skip this—it balances the sweetness of the apples.
Garlic (4 cloves, minced / about 2 tablespoons) — Fresh garlic is key. Add it in the last 10 minutes of roasting so it doesn’t burn. Burnt garlic tastes bitter and ruins the dish.
Dried thyme (1 teaspoon) — Thyme is the classic herb for chicken and apples. It’s earthy and subtle. Fresh thyme works too—use 1 tablespoon if you have it.
Ground sage (½ teaspoon) — Sage is that “holiday” herb that smells amazing. A little goes a long way. It pairs beautifully with apples. If you don’t like sage, you can use rosemary, but sage is traditional for a reason.
Salt and black pepper — Generous amounts. Season the chicken well before roasting. I use flaky sea salt if I have it, but kosher salt works great.
Optional Garnish — Fresh parsley or chives, chopped. A drizzle of extra butter or a sprinkle of toasted pecans for crunch.
Equipment Needed
You don’t need anything fancy for this. Just basic kitchen tools. Here is what I actually use:
Large Sheet Pan — A standard 18×13 inch rimmed baking sheet. I prefer a dark metal pan because it promotes browning, but light aluminum works too. Make sure it has a rim so the juices don’t spill into your oven.
Large Bowl — For tossing the chicken and veggies in the butter and spices.
Pastry Brush — Optional, but helpful for brushing the chicken with the butter mixture. A silicone brush is easier to clean than a natural bristle one.
Sharp Knife and Cutting Board — For slicing the apples and onions. A serrated knife works well for apples if you find them slippery.
Measuring Spoons — Standard stuff.
Tongs — For flipping the chicken halfway through. Tongs are safer than a fork because you don’t pierce the skin and lose the juices.
How to Make It: Step-by-Step
Alright, let’s get cooking! This is straightforward, but there are a few tricks to ensure your chicken is crispy and your apples are perfectly tender.
Step 1: Prep the Oven and Pan (5 minutes)
Preheat your oven to 400°F (200°C). This is a hot roast, which is what gives you that crispy skin. Line your sheet pan with parchment paper or aluminum foil for easy cleanup. I use foil because it catches any drips, but parchment is great for non-stick.
Step 2: Season the Chicken (5 minutes)
Pat the chicken thighs completely dry with paper towels. This is the most important step for crispy skin. Moisture is the enemy of crispiness. If the skin is wet, it will steam instead of roast. Sprinkle the chicken generously with salt and pepper on both sides. Rub it in.
Step 3: Prep the Fruits and Veggies
Core the apples and cut them into wedges, about 1-inch thick. You want them substantial enough to hold up to the heat. Slice the onions into thick wedges, keeping the layers somewhat intact. Halve the shallots if you’re using them. Keep the pieces roughly the same size as the chicken pieces for even cooking.
Step 4: Toss Everything Together
In a large bowl, combine the chicken thighs, apple wedges, onion wedges, and shallots. In a small bowl or measuring cup, whisk together the melted butter, apple cider, apple cider vinegar, minced garlic, dried thyme, and ground sage. Pour this mixture over the chicken and veggies. Toss everything until everything is well coated. The apples and onions will soak up the flavors beautifully.
Step 5: Arrange on the Pan
Place the chicken thighs on the prepared sheet pan, skin-side up. Arrange them in a single layer with a little space between them. If they are touching, they might steam. Scatter the apples and onions around the chicken. Try to keep the onions away from the direct heat of the oven element if possible, or just keep an eye on them so they don’t burn. Pour any remaining sauce from the bowl over the chicken and veggies.
Step 6: Roast
Place the pan in the preheated oven. Roast for 20 minutes. Then, remove the pan and flip the chicken thighs over. This ensures even browning on both sides. Toss the apples and onions around a bit to redistribute them. Return to the oven and roast for another 20-25 minutes. The chicken is done when the internal temperature reaches 165°F (74°C) and the skin is golden brown and crispy. The apples should be tender but not mushy.
Step 7: Rest and Serve
Remove the pan from the oven and let the chicken rest for 5 minutes. This allows the juices to redistribute. Meanwhile, you can scrape up the caramelized bits from the bottom of the pan with a spatula—that’s flavor gold. Serve immediately, spooning the pan juices over the top. Garnish with fresh herbs if you like.
Expert Tips & Tricks
Here is everything I’ve learned from making this dozens of times. These tips will save you from my mistakes.
Don’t Skip the Drying Step
I cannot stress this enough. Wet skin = soggy skin. Take the time to pat the chicken dry with paper towels. If you’re short on time, let the chicken sit uncovered in the fridge for an hour before roasting. The air circulation will dry the skin out even more.
Choose the Right Apples
This is where people go wrong. If you use a soft apple like McIntosh, it will turn into applesauce. Stick to firm, baking apples. Honeycrisp is my absolute favorite because it’s sweet and stays firm. If you want a tart contrast, use a mix of Honeycrisp and Granny Smith.
Don’t Crowd the Pan
If you pile everything on top of each other, the veggies will steam instead of roast. Use a large enough pan. If you’re cooking for more people, use two pans. Crowding leads to steaming, and we want roasting.
Check the Temperature
Use a meat thermometer. Chicken thighs are forgiving, but you don’t want them undercooked. 165°F is the safe temp, but I like to pull them at 160°F because the residual heat will carry them to 165°F while they rest. This keeps them juicier.
Save the Pan Juice
After you remove the chicken, scrape the bottom of the pan with a wooden spoon. Those brown bits are pure flavor. Mix them into the juices and spoon it over the chicken. It’s the best part.
Variations & Substitutions
Once you’ve nailed the basic version, here’s how you can mix it up. I’ve tried all of these.
Add Some Heat
If you like spice, add a pinch of cayenne pepper or red pepper flakes to the butter mixture. It adds a nice kick that cuts through the sweetness. I also love adding a few slices of fresh jalapeño with the onions.
Gluten-Free
This recipe is naturally gluten-free, provided your apple cider and spices are certified GF. Double-check your labels if you’re sensitive. It’s a great GF dinner option.
Dairy-Free
Swap the butter for olive oil or coconut oil. The flavor will be slightly different, but it still works well. Olive oil gives a more savory profile, while coconut oil adds a subtle sweetness.
Add Potatoes
If you want a heartier meal, add cubed potatoes to the pan. Par-cook them in the microwave for 3 minutes before roasting, or cut them small so they cook through. They soak up the juices and become incredibly flavorful.
Use a Slow Cooker
You can make this in a slow cooker, but you won’t get the crispy skin. Layer the chicken, apples, and onions in the slow cooker, pour the sauce over, and cook on low for 6 hours. Serve with a side of crusty bread to soak up the sauce.
Serving & Storage
How to Serve
I usually serve this straight from the pan at the dinner table—it looks rustic and stays warm. But here are other ways I’ve enjoyed it:
Side Dishes
– Mashed potatoes or creamy polenta (to soak up the sauce)
– Roasted Brussels sprouts with bacon
– A simple green salad with a vinaigrette (to cut the richness)
– Crusty sourdough bread
Toppings Bar
When I have guests, I put out: fresh chopped parsley, toasted pecans, extra apple cider for drinking, and maybe a sharp cheddar cheese. Everyone customizes their bowl.
Storage Instructions
Refrigerator: Store in an airtight container for up to 4 days. The sauce will thicken in the fridge—totally normal.
Reheating: Best method: Add to a skillet with a splash of water or broth over low heat. Stir until heated through. Microwave method: Heat in 30-second intervals, stirring between. Add a splash of water if it’s too thick.
Freezing: Honestly, this doesn’t freeze well because the apples get mushy and the skin loses its texture. Make it fresh or store in the fridge for up to 4 days.
Nutrition Information
I’m not a nutritionist, but here’s the breakdown if you’re tracking. This is per serving (based on 4 servings).
- Calories: 450
- Protein: 30g
- Carbs: 25g
- Fiber: 4g
- Sugar: 15g
- Fat: 25g
- Saturated Fat: 8g
- Cholesterol: 110mg
- Sodium: 300mg
What’s Good: High in protein, good source of Vitamin C from the apples, and contains fiber from the veggies and skin. What to Know: Higher in calories from the chicken skin and butter, but that’s what makes it delicious. Use skinless chicken to reduce calories and fat.
Final Thoughts
So that’s my go-to Cozy Fall Chicken Thighs with Roasted Apples and Onions! I’ve probably talked your ear off at this point, but when you make a recipe this often, you have a lot to say about it. This has saved weeknight dinners more times than I can count. It’s my answer to “what’s for dinner” when I’m tired, don’t want takeout, and still want something that tastes really good. My kids are happy, my husband’s happy, and I’m happy because I’m not stressed about cooking.
Make it yours! Try different apples, swap in your favorite herbs, or add some potatoes. The best recipes are the ones you adapt to your family’s tastes. If you make this, drop a comment and let me know what you think! I love hearing how recipes turn out in your kitchen. And if something doesn’t work, tell me that too—I’m here to help troubleshoot.
Happy cooking! And I hope your kitchen smells half as good as mine does right now.
Frequently Asked Questions
Can I use chicken breasts instead of thighs?
You can, but chicken breasts will dry out much faster in the oven. If you must use breasts, use boneless, skinless breasts and reduce the cooking time by 5-10 minutes. Check the temperature early so they don’t overcook. Thighs are just more forgiving and flavorful.
What kind of apple is best for roasting?
Stick to firm apples that hold their shape. Honeycrisp, Fuji, Braeburn, and Pink Lady are excellent choices. Avoid soft apples like McIntosh or Red Delicious, which will turn to mush. If you like tartness, use Granny Smith, but be aware they will be quite sour.
Can I make this ahead for a dinner party?
You can prep everything ahead of time. Chop the apples and onions, mix the sauce, and store them in the fridge in separate containers. When you’re ready, toss everything together and roast. This saves you about 15 minutes of active time on the day of.
Why did my chicken skin not crisp up?
Usually, this means the skin was wet or the pan was too crowded. Pat the chicken dry thoroughly before seasoning. Also, make sure your oven is fully preheated to 400°F. If the oven is too cool, the chicken will steam instead of roast.
Can I add other vegetables?
Absolutely! Carrots, parsnips, and sweet potatoes all roast beautifully with this flavor profile. Just cut them into similar-sized pieces to the apples and onions so they cook evenly.
How do I reheat leftovers without it getting dry?
Add a splash of water or broth to the leftovers when reheating. This creates steam and helps keep the chicken moist. Avoid reheating in a dry pan or microwave without liquid, as the chicken will become tough.
Pin This Recipe!
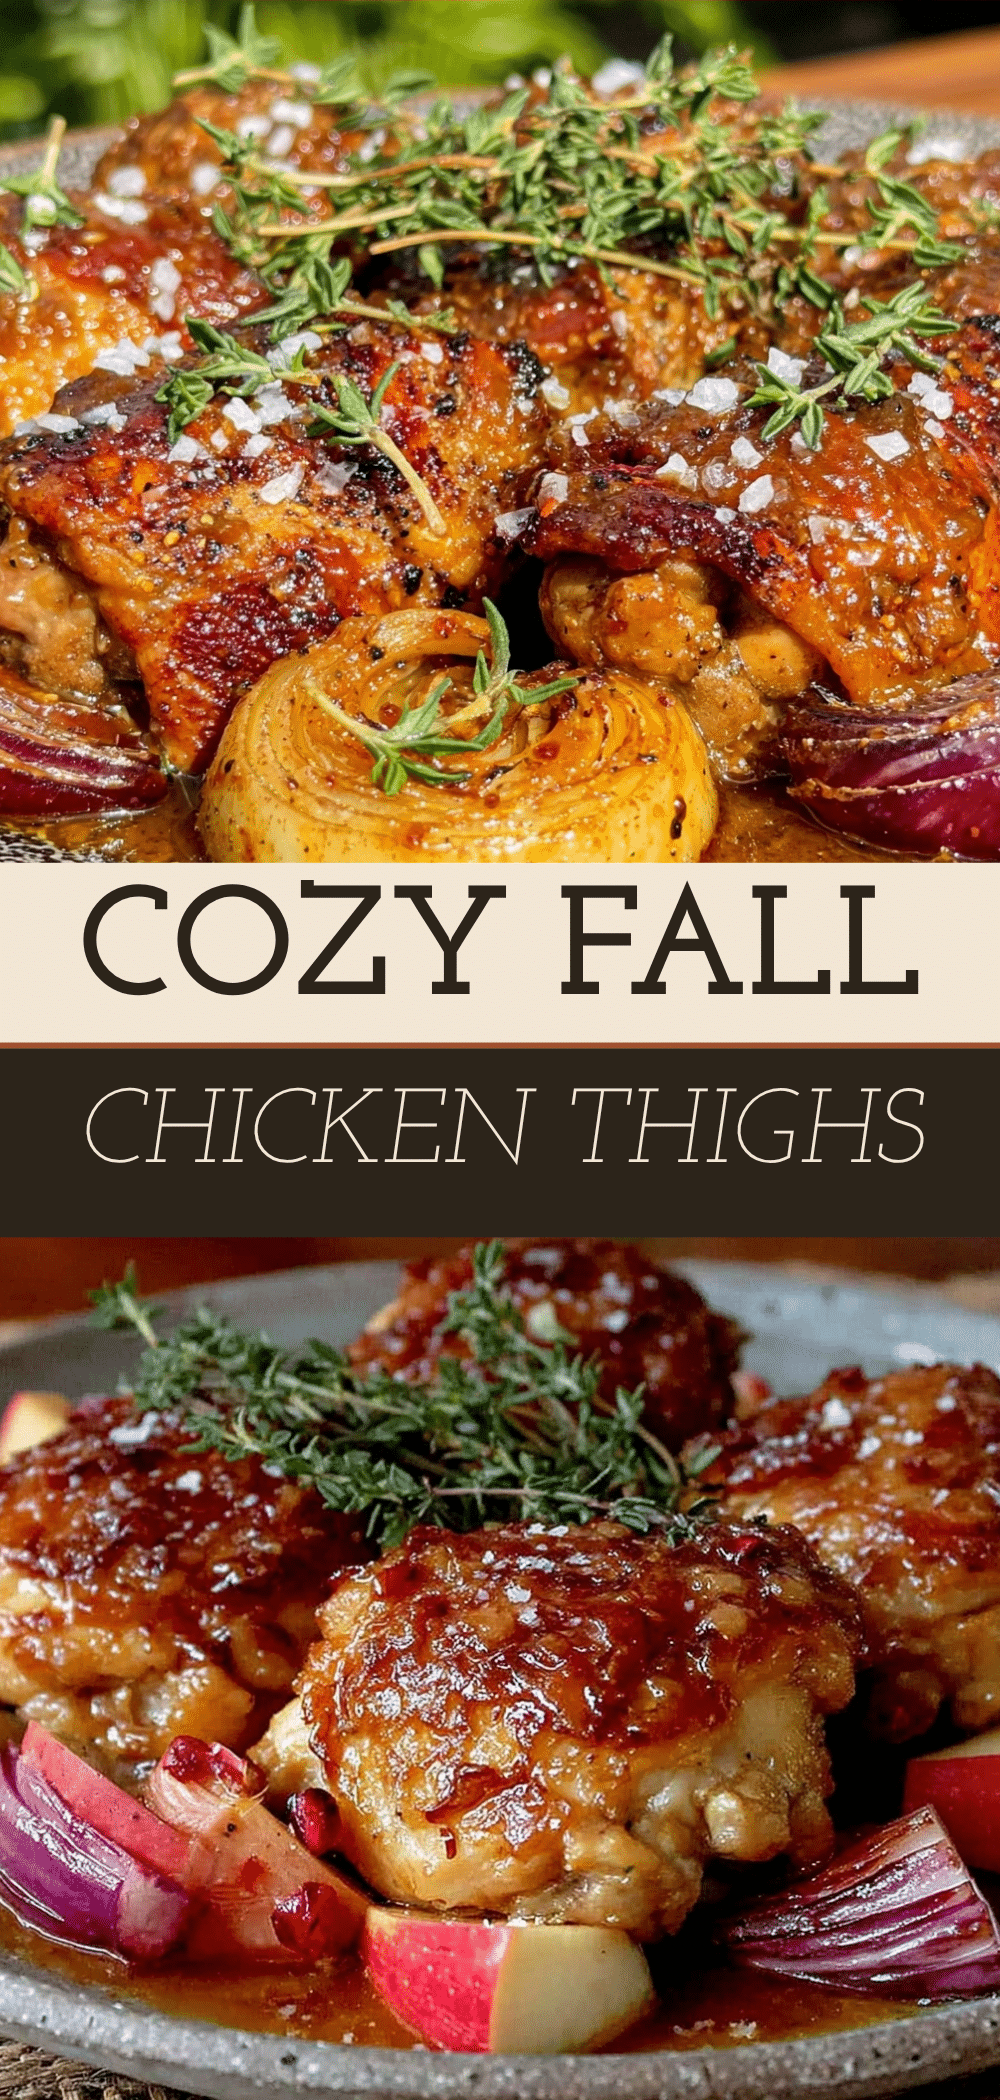

Cozy Fall Chicken Thighs with Roasted Apples and Onions
- Total Time: 60 minutes
- Yield: 4 servings 1x
Description
A rustic, one-pan dinner featuring crispy skin-on chicken thighs roasted with tart apples, sweet onions, and aromatic herbs. This easy weeknight meal delivers maximum flavor with minimal cleanup.
Ingredients
- 2 pounds bone-in, skin-on chicken thighs
- 3 medium firm apples (Honeycrisp, Fuji, or Braeburn), cored and cut into 1-inch wedges
- 2 medium yellow onions, sliced into thick wedges
- 3–4 medium shallots, halved (optional)
- 4 tablespoons unsalted butter, melted
- 1/2 cup apple cider
- 1 tablespoon apple cider vinegar
- 4 cloves garlic, minced
- 1 teaspoon dried thyme
- 1/2 teaspoon ground sage
- Salt and black pepper, to taste
- Fresh parsley or chives, chopped (for garnish)
Instructions
- Preheat oven to 400°F (200°C). Line a large rimmed baking sheet with parchment paper or aluminum foil.
- Pat chicken thighs completely dry with paper towels to ensure crispy skin. Season generously with salt and pepper on both sides.
- In a large bowl, combine chicken thighs, apple wedges, onion wedges, and shallots.
- In a small bowl, whisk together melted butter, apple cider, apple cider vinegar, minced garlic, dried thyme, and ground sage.
- Pour the butter mixture over the chicken and vegetables. Toss everything until well coated.
- Arrange chicken thighs skin-side up on the prepared baking sheet in a single layer. Scatter apples and onions around the chicken.
- Pour any remaining sauce from the bowl over the chicken and veggies.
- Roast for 20 minutes. Remove pan, flip chicken thighs, and toss vegetables. Return to oven and roast for another 20-25 minutes until chicken reaches an internal temperature of 165°F (74°C) and skin is golden brown.
- Remove from oven and let chicken rest for 5 minutes before serving. Scrape up caramelized bits from the pan and spoon juices over the top.
Notes
Patting the chicken dry is crucial for crispy skin. Do not crowd the pan to avoid steaming. For a dairy-free version, swap butter for olive oil. This dish does not freeze well due to texture changes in the apples and skin.
- Prep Time: 15 minutes
- Cook Time: 45 minutes
- Category: Main Course
- Cuisine: American
Nutrition
- Serving Size: 1 chicken thigh with
- Calories: 450
- Sugar: 15
- Sodium: 300
- Fat: 25
- Saturated Fat: 8
- Carbohydrates: 25
- Fiber: 4
- Protein: 30
Keywords: fall dinner, chicken thighs, one pan meal, roasted apples, easy weeknight dinner, cozy recipes, autumn cooking


