There is a specific time of day that every parent knows too well. It’s usually between 3:30 and 4:00 PM. The school day has ended, the house is quiet for exactly twelve minutes, and then the door opens. In walks your child, looking like they’ve just run a marathon through a mud pit, with a face that says, “I am about to explode if I do not have sugar immediately.”
For years, I fought this. I tried to get them to eat a balanced lunch, I tried to hide vegetables in smoothies (which they detected instantly), and I tried to make elaborate dinners that required chopping, sautéing, and pretending I had my life together. But by 4 PM? I was running on caffeine and sheer willpower. And they were running on empty.
Then, last Tuesday, I was staring into our half-empty fridge while my son paced around the kitchen like a caged tiger. We had some sad-looking strawberries, a tub of yogurt that was nearing its expiration date, and a box of granola that had been sitting in the pantry since September. I threw it together in about four minutes. I didn’t even measure. I just layered it.
He took one bite. Then another. Then he looked at me with those wide eyes and said, “This is better than the store-bought snack cakes.”
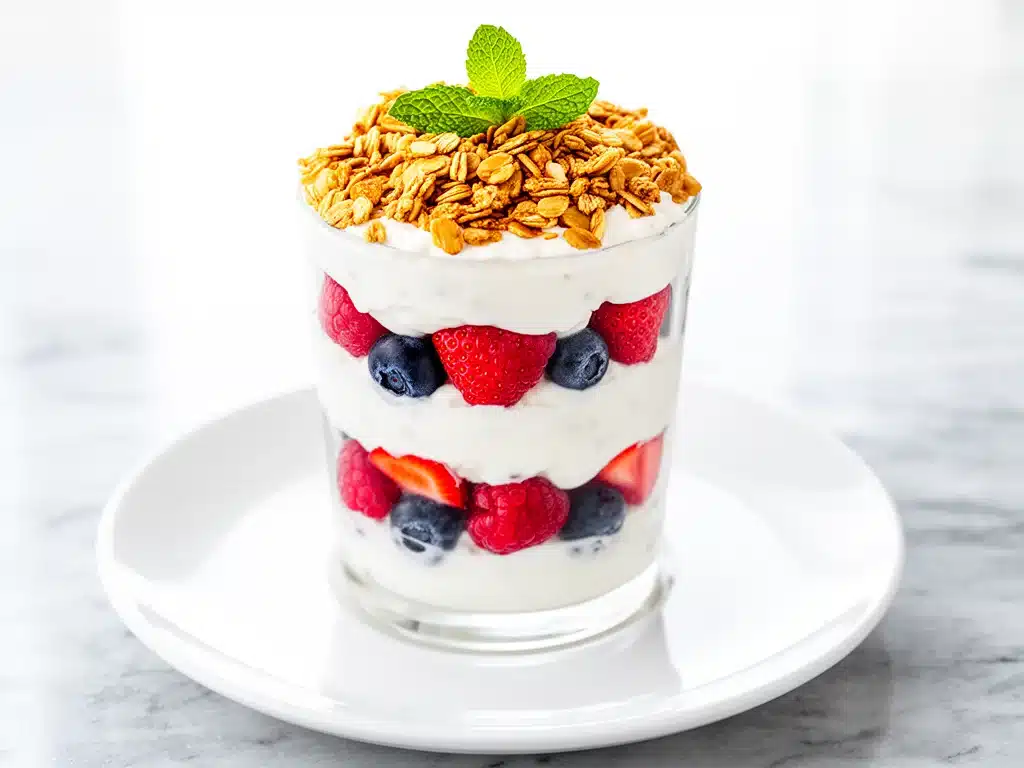
It was a small moment, but it changed everything. That simple combination of creamy yogurt, sweet berries, and crunchy granola became our new ritual. I call them After-School Yogurt Berry Parfait Cups, though really, they’re just a lifesaver. They take five minutes max, they use ingredients we already have, and they keep everyone happy until dinner time without causing a sugar crash three hours later. I’ve made these at least thirty times since that Tuesday, and honestly? It’s become my go-to when I need a win.
Why You’ll Love This Recipe
I know what you’re thinking. “Another yogurt snack? We have a whole pantry of options.” But hear me out. This isn’t just yogurt in a bowl. It’s a texture party. It’s a color show. And most importantly, it’s a peace treaty between hungry kids and tired parents.
Here’s why these parfait cups have completely taken over our afternoon routine:
- Stupid Simple Assembly — Seriously, if you can pour cereal into a bowl, you can make this. There is no cooking, no heating, no measuring cups required (though I do use them for consistency). I’ve even let my six-year-old make these solo, with zero mess if you give him the right spoons.
- Lightning Fast — Five minutes. That’s it. From fridge to fork. I make these on days when I get home from work at 5:30 PM and realize I forgot to defrost the chicken. This buys me time to actually start cooking dinner while they eat.
- Customizable for Picky Eaters — My daughter loves blueberries. My son is obsessed with strawberries. My pickiest eater? He only wants the granola and the yogurt, no fruit. And you know what? That’s fine. These cups are blank canvases. You can swap any fruit, any yogurt, any granola. It works.
- Budget-Smart — You probably have most of these ingredients already. Yogurt, frozen berries, granola. It costs less than $1 per serving if you buy the store-brand versions. That’s cheaper than buying a single pack of those little juice boxes or processed snack cakes.
- Healthy-ish Balance — Yes, it has sugar. But it also has protein from the yogurt and fiber from the fruit and granola. It’s not a candy bar. It’s a real food snack that keeps their energy stable. I’ve noticed they’re less hangry during homework time when they have this instead of chips.
Real talk? This recipe has saved our weeknight sanity. It’s my answer to “I’m hungry” when I’m already stressed about dinner. No complicated techniques, no weird ingredients, just reliable, delicious food that makes everyone happy.
Ingredients You’ll Need
Here’s the best part: you probably have most of this already. This looks like a basic list, but the quality of these three ingredients makes or breaks the recipe. I’m particular about the granola and the yogurt, and I’ll tell you exactly why.
For the Base
Greek Yogurt (2 cups / 450g) — I use plain, full-fat Greek yogurt. Why? Because it’s thick, creamy, and packed with protein. The protein keeps them full. If you use the low-fat stuff, it’s too watery and the granola gets soggy too fast. If you don’t like plain, vanilla Greek yogurt works great too. Just watch the added sugar.
Milk or Milk Alternative (2-4 tablespoons / 30-60ml) — You might need this to thin the yogurt slightly if it’s super thick. I usually use whole milk, but almond or oat milk works fine. Just add it gradually until you get the right consistency.
Honey or Maple Syrup (1-2 tablespoons / 15-30ml) — Optional, but I almost always add a drizzle. It balances the tartness of the Greek yogurt. If you’re using sweetened yogurt, skip this. Taste first!
For the Fruit Layer
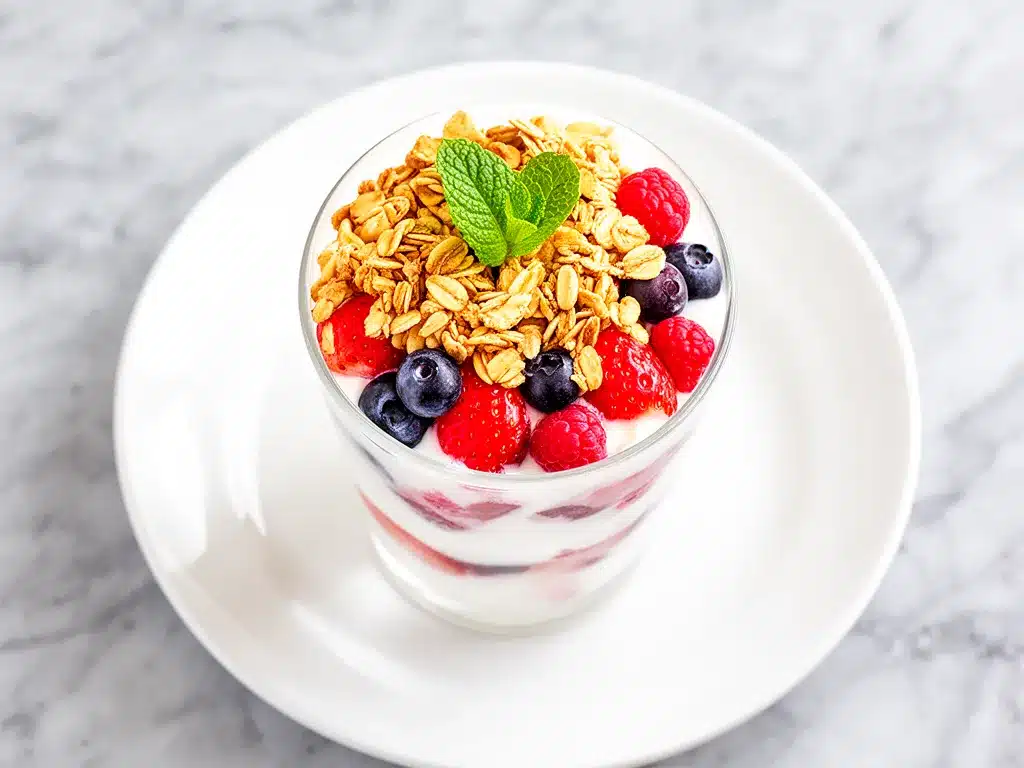
Fresh or Frozen Berries (2 cups / 250g) — This is where you get creative. Strawberries, blueberries, raspberries, blackberries—use what’s in season or what’s on sale. Frozen berries are totally fine. I actually prefer them sometimes because they thaw slightly and get all juicy. Just don’t use them ice-cold straight from the freezer; let them sit for 10 minutes.
Banana (1 medium, sliced / about 100g) — Optional, but adds nice creaminess and potassium. My kids love this. Slice it thin so it layers nicely.
For the Crunch
Granola (1.5 cups / 100g) — This is the star of the show. You want a granola with clusters. The kind that stays crunchy. I avoid the ones that are just loose oats and raisins because they get mushy in the yogurt. Look for one with nuts or seeds if your family tolerates them. Honey-nut granola is a crowd-pleaser.
Chia Seeds or Hemp Hearts (1 tablespoon / 10g) — Optional boost. I sprinkle these in for extra omega-3s. My kids don’t even notice them, but I feel better knowing they’re getting them.
Extra Crunch Topping (Optional) — Toasted coconut flakes, crushed nuts, or even a few dark chocolate chips for the older kids. I keep a jar of toasted almonds in the pantry just for this.
Personal Tips for Shopping
- Yogurt Brand: I always use Fage or Chobani. They have the best texture. Cheaper store brands can be grainy.
- Granola Hack: If your granola is stale or soft, spread it on a baking sheet and toast it in the oven at 350°F (175°C) for 5 minutes. It comes out crispy as new. Game changer.
- Fruit Prep: I buy pre-washed berries when I’m lazy, but washing fresh berries yourself is better for the environment and usually cheaper.
Equipment Needed
You don’t need fancy equipment for this. Here’s what I actually use.
Cups or Jars — I use 6-8 oz clear glass jars (like small mason jars or yogurt cups). Clear is important because you want to see the pretty layers. Plastic cups work too, but they scratch and look cloudy after a while.
Spoons — Small dessert spoons or measuring spoons. I use measuring spoons to layer the yogurt evenly, which makes the cups look professional. But honestly, just use whatever spoons you have.
Bowl — For mixing the yogurt with honey if you’re doing that. A medium-sized mixing bowl works.
Knife and Cutting Board — For slicing bananas or halving strawberries. Any sharp knife works. Dull knives make slicing strawberries a squishy mess.
Spatula — To scrape the yogurt out of the container. I’m not fancy. I just use a regular spatula.
Optional but nice:
- Piping bag — If you want to make the yogurt swirls look fancy. I don’t bother, but my neighbor’s kid loves the “fancy” ones.
- Small tongs — For picking up individual berries. Sounds silly, but it prevents bruising the fruit.
How to Make It: Step-by-Step
Alright, let’s make this! I’m walking you through exactly how I do it, including the little tricks I’ve picked up to keep the granola crunchy and the layers pretty.
Step 1: Prep Your Fruit (5 minutes)
Wash your berries thoroughly if they’re fresh. If you’re using frozen berries, let them thaw in a bowl for about 10-15 minutes. You don’t want them ice-cold, but you don’t want them mushy either. Drain any excess liquid. Slice bananas into thin rounds. If you’re using strawberries, halve or quarter them depending on size. Set aside.
Step 2: Flavor the Yogurt (2 minutes)
In a medium bowl, combine the Greek yogurt, honey (if using), and a splash of milk if you want it creamier. Stir well until smooth. Taste it. Does it need more honey? Add a little more. Does it need more milk? Add a teaspoon. You want it to be spoonable but not runny.
Step 3: Start Layering (3 minutes)
Take your cups or jars. Start with a layer of yogurt at the bottom. I use about 2-3 tablespoons per cup. Then add a layer of fruit. I usually do strawberries or blueberries here. Then a generous layer of granola. That’s one layer. Repeat: yogurt, fruit, granola. Do this 2 or 3 times, depending on how tall your cups are.
Step 4: The Final Touch (1 minute)
Top with a final dollop of yogurt, a few fresh berries, and a sprinkle of granola. If you’re using chia seeds or toasted coconut, add that now. If you want to get fancy, you can drizzle a little extra honey on top. But honestly? The bottom layer is always the best because the granola has softened just enough to be delicious.
Step 5: Serve Immediately
Serve right away. These are best eaten within 30 minutes of assembly if you want the maximum crunch. If you’re meal prepping them for later, keep the granola separate and add it right before eating. Trust me on this. Pre-assembled granola gets soggy. No one wants soggy granola.
Total Time: About 10 minutes total, but active time is only 5 minutes.
Built-in Troubleshooting:
- Yogurt too thick? Add milk one teaspoon at a time until it’s smooth.
- Granola too hard? Use a softer granola or let the parfait sit for 5 minutes before eating.
- Fruit too watery? Drain frozen berries well. Excess water makes the yogurt runny.
Expert Tips & Tricks
Here’s everything I’ve learned from making these dozens of times. These tips will save you from my mistakes.
The Crunch Factor
This is the #1 tip. Granola loses its crunch when it touches liquid. If you’re serving these immediately, layering is fine. If you’re making them ahead, keep the granola in a separate container. I keep a small jar of granola on the counter and let my kids add it themselves. It’s fun for them, and the crunch stays perfect.
Don’t Skimp on Protein
Use full-fat Greek yogurt. The extra protein keeps your kids full longer. I’ve tried low-fat versions, and they’re hungry again in an hour. Full-fat yogurt is creamier and tastes better anyway. It’s worth the few extra calories.
Frozen Berries Are Your Friend
I always keep a bag of frozen mixed berries in the freezer. They’re cheaper than fresh, often more nutritious (frozen at peak ripeness), and they thaw into a delicious, juicy consistency. Just don’t use them straight from the freezer. Let them sit for 10 minutes.
Toast Your Granola
If your granola is a little soft or stale, toast it in the oven at 350°F (175°C) for 5 minutes. It comes out crispy and fragrant. It makes a huge difference in texture and flavor.
Common Mistakes (and how to avoid them)
Mistake: Soggy bottom layer
Fix: Add a small piece of granola at the very bottom of the cup before adding yogurt. It acts as a barrier. Or, just eat the bottom layer first.
Mistake: Too sweet
Fix: Use plain yogurt and unsweetened granola. Let the natural sweetness of the fruit shine. You can always add honey, but you can’t take it away.
Mistake: Messy layers
Fix: Use a spoon to gently press the layers down. Don’t pack it too tight, just smooth it out. Clear cups help you see what you’re doing.
Variations & Substitutions
Once you’ve nailed the basic version, here’s how you can mix it up. I’ve tried all of these.
Chocolate Lover’s Parfait
Add a tablespoon of cocoa powder to the yogurt. Add chocolate chips or cacao nibs to the granola layer. My kids go crazy for this one. It tastes like dessert but is still “healthy.”
Tropical Twist
Swap berries for diced mango and pineapple. Use coconut granola. Add a splash of lime juice to the yogurt. It’s bright, fresh, and perfect for summer.
Banana Nut Parfait
Use sliced bananas and walnuts or pecans. Add a little cinnamon to the yogurt. It tastes like banana bread in a cup. My husband loves this version.
Dairy-Free Option
Use coconut yogurt or almond yogurt. Check the label for protein content. Use dairy-free granola. It’s not quite as creamy, but it still works. I use So Delicious coconut yogurt when we’re avoiding dairy.
Vegan Option
Same as dairy-free. Use plant-based yogurt and granola. Add hemp seeds for extra protein. My vegetarian friend requests this version often.
Gluten-Free Option
Use certified gluten-free granola. Most fruits and yogurts are naturally gluten-free, so just check the granola label. I use Bob’s Red Mill gluten-free granola. It’s pricey but worth it.
Protein Boost
Add a scoop of unflavored or vanilla protein powder to the yogurt. Mix it well. It makes the yogurt thicker and adds 20g of protein. Great for active kids or post-workout snacks.
Serving & Storage
How to Serve
I usually serve these straight from the counter at the dinner table. They look rustic and stay cool. But here are other ways I’ve enjoyed them:
- Pre-Portioned for Lunchboxes: Use small reusable containers. Keep granola separate. Add a note to your kid: “Add granola right before eating.”
- Party Appetizer: Make mini versions in shot glasses. Add a berry on top. They look fancy and are easy to grab.
- Breakfast on the Go: Make them the night before (without granola). Grab and go in the morning. Quick breakfast for busy school days.
Storage Instructions
Refrigerator: Yogurt and fruit last 2-3 days in the fridge. Granola should be stored in an airtight container at room temperature. Do not assemble more than a few hours ahead if you want crunch.
Freezing: Do not freeze yogurt parfaits. The yogurt separates and becomes grainy when thawed. Freeze the fruit separately if you want to use it later. Granola does not freeze well.
Meal Prep: I prep the fruit and yogurt on Sunday. Store them in separate containers. Assemble individual cups during the week. Takes 2 minutes per cup.
Pro tip: If leftovers are drying out, stir in a splash of milk when reheating yogurt-based dishes. But for parfaits, eat them fresh. That’s the point.
Nutrition Information
I’m not a nutritionist, but here’s the breakdown if you’re tracking. This is per serving (based on 4 cups).
- Calories: 220
- Protein: 12g
- Carbs: 35g
- Fiber: 4g
- Sugar: 20g (mostly from fruit and natural honey)
- Fat: 6g
- Saturated Fat: 3g
- Cholesterol: 15mg
- Sodium: 45mg
- Calcium: 180mg
What’s Good: High in protein, good source of calcium, fiber from fruit and granola. No artificial colors or preservatives.
What to Know: Higher in sugar from fruit and granola. Contains dairy. Can be made gluten-free or dairy-free.
My Take: Look, this is a snack with yogurt and fruit. It’s not a diet recipe. But it’s way better than processed snacks, costs less, and I know exactly what’s in it. When I want to make it lighter, I use low-sugar granola and unsweetened yogurt. But usually? I just enjoy it as a balanced, delicious treat.
Final Thoughts
So that’s my go-to After-School Yogurt Berry Parfait Cups! I’ve probably talked your ear off at this point, but when you make a recipe this often, you have a lot to say about it.
This has saved weeknight afternoons more times than I can count. It’s my answer to “I’m hungry” when I’m tired, don’t want to cook, and still want something that tastes good. My kids are happy, and I’m happy because I’m not stressed about finding a snack that’s both fast and healthy.
Make it yours! Try different fruits, swap in your favorite granola, adjust the sweetness. The best recipes are the ones you adapt to your family’s tastes. And if you want to see more easy, kid-friendly recipes, check out my chewy banana oat breakfast cookies or my back-to-school ham and cheese pretzel roll-ups. They’re all 5-minute wonders.
If you make this, drop a comment and let me know what you think! I love hearing how recipes turn out in your kitchen. And if something doesn’t work, tell me that too—I’m here to help troubleshoot.
Happy snacking! And I hope your kitchen smells half as good as mine does right now.
Frequently Asked Questions
Can I use regular yogurt instead of Greek yogurt?
You can, but the texture will be different. Regular yogurt is thinner and runnier. The granola will get soggy faster. If you use regular yogurt, add less milk and eat it immediately. Greek yogurt is thicker and holds up better. I recommend sticking with Greek for the best experience.
How do I keep the granola crunchy?
The key is timing. Add the granola right before serving. If you’re meal prepping, store the granola separately in an airtight container. Let your kids add it themselves when they’re ready to eat. It’s fun for them and keeps the crunch perfect.
Can I make this ahead for lunch?
Yes, but keep the granola separate. Assemble the yogurt and fruit in the morning. Store in the fridge. Add the granola right before eating. If you add granola the night before, it will be mushy in the morning. No one wants mushy granola.
Why did my yogurt turn out watery?
Usually means you used low-fat yogurt or added too much milk. Full-fat Greek yogurt is thicker and holds up better. If it’s already watery, drain it in a sieve for 10 minutes. Or just accept it and eat it with a spoon instead of layers.
Can I use frozen fruit?
Yes! Frozen berries are great. Just let them thaw for 10-15 minutes before assembling. Drain any excess liquid. Frozen fruit gets juicy and sweet, which is delicious. Just don’t use them ice-cold straight from the freezer.
How long do these last in the fridge?
The yogurt and fruit last 2-3 days. The granola should be stored at room temperature. If you assemble them, eat within 24 hours for best texture. After that, the layers will start to meld together and lose their distinct crunch.
Can I add protein powder?
Absolutely! Add 1 scoop of unflavored or vanilla protein powder to the yogurt. Mix well. It makes the yogurt thicker and adds 20g of protein. Great for active kids or post-workout snacks. Just taste it first to make sure you like the flavor.
Pin This Recipe!
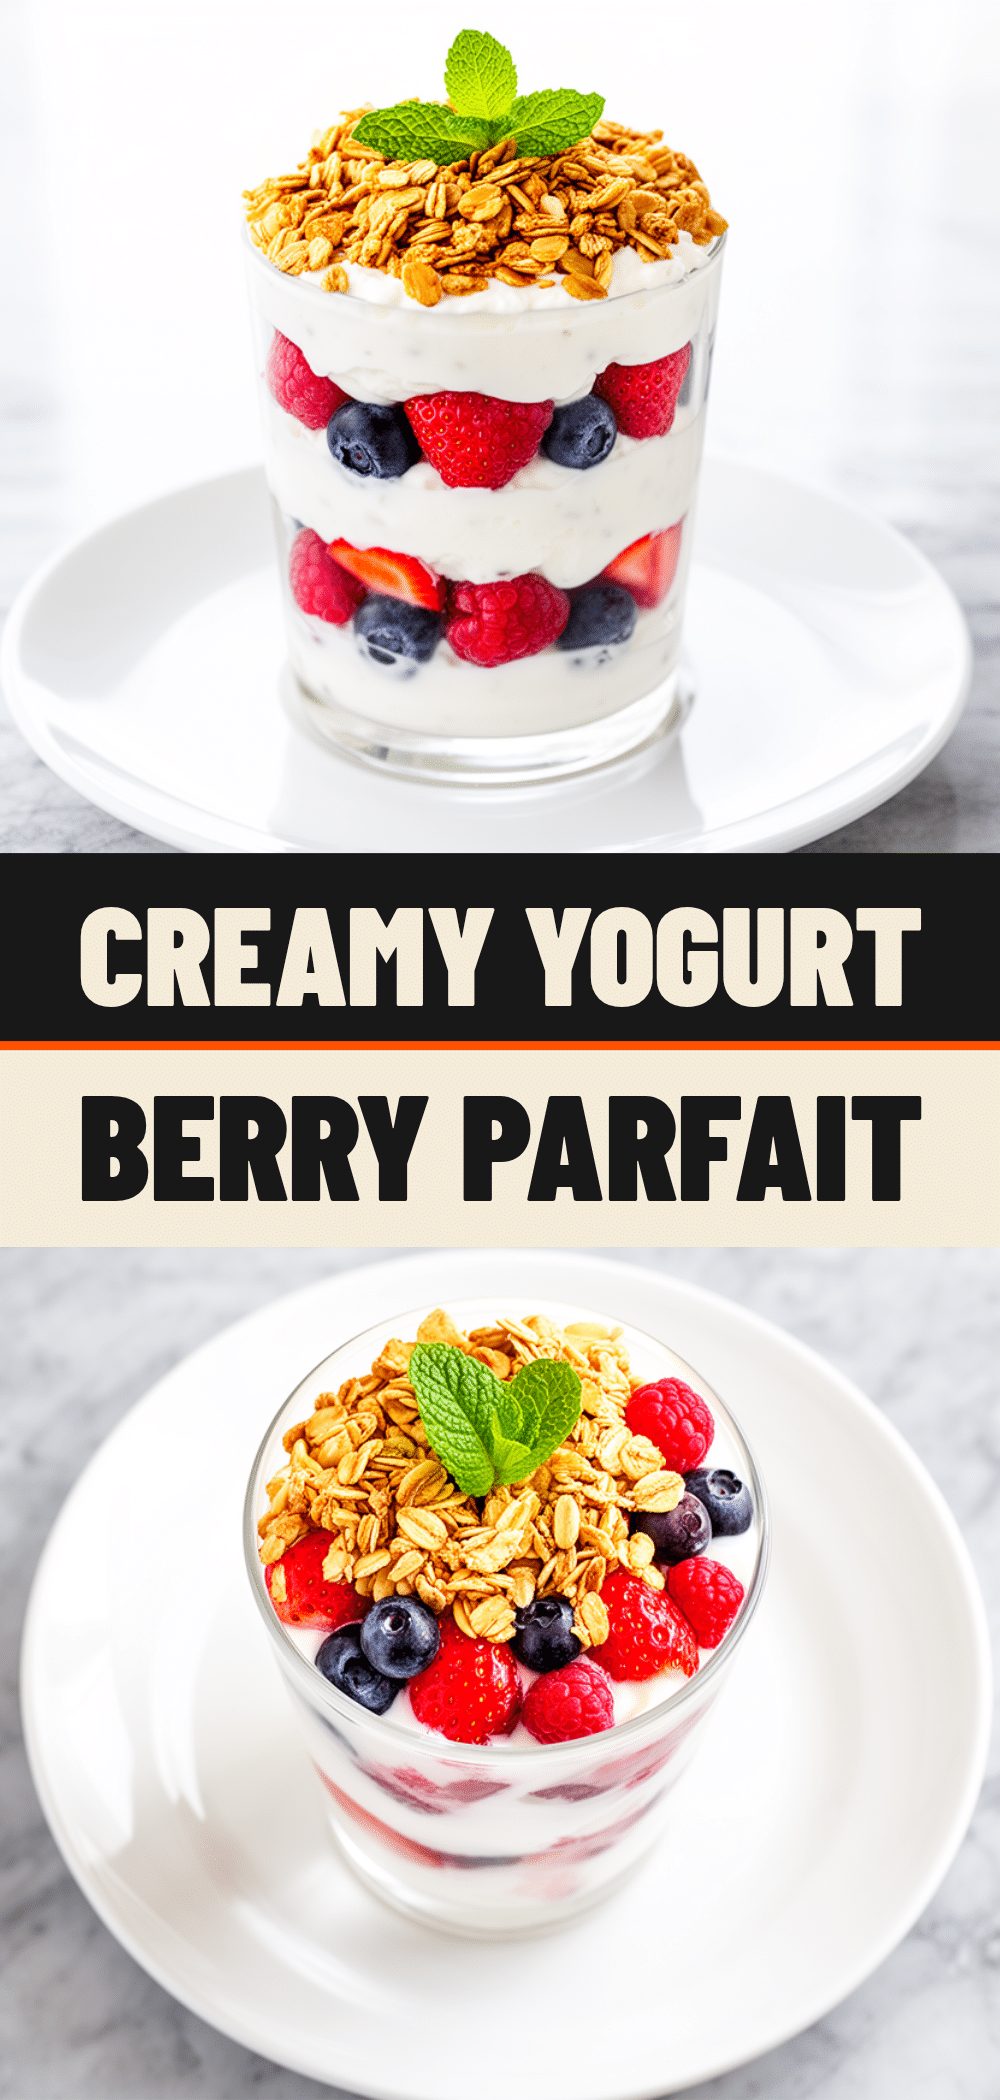
After-School Yogurt Berry Parfait Cups
- Total Time: 5 minutes
- Yield: 4 servings 1x
Description
A quick, 5-minute no-cook snack featuring layers of creamy Greek yogurt, fresh or frozen berries, and crunchy granola. Perfect for busy parents and picky eaters.
Ingredients
- 2 cups plain full-fat Greek yogurt
- 2–4 tablespoons milk or milk alternative (optional, for thinning)
- 1–2 tablespoons honey or maple syrup (optional)
- 2 cups fresh or frozen berries (strawberries, blueberries, raspberries, blackberries)
- 1 medium banana, sliced (optional)
- 1.5 cups granola with clusters
- 1 tablespoon chia seeds or hemp hearts (optional)
- Optional toppings: toasted coconut flakes, crushed nuts, dark chocolate chips
Instructions
- Wash fresh berries thoroughly. If using frozen berries, let them thaw for 10-15 minutes and drain excess liquid. Slice bananas into thin rounds.
- In a medium bowl, combine the Greek yogurt, honey (if using), and a splash of milk if desired. Stir until smooth and spoonable.
- In serving cups or jars, start with a layer of yogurt (2-3 tablespoons).
- Add a layer of fruit, followed by a generous layer of granola.
- Repeat the layers (yogurt, fruit, granola) 2-3 times depending on cup height.
- Top with a final dollop of yogurt, fresh berries, and a sprinkle of granola or chia seeds.
- Serve immediately for maximum crunch, or keep granola separate if meal prepping.
Notes
For best texture, add granola right before serving. If meal prepping, store granola separately in an airtight container. Do not freeze assembled parfaits as yogurt becomes grainy. Toasting stale granola at 350°F for 5 minutes restores crunch.
- Prep Time: 5 minutes
- Cook Time: 0 minutes
- Category: Snack
- Cuisine: American
Nutrition
- Serving Size: 1 cup
- Calories: 220
- Sugar: 20
- Sodium: 45
- Fat: 6
- Saturated Fat: 3
- Carbohydrates: 35
- Fiber: 4
- Protein: 12
Keywords: yogurt parfait, after school snack, healthy kids snack, quick snack, no bake, gluten-free option, dairy-free option, berry parfait


