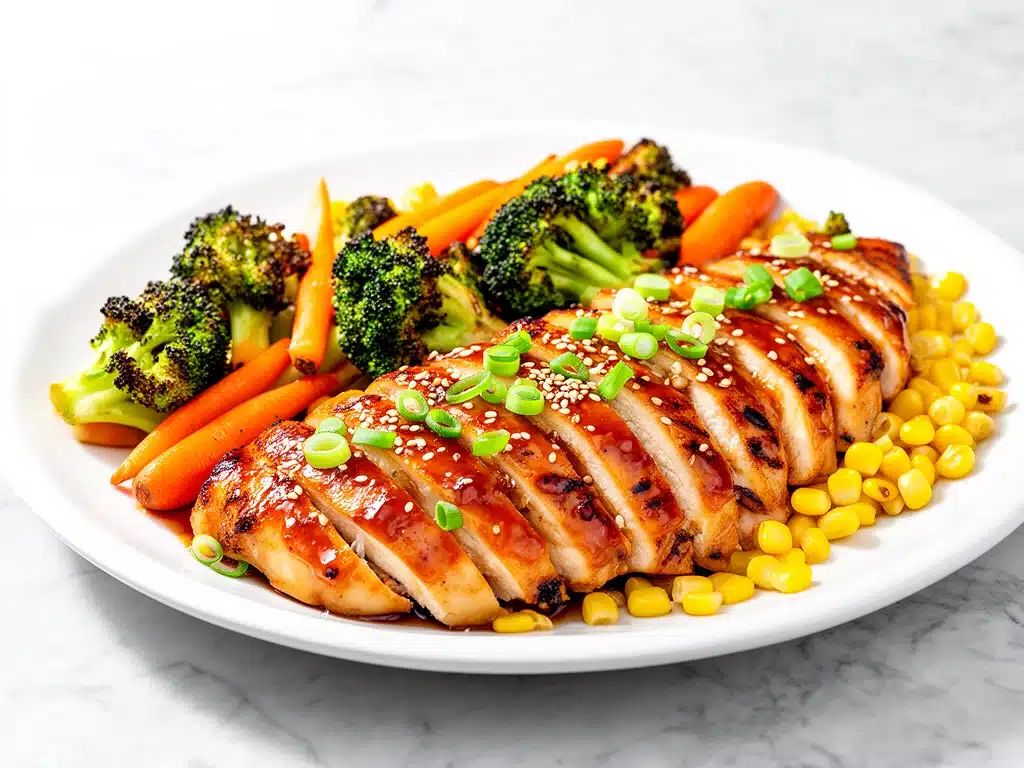
Let’s be honest for a second. There is a specific kind of exhaustion that hits around 5:30 PM on a Tuesday. You’ve been at work, you’ve been running errands, and the last thing you want to do is stand over a stove, stirring pots, or worry about dirty dishes from three different pans. My husband and I have a standing arrangement: if I cook, he cleans. But if we order takeout, the dishes are mine. And I’ve never been great at negotiating my way out of doing the dishes.
So, I invented a loophole. It’s called this sheet pan teriyaki chicken. I discovered it during one of those desperate weeknights when the takeout menu was staring at me like a siren song. I looked at my half-empty fridge, saw some sad-looking broccoli florets and a bag of bell peppers, and realized I had enough chicken thighs to make something decent. I threw it all on one baking sheet, drizzled it with a quick teriyaki glaze I whipped up in two minutes, and let the oven do the heavy lifting.
The smell that filled the house ten minutes later was the same savory, sweet, sticky scent that makes me pull into the drive-thru lane. But here’s the kicker: it was better. The chicken was crispier at the edges, the vegetables had actual texture (not that soggy takeout limpness), and the sauce had that perfect balance of salty and sweet without the MSG hangover. I’ve made this sheet pan teriyaki chicken probably fifty times since that night. It’s become my secret weapon for busy evenings, my go-to meal for when I have guests but don’t want to stress, and honestly, the reason I’ve stopped ordering Chinese food almost entirely. If you’re tired of greasy boxes and soggy rice, you need to try this. It’s easier than you think, and it tastes like you spent an hour in the kitchen (even though you really just spent twenty minutes prepping).
Why You’ll Love This Recipe
I know what you’re thinking. “Another sheet pan dinner? Really?” But hear me out. This isn’t just convenient; it’s actually delicious in a way that makes you forget you’re eating “easy” food. Here’s why this teriyaki chicken has taken over our weekly rotation:
One Pan, Zero Stress — Seriously. One baking sheet. One bowl for the sauce. That’s it. If you can chop vegetables and mix ingredients, you can make this. I’ve made this while my toddler was playing at my feet, and I’ve made it when I was half-asleep on the couch. It just works. No standing over a hot stove, no splattering oil, no scrubbing multiple pots.
Actually Crispy Chicken — Takeout chicken is often soft and saucy. This version gets roasted. The high heat of the oven caramelizes the edges of the chicken thighs and the vegetables, creating these beautiful, sticky, charred bits that are pure flavor. It’s the difference between boiled broccoli and roasted broccoli. Big difference.
Customizable for Everyone — My kids love the sweet glaze. My husband loves the charred broccoli. I love that it’s healthy-ish. You can swap out the veggies based on what’s in season or what’s on sale. It’s forgiving. Last week I used zucchini instead of bell peppers because they were on sale, and it was still amazing. The sauce binds everything together so it never feels like you’re eating “diet” food.
Ready in 30 Minutes — Preheat the oven, chop, toss, bake. You’re eating within half an hour. That’s faster than waiting for a delivery driver who is currently “three stops away.” It’s the perfect weeknight dinner when you need food on the table fast but still want it to taste homemade and thoughtful.
Makes Incredible Leftovers — The flavors actually deepen overnight. The chicken absorbs more sauce, and the veggies get even more tender. I pack this for lunch at least twice a week. It reheats beautifully in the microwave (just add a splash of water to keep it moist) or you can eat it cold straight from the fridge. It’s surprisingly good cold, like a warm salad.
Ingredients You’ll Need
Here’s the best part: you probably have most of this already. The sauce is simple, and the veggies are whatever you have lying around. I’m particular about a few things here, so pay attention to the chicken choice and the sauce ingredients.
For the Chicken:
Chicken thighs (1.5 lbs / 680g, boneless and skinless) — Do not use chicken breasts. They dry out in the oven. Thighs stay juicy and flavorful. Cut them into bite-sized pieces, about 1.5 inches wide. Uniform size helps them cook evenly.
For the Vegetables:
Broccoli florets (2 cups / about 300g) — The sturdy stem of the broccoli holds up well to roasting. Cut the florets into medium-sized pieces so they aren’t too tiny. You want them to char, not turn to mush.
Red bell pepper (1 large, chopped) — Adds sweetness and color. Yellow or orange peppers work too, but red is my favorite for the contrast. Chop into similar-sized chunks as the broccoli.
Red onion (1 medium, sliced into wedges) — Red onion stays a bit sweeter than yellow onion when roasted. Slice it into thick wedges so it doesn’t disintegrate. You can use yellow onion if that’s all you have, but red is better for flavor.
For the Teriyaki Glaze:
Soy sauce (¼ cup / 60ml) — Use low-sodium if you’re watching salt, but regular soy sauce gives deeper flavor. Tamari is a good gluten-free substitute.
Honey (3 tablespoons / 45ml) — Honey gives that glossy, sticky finish. Maple syrup works in a pinch, but honey is the classic choice for teriyaki.
Rice vinegar (1 tablespoon / 15ml) — Adds brightness and cuts the sweetness. Apple cider vinegar works if you don’t have rice vinegar, but the flavor will be slightly different.
Garlic (3 cloves, minced) — Fresh garlic is non-negotiable here. Jarred garlic tastes metallic and won’t give you that fresh aroma. Mince it finely so it distributes evenly.
Fresh ginger (1 teaspoon, grated) — Grate it yourself. Pre-minced ginger in a tube has a weird, preserved taste. Fresh ginger adds that bright, zesty kick that makes teriyaki taste like takeout.
Cornstarch (1 teaspoon) — This is the secret weapon. It thickens the sauce so it clings to the chicken instead of pooling at the bottom of the pan. Don’t skip it.
Water (1 tablespoon) — Just to help dissolve the cornstarch.
Optional Add-ins:
Sesame seeds (1 tablespoon) — For garnish. Toasted sesame seeds are even better if you have them. Adds a nice nutty crunch.
Green onions (2, sliced thinly) — Great for color and a fresh oniony bite on top.
Red pepper flakes (½ teaspoon) — If you like a little heat, sprinkle this on before baking. It balances the sweet sauce perfectly.
Equipment Needed
You don’t need fancy gadgets for this. Here’s what I actually use:
Large baking sheet — I use a standard half-sheet pan (18×13 inches). Make sure it’s heavy-duty so it doesn’t warp. A rimmed sheet pan is best to catch any sauce drips.
Parchment paper — I line my pan with parchment. It makes cleanup a breeze. Just lift the paper off and toss it. No scrubbing stuck-on sauce off the metal. I’m a big fan of easy cleanup.
Mixing bowls — One small bowl for the sauce, one medium bowl for tossing the chicken and veggies. I use glass bowls because they’re easy to see what’s inside.
Sharp knife — For chopping the chicken and vegetables. A dull knife is dangerous and makes chopping tedious. Keep it sharp.
Measuring cups and spoons — Standard stuff. The sauce ratios are important, so measure carefully.
Whisk — To mix the sauce quickly. A small whisk works best.
Spatula — For tossing the chicken and veggies on the pan. A silicone spatula is good because it won’t scratch your parchment paper.
How to Make It: Step-by-Step
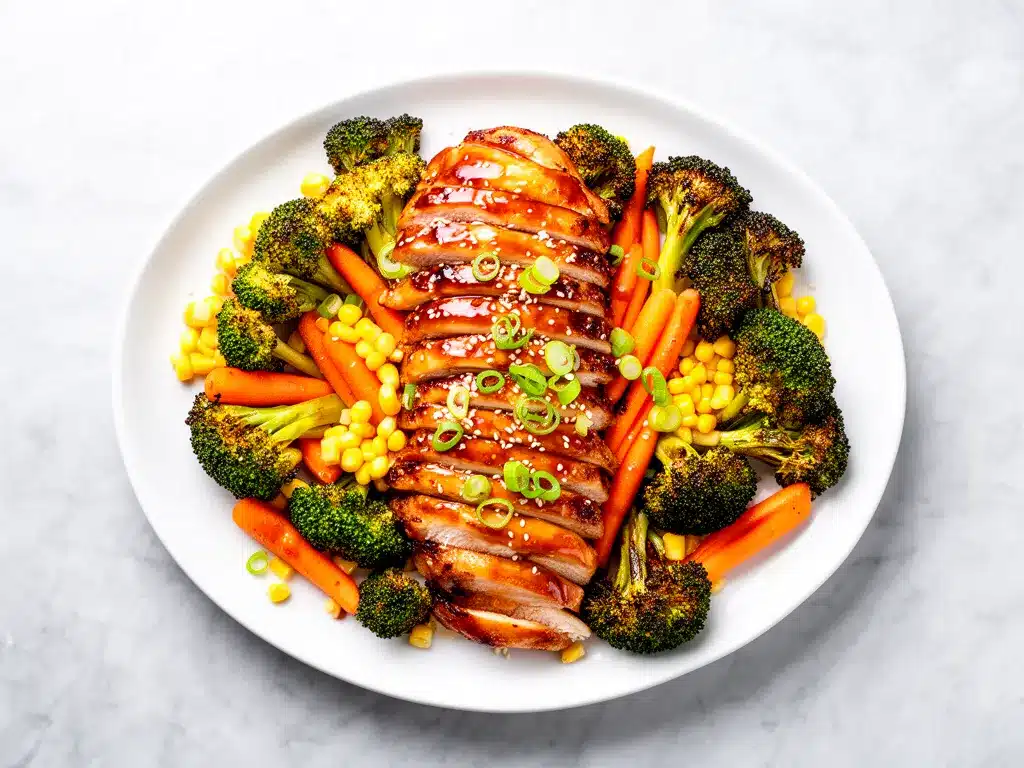
Alright, let’s get cooking! This is straightforward, but there are a few tricks to get that perfect caramelization.
Step 1: Prep Your Chicken and Veggies (10 minutes)
Preheat your oven to 400°F (200°C). While it heats up, cut the chicken thighs into 1.5-inch pieces. Try to keep them uniform so they cook at the same rate. Chop the broccoli into florets, slice the bell pepper into chunks, and cut the onion into wedges. Don’t chop them too small, or they’ll burn before the chicken is cooked.
Step 2: Make the Sauce (2 minutes)
In a small bowl, whisk together the soy sauce, honey, rice vinegar, minced garlic, grated ginger, cornstarch, and water. Whisk until the cornstarch is completely dissolved. The mixture will look a bit cloudy at first, but that’s normal. Set it aside.
Step 3: Toss Everything Together (3 minutes)
Line your baking sheet with parchment paper. Place the chicken pieces and vegetables on the pan in a single layer. Do not overcrowd the pan! If the pieces are touching or stacked, they will steam instead of roast. You want them to have space. Drizzle half of the teriyaki sauce over the chicken and veggies. Toss everything with your hands or a spatula until everything is evenly coated. Save the other half of the sauce for later.
Step 4: Roast (20 minutes)
Place the sheet pan in the oven. Roast for 15 minutes. Then, pull the pan out. Use a spatula to flip the chicken pieces and toss the vegetables around. This ensures even browning. Drizzle the remaining teriyaki sauce over everything. Return to the oven and roast for another 5-10 minutes. The chicken is done when it reaches an internal temperature of 165°F (74°C) and the edges are caramelized and slightly charred. The sauce should be thick and sticky, not runny.
Step 5: Garnish and Serve
Remove the pan from the oven. Let it cool for 2 minutes. Sprinkle with toasted sesame seeds and sliced green onions. Serve immediately with steamed rice or cauliflower rice.
Expert Tips & Tricks
I’ve made this recipe dozens of times, and I’ve learned a few things the hard way. Here’s how to avoid my mistakes:
Don’t Crowd the Pan — This is the #1 mistake people make. If you pack the pan too tight, the veggies steam and get soggy. Give them space! If you’re feeding a crowd, use two baking sheets. It’s better to cook in two batches than to have soggy dinner.
Cut Uniform Pieces — If you have tiny chicken pieces and huge broccoli florets, the small stuff will burn before the big stuff cooks. Try to keep everything roughly the same size. It makes a huge difference in texture.
Use Fresh Ginger and Garlic — I know it’s tempting to use the jarred stuff. But fresh ginger and garlic make a world of difference in the sauce. It’s only two extra minutes of prep, and the flavor is so much brighter. Trust me.
Let the Sauce Thicken — The cornstarch needs heat to activate. Make sure you roast long enough for the sauce to bubble and thicken. If you pull it out too early, the sauce will be thin. You want it to coat the back of a spoon.
Toast Your Sesame Seeds — If you have time, toast the sesame seeds in a dry pan for 2-3 minutes until they smell nutty. It adds a layer of flavor that makes the dish feel more restaurant-quality.
Variations & Substitutions
Once you’ve mastered the basic version, here’s how you can mix it up. I’ve tried all of these:
Pineapple Teriyaki — Add 1 cup of pineapple chunks to the pan in the last 5 minutes of cooking. The pineapple gets caramelized and adds a tropical sweetness. My kids love this version.
Mushroom Lover’s — Swap the bell peppers for sliced cremini mushrooms. Mushrooms roast beautifully in teriyaki sauce and add a meaty texture. Sauté them with the onions first if you want them extra browned.
Spicy Teriyaki — Add 1 tablespoon of sriracha or chili garlic sauce to the glaze. It adds a nice kick that balances the sweetness. Great if you like your food with a little heat.
Gluten-Free — Use tamari instead of soy sauce, and make sure your honey is pure (some honey is processed with gluten-containing additives, though rare). Everything else is naturally gluten-free.
Veggie-Heavy — Add zucchini, snap peas, or carrots to the mix. Zucchini adds quickly, so add it in the last 10 minutes. Snap peas and carrots can go in at the beginning. Just adjust chopping sizes accordingly.
Serving & Storage
How to Serve:
I usually serve this straight from the baking sheet at the dinner table—it looks rustic and stays warm. But here are other ways I’ve enjoyed it:
Side Dishes:
– Steamed jasmine rice (the classic choice)
– Cauliflower rice (for a low-carb option)
– Simple green salad with sesame dressing
– Edamame (for extra protein)
Storage Instructions:
Refrigerator:
Store leftovers in an airtight container for up to 4 days. The sauce will thicken in the fridge—totally normal. You can also store the sauce separately if you prefer, but it’s fine mixed in.
Reheating:
Best method: Microwave in 30-second intervals, stirring in between. Add a splash of water or broth to loosen the sauce if it’s too thick.
Skillet method: Reheat in a skillet over medium-low heat with a splash of water. This keeps the chicken juicy.
Avoid: Reheating in the oven unless you’re reheating a large batch. It can dry out the edges.
Freezing:
Honestly, this doesn’t freeze well. The vegetables get mushy when thawed, and the sauce can separate. Make it fresh or store in the fridge for up to 4 days.
Nutrition Information
I’m not a nutritionist, but here’s the breakdown if you’re tracking. This is per serving (based on 4 servings).
| Nutrient | Amount |
|---|---|
| Calories | 320 |
| Protein | 28g |
| Carbs | 22g |
| Fiber | 3g |
| Sugar | 16g |
| Fat | 12g |
| Sodium | 680mg |
What’s Good:
– High in protein from the chicken thighs
– Good amount of vitamins from the vegetables
– Lower in calories than takeout
What to Know:
– Higher in sodium from the soy sauce
– Contains sugar from the honey
– Can be made lower-carb by skipping the honey or using a sugar substitute
My Take:
Look, this is comfort food with a bit of sugar and sodium. It’s not a diet recipe. But it’s way better than takeout, costs less, and I know exactly what’s in it. When I want to make it lighter, I use less honey and load up on broccoli. But usually? I just eat a reasonable portion and enjoy it.
Final Thoughts
So that’s my go-to sheet pan teriyaki chicken! I’ve probably talked your ear off at this point, but when you make a recipe this often, you have a lot to say about it. This has saved weeknight dinners more times than I can count. It’s my answer to “what’s for dinner” when I’m tired, don’t want takeout, and still want something that tastes really good. My kids are happy, my husband’s happy, and I’m happy because I’m not stressed about cooking.
Make it yours! Try different add-ins, swap in your favorite vegetables, adjust the sweetness. The best recipes are the ones you adapt to your family’s tastes. If you make this, drop a comment and let me know what you think! I love hearing how recipes turn out in your kitchen. And if something doesn’t work, tell me that too—I’m here to help troubleshoot.
Happy cooking! And I hope your kitchen smells half as good as mine does right now.
Frequently Asked Questions
Q: Can I use chicken breasts instead of thighs?
A: You can, but they will dry out faster. If you use breasts, cut them into smaller pieces and check them at 15 minutes. They cook quicker than thighs. I still recommend thighs for juiciness, but breasts work in a pinch.
Q: Why did my sauce turn out watery?
A: Usually means you didn’t let it roast long enough for the cornstarch to activate, or you used too much liquid. Make sure the sauce is bubbling and thickening in the last few minutes. Also, ensure your cornstarch is fully dissolved before adding it to the pan.
Q: Can I make this ahead for a dinner party?
A: You can prep everything ahead! Chop the chicken and veggies, make the sauce, and store them in separate containers in the fridge. When you’re ready to cook, just assemble and bake. It takes the same amount of time, but you save the prep work on the day of.
Q: How do I reheat leftovers without it getting dry?
A: Add a splash of water or broth to the leftovers when reheating. This helps loosen the sauce and keeps the chicken moist. Microwave in short bursts, stirring in between.
Q: Can I double this recipe?
A: Absolutely! Just use two baking sheets and rotate them halfway through cooking. Make sure your oven has enough room for air circulation. If you’re using a smaller oven, cook in two batches.
Q: What kind of rice goes best with this?
A: Jasmine rice is the classic choice. It’s fragrant and slightly sticky, which pairs well with the teriyaki sauce. Sushi rice also works well. For a healthier option, try cauliflower rice or quinoa.
Q: Can I use bottled teriyaki sauce?
A: You can, but homemade sauce is so much better and only takes two minutes to mix. Bottled sauce often has preservatives and less fresh flavor. But if you’re in a huge rush, it’s a decent substitute. Just reduce the honey in the recipe if the bottled sauce is already sweet.
Pin This Recipe!
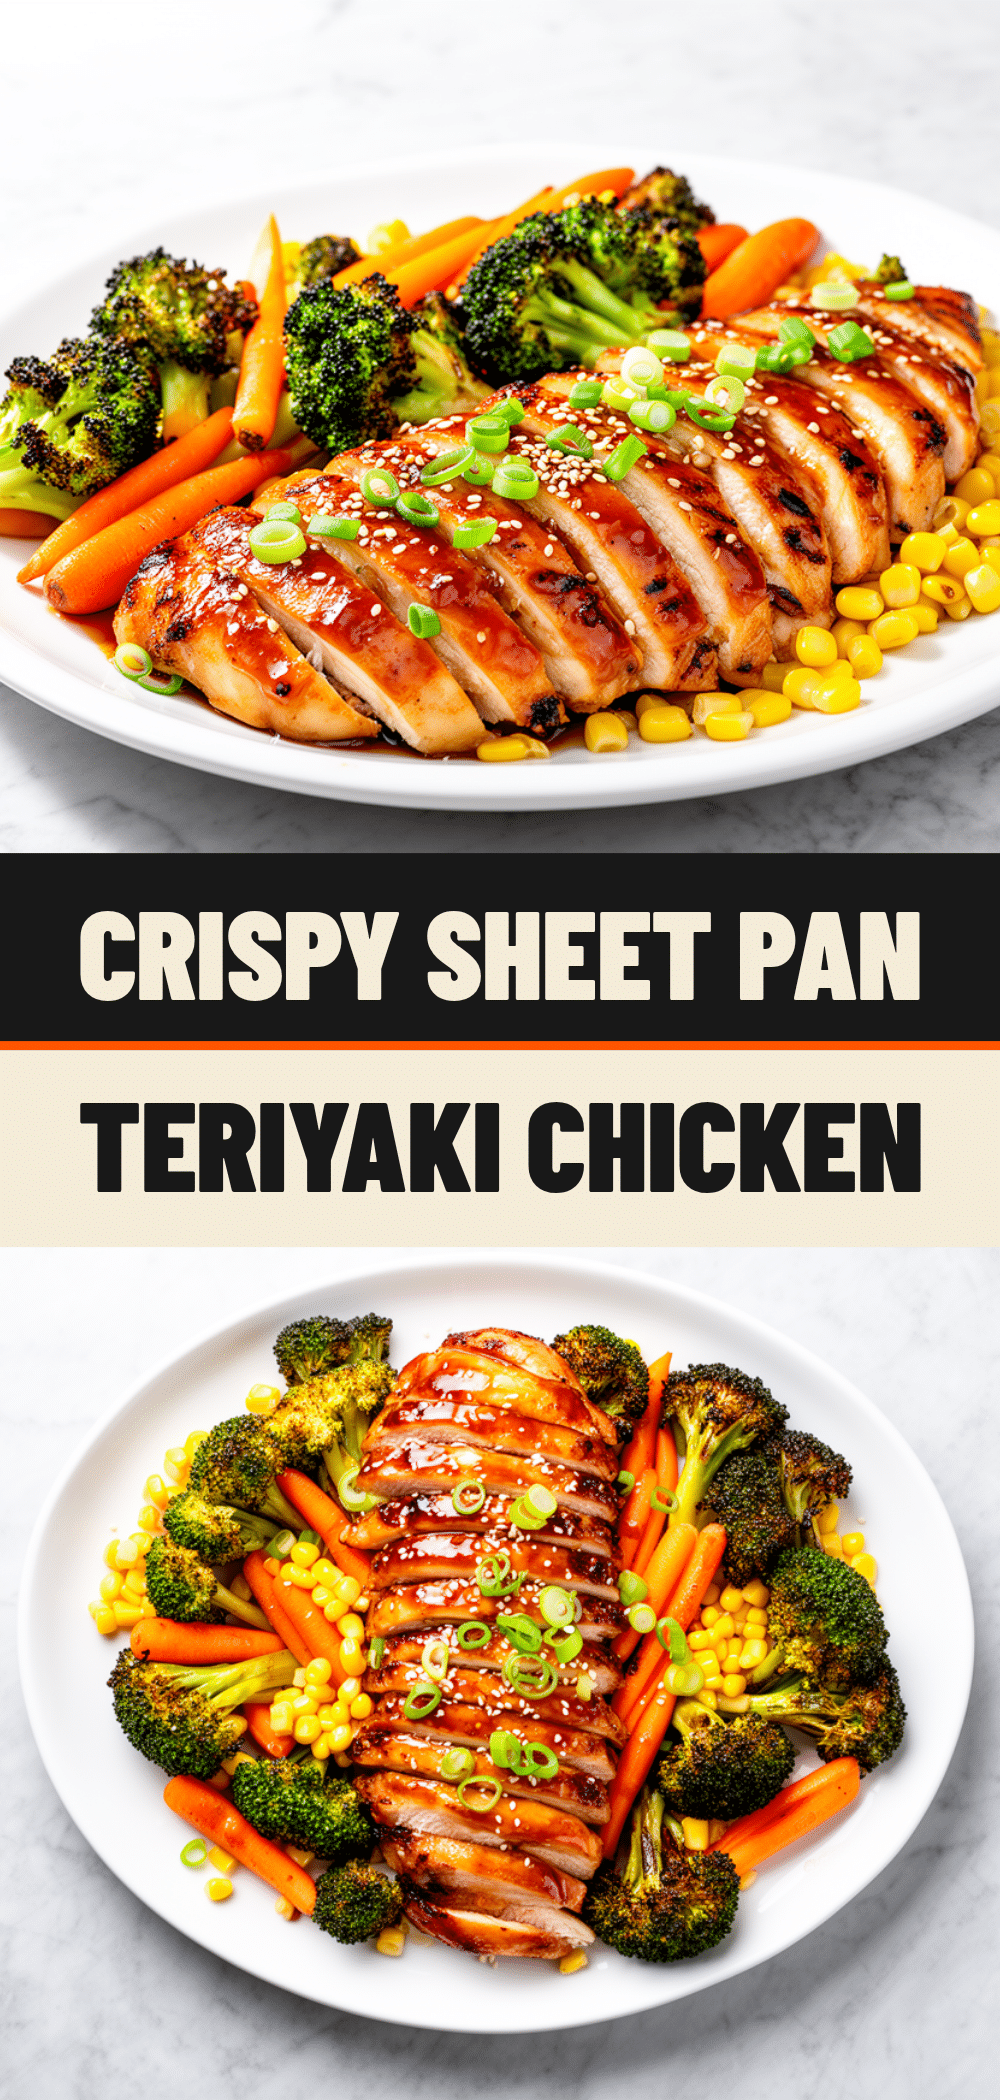

Sheet Pan Teriyaki Chicken: Easy Better Than Takeout
- Total Time: 35 minutes
- Yield: 4 servings 1x
Description
A quick and delicious weeknight dinner featuring crispy roasted chicken thighs and vegetables tossed in a homemade sweet and savory teriyaki glaze, all cooked on a single sheet pan for easy cleanup.
Ingredients
- 1.5 lbs boneless, skinless chicken thighs, cut into 1.5-inch pieces
- 2 cups broccoli florets
- 1 large red bell pepper, chopped
- 1 medium red onion, sliced into wedges
- 1/4 cup soy sauce (or tamari for gluten-free)
- 3 tablespoons honey
- 1 tablespoon rice vinegar
- 3 cloves garlic, minced
- 1 teaspoon fresh ginger, grated
- 1 teaspoon cornstarch
- 1 tablespoon water
- 1 tablespoon sesame seeds (optional, for garnish)
- 2 green onions, sliced thinly (optional, for garnish)
- 1/2 teaspoon red pepper flakes (optional, for heat)
Instructions
- Preheat oven to 400°F (200°C).
- In a small bowl, whisk together soy sauce, honey, rice vinegar, minced garlic, grated ginger, cornstarch, and water until the cornstarch is dissolved.
- Line a large baking sheet with parchment paper.
- Place chicken pieces and vegetables on the pan in a single layer, ensuring they are not overcrowded.
- Drizzle half of the teriyaki sauce over the chicken and veggies, then toss to coat evenly. Reserve the remaining sauce.
- Roast in the preheated oven for 15 minutes.
- Remove the pan from the oven and flip the chicken pieces and toss the vegetables.
- Drizzle the remaining teriyaki sauce over everything.
- Return to the oven and roast for another 5-10 minutes, or until chicken reaches an internal temperature of 165°F (74°C) and edges are caramelized.
- Remove from oven and let cool for 2 minutes.
- Garnish with toasted sesame seeds and sliced green onions. Serve immediately with steamed rice or cauliflower rice.
Notes
Do not crowd the pan to ensure the chicken and vegetables roast rather than steam. Cut ingredients into uniform sizes for even cooking. Use fresh ginger and garlic for the best flavor. The sauce thickens as it cools; add a splash of water when reheating leftovers.
- Prep Time: 15 minutes
- Cook Time: 20 minutes
- Category: Main Course
- Cuisine: Asian
Nutrition
- Serving Size: Approximately 1/4 of
- Calories: 320
- Sugar: 16
- Sodium: 680
- Fat: 12
- Saturated Fat: 3
- Carbohydrates: 22
- Fiber: 3
- Protein: 28
Keywords: sheet pan dinner, teriyaki chicken, easy weeknight meals, healthy chicken recipes, one pan meals, better than takeout, gluten-free option


