It was 2:14 A.M. on a Tuesday. The house was silent, the kind of heavy, quiet silence that only exists when everyone else is deep in dreamland. I was lying in bed, staring at the ceiling, when that familiar hollow feeling started in my stomach. It wasn’t hunger, exactly. It was a craving so specific, so demanding, that I knew if I didn’t satisfy it, I’d be awake for hours.
I needed chocolate. But not just any chocolate. I needed something rich, something with a salty kick, and I needed it fast. No baking sheets, no measuring cups spread across the counter, no waiting an hour for a cake to cool. I needed comfort in a mug.
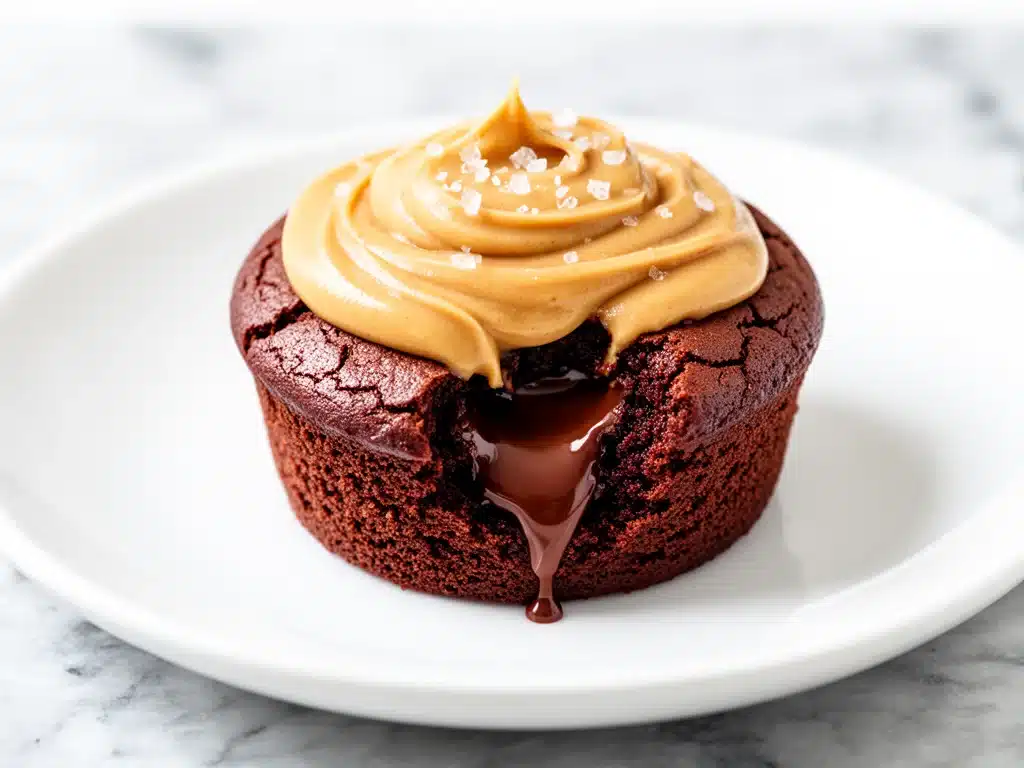
So, I shuffled into the kitchen, turned on the smallest light I could find to avoid waking the kids, and grabbed my favorite large mug. I dumped in some flour, sugar, cocoa powder, peanut butter, and a splash of milk. I stirred it with a fork, shoved it in the microwave, and hit start. Two minutes later, I had a molten, gooey, chocolate-peanut butter lava cake that tasted like pure indulgence.
I sat at the kitchen table in my pajamas, spoon in hand, and finally felt that tension in my shoulders melt away. That moment sparked a love affair with mug cakes. It turns out, the best late-night desserts aren’t the ones you plan; they’re the ones you can make in the time it takes to boil water. This Peanut Butter Chocolate Lava Mug Cake has saved me from ordering takeout more times than I care to admit. It’s my secret weapon for midnight cravings, and honestly? It’s probably going to be yours too.
Why This Mug Cake Is Your New Best Friend
Look, I get it. Dessert recipes usually require a trip to the grocery store, three bowls to wash, and a level of commitment that feels impossible when you’re tired. This recipe is different. It’s designed for real life—the messy, tired, “I just want something sweet right now” kind of life.
Here’s why this peanut butter chocolate lava mug cake keeps me coming back for seconds (and thirds, don’t judge me):
- Zero Prep, Zero Stress — Seriously. If you can use a spoon, you can make this. There’s no creaming butter, no folding egg whites, no fancy techniques. It’s dump, stir, microwave, eat. I’ve made this while half-asleep on the couch. It just works.
- Ready in Two Minutes Flat — We live in a world where we want everything now. This delivers. From empty stomach to full stomach in under 120 seconds. It’s faster than scrolling through social media, which is saying something.
- The Lava Factor — This isn’t a dry, cakey muffin-top. When you bite into it, that center is warm, runny, and oozy. The peanut butter melts into the chocolate, creating these incredible pockets of salty-sweet goodness. It’s texture heaven.
- Pantry Staples Only — You don’t need exotic ingredients. Flour, sugar, cocoa, peanut butter, milk, baking powder. If you have these in your kitchen (and you probably do), you’re good to go. No special trip to the store at midnight.
- Portion Controlled (Sort Of) — It’s one mug. It’s one serving. Sure, you might want to make two, but psychologically, it feels like a contained treat rather than an entire pan of brownies that you’ll inhale in one sitting. (Okay, I might have done that once.)
- Comfort in a Bowl — There’s something deeply nostalgic about eating warm dessert from a mug. It feels like being a kid again, allowed to have a little bit of sugar without the guilt of a whole slice of pie.
This isn’t just a recipe; it’s a mood. It’s for those nights when you need a hug in edible form. And the best part? It tastes like you spent hours in the kitchen, even though you spent exactly two minutes.
Ingredients You’ll Need
Here’s the beauty of this recipe: the ingredient list is shorter than my grocery list for a proper dinner. I’m particular about a few things here, mostly because I’ve learned the hard way that cheap ingredients make cheap results. But don’t worry, nothing here is fancy or hard to find.
For the Chocolate Base
All-purpose flour (4 tablespoons / 30g) — This is your structure. Don’t try to substitute with almond flour or coconut flour unless you want a dense brick. We want light and fluffy. I use the same flour I use for everything—Gold Medal or King Arthur, doesn’t matter, just keep it consistent.
Sugar (3 tablespoons / 35g) — White granulated sugar works best here. It dissolves quickly in the microwave. Brown sugar can work if you want a deeper molasses flavor, but it might make the cake slightly denser. I stick to white for that classic cake taste.
Cocoa powder (2 tablespoons / 10g) — This is where the chocolate flavor lives. Use unsweetened cocoa powder, not hot chocolate mix. Hot chocolate mix has extra sugar and milk solids that will throw off the balance. I prefer Dutch-processed cocoa for a darker, richer color and smoother taste, but regular natural cocoa works fine too.
Baking powder (¼ teaspoon) — The leavening agent. It’s what makes the cake rise and get that airy texture. Make sure yours isn’t expired. I’ve made sad, flat cakes because my baking powder was old. Check the date!
Salt (a pinch) — Crucial. Salt amplifies the chocolate flavor. Without it, the cake tastes flat. I use a tiny pinch of sea salt.
For the Lava Center
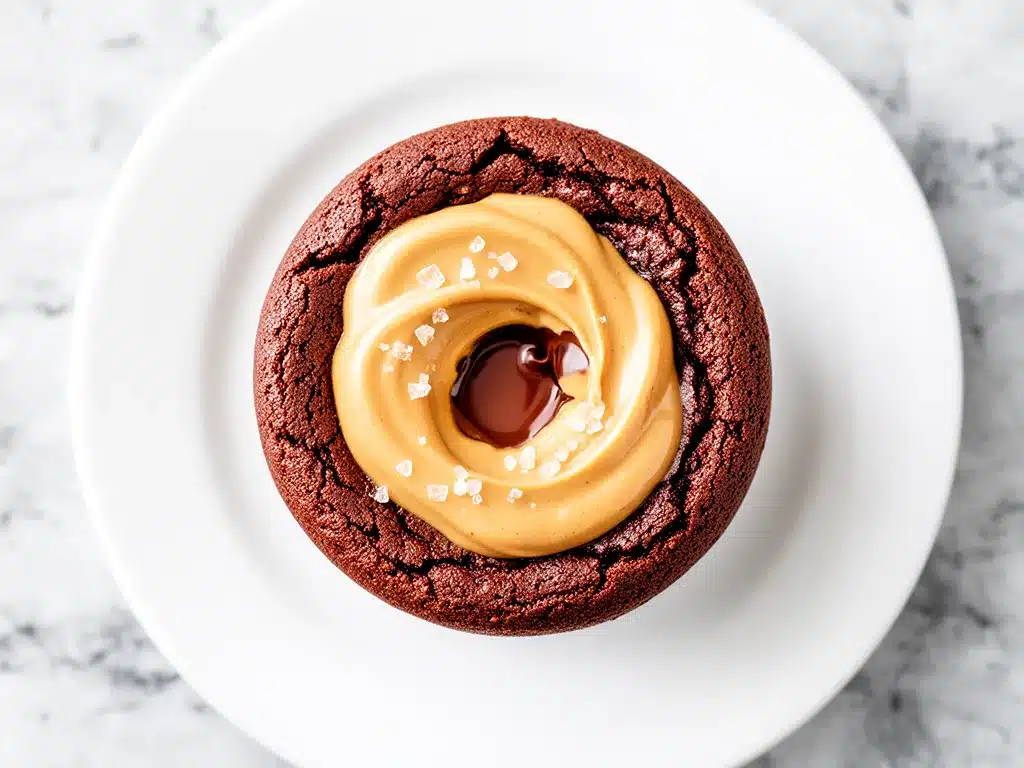
Peanut butter (1 tablespoon / 16g) — This is the star. Use creamy, smooth peanut butter. Chunky will work, but you’ll get weird crunchy bits in a smooth lava cake. Avoid “natural” peanut butter that separates, as the oil can make the texture greasy. Jif or Skippy are fine, but if you have a nice natural brand that’s well-mixed, that works too.
Milk (3 tablespoons / 45ml) — Whole milk is best for richness. Buttermilk is amazing if you have it (adds tang), but regular milk is perfectly fine. Non-dairy milk works too, though the texture might be slightly less creamy.
Vegetable oil or melted butter (1 tablespoon / 14g) — Fat adds moisture. I usually use vegetable oil because it keeps the cake tender, but melted butter adds a nice flavor. I don’t judge either choice.
The Toppings (Optional but Recommended)
Extra peanut butter drizzle — Warm it up in the microwave for 5 seconds and drizzle on top.
Chocolate chips — Throw a few on top before microwaving for extra gooeyness.
Whipped cream — Because why not? If you’re having a mug cake at 2 A.M., you’re treating yourself.
Ice cream — A scoop of vanilla ice cream on top of the hot cake? That’s basically a deconstructed sundae. I do this all the time.
Equipment You’ll Need
You don’t need any fancy gadgets for this. In fact, keeping it simple is the point. Here’s what I actually use:
Large Mug or Bowl — This is critical. Use a mug that holds at least 12 ounces (350ml). I use a sturdy ceramic mug with a handle. If you use a small coffee mug, the batter will overflow and make a mess in your microwave. Trust me on this. I’ve cleaned up exploded mug cakes. It’s not fun.
Fork or Small Whisk — For mixing. A fork works perfectly. You just need to break up any lumps of peanut butter and mix everything until smooth.
Measuring Spoons — I know, I know, you could eyeball it. But microwave bakes are sensitive. If you add too much flour, it’s dry. Too much liquid, it’s soup. Use actual measuring spoons for consistent results.
Microwave — Yes, really. This is a microwave recipe. Standard 800-1000 watt microwaves work best. If you have a lower wattage microwave, you might need to add 15-30 seconds.
Spoon — For eating. Obviously.
Small Bowl — If you’re melting butter, you’ll need a small microwave-safe bowl. Otherwise, skip this.
Knife or Toothpick — To test for doneness if you’re unsure.
How to Make It: Step-by-Step
Alright, let’s make this! I’m walking you through exactly how I do it, including the little tricks I’ve picked up over dozens of late-night sessions.
Step 1: Prep Your Mug (1 minute)
Grab your large mug. If you’re worried about sticking, you can lightly grease the inside with a little butter or oil, but it’s usually not necessary if you’re using a ceramic mug. Just make sure it’s clean and dry.
Step 2: Mix the Dry Ingredients (1 minute)
Add the flour, sugar, cocoa powder, baking powder, and salt to the mug. Use your fork to stir them together. Make sure there are no big clumps of cocoa powder. You want a uniform light brown color. This step ensures that every bite tastes like chocolate, not just flour.
Step 3: Add the Wet Ingredients (1 minute)
Pour in the milk and oil (or melted butter). Then, add the tablespoon of peanut butter. This is the tricky part. The peanut butter is thick and sticky. Don’t just drop it in and hope for the best. Use your fork to break it up and mix it into the batter. It might look lumpy at first, but keep stirring. You want to incorporate as much of it as possible into the batter, leaving just a little swirl on top for the lava effect.
Step 4: The Final Stir
Stir everything together until the batter is smooth and glossy. It should look like thick cake batter. If it’s too dry (doesn’t happen often), add a teaspoon more milk. If it’s too runny, add a teaspoon more flour. But with accurate measurements, it should be perfect.
Step 5: Microwave Magic (1-2 minutes)
Place the mug in the center of the microwave. Cook on high for 1 minute and 30 seconds. Stop and check. The top should look set, but the center might still look slightly soft. If it looks raw, cook for another 15-30 seconds. Do not overcook! You want it moist. If you cook it for 2 minutes flat, it might be too dry. Start with 1:30 and adjust based on your microwave.
Step 6: Cool and Eat
Let the mug sit for 1-2 minutes. It will continue to cook slightly from residual heat, and the lava will set just enough to be spoonable but still runny. Be careful—the mug and the cake will be hot. Let it cool for a moment, then dig in with a spoon. Enjoy the warmth and the gooeyness.
Total Time: About 3-4 minutes (1 minute prep, 2 minutes cook, 2 minutes cool)
Troubleshooting Your Mug Cake
- Cake is dry: You microwaved it too long. Next time, start with 1:15. Microwave power varies wildly.
- Cake is raw in the middle: You didn’t cook it long enough. Add 15-30 seconds. But remember, it should be moist.
- Batter overflowed: Your mug was too small. Use a larger mug next time.
- Peanut butter didn’t mix: You didn’t stir it enough. Break it up well before microwaving.
Expert Tips & Tricks for Success
Here’s everything I’ve learned from making this dozens of times. These tips will save you from my mistakes.
The Peanut Butter Swirl Trick
Don’t mix the peanut butter completely! If you stir it in until it’s uniform, you lose the lava effect. Instead, stir most of it in, then take a knife and swirl the remaining peanut butter into the top. This creates those beautiful marbled pockets of peanut butter that melt into lava.
Quality Matters
I know it’s a mug cake, but use good cocoa powder. Bad cocoa tastes metallic and bitter. And use real peanut butter, not that processed stuff with hydrogenated oils. It makes a huge difference in flavor.
Don’t Overmix
Once you add the wet ingredients, mix just until combined. Overmixing develops gluten, which makes the cake tough. You want tender, not chewy.
Watch Your Microwave
Every microwave is different. My old microwave took 2 minutes. My new one takes 1:15. Start with 1:30 and check. It’s better to slightly undercook and have a gooey center than to overcook and have a rubbery cake.
Add a Pinch of Espresso Powder
If you’re a coffee drinker, add a tiny pinch of instant espresso powder to the dry ingredients. It doesn’t make it taste like coffee; it just deepens the chocolate flavor. It’s a secret restaurant trick.
Use a Plate
Place the mug on a small plate in the microwave. If it overflows, you don’t have to clean the microwave interior. Just wash the plate. Your future self will thank you.
Variations & Substitutions
Once you’ve nailed the basic version, here’s how you can mix it up. I’ve tried all of these.
Nut Butter Swaps
No peanut butter? Use almond butter, cashew butter, or even sunflower seed butter (for nut-free). Almond butter is my second favorite. It tastes slightly more sophisticated.
Flavor Twists
Marble Cake: Add a swirl of vanilla batter mixed with chocolate batter for a marbled effect.
Cookie Butter: Swap peanut butter for Biscoff cookie butter. This is incredible and tastes like Speculoos cookies.
Chocolate Chip: Stir in a handful of chocolate chips before microwaving. Extra chocolate is never a bad idea.
Mini Marshmallows: Add a few mini marshmallows on top. They melt into gooey pockets.
Dietary Modifications
Gluten-Free: Use gluten-free 1-to-1 baking flour. It works perfectly.
Dairy-Free: Use almond milk or oat milk, and use oil instead of butter. The peanut butter is usually dairy-free, but check the label.
Lower Sugar: Use a sugar substitute like erythritol or monk fruit. Note: Sugar adds moisture, so the texture might be slightly different.
Serving & Storage
How to Serve: Eat it straight from the mug. It’s messy, it’s fun, it’s perfect. Add a dollop of whipped cream or a scoop of vanilla ice cream for extra indulgence. Drizzle with extra peanut butter or chocolate sauce if you’re feeling fancy.
Side Dishes: This is a dessert, so it doesn’t really need sides. But if you’re having a movie night, pair it with some popcorn or these chewy banana oat cookies for a sweet snack spread.
Storage: Mug cakes are best eaten immediately. They don’t store well. The texture changes as they cool, becoming denser. If you must store leftovers, keep them in the fridge for up to 2 days. Reheat in the microwave for 30 seconds before eating. But honestly? It’s better fresh.
Meal Prep: You can’t really meal prep this. It’s a single-serve, immediate-gratification dessert. But you can pre-measure the dry ingredients into a small bag or container and store them in your pantry. When the craving hits, just add wet ingredients and microwave. It’s even faster!
Nutrition Information
I’m not a nutritionist, but here’s the breakdown if you’re tracking. Keep in mind that this is a treat, so enjoy it mindfully.
Per Serving (based on 1 mug):
- Calories: 350-400 (depends on peanut butter and sugar amounts)
- Protein: 10g
- Carbs: 45g
- Fiber: 3g
- Sugar: 25g
- Fat: 18g
- Saturated Fat: 4g
- Cholesterol: 0mg
- Sodium: 200mg
What’s Good: Decent protein from the peanut butter. Fiber from the flour and cocoa. It’s a contained portion.
What to Know: Higher in sugar and fat. It’s a dessert, not a health food. But it’s way better than a candy bar, and you control the ingredients.
My Take: Look, this is comfort food with peanut butter and chocolate. It’s not a diet recipe. But it’s satisfying, and it stops the midnight craving without leaving you feeling like you’ve eaten a whole cake. When I want to make it lighter, I use less sugar and almond milk. But usually? I just eat a reasonable portion and enjoy it.
Final Thoughts
So that’s my go-to peanut butter chocolate lava mug cake! I’ve probably talked your ear off at this point, but when you make a recipe this often, you have a lot to say about it.
This has saved late nights more times than I can count. It’s my answer to “what’s for dessert” when I’m tired, don’t want to cook, and still want something that tastes really good. My kids are happy, my husband’s happy (when I make two), and I’m happy because I’m not stressed about cooking.
Make it yours! Try different nut butters, add extra toppings, adjust the sugar. The best recipes are the ones you adapt to your cravings.
If you make this, drop a comment and let me know what you think! I love hearing how recipes turn out in your kitchen. And if something doesn’t work, tell me that too—I’m here to help troubleshoot.
Happy cooking! And I hope your kitchen smells half as good as mine does right now.
Frequently Asked Questions
Can I use a bowl instead of a mug?
Yes! Just make sure it’s microwave-safe and large enough (at least 12 ounces). A ramekin works too, but it might take slightly longer to cook. I prefer a mug because it’s easier to eat from.
Why did my mug cake explode?
It probably overflowed because the mug was too small. Always use a large mug. Also, don’t fill it more than halfway. The batter rises as it cooks.
Can I make this in the oven?
Not really. Mug cakes are designed for the microwave. If you want to bake it, you’d need to use a small ramekin and bake at 350°F for 12-15 minutes. But then it’s just a small cake, not a mug cake.
Is this recipe gluten-free?
The original recipe uses all-purpose flour, so it’s not gluten-free. But you can easily swap in gluten-free 1-to-1 baking flour. It works perfectly.
Can I make this dairy-free?
Yes! Use almond milk or oat milk instead of dairy milk, and use oil instead of butter. Most peanut butter is naturally dairy-free, but check the label to be sure.
Why is my mug cake dry?
You probably microwaved it too long. Start with 1:30 and check. It should look slightly soft in the center. It will continue to cook after you take it out.
Can I double this recipe?
You can, but you’ll need two mugs. Don’t try to cook a double batch in one mug—it will overflow and make a mess. Cook them separately.
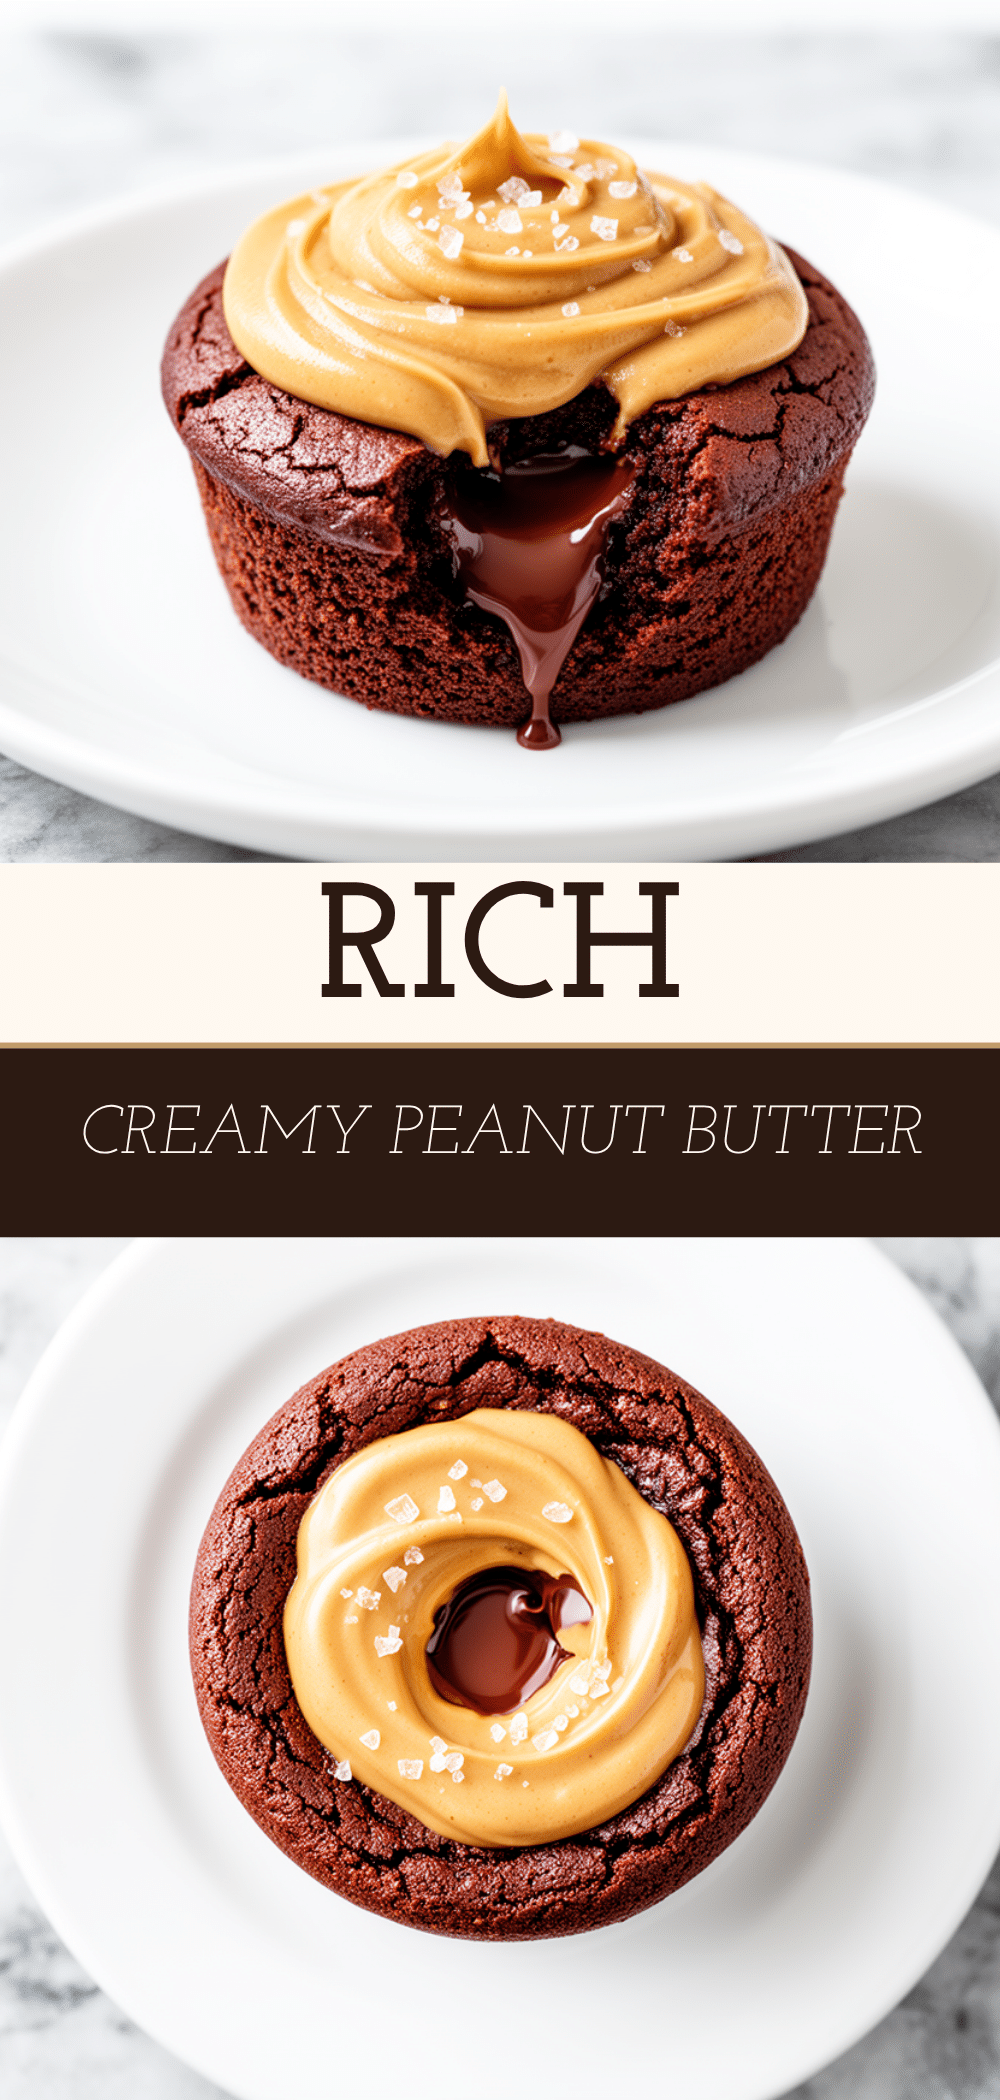
Pin This Recipe!
Peanut Butter Chocolate Lava Mug Cake: 2-Min Easy Dessert
- Total Time: 3 minutes
- Yield: 1 serving 1x
Description
A quick, indulgent single-serve dessert made in the microwave. This mug cake features a rich chocolate base with a gooey, molten peanut butter center, ready in just two minutes.
Ingredients
- 4 tablespoons all-purpose flour
- 3 tablespoons white granulated sugar
- 2 tablespoons unsweetened cocoa powder
- 1/4 teaspoon baking powder
- 1 pinch sea salt
- 1 tablespoon creamy peanut butter
- 3 tablespoons milk (whole, buttermilk, or non-dairy)
- 1 tablespoon vegetable oil or melted butter
Instructions
- Grease a large microwave-safe mug (at least 12 oz) lightly with butter or oil if desired.
- Add flour, sugar, cocoa powder, baking powder, and salt to the mug. Stir with a fork until combined and free of lumps.
- Pour in milk and oil (or melted butter). Add the peanut butter.
- Stir vigorously to incorporate the peanut butter into the batter, leaving a small swirl on top for the lava effect.
- Stir until the batter is smooth and glossy.
- Microwave on high for 1 minute and 30 seconds. Check if the top is set but the center is still slightly soft. If needed, microwave for another 15-30 seconds.
- Let the mug sit for 1-2 minutes to cool slightly and allow the lava to set. Enjoy warm.
Notes
Use a large mug to prevent overflow. Do not overcook, as the cake will continue to cook from residual heat. For best results, use good quality cocoa powder and creamy peanut butter. Can be made gluten-free by using 1-to-1 gluten-free flour and dairy-free by using almond/oat milk and oil.
- Prep Time: 1 minute
- Cook Time: 2 minutes
- Category: Dessert
- Cuisine: American
Nutrition
- Serving Size: 1 mug
- Calories: 375
- Sugar: 25
- Sodium: 200
- Fat: 18
- Saturated Fat: 4
- Carbohydrates: 45
- Fiber: 3
- Protein: 10
Keywords: mug cake, peanut butter, chocolate, microwave dessert, late night snack, easy dessert, lava cake, 2 minute dessert


