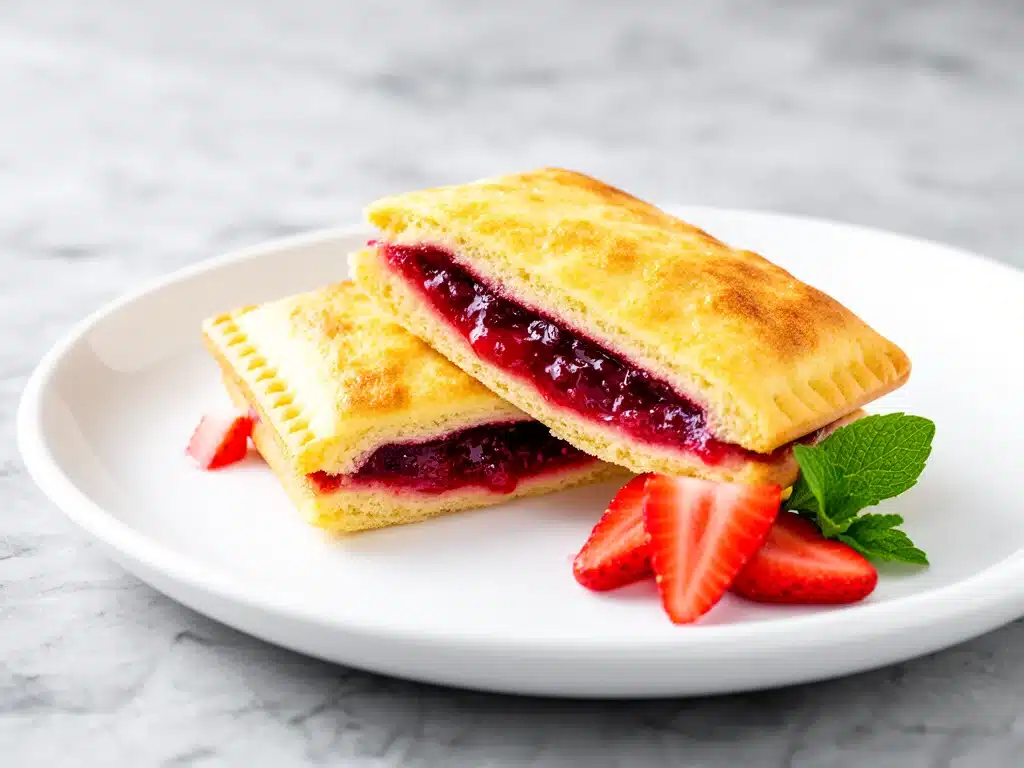
It’s 6:45 AM on a Tuesday. The sun is barely up, the house is quiet, and you’re staring into the abyss of your open refrigerator. You have milk, half a lemon, and a jar of strawberry jam that’s been sitting there since July. Your kid is already asking if they can have cereal again, and you know that if you say yes, they’ll be hungry by 10:30 AM and complaining about it in math class.
This is the moment where most parents give up. We reach for the granola bars. We grab the pre-packaged sandwiches that cost $4 and contain more preservatives than actual bread. Or, we scramble to find those little frozen pocket sandwiches in the freezer aisle—Uncrustables. You know the ones. They’re convenient, sure. But let’s be honest: they’re expensive, they taste like cardboard, and they cost a fortune over the course of a school year.
That was me last August. I was tired, I was broke, and I was tired of my son picking out the crusts from his sandwich before eating it. So, I did what any exhausted parent does: I improvised. I took two slices of bread, some peanut butter, and that random jar of strawberry jam. I sealed the edges with a fork, popped it in the toaster oven, and waited.
When I handed it to him, he took one bite, looked at me with wide eyes, and said, “This tastes like the ones from the store, but better.”
That was it. That was the moment I stopped buying them. I’ve been making homemade Uncrustables with strawberry jam ever since. Not just for my son, but for my daughter who prefers jelly, and for myself when I need a quick breakfast on the go. It’s become my secret weapon for back-to-school mornings. It’s cheap, it’s fast, and it tastes like a hug. If you’re drowning in lunch prep anxiety, this is your lifeline. Trust me.
Why You’ll Love This Homemade Uncrustables Recipe
Look, I get it. You’re busy. You have a job, a house to clean, and a kid who needs to be in the car by 7:30 AM. You don’t have time for gourmet cooking. But you also don’t want to feed your kids processed garbage every day. This recipe hits that sweet spot. It’s the ultimate hack for parents who want homemade quality without the homemade hassle.
Here’s why this has completely changed our lunchbox routine:
- Stupidly Cheap — Seriously, if you can boil water, you can make this. A batch of these costs about $0.50 each to make. Store-bought Uncrustables run about $1.50 to $2.00 each. Over 180 school days, that’s a savings of over $150. That’s money I’m putting toward college funds, not sandwiches.
- Lightning Fast — 10 minutes from start to finish. I make these on Sunday nights while watching TV. By the time the episode ends, I have a container of lunches ready to freeze. That’s it. No active cooking during the week. Just grab-and-go.
- Customizable for Picky Eaters — My son loves strawberry jam, but my niece hates it. No problem. I make half with jam, half with peanut butter and honey. One recipe, infinite variations. It’s the perfect solution for families with different tastes.
- Actually Fresh — When you make them at home, you control the ingredients. No weird preservatives, no high-fructose corn syrup (unless you want it), and no stale bread. It’s soft, fresh bread that doesn’t taste like it’s been sitting in a warehouse for six months.
- Freezer-Friendly — This is the real magic. These freeze perfectly for up to 3 months. You can keep a steady supply in the freezer so you’re never caught off guard by a late night or a sick day.
This is my go-to when I need lunch to just work. No complicated techniques, no weird ingredients, just reliable, delicious food that makes everyone happy. And if you need a quick savory option on days when they’re craving something salty, check out my back-to-school ham and cheese pretzel roll-ups. They’re just as easy and go perfectly in the same lunchbox.
Ingredients You’ll Need
Here’s the best part: you probably have most of this already. This isn’t a recipe that requires a trip to the specialty store. It’s pantry staples and basic fridge items. I’m particular about a couple of things here, but mostly, it’s about flexibility.
For the Sandwiches
Soft white or wheat bread (1 loaf, 12 slices) — I use soft sandwich bread. Something like Nature’s Own or a store-brand soft white. You want it pliable so it seals easily. If your bread is too crusty or hard, it won’t seal properly. Sourdough? Skip it. It’s too tough to crimp.
Strawberry jam (1 jar, your favorite brand) — This is the star. Use a good quality jam with real fruit pieces if you can. Smucker’s or Kirkland are fine, but if you have a local brand or homemade jam, even better. Avoid the “fruit spread” with low sugar if you want that classic taste. You want sweetness here.
Peanut butter (Optional, ½ cup) — I usually make half peanut butter and half jam. Use creamy or crunchy based on preference. Natural peanut butter works too, but stir it well so it’s not oily. If you’re allergic, skip this or use sunflower seed butter.
Butter (Optional, 2 tablespoons) — I brush the outside of the bread with melted butter before toasting. It makes them golden and crispy. If you’re skipping the toast, you can skip this, but I highly recommend it for texture.
For the Sealing (The Secret Weapon)
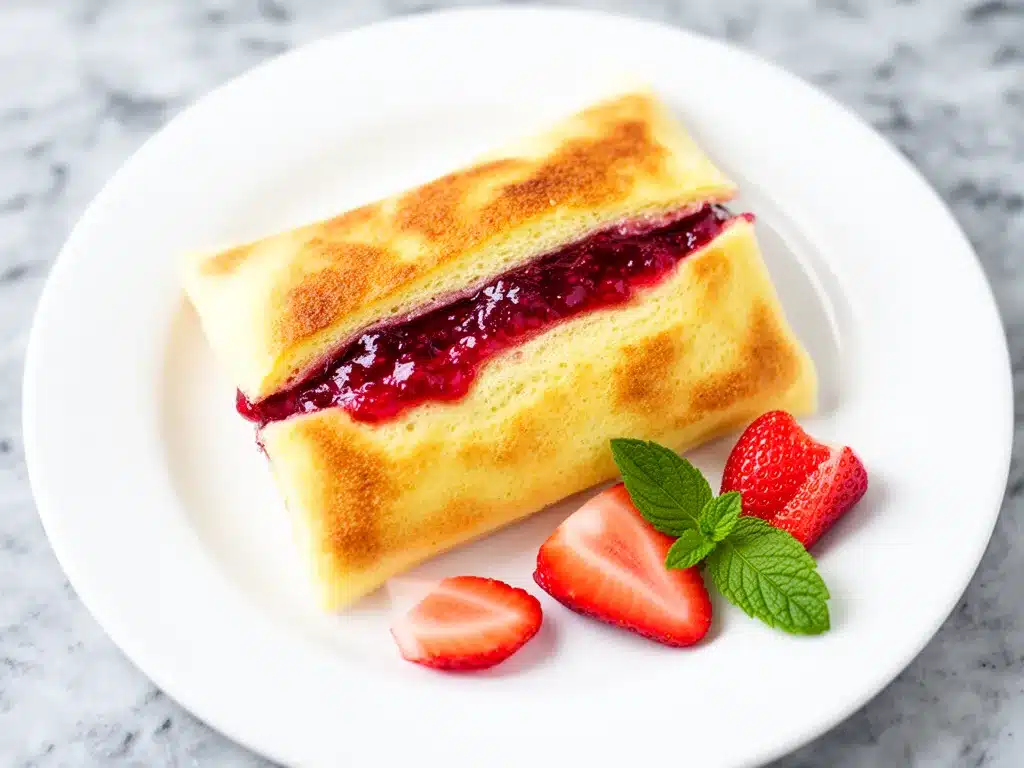
Water (1 small bowl) — You need water to seal the edges. Don’t try to skip this. Dry bread won’t stick together. It’ll fall apart in the lunchbox, and that’s a mess you don’t want.
Cookie Cutter or Glass (Round, 3-4 inches) — This is how you get those cute, sealed edges. A round cookie cutter works best because it’s easy to press down. A drinking glass works too, just make sure it’s clean. I use a 3-inch cutter because it’s the perfect size for a kid’s hand.
Fork (1) — For crimping the edges if you don’t use a cutter. It’s the traditional method and it works just fine.
Ziploc Bags or Freezer Containers (1 gallon size) — For storage. Label them with the date so you know when they were made.
Pro Tip: I keep a small bowl of water right next to my bread station. I dip my fingers in, wet the edge of the bread, and then press. It’s faster than dipping the whole edge.
Equipment Needed
You don’t need fancy equipment for this. Here’s what I actually use:
Large Plate — I lay out the bread on a plate. It keeps things tidy and makes it easy to add the filling.
Butter Knife or Spatula — For spreading the jam or peanut butter. A butter knife is fine, but a small spatula gives you more control.
Round Cookie Cutter — I bought mine at a dollar store. It’s plastic, but it works perfectly. If you don’t have one, a drinking glass works. Just make sure it’s the same size for all sandwiches so they’re uniform.
Fork — For crimping. If you’re using a cookie cutter, you still need to crimp the edges with a fork for a tight seal.
Toaster Oven or Regular Oven — Optional. If you want them warm and crispy, use an oven. If you’re sending them cold, skip this. I use a toaster oven because it’s faster and doesn’t heat up the whole kitchen.
Freezer-Safe Bags — Heavy-duty Ziploc bags work best. They prevent freezer burn. If you’re eco-conscious, you can use silicone bags, but I find they take up more space.
Optional but nice:
– Parchment Paper — To line the baking sheet if you’re toasting. Makes cleanup easier.
– Pastry Brush — For brushing butter on the outside. A regular brush works fine.
Tool Tip: Don’t have a cookie cutter? Use a mason jar lid. It’s the perfect size and you probably already have one in your junk drawer.
How to Make It: Step-by-Step
Alright, let’s make this! I’m walking you through exactly how I do it, including the little tricks I’ve picked up over the last year of making these.
Step 1: Prep Your Station (2 minutes)
Before you start, get everything out. Bread, jam, peanut butter, water bowl, cookie cutter, fork, and bags. I know it seems fussy, but it makes the actual assembly way less stressful. Once you start, you’ll want to move fast to keep the bread from drying out.
Step 2: Assemble the Sandwiches (5 minutes)
Take two slices of bread. Lay them side by side on a plate. Spread your filling on one slice. If you’re doing jam, spread it to the very edge. If you’re doing peanut butter, leave a tiny border so it doesn’t squeeze out. Put the second slice on top. Press down gently. You want the filling to adhere to both slices.
Important: Don’t overfill. If you put too much jam, it’ll squish out when you seal it. Less is more here.
Step 3: Seal the Edges (3 minutes)
This is the most critical step. Dip your fingers in the water bowl and wet the entire perimeter of the sandwich. Or, dip the edge of the bread in water. Then, press the edges together. If you’re using a cookie cutter, press it down firmly over the sandwich, cutting through both slices. This seals the edges.
If you’re using a fork, crimp the edges by pressing the tines down at an angle, going all the way around. Make sure there are no gaps. If air gets in, the bread will get soggy in the freezer.
Step 4: Trim and Crimp (2 minutes)
If you used a cookie cutter, you’ll have a round sandwich. Trim any excess bread from the edges if needed. Then, take your fork and crimp the edges again to ensure a tight seal. This is what prevents the filling from leaking.
Visual Cue: The edges should look like a rope. If they look flat, press harder with the fork.
Step 5: Toast (Optional, 5 minutes)
If you want them warm, preheat your toaster oven to 350°F. Brush the outside of the sandwiches with melted butter. Place them on a baking sheet lined with parchment paper. Toast for 5-7 minutes until golden brown. Flip halfway through if you want both sides crispy.
If you’re sending them cold, skip this step. They’ll be fine in the lunchbox. Just let them cool completely if you do toast them.
Step 6: Freeze (1 minute)
Place the sandwiches in a single layer on a baking sheet. Put them in the freezer for 1 hour. This “flash freezes” them so they don’t stick together in the bag. After an hour, transfer them to freezer bags. Label with the date.
Pro Tip: If you’re making a big batch, do this in two rounds. Don’t overcrowd the freezer bag. Air is the enemy.
Expert Tips & Tricks
Here’s everything I’ve learned from making this dozens of times. These tips will save you from my mistakes.
Use Soft Bread
This is non-negotiable. If your bread is crusty, it won’t seal. I’ve tried whole wheat, sourdough, and rye. They all fail. Stick to soft white or soft wheat. It’s the only way to get that classic Uncrustable texture.
Don’t Skip the Water
I tried making them dry once. They fell apart in my kid’s lunchbox. The water acts as a glue. Wet the edges thoroughly. If the bread absorbs the water, wet it again. It needs to be damp, not soaking.
Flash Freeze is Key
If you put them straight into the bag, they’ll stick together in a giant clump. Flash freezing for an hour keeps them separate. This also helps them thaw more evenly in the lunchbox.
Label Everything
Use a marker to write the date and filling type on the bag. I’ve had bags of “mystery sandwiches” before. It’s confusing. Label them so you know what you’re getting.
Common Mistakes (and how to avoid them)
Mistake: Filling leaks out
Fix: You didn’t seal tightly enough. Press harder with the fork. Also, don’t overfill. Leave a ½-inch border.
Mistake: Bread is soggy
Fix: You didn’t let them cool after toasting. Or, you’re using too much wet filling. Let them cool completely before bagging.
Mistake: Sandwich falls apart
Fix: Your bread is too dry. Use softer bread. Or, you didn’t wet the edges enough.
Variations & Substitutions
Once you’ve nailed the basic version, here’s how you can mix it up. I’ve tried all of these.
Peanut Butter & Jelly
Spread peanut butter on one slice, jelly on the other. Put them together PB-side to jelly-side. This is the classic combination. My son’s favorite.
Apple Butter & Cinnamon Sugar
Spread apple butter on the bread, sprinkle with cinnamon sugar on the outside before toasting. Tastes like an apple pie. Amazing with a side of yogurt.
Nutella & Banana
Spread Nutella on one slice, slice a banana on the other. The banana can get mushy, so use it within 2 days. Not for long-term freezing.
Cream Cheese & Strawberry
Spread cream cheese on one slice, jam on the other. It’s like a bagel. Very rich, so use sparingly.
Dietary Modifications:
Gluten-Free
Use gluten-free bread. Be careful—GF bread is often drier. You may need to add more water to seal it. It won’t be as soft, but it works.
Nut-Free
Skip the peanut butter. Use sunflower seed butter, almond butter (if allowed), or just jam. Many schools are nut-free, so this is important.
Vegan
Use vegan bread, vegan jam, and vegan peanut butter or sunflower butter. Check labels, as some jams contain honey.
Lower Sugar
Use sugar-free jam and natural peanut butter. It’s less sweet, but still tasty. My daughter prefers this version.
Serving & Storage
How to Serve:
I usually serve these cold straight from the freezer. They thaw in the lunchbox by lunchtime. But here are other ways I’ve enjoyed them:
- Warm: Microwave for 30 seconds. Or toast in the toaster oven. Great for breakfast on the go.
- Room Temp: Let them sit in the lunchbox for an hour before opening. They’ll be soft and easy to eat.
- With Dipping Sauce: Serve with a small container of yogurt or applesauce for dipping. Kids love this.
Storage Instructions:
Refrigerator:
Store in an airtight container for up to 3 days. The bread will get stale faster than frozen, so eat them quickly.
Freezer:
Store in freezer bags for up to 3 months. They freeze perfectly. Just make sure they’re sealed tight to prevent freezer burn.
Reheating:
Microwave for 20-30 seconds. Or toast in the oven at 350°F for 5-7 minutes. Don’t microwave too long or the bread gets rubbery.
Pro Tip: If leftovers are drying out, wrap them in a damp paper towel before microwaving. It adds moisture back.
Nutrition Information
I’m not a nutritionist, but here’s the breakdown if you’re tracking. Note that this varies based on bread and filling.
Per Serving (1 sandwich, with jam and butter):
| Nutrient | Amount |
|---|---|
| Calories | 220 |
| Protein | 5g |
| Carbs | 35g |
| Fiber | 2g |
| Sugar | 12g |
| Fat | 7g |
| Saturated Fat | 1.5g |
| Cholesterol | 5mg |
| Sodium | 250mg |
What’s Good:
– Quick source of energy for active kids
– Can be made with whole wheat for more fiber
– Portion-controlled (one sandwich per lunch)
What to Know:
– Higher in sugar from the jam
– Contains gluten and dairy (if using butter)
– Moderate sodium
My Take:
“Look, this is comfort food. It’s not a diet recipe. But it’s way better than processed snacks, costs less, and I know exactly what’s in it. When I want to make it lighter, I use whole wheat bread and sugar-free jam. But usually? I just enjoy it as a treat.”
Final Thoughts
So that’s my go-to homemade Uncrustables! I’ve probably talked your ear off at this point, but when you make a recipe this often, you have a lot to say about it.
This has saved weeknight dinners more times than I can count. It’s my answer to “what’s for lunch” when I’m tired, don’t want to cook, and still want something that tastes really good. My kids are happy, I’m happy, and I’m happy because I’m not stressed about cooking.
Make it yours! Try different fillings, swap in your favorite bread, adjust the sweetness. The best recipes are the ones you adapt to your family’s tastes.
If you make this, drop a comment and let me know what you think! I love hearing how recipes turn out in your kitchen. And if something doesn’t work, tell me that too—I’m here to help troubleshoot.
Happy cooking! And I hope your kitchen smells half as good as mine does right now.
Frequently Asked Questions
Can I use whole wheat bread?
You can, but it won’t seal as well. Whole wheat bread is often drier and more crusty. If you want to use it, make sure it’s soft whole wheat. You may need to add more water to seal it. It’s not as pretty, but it works.
How long do these last in the freezer?
Up to 3 months. After that, they might get freezer burn. I usually make a batch every two weeks, so they don’t last that long in my house.
Can I freeze them with peanut butter?
Yes! Peanut butter freezes perfectly. In fact, it holds up better than jam because it’s less watery. I make half and half.
Why did my sandwich fall apart?
You didn’t seal it tightly enough. Make sure you wet the edges and press firmly with a fork. Also, don’t overfill. If there’s too much filling, it’ll push the edges apart.
Can I make these for adults?
Absolutely. Use thicker bread, add avocado or cream cheese, or go with a gourmet jam. They’re great for a quick breakfast on the go.
Do I have to toast them?
No. They’re fine cold. Toasting just adds texture and flavor. If you’re in a hurry, skip it.
Can I use this method for other fillings?
Yes! Nutella, apple butter, cinnamon sugar, cream cheese. Just make sure the filling isn’t too wet or chunky. Smooth fillings work best.
What if I don’t have a cookie cutter?
Use a drinking glass. Or just crimp the edges with a fork. It won’t be round, but it’ll still seal. The shape doesn’t matter for the taste.
Pro Tip: If you’re making these for a school that allows nuts, the chewy banana oat breakfast cookies are a great alternative for a sweet, healthier option. They’re also easy to meal prep!
Pin This Recipe!
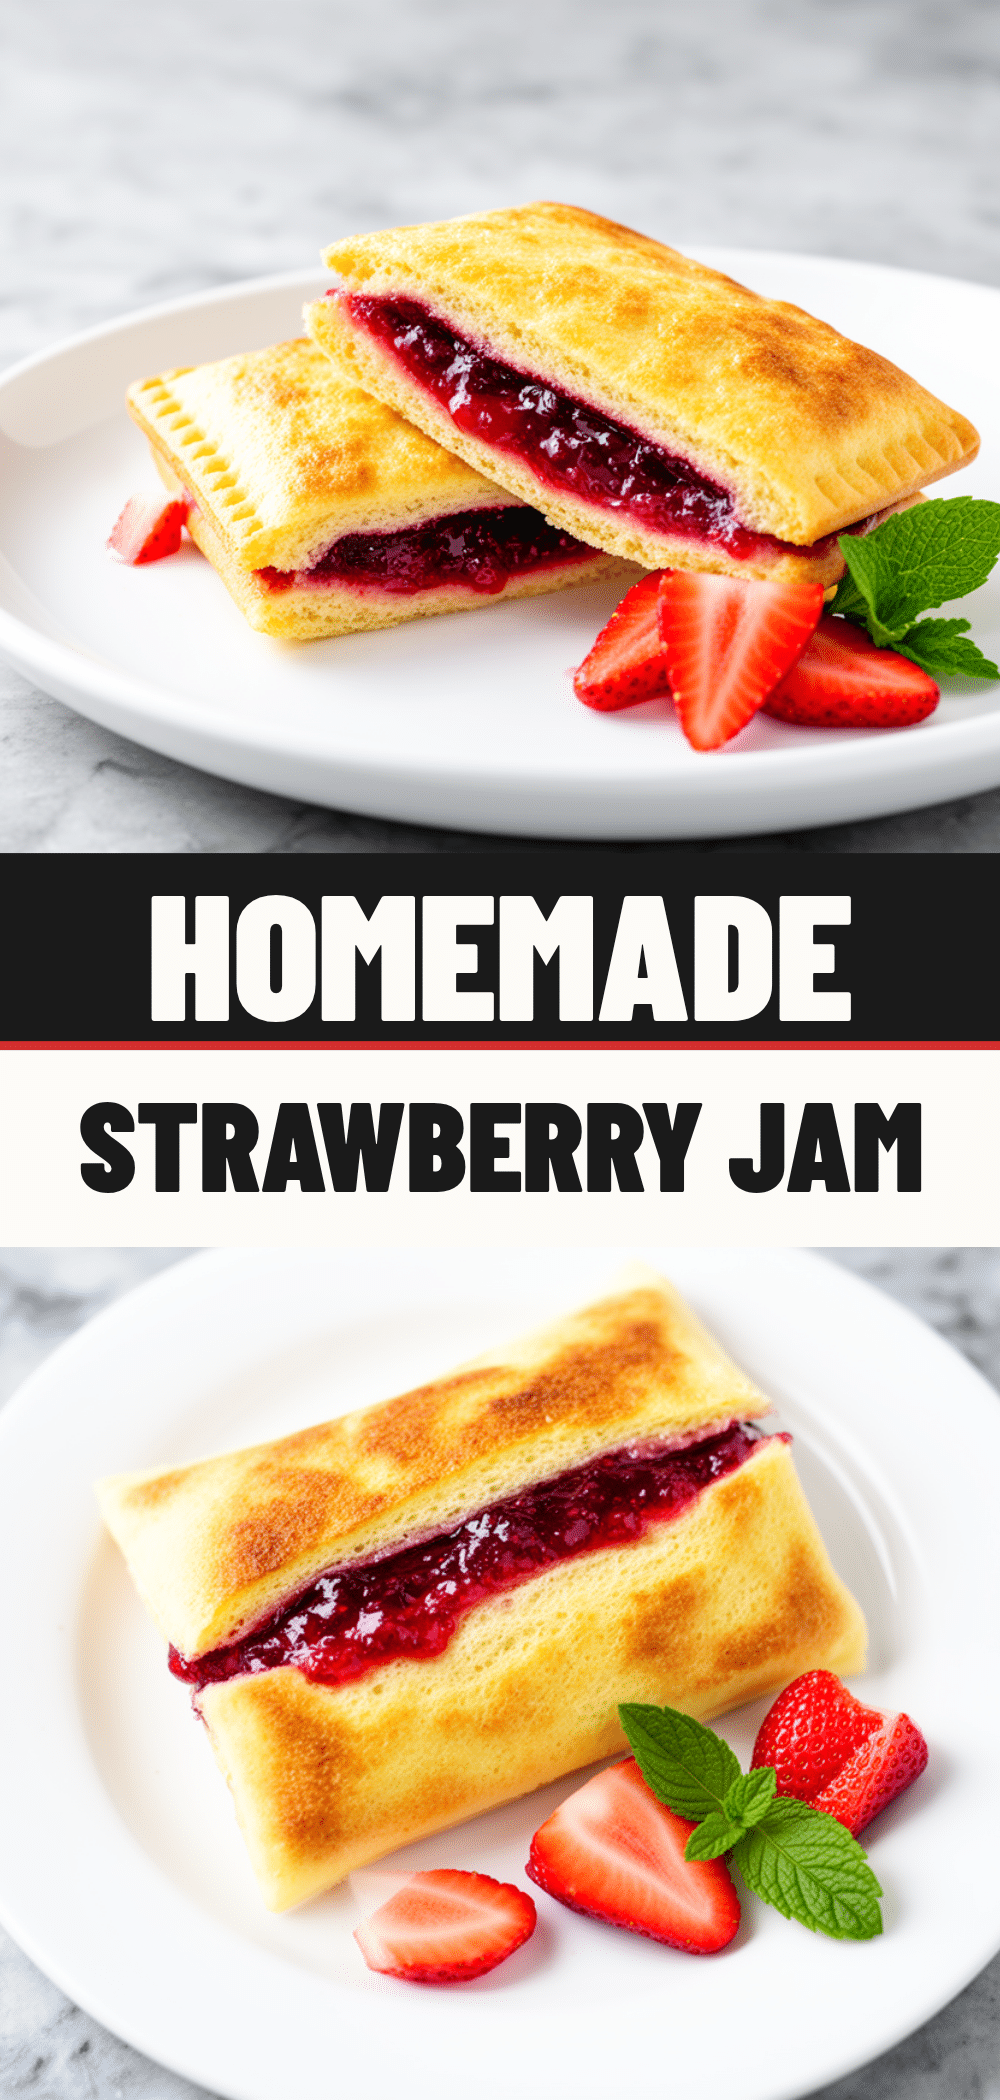
Homemade Uncrustables with Strawberry Jam
- Total Time: 15 minutes
- Yield: 6 servings 1x
Description
A quick, cheap, and customizable homemade version of store-bought pocket sandwiches. These freezer-friendly treats are perfect for back-to-school lunches or busy mornings, allowing you to control ingredients and save money.
Ingredients
- 1 loaf (12 slices) soft white or wheat bread
- 1 jar strawberry jam (or favorite brand)
- 1/2 cup peanut butter (optional)
- 2 tablespoons butter, melted (optional, for brushing)
- 1 small bowl water (for sealing edges)
Instructions
- Prep your station by laying out bread, fillings, water, cookie cutter, fork, and freezer bags.
- Place two slices of bread side by side on a plate. Spread jam to the edge or peanut butter leaving a small border on one slice.
- Top with the second slice of bread and press down gently.
- Dip fingers in water and wet the entire perimeter of the sandwich, or dip the edge of the bread in water.
- Press a round cookie cutter (3-4 inches) firmly over the sandwich to cut and seal edges, or crimp edges with a fork.
- Trim excess bread if necessary and crimp edges again with a fork to ensure a tight seal.
- Optional: Preheat toaster oven to 350°F. Brush outside with melted butter and toast for 5-7 minutes until golden brown.
- Place sandwiches in a single layer on a baking sheet and flash freeze for 1 hour.
- Transfer to freezer-safe bags, label with date, and store for up to 3 months.
Notes
Use soft bread for best sealing results. Do not overfill to prevent leaking. Flash freezing prevents sandwiches from sticking together. Label bags with date and filling type. Can be made with peanut butter, apple butter, Nutella, or cream cheese variations.
- Prep Time: 10 minutes
- Cook Time: 5 minutes
- Category: Lunch
- Cuisine: American
Nutrition
- Serving Size: 1 sandwich
- Calories: 220
- Sugar: 12
- Sodium: 250
- Fat: 7
- Saturated Fat: 1.5
- Carbohydrates: 35
- Fiber: 2
- Protein: 5
Keywords: homemade uncrustables, strawberry jam sandwich, back to school lunch, freezer friendly recipes, kid friendly lunch, easy lunch ideas, peanut butter and jelly


