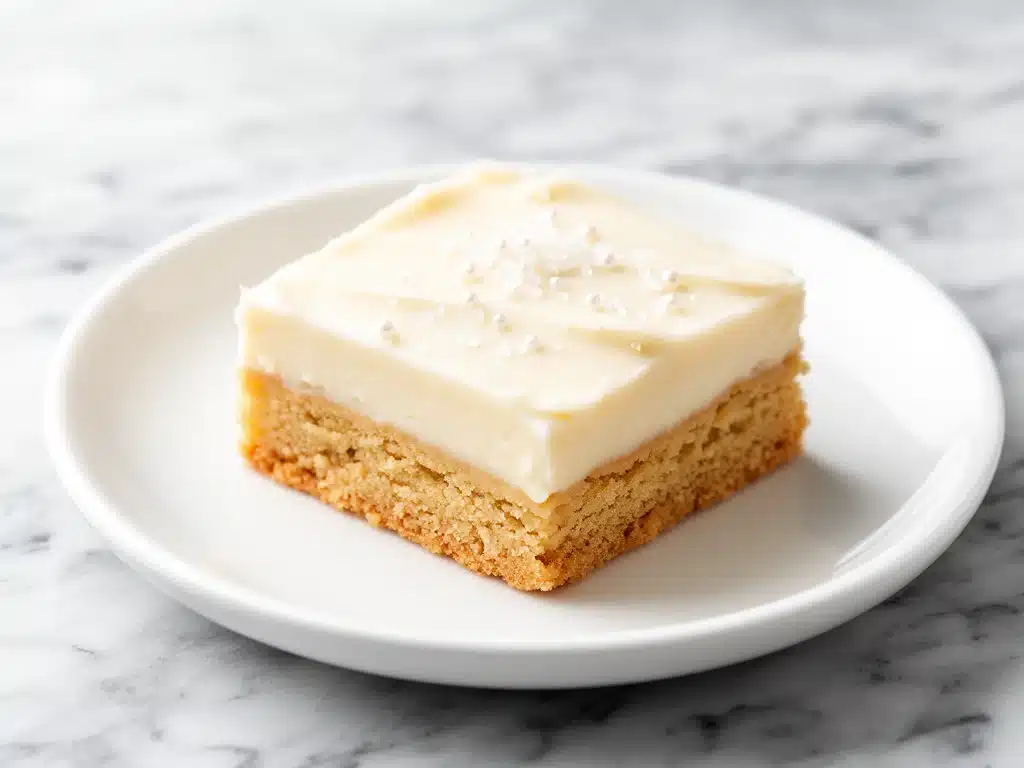
Last month, I was staring at the clock at 4:30 PM on a Tuesday. My neighbor had just texted that she was bringing six friends over for a casual “after-work wind-down” at 6:00. Six people. In 90 minutes. I had zero baked goods in the house, my pantry was looking sad, and the idea of making individual cookies sounded like a nightmare. I didn’t want to order takeout pizza (again), and I certainly didn’t want to serve store-bought brownies that tasted like cardboard.
Then I remembered a box of sugar cookie mix in the back of my cupboard and a stick of butter. I had a flash of inspiration: Frosted Vanilla Sugar Cookie Bars. I didn’t have a fancy recipe, just a gut feeling that if I turned the dough into a sheet pan, baked it fast, and threw a thick vanilla frosting on top, it would hit the spot. It did. More than hit the spot. My neighbor asked for the recipe before the plates were even cleared. And honestly? That was the moment I knew I had to perfect this thing.
These bars have become my secret weapon for every occasion since then. Birthdays, last-minute dinner parties, school bake sales, or just when I need a sugar fix at 3 PM. They are the Frosted Vanilla Sugar Cookie Bars that impress every time because they look like they took hours of effort, but they come together in about 15 minutes of active prep. The texture is spot-on: soft, chewy, and buttery in the middle, with a frosting layer that is sweet but not cloying. I’ve tested this version about a dozen times to get the ratio of dough to frosting just right, and I’m finally confident enough to share it with you.
If you’re tired of complicated desserts that require fancy equipment or ingredients you can’t find, this is your answer. It’s pure, simple comfort food. I love that these bars are sturdy enough to carry to a potluck without falling apart, but soft enough to melt in your mouth. They remind me of the best sugar cookies from my childhood, but in a format that’s actually manageable for a busy adult life. Let’s get baking.
Why You’ll Love This Recipe
There are a lot of cookie bar recipes out there, but this one sticks around in my rotation for specific reasons. It’s not just about the taste; it’s about the experience of making and eating them. Here’s why these Frosted Vanilla Sugar Cookie Bars are worth your oven time:
- Stupidly Simple — Seriously, if you can dump ingredients into a bowl and spread batter into a pan, you can make these. I’ve walked my teenage nephew through this recipe over FaceTime while he was home from college. He didn’t burn a single thing.
- 15-Minute Prep Time — The active work is minimal. Mix the dough, press it in, bake. Make the frosting, spread it on. That’s it. The rest is passive time in the oven. I make these on weeknights when I’m exhausted and don’t have the energy for anything complex.
- Make-Ahead Friendly — These actually taste better the next day. The flavors meld together, and the frosting sets into this perfect, sliceable consistency. I often make them on Sunday for a Tuesday evening gathering, and they stay fresh in the fridge for up to four days.
- Impressive Presentation — They look like a bakery item. The thick layer of vanilla frosting makes them feel special and celebratory, even if you’re just eating them alone on the couch. They cut cleanly and look beautiful on a plate.
- Customizable — While the vanilla is classic, these bars are a blank canvas. You can add sprinkles, swap the vanilla extract for almond, or fold in white chocolate chips. But honestly? The plain vanilla version is the crowd-pleaser.
- Budget-Friendly — You likely have most of these ingredients already. Flour, sugar, butter, eggs, vanilla. It’s cheaper than buying a dozen cupcakes from a bakery and tastes way better.
- Calories: 280
- Protein: 3g
- Carbs: 38g
- Fiber: 0g
- Sugar: 28g
- Fat: 14g
- Saturated Fat: 8g
- Cholesterol: 45mg
- Sodium: 120mg
This is my go-to when I need a dessert to just work. No tempering chocolate, no whipping egg whites, no complicated techniques. Just reliable, delicious food that makes everyone happy. It’s the kind of recipe that brings you back to your kitchen, not away from it.
Ingredients You’ll Need
Here’s the best part: you probably have most of this already in your pantry. This isn’t a recipe that requires a trip to three different specialty stores. I’m particular about a few things here, mostly the butter and the vanilla, because they are the stars of the show.
For the Cookie Bars
Unsalted butter (1 cup / 226g, softened) — This is non-negotiable. I use high-quality European butter when I have it, but regular salted butter works if you reduce the added salt in the recipe. Softened means it should yield to gentle pressure, not be melted. Melted butter makes the bars greasy.
Granulated sugar (1 ½ cups / 300g) — This gives the bars their structure and slight crispness on the edges. Don’t substitute with brown sugar here; you want that classic sugar cookie flavor, not a molasses taste.
Large eggs (2 large, room temperature) — Room temperature eggs incorporate into the batter better, creating a smoother, more uniform texture. If you forget, just drop them in a bowl of warm water for 5 minutes.
Vanilla extract (2 teaspoons) — Use real vanilla extract, not imitation. I’ve used imitation in the past, and you can taste the chemical aftertaste. It ruins the delicate flavor. Spend the extra dollar on good vanilla.
All-purpose flour (2 ½ cups / 315g) — Spoon it into the cup and level it off. Don’t scoop directly from the bag, or you’ll pack too much flour and get dry bars. I use Gold Medal AP flour; it’s reliable.
Baking powder (1 teaspoon) — This gives them a little lift so they aren’t dense like a cookie. Fresh baking powder is key; if your can is old, your bars will be flat.
Salt (½ teaspoon) — Even though we’re using unsalted butter, this balances the sweetness. Don’t skip it.
For the Vanilla Frosting
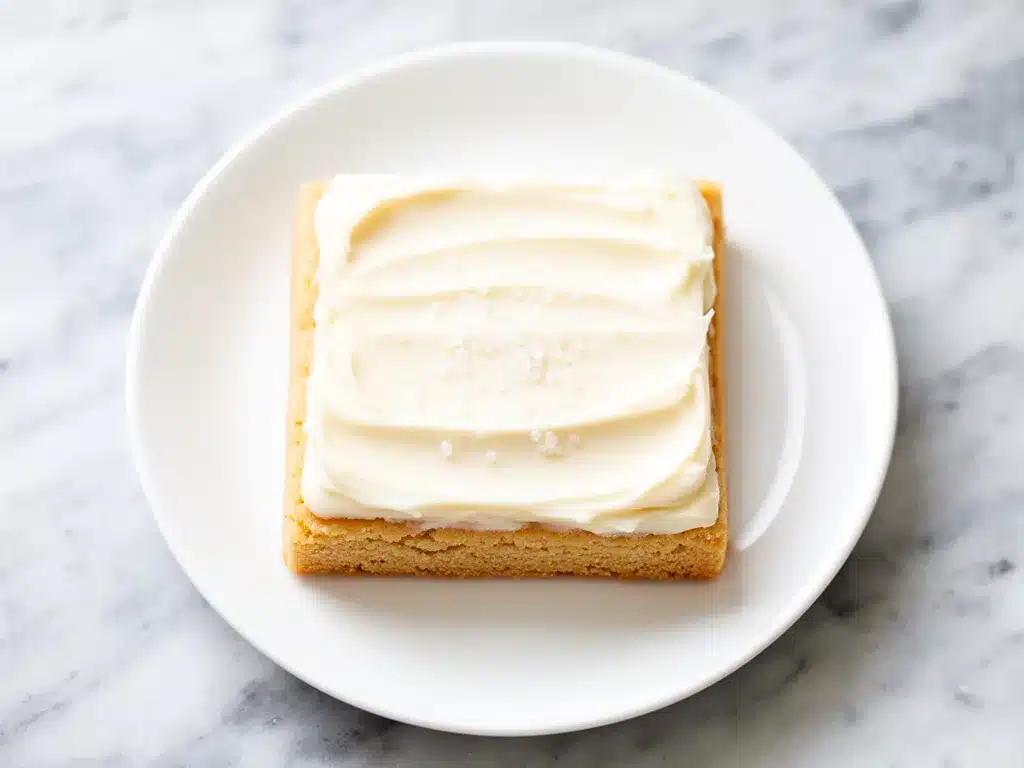
Confectioners’ sugar (3 cups / 360g, sifted) — This is crucial. Lumps in powdered sugar are the enemy of smooth frosting. Sifting takes 30 seconds but makes a huge difference in the final texture.
Unsalted butter (½ cup / 113g, softened) — Same rule as above. Softened, not melted.
Heavy cream (2-3 tablespoons) — I start with 2 tablespoons and add more if the frosting is too thick. Whole milk works too, but heavy cream makes it richer and more stable.
Vanilla extract (1 teaspoon) — Double down on the vanilla. It’s a vanilla bar, after all.
Salt (¼ teaspoon) — Just a pinch to cut the sweetness.
Optional: Sprinkles — I love adding rainbow sprinkles or pearl sugar on top while the frosting is wet. It adds a fun, festive touch that kids (and adults) love.
Equipment Needed
You don’t need fancy equipment for this. Here’s what I actually use in my kitchen.
9×13-inch baking dish — Glass or ceramic works best because it heats evenly. I use my Pyrex dish because I can see the browning on the edges. Metal pans work too, but they might brown the edges faster, so keep an eye on them.
Electric mixer — A hand mixer or stand mixer makes the frosting so much easier. You can do it by hand with a strong arm, but why suffer? The frosting needs to be light and fluffy, and a mixer achieves that in minutes.
Spatula — A rubber spatula is essential for scraping the bowl and spreading the frosting smoothly. I have a few; I use the flexible ones for batter and the stiffer ones for frosting.
Whisk — For sifting the powdered sugar and mixing the frosting until smooth.
Parchment paper — I line my pan with parchment, leaving an overhang on the sides. This is the #1 trick for easy removal. If you don’t use parchment, you’ll be digging bars out of the corners with a knife. Trust me.
How to Make It: Step-by-Step
Alright, let’s make these Frosted Vanilla Sugar Cookie Bars! I’m walking you through exactly how I do it, including the little tricks I’ve picked up over the years.
Step 1: Prep Your Pan and Oven (5 minutes)
Preheat your oven to 350°F (175°C). Line your 9×13-inch baking dish with parchment paper, letting the excess hang over the edges like a sling. This will make lifting the finished bars out of the pan super easy. Grease the parchment lightly with butter or cooking spray to ensure it sticks to the pan.
Step 2: Cream the Butter and Sugar (3 minutes)
In a large bowl, beat the softened butter and granulated sugar together until light and fluffy. This takes about 2-3 minutes with an electric mixer. You want the mixture to look pale yellow and airy. This step incorporates air into the batter, which helps the bars rise and stay tender. Don’t rush this.
Step 3: Add Eggs and Vanilla (1 minute)
Add the eggs one at a time, beating well after each addition. Scrape down the sides of the bowl with a spatula to make sure everything is incorporated. Stir in the vanilla extract. The mixture might look a little curdled at this point—that’s normal. It will come together when you add the flour.
Step 4: Mix in Dry Ingredients (2 minutes)
In a separate medium bowl, whisk together the flour, baking powder, and salt. Gradually add the dry ingredients to the wet mixture, mixing on low speed until just combined. Be careful not to overmix. Once the flour streaks disappear, stop. Overmixing develops gluten, which makes the bars tough instead of tender. The dough will be thick and sticky.
Step 5: Press into Pan and Bake (18-20 minutes)
Transfer the dough to your prepared pan. Use wet hands or a spatula to press it evenly into the corners. It’s sticky, so wetting your hands helps prevent sticking. Bake for 18-20 minutes, or until the edges are lightly golden and the center is set but still soft. Do not overbake. They will firm up as they cool. If you bake them until the center is firm, they’ll be dry.
Step 6: Make the Frosting (5 minutes)
While the bars bake, make the frosting. In a clean bowl, beat the softened butter until creamy. Add the sifted powdered sugar, vanilla, and salt. Beat on low speed until combined, then increase to high speed and beat for 2-3 minutes until fluffy. Add heavy cream, one tablespoon at a time, until you reach a spreadable consistency. The frosting should be thick enough to hold its shape but soft enough to spread easily.
Step 7: Frost and Cool (30 minutes)
Once the bars are done, remove them from the oven and let them cool in the pan for at least 20 minutes. They need to cool enough so the frosting doesn’t melt immediately, but not so long that they get cold and the frosting won’t stick. Spread the frosting evenly over the warm (not hot) bars. Use an offset spatula for a professional look, or just a knife if you’re feeling casual.
Step 8: Slice and Serve
Let the frosted bars cool completely to room temperature, about 30 minutes. This allows the frosting to set. Then, use the parchment sling to lift the entire slab out of the pan. Place it on a cutting board and slice into squares. I like 2×2 inch squares, but you can make them smaller for parties.
Expert Tips & Tricks
Here’s everything I’ve learned from making these dozens of times. These tips will save you from my mistakes.
Don’t Skip the Sifting
I know it’s annoying, but lumpy powdered sugar in frosting is a texture nightmare. If you’re in a rush, you can press the sugar through a fine-mesh sieve with a spoon, but sifting is the only way to get that silky-smooth finish. It’s worth the 30 seconds.
Room Temperature Ingredients Matter
If your butter is too cold, it won’t cream properly with the sugar. If it’s melted, your bars will be greasy. If your eggs are cold, they might shock the butter mixture. Take your butter and eggs out of the fridge 30 minutes before you start. Plan ahead.
The Cooling Window
This is the most critical step. If you frost the bars while they’re piping hot, the frosting will slide right off. If you wait until they’re completely cold, the frosting won’t stick well and might crack. Aim for warm-to-the-touch bars. That’s the sweet spot.
Storage is Key
Store these in an airtight container at room temperature for up to 3 days. If it’s hot and humid, keep them in the fridge. If you refrigerate them, let them come to room temperature before serving, or the frosting will be hard. I usually take them out of the fridge an hour before I plan to eat them.
Don’t Overbake
These bars continue to cook on the hot pan after you take them out of the oven. Pull them when the edges are just starting to turn golden and the center looks set but still has a slight jiggle. They will firm up as they cool. Overbaked bars are dry and crumbly.
Variations & Substitutions
Once you’ve nailed the basic version, here’s how you can mix it up. I’ve tried all of these.
Lemon Sugar Cookie Bars
Swap the vanilla extract in the dough for 1 tablespoon of lemon juice and 1 teaspoon of lemon zest. Add 1 teaspoon of lemon zest to the frosting too. It’s bright and refreshing, perfect for spring.
Red Velvet Bars
Add 1 tablespoon of cocoa powder and 1 teaspoon of red food coloring to the dough. Use a cream cheese frosting instead of vanilla for an authentic red velvet bar experience. This is a huge hit at holidays.
Chocolate Chip Bars
Stir 1 cup of semi-sweet chocolate chips into the dough before pressing it into the pan. The chocolate melts into pockets of gooey goodness. Simple and effective.
Gluten-Free Option
Use a 1:1 gluten-free flour blend (like Bob’s Red Mill or King Arthur) instead of all-purpose flour. The texture might be slightly more tender, but it works well. Make sure your baking powder is certified GF.
Dairy-Free Option
Use dairy-free butter sticks (like Miyoko’s or Earth Balance) in both the dough and frosting. The frosting might be slightly softer, so chill the bars longer before slicing. It’s still delicious.
Serving & Storage
How to Serve:
I usually serve these at room temperature. They taste best when the butter is soft and the frosting is creamy. I like to pair them with a glass of cold milk or a cup of coffee. For parties, I arrange them on a platter with some fresh berries on the side to cut the sweetness. It’s a nice visual contrast and a palate cleanser.
Side Dishes:
These are a dessert, so they don’t need a side dish. But if you’re having a full meal, they pair well with simple fruit salads or yogurt parfaits. I also love having them alongside a warm beverage in the afternoon.
Storage Instructions:
Refrigerator: Store in an airtight container for up to 5 days. Layer sheets of parchment paper between layers of bars to prevent sticking. They will last longer in the fridge than at room temperature, especially if it’s warm outside.
Freezing: Yes, you can freeze these! Freeze the unfrosted bars first, then frost them after thawing. Or, freeze the frosted bars in a single layer on a baking sheet, then transfer to a freezer bag. They’ll keep for up to 3 months. Thaw in the fridge overnight. The texture might be slightly different, but they’re still good.
Pro Tip: If the frosting gets too soft in the heat, pop the bars in the fridge for 10 minutes before cutting. It helps them hold their shape.
Nutrition Information
I’m not a nutritionist, but here’s the breakdown if you’re tracking. Keep in mind that these are sugary treats, so enjoy in moderation.
Per Serving (based on 16 bars):
What’s good? They’re not too heavy on protein, but they’re filling enough to satisfy a sweet tooth. What to know? They’re high in sugar and saturated fat, which is expected for a cookie bar. If you’re watching your intake, stick to one bar and pair it with a black coffee or tea.
Final Thoughts
So that’s my go-to Frosted Vanilla Sugar Cookie Bars! I’ve probably talked your ear off at this point, but when you make a recipe this often, you have a lot to say about it. These bars have saved me more times than I can count. They’re my answer to “what’s for dessert?” when I’m tired, don’t want takeout, and still want something that tastes really good. My kids are happy, my guests are impressed, and I’m happy because I’m not stressed about cooking.
Make it yours! Try different add-ins, swap in your favorite sprinkles, or adjust the vanilla intensity. The best recipes are the ones you adapt to your family’s tastes. If you make this, drop a comment and let me know what you think! I love hearing how recipes turn out in your kitchen. And if something doesn’t work, tell me that too—I’m here to help troubleshoot.
Happy baking! I hope your kitchen smells half as good as mine does right now.
Frequently Asked Questions
Can I use a different size pan?
You can, but the baking time will change. If you use an 8×8-inch pan, the bars will be thicker, so you’ll need to increase the baking time by 5-10 minutes. If you use a 10×15-inch jelly roll pan, they’ll be thinner and bake faster, maybe 12-15 minutes. Keep a close eye on them to avoid overbaking.
Why did my frosting separate or look grainy?
This usually happens if the butter was too cold or the powdered sugar wasn’t sifted. Make sure your butter is softened to room temperature before starting. Also, sift your powdered sugar to remove lumps. If the frosting is already grainy, you can try whisking it over a double boiler for a few seconds to melt the lumps, then beat it again until smooth.
Can I make these ahead for a party?
Absolutely. I often make the bars a day or two in advance. Store them in an airtight container at room temperature. If you’re making them more than a day ahead, you might want to add the frosting the day of serving to keep the texture fresh. But honestly, they’re fine frosted for up to 3 days.
Can I freeze the baked bars?
Yes! Freeze the baked, cooled bars (without frosting) in an airtight container or freezer bag for up to 3 months. Thaw them at room temperature before frosting. This is a great strategy for meal prepping desserts. You can also freeze the frosted bars, but the frosting might change texture slightly upon thawing.
Can I use almond extract instead of vanilla?
You can! Almond extract is very potent, so use only ½ teaspoon instead of 1-2 teaspoons. It gives a delicious, classic bakery-style flavor. I love mixing ½ teaspoon vanilla and ½ teaspoon almond extract for a complex flavor profile.
Why are my bars dense instead of fluffy?
This is usually due to overmixing the flour or using too much flour. Make sure you spoon and level your flour, don’t scoop it. Also, don’t mix the batter after adding the flour. Mix until just combined. Overmixing develops gluten, which leads to a tough, dense texture.
Pin This Recipe!
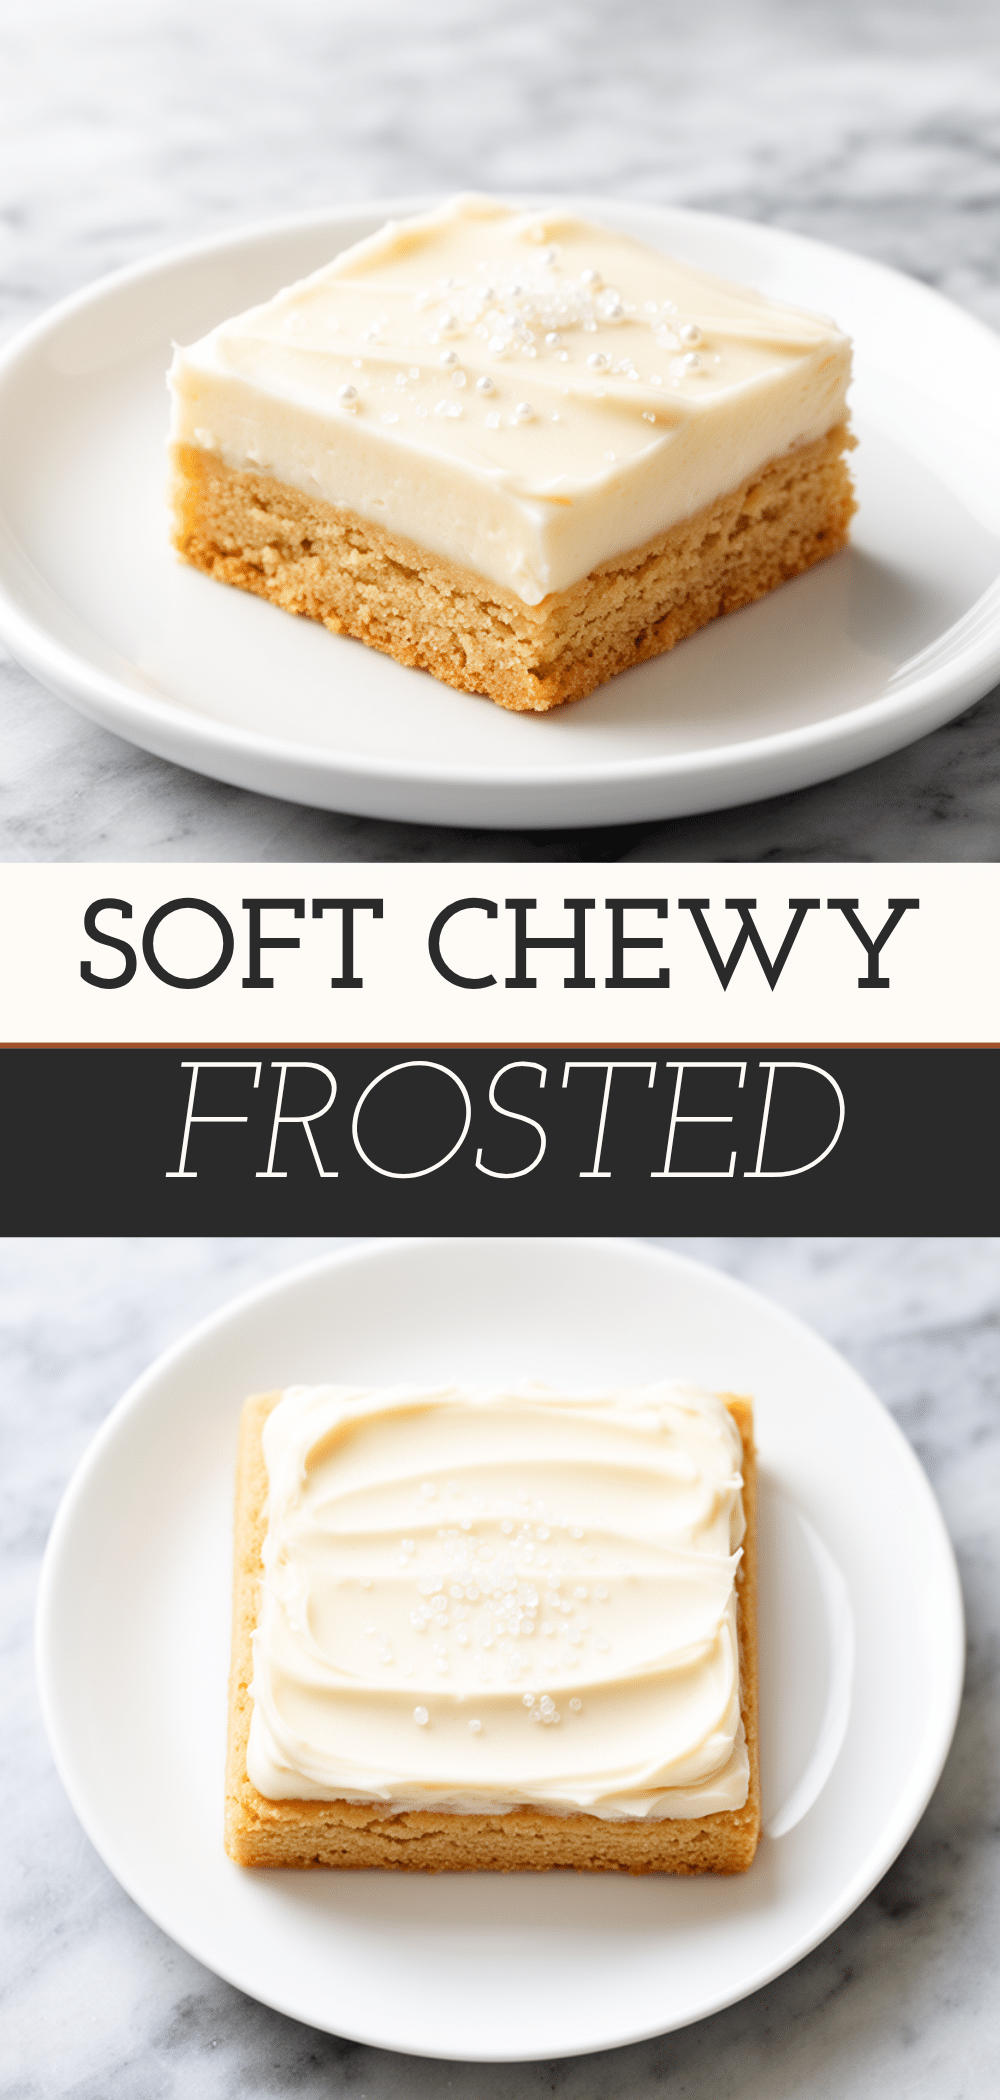
Frosted Vanilla Sugar Cookie Bars
- Total Time: 35 minutes
- Yield: 16 servings 1x
Description
Soft, chewy, and buttery sugar cookie bars topped with a thick, sweet vanilla frosting. This simple dessert comes together in about 15 minutes of active prep time and is perfect for last-minute gatherings or bake sales.
Ingredients
- 1 cup (226g) unsalted butter, softened
- 1 ½ cups (300g) granulated sugar
- 2 large eggs, room temperature
- 2 teaspoons vanilla extract
- 2 ½ cups (315g) all-purpose flour
- 1 teaspoon baking powder
- ½ teaspoon salt
- 3 cups (360g) confectioners’ sugar, sifted
- ½ cup (113g) unsalted butter, softened
- 2–3 tablespoons heavy cream
- 1 teaspoon vanilla extract
- ¼ teaspoon salt
- Optional: Sprinkles
Instructions
- Preheat oven to 350°F (175°C). Line a 9×13-inch baking dish with parchment paper, leaving an overhang on the sides, and grease lightly.
- In a large bowl, beat the softened butter and granulated sugar together until light and fluffy, about 2-3 minutes.
- Add eggs one at a time, beating well after each addition. Scrape down the bowl and stir in 2 teaspoons of vanilla extract.
- In a separate bowl, whisk together flour, baking powder, and ½ teaspoon salt. Gradually add dry ingredients to the wet mixture, mixing on low speed until just combined.
- Transfer dough to the prepared pan and press evenly into the corners using wet hands or a spatula.
- Bake for 18-20 minutes until edges are lightly golden and the center is set but still soft. Let cool in the pan for 20 minutes.
- While bars cool, beat ½ cup softened butter until creamy. Add sifted powdered sugar, 1 teaspoon vanilla, and ¼ teaspoon salt. Beat on low until combined, then high for 2-3 minutes until fluffy.
- Add heavy cream one tablespoon at a time until the frosting reaches a spreadable consistency.
- Spread frosting evenly over the warm (not hot) bars. Let cool completely to room temperature, about 30 minutes, to allow frosting to set.
- Use the parchment sling to lift bars out of the pan and slice into squares.
Notes
Ensure butter is softened, not melted, for the best texture. Do not overmix the dough after adding flour to avoid tough bars. The bars are best when frosted while warm but not hot. Store in an airtight container at room temperature for up to 3 days or in the fridge for up to 5 days.
- Prep Time: 15 minutes
- Cook Time: 20 minutes
- Category: Dessert
- Cuisine: American
Nutrition
- Serving Size: 1 bar (approx. 2x2 i
- Calories: 280
- Sugar: 28
- Sodium: 120
- Fat: 14
- Saturated Fat: 8
- Carbohydrates: 38
- Protein: 3
Keywords: sugar cookie bars, vanilla frosting, easy dessert, 15 minute dessert, bake sale, make ahead dessert, cookie bars