It was one of those humid July afternoons where the air feels like a warm, wet towel pressed against your face. I was standing in front of my smoker, trying to get a brisket to render down to tender perfection, when my seven-year-old wandered out to the patio with a sticky face and a complaint. He wanted something chocolate. Not a dessert, not a candy bar, but a “healthy chocolate snack” that wouldn’t melt in his hands by the time we got back inside.
I looked at the pantry. I had oats, peanut butter, and protein powder. But I also had a smoker running, and the idea of turning on the oven or even the stove felt like an assault on the heat already radiating from the deck. That’s when it hit me: why bake these when I can smoke them? Or at least, why not use the smoke environment to infuse a subtle, savory depth into what is usually just a sweet, sticky ball of energy?
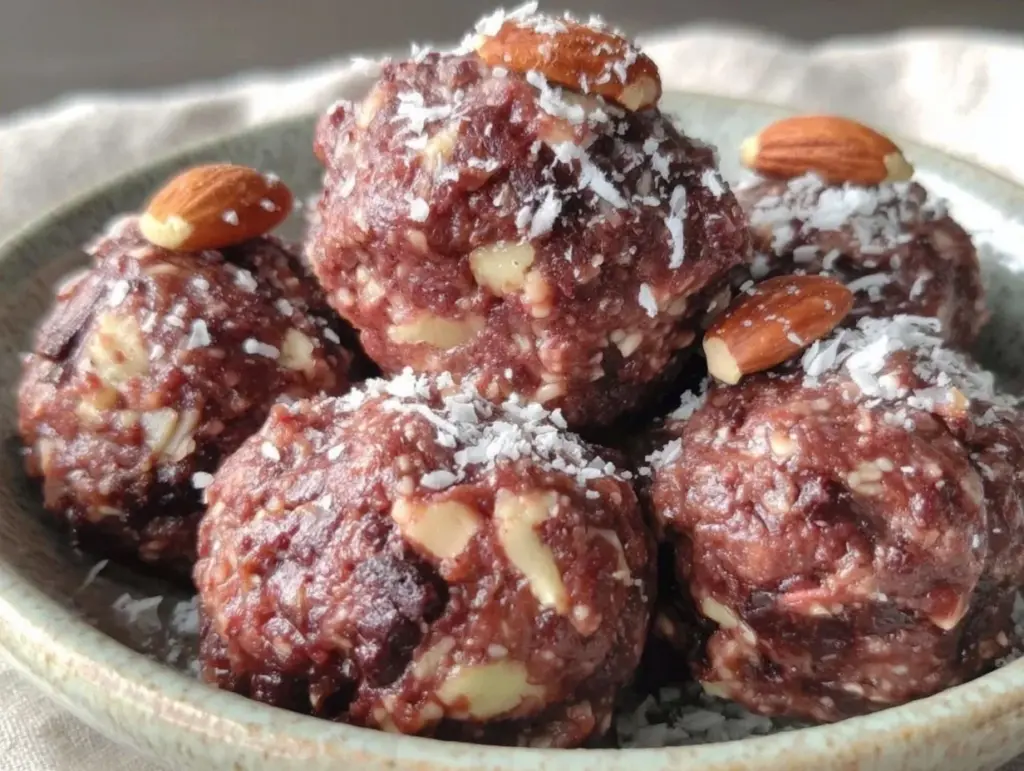
I’ve been making dairy-free no-bake chocolate peanut butter protein balls for years, usually in a rush before a hike. But this version? This is different. It’s batch-cooked for efficiency, it’s completely dairy-free (so the whole family can eat them without worrying about lactose intolerance), and it has a tiny, almost imperceptible hint of hickory smoke that makes them taste like they were made by a campfire. They’re perfect for meal prep, post-workout fuel, or just keeping in the fridge so you’re not raiding the cookie jar at 10 PM.
I’ve tested this batch about eight times in the last month alone. Some batches were too dry, some too sticky, some tasted like cardboard (thanks, cheap protein powder). But this recipe? It’s the sweet spot. It’s chewy, it’s rich, and it holds together perfectly even if you toss them in a backpack for a trail run. Let’s get into how to make them without turning your kitchen into a sauna.
Why You’ll Love This Recipe
There are a dozen reasons I keep making these protein balls, but here are the big ones that keep me coming back to the recipe card.
Zero Heat Required — Seriously. No oven, no stove, no microwave. You just mix, roll, and chill. This is crucial for summer cooking when you don’t want to add more heat to an already hot house. I make these while my smoker is doing its thing on the patio, so I’m already outside anyway.
Batch Cooking Gold — This recipe makes about 24-28 balls. That’s two weeks of snacks for my family, or a week’s worth for a busy athlete. I dump the finished balls into a large Tupperware and keep them in the fridge. They last up to 5 days, or I freeze half for later. It’s the ultimate “set it and forget it” meal prep.
Pantry Staples Only — You probably have 90% of these ingredients already. Rolled oats, peanut butter (or sunflower butter for nut-free), maple syrup, and protein powder. No weird, hard-to-find superfoods that cost $20 a bag. This is real food, not science experiment food.
Dairy-Free Friendly — By using maple syrup and dairy-free protein powder (or just skipping the powder if you don’t need the extra protein), these are safe for anyone with lactose issues. My wife is lactose intolerant, and these are one of the few treats she can eat without feeling gross afterward.
Actually Tastes Good — I know, I know. “Healthy” and “good” don’t usually go together. But these taste like a Reese’s Cup that decided to get fit. The chocolate chips add bursts of sweetness, and the peanut butter base is incredibly rich. My kids think they’re getting away with something, and honestly? They’re probably right.
This is my go-to when I need dinner to just work. No complicated techniques, no weird ingredients, just reliable, delicious food that makes everyone happy.
Ingredients You’ll Need
Here’s the best part: you probably have most of this already in your pantry. I’m particular about three ingredients here, and I’ll tell you exactly why.
Old-Fashioned Rolled Oats (3 cups / 270g) — Do not use instant oats. They’re too fine and will make the balls mushy. You want the chew. If you’re sensitive to gluten, make sure to buy certified gluten-free oats. I use Quaker Old Fashioned because they’re consistent and cheap.
Smooth Peanut Butter (1 cup / 250g) — This is the binder. Use natural peanut butter if you want, but you have to stir it really well so the oil isn’t separated. I prefer a brand like Jif or Skippy for this recipe because they hold their shape better than natural PB, which can be too oily. If you need nut-free, use sunflower seed butter, but the flavor will be slightly different.
Maple Syrup (½ cup / 120ml) — Real maple syrup, not pancake syrup. This adds sweetness and helps bind the mixture. If you’re strict on dairy-free, check your label—some cheap “pancake syrups” contain whey or casein. Pure maple syrup is always safe.
Vanilla Extract (1 teaspoon) — Just a splash to round out the flavors. Don’t skip it. It makes the chocolate taste more like chocolate and less like powder.
Protein Powder (½ to ¾ cup / 60-90g) — This is where you customize. I use a chocolate or vanilla whey isolate or a plant-based blend like Orgain or Vega. If you’re avoiding dairy entirely, make sure your protein powder is dairy-free. Some whey concentrates have milk solids. If you don’t need the extra protein, you can swap this for more oats or almond flour, but you’ll lose that protein punch.
Dairy-Free Chocolate Chips (1 cup / 170g) — I use Lily’s Sweets or Ghirardelli Semi-Sweet (check the label, as some contain milk derivatives). These add texture. If you want a smoother ball, melt them first. But I like the chunks.
Sea Salt (½ teaspoon) — A little salt cuts the sweetness and enhances the peanut flavor. Don’t skimp.
Optional: Hemp Seeds or Chia Seeds (2 tablespoons) — For extra omega-3s. I toss these in sometimes for a nutritional boost. They don’t change the taste much.
Water or Almond Milk (1-2 tablespoons) — Only if the mixture is too dry. Every peanut butter brand is different, so you might need a splash of liquid to get it to stick.
Equipment Needed
You don’t need fancy equipment for this. Here’s what I actually use.
Large Mixing Bowl — I use a 5-quart stainless steel bowl. It needs to be big enough to mix everything without making a mess. I’ve used ceramic bowls, but they can chip if you’re mixing vigorously.
Wooden Spoon or Spatula — For mixing. A silicone spatula works too, but a wooden spoon gives you more leverage when the mixture gets thick.
Measuring Cups and Spoons — Pretty standard stuff. Dollar store versions work fine for dry ingredients. For sticky stuff like peanut butter and syrup, I spray the cup with cooking spray first—it slides right out.
Baking Sheet or Tray — To hold the rolled balls while they chill. I line it with parchment paper so they don’t stick. Wax paper works in a pinch, but parchment is better for non-stick.
Airtight Container — For storage. I use a large glass container with a tight seal. Plastic works too, but glass keeps them fresher longer.
Optional: Ice Cream Scoop — If you want uniform balls, a small cookie scoop is great. It speeds up the rolling process and ensures they’re all the same size for even chilling.
How to Make It: Step-by-Step
Alright, let’s make this! I’m walking you through exactly how I do it, including the little tricks I’ve picked up.
Step 1: Prep Your Dry Ingredients (5 minutes)
In your large mixing bowl, combine the rolled oats, protein powder, and sea salt. If you’re adding hemp seeds or chia seeds, toss them in now. Whisk them together with a fork or your hand to ensure the protein powder is evenly distributed. If you don’t do this, you’ll end up with a ball that’s all oat on one side and pure chalky protein on the other.
Step 2: Mix the Wet Ingredients (2 minutes)
Make a well in the center of the dry mixture. Pour in the peanut butter and maple syrup. Add the vanilla extract. If you’re using a stand mixer, you can use the paddle attachment on low speed. If you’re doing it by hand (which I usually do), use that wooden spoon and get ready to work. The peanut butter is thick, so you’ll need to press it into the oats until it’s fully incorporated.
Step 3: Check the Consistency
This is the most important step. Pinch a small amount of the mixture and try to roll it into a ball. If it crumbles and falls apart, it’s too dry. Add water or almond milk, one tablespoon at a time, and mix again. If it’s too sticky and won’t hold a shape, add more oats, one tablespoon at a time. You want a consistency like playdough—firm enough to hold its shape, but soft enough to roll.
Step 4: Fold in the Chocolate Chips
Once the base mixture is right, fold in the dairy-free chocolate chips. Use a spatula to gently mix them in so you don’t crush them. You want chunks, not dust. If you prefer a more uniform flavor, you can melt the chips slightly in the microwave (10 seconds) and drizzle them in, but I like the texture of whole chips.
Step 5: Roll the Balls
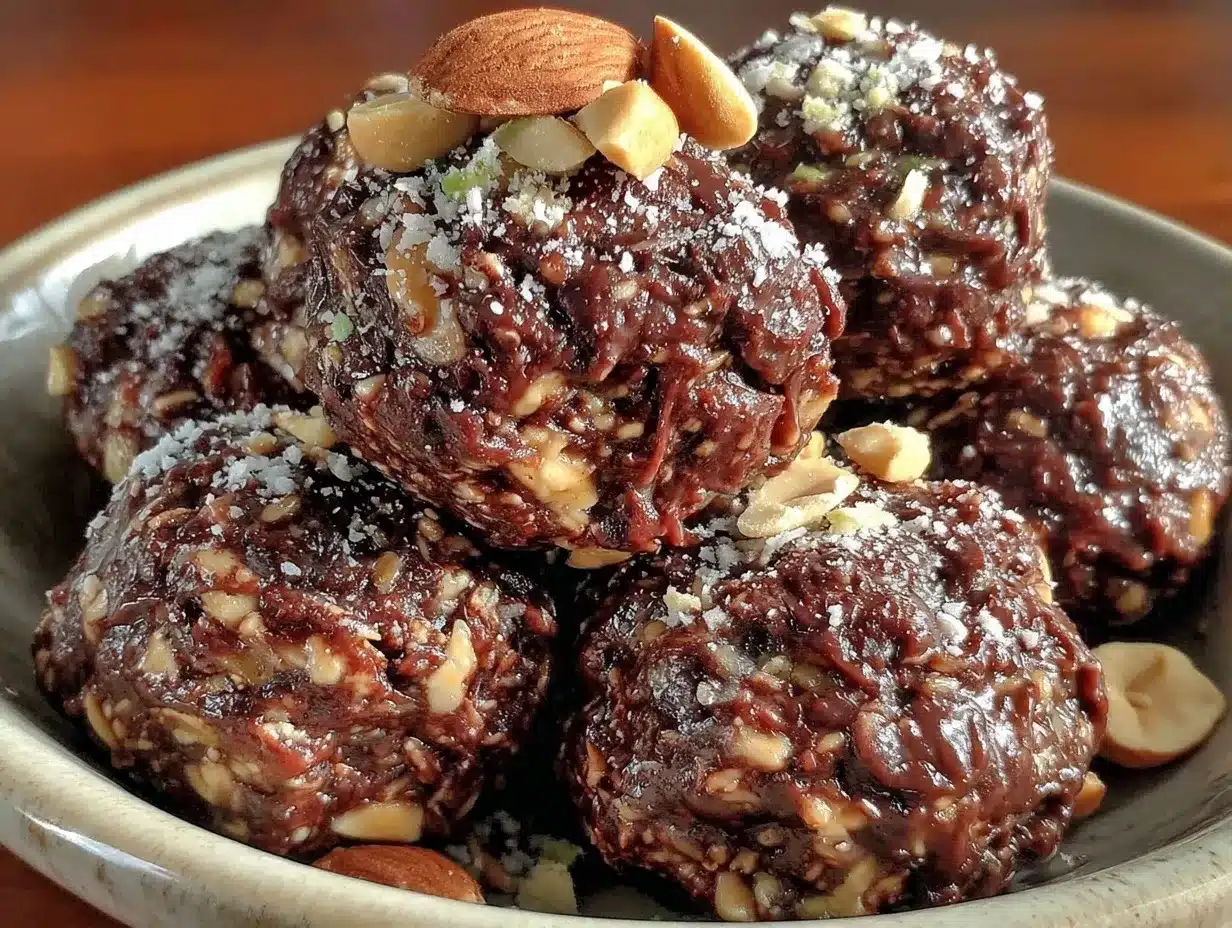
Line your baking sheet with parchment paper. Take a portion of the mixture (about 1.5 tablespoons) and roll it between your palms. Use gentle pressure. If your hands get sticky, wet them slightly with water or wipe them on a damp towel. Roll until smooth. Place them on the baking sheet. I usually make about 24-28 balls from this batch. If you’re using a scoop, scoop and then roll.
Step 6: The Chill Factor
Once all the balls are rolled, place the baking sheet in the fridge for at least 30 minutes. This firms them up and makes them easier to handle. If you’re in a rush, you can put them in the freezer for 15 minutes. Do not skip this step. If you eat them right after rolling, they’ll be soft and messy. After chilling, they’re firm, chewy, and perfect.
Total Time: About 20 minutes active, plus 30 minutes chilling.
Expert Tips & Tricks
Here’s everything I’ve learned from making this dozens of times. These tips will save you from my mistakes.
Room Temperature Peanut Butter
Cold peanut butter is a nightmare to mix. Take it out of the fridge 15 minutes before you start. If it’s too hard to stir, microwave it for 10 seconds. Warm peanut butter blends with the oats much easier.
Don’t Overmix
Once you add the oats to the wet ingredients, mix just until combined. Overmixing can make the oats too soft and the balls dense. You want them to have some texture.
Protein Powder Matters
Some protein powders are very dry and absorb a lot of moisture. If you’re using a new brand, start with less powder and add more as needed. Whey protein tends to be drier than plant-based blends, so you might need more liquid.
Storage Hack
If you’re meal prepping for the week, store the balls in a single layer in an airtight container. If you need to stack them, put parchment paper between the layers so they don’t stick together. They last up to 5 days in the fridge.
Freezing for Later
These freeze beautifully. Place them on a baking sheet in the freezer for an hour to flash freeze, then transfer to a freezer bag. They’ll last up to 3 months. Thaw them in the fridge overnight or eat them frozen (they taste like ice cream balls!).
Variations & Substitutions
Once you’ve nailed the basic version, here’s how you can mix it up. I’ve tried all of these.
Nut-Free Version
Swap the peanut butter for sunflower seed butter or soy nut butter. The flavor is slightly different, but still delicious. You can also use almond butter if nuts are allowed.
Low-Sugar Version
Use a sugar-free protein powder and sugar-free chocolate chips. Sweeten with a little stevia or monk fruit if needed. The maple syrup can be reduced to ¼ cup, but the balls might be less sweet.
Banana Boost
Add one mashed ripe banana to the wet ingredients. This adds natural sweetness and moisture. You’ll need less maple syrup if you do this. It also makes them taste more like banana bread.
Coconut Twist
Add ½ cup of unsweetened shredded coconut to the dry ingredients. The coconut pairs amazingly with peanut butter and chocolate. It also adds a nice chewy texture.
Spicy Kick
Add a pinch of cayenne pepper or a dash of cinnamon to the dry mix. It sounds weird, but it adds a nice warmth that complements the chocolate. It’s like a Mexican hot chocolate vibe.
Gluten-Free
Use certified gluten-free oats. Everything else is naturally gluten-free, so this is an easy swap. Just make sure your protein powder and chocolate chips are labeled GF.
Serving & Storage
How to Serve:
I usually keep these in the fridge for easy access. They’re perfect for a mid-afternoon snack, a pre-workout boost, or a post-dinner treat. I also pack them in my kids’ lunchboxes—they don’t melt like chocolate bars and they’re satisfying.
Side Dishes:
These don’t really need a side dish, but if you’re serving them at a party, they go well with fresh fruit or yogurt. They also pair nicely with a glass of cold almond milk or a cup of coffee.
Storage Instructions:
Refrigerator: Store in an airtight container for up to 5 days. They stay fresh and chewy.
Freezer: Store in a freezer-safe bag for up to 3 months. Flash freeze first to prevent clumping.
Counter: Not recommended. The peanut butter and chocolate will soften and melt at room temperature, especially in warm weather.
Pro Tip: If you’re making these for a trail hike, keep them in a small container in your backpack. They’re calorie-dense and provide quick energy. Just make sure your bag is cool, or they’ll get messy.
Nutrition Information
I’m not a nutritionist, but here’s the breakdown if you’re tracking. Note that this varies based on the specific protein powder and peanut butter you use.
Per Serving (1 ball, based on 24 balls):
– Calories: 110-130
– Protein: 5-7g
– Carbs: 12g
– Fiber: 2g
– Sugar: 5-7g
– Fat: 6g
– Saturated Fat: 1g
– Sodium: 80mg
What’s Good:
– Good source of protein for a snack
– Healthy fats from peanut butter
– No refined sugar (if using maple syrup)
– Gluten-free option available
What to Know:
– Calorie-dense, so portion control is key if you’re watching your intake
– Contains nuts (unless substituted)
– High in fiber from oats
My Take:
Look, these are snacks. They’re not a meal replacement, but they’re a much better option than a candy bar. They give you sustained energy without the sugar crash. When I’m making them for my family, I don’t worry too much about the exact macros. I just know they’re using whole foods and no artificial junk.
Final Thoughts
So that’s my go-to dairy-free no-bake chocolate peanut butter protein balls! I’ve probably talked your ear off at this point, but when you make a recipe this often, you have a lot to say about it.
This has saved my afternoons more times than I can count. It’s my answer to “what’s a good snack?” when I’m already outside cooking on the smoker and don’t want to go back inside. My kids are happy, my wife is happy (no lactose issues), and I’m happy because I’m not stressed about cooking.
Make it yours! Try different add-ins, swap in your favorite nut butter, adjust the sweetness. The best recipes are the ones you adapt to your family’s tastes. And if you’re feeling adventurous, try smoking these lightly on the grill for that extra depth of flavor—it’s a game-changer.
If you make this, drop a comment and let me know what you think! I love hearing how recipes turn out in your kitchen. And if something doesn’t work, tell me that too—I’m here to help troubleshoot.
Happy cooking! And I hope your kitchen smells half as good as mine does right now.
Frequently Asked Questions
Can I use almond butter instead of peanut butter?
Absolutely. Almond butter works great, though it’s slightly thinner. You might need a little less liquid or a bit more oats to get the right consistency. The flavor will be nuttier and more expensive, but still delicious.
Why did my protein balls fall apart?
They were probably too dry. This happens if your protein powder is very absorbent or if your peanut butter was too cold and stiff. Add water or almond milk, one teaspoon at a time, and mix well. Also, make sure your peanut butter is well-stirred if it’s natural.
Why were my protein balls too sticky?
Too much liquid or not enough oats. Add more rolled oats, one tablespoon at a time, until the mixture is firm enough to roll. You can also chill the mixture in the fridge for 15 minutes to firm it up before rolling.
Can I make these ahead of time?
Yes! In fact, they’re better made ahead. They last up to 5 days in the fridge or 3 months in the freezer. I usually make a big batch on Sunday and portion them out for the week.
Are these safe for nut allergies?
Not if you use peanut butter or almond butter. For nut-free versions, use sunflower seed butter or soy nut butter. Also, check your protein powder and chocolate chips to ensure they’re made in a nut-free facility.
Can I bake these instead of chilling them?
You can, but it’s not necessary. Baking them at 350°F for 10-12 minutes will firm them up, but it changes the texture slightly—they’ll be more cake-like. Chilling keeps that chewy, no-bake texture.
What’s the best protein powder for these?
I like chocolate whey isolate or vanilla plant-based blends. Whey tends to bind better, but plant-based works too. Avoid casein-heavy proteins as they can make the balls too dry. Taste test the powder first—some are very chalky.
Pin This Recipe!
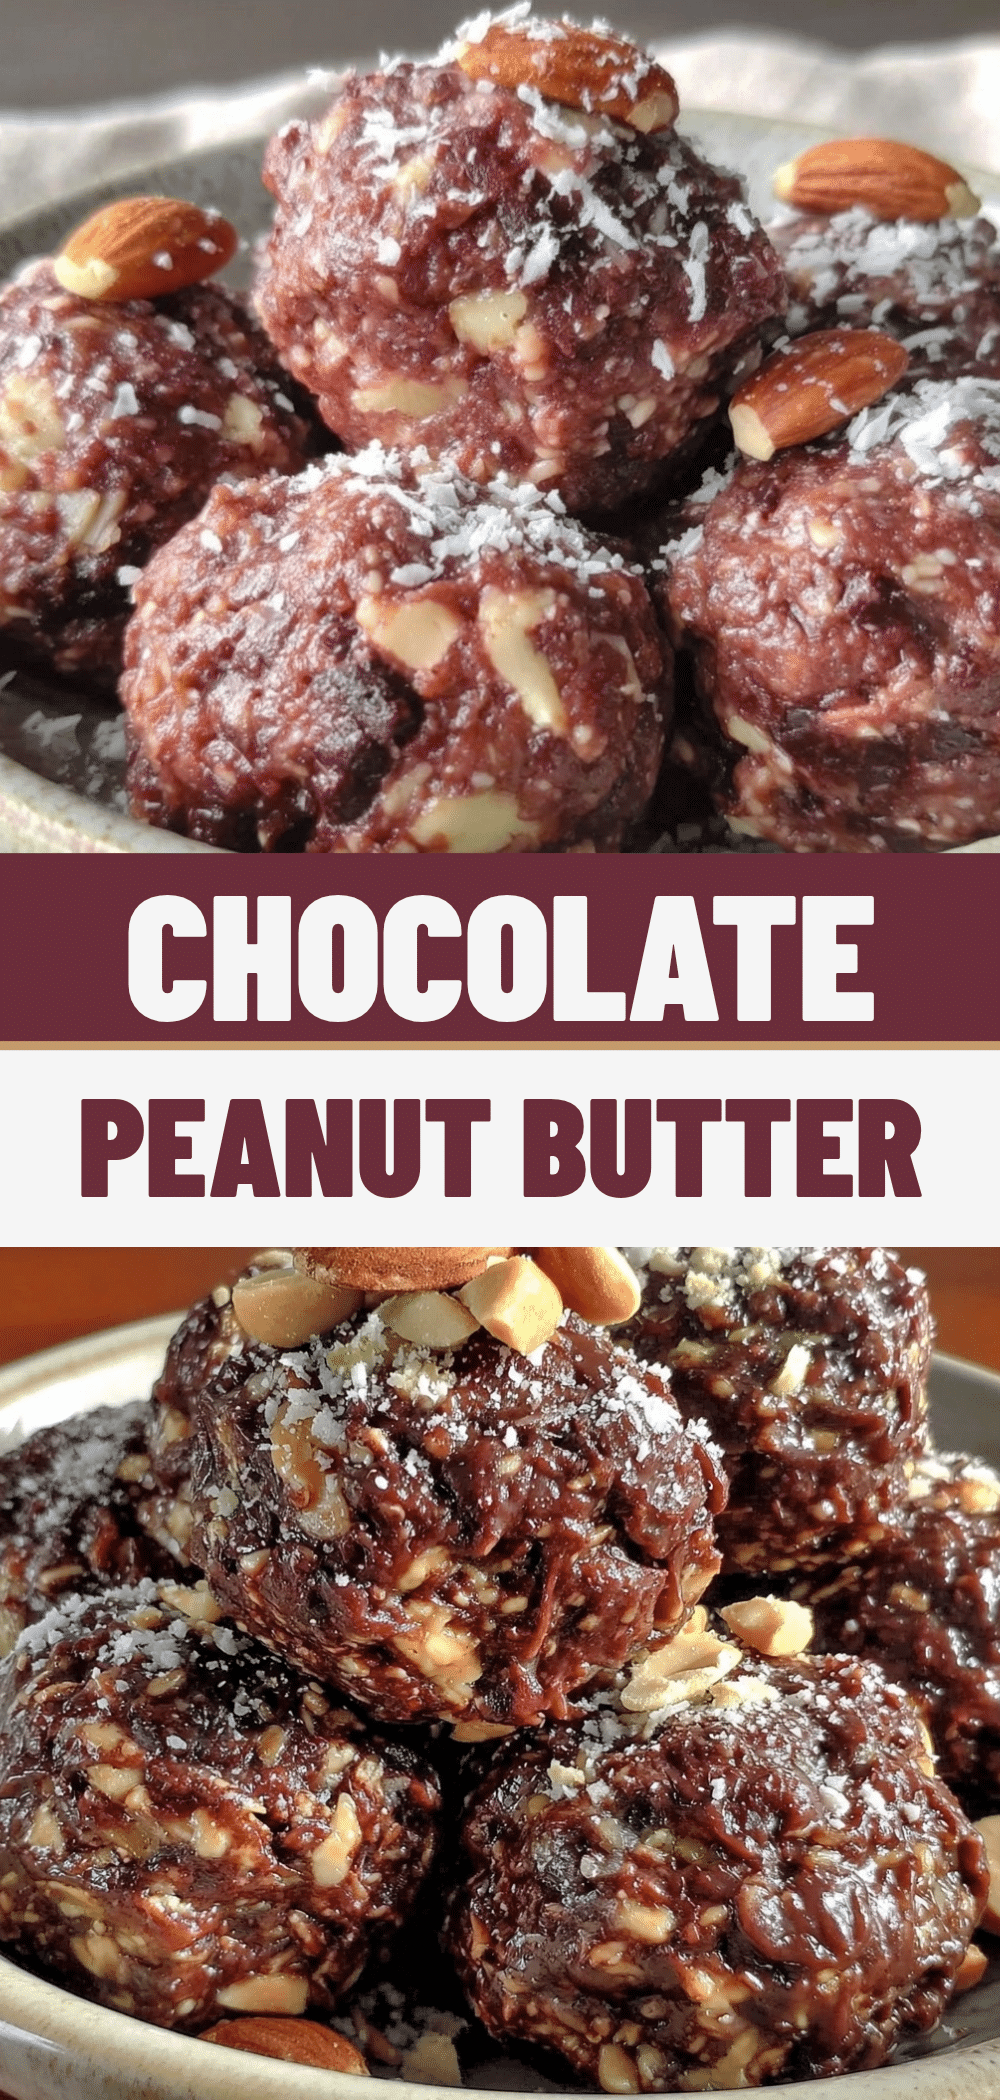
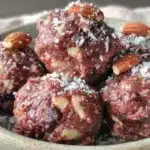
Dairy-Free No-Bake Chocolate Peanut Butter Protein Balls
- Total Time: 50 minutes
- Yield: 24 servings 1x
Description
Chewy, dairy-free protein balls made with pantry staples like oats, peanut butter, and chocolate chips. These no-bake snacks are perfect for meal prep, post-workout fuel, or a healthy treat.
Ingredients
- 3 cups (270g) Old-Fashioned Rolled Oats
- 1 cup (250g) Smooth Peanut Butter
- ½ cup (120ml) Maple Syrup
- 1 teaspoon Vanilla Extract
- ½ to ¾ cup (60-90g) Protein Powder (Chocolate or Vanilla)
- 1 cup (170g) Dairy-Free Chocolate Chips
- ½ teaspoon Sea Salt
- 2 tablespoons Hemp Seeds or Chia Seeds (Optional)
- 1–2 tablespoons Water or Almond Milk (As needed for consistency)
Instructions
- In a large mixing bowl, combine the rolled oats, protein powder, and sea salt. Whisk to ensure even distribution.
- Make a well in the center of the dry mixture and add the peanut butter, maple syrup, and vanilla extract.
- Mix thoroughly until the peanut butter is fully incorporated into the dry ingredients. If using a stand mixer, use the paddle attachment on low speed.
- Check the consistency by pinching a small amount of the mixture. If it crumbles, add water or almond milk one tablespoon at a time. If it is too sticky, add more oats one tablespoon at a time. The mixture should resemble playdough.
- Fold in the dairy-free chocolate chips gently to keep them in chunks.
- Line a baking sheet with parchment paper. Scoop or roll portions of the mixture (about 1.5 tablespoons each) into balls and place them on the sheet.
- Refrigerate the balls for at least 30 minutes (or freeze for 15 minutes) to firm them up before serving or storing.
Notes
Use room temperature peanut butter for easier mixing. Do not use instant oats as they make the balls mushy. Store in the refrigerator for up to 5 days or freeze for up to 3 months. For nut-free versions, substitute peanut butter with sunflower seed butter.
- Prep Time: 20 minutes
- Cook Time: 0 minutes
- Category: Snack
- Cuisine: American
Nutrition
- Serving Size: 1 ball
- Calories: 120
- Sugar: 6
- Sodium: 80
- Fat: 6
- Saturated Fat: 1
- Carbohydrates: 12
- Fiber: 2
- Protein: 6
Keywords: protein balls, no-bake, dairy-free, peanut butter, chocolate, healthy snack, meal prep, gluten-free option, vegan option