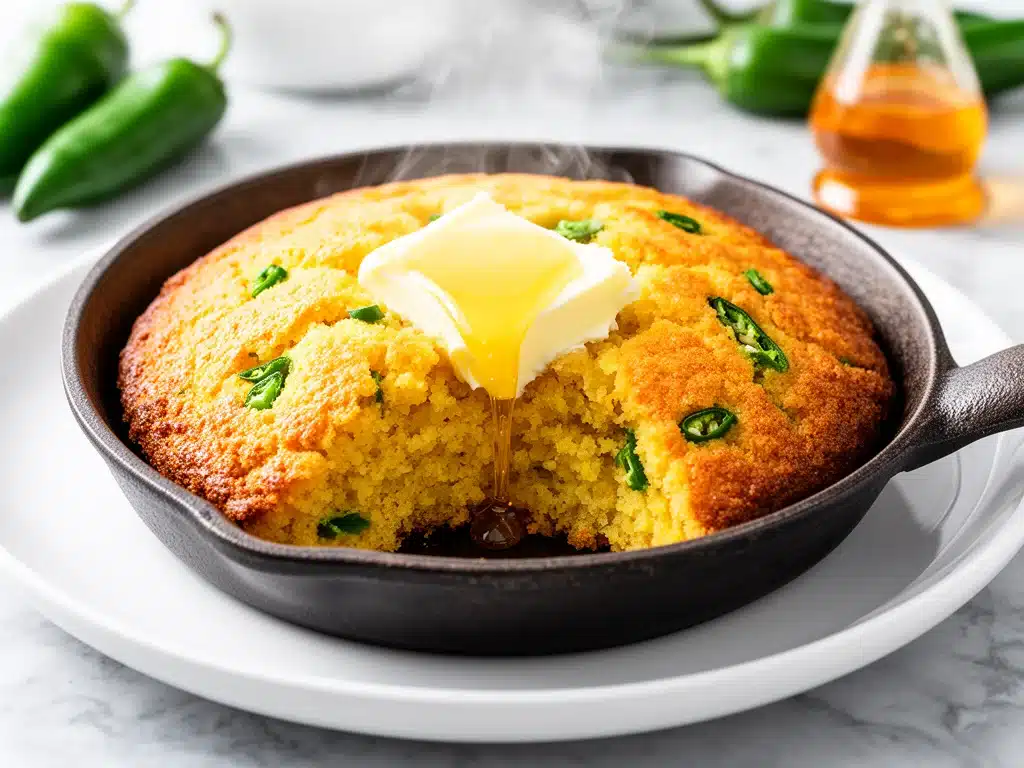
I have a confession to make. For years, I was the person who bought the box mix. You know the one—the one in the blue or yellow box that promises “moistness” but delivers a dense, slightly dry brick that falls apart if you look at it wrong. I used to think cornbread was just a side dish you tolerated while waiting for the main course. Then I had a cornbread epiphany that changed everything.
Last autumn, I drove up to a small farm stand in New Mexico just outside Santa Fe. The air was crisp, smelling of piñon pine and woodsmoke, and the vendor handed me a wedge of cornbread that was nothing like what I was used to. It was golden, with a crust so shatteringly crisp it made a audible crunch when I broke it. Inside? Moist, savory, and packed with roasted Hatch chilies that had a smoky heat that lingered in the best way possible. It came with a side of honey butter that I’m pretty sure was illegal in three states because of how good it was.
I ate that entire slice in my car, standing next to a truck filled with pumpkins, and decided right then that I was never buying a box mix again. I spent the next six months testing batters, experimenting with buttermilk ratios, and figuring out how to get that perfect golden crust without burning the chilies. The result? This crispy Hatch chili cornbread. It’s better than any takeout, better than most restaurants, and honestly, it’s the only way I’ll ever eat cornbread again.
If you’ve been searching for a recipe that delivers that restaurant-quality crunch and that deep, smoky flavor, you’re in the right place. This isn’t just cornbread. It’s a love letter to the Southwest, and it’s going to become your new favorite comfort food.
Why You’ll Love This Hatch Chili Cornbread Recipe
There are about a dozen reasons I keep making this cornbread, but let’s be real: it’s usually about the crunch and the flavor. Here’s what makes this specific version stand out from the crowd.
That Shatteringly Crisp Crust — Seriously, this is the game-changer. Most cornbread is soft all the way through. This one? You get a hard, golden, buttery crust that cracks when you pull it apart, revealing a tender, moist interior. I achieved this by using a cast-iron skillet and letting the batter sizzle in hot fat before it goes in the oven. It’s the same trick used for perfect fried chicken crusts, and it works wonders here.
Savory Depth with Hatch Chilies — This isn’t sweet cornbread. This is a savory, dinner-table cornbread. The roasted Hatch chilies add a complex, smoky heat that pairs perfectly with the sweetness of the corn. It’s subtle enough that kids won’t freak out, but flavorful enough that adults will ask for the recipe. It’s the perfect balance of sweet and savory.
Better Than Takeout — I’ve tried ordering cornbread from chain restaurants, and it’s usually lukewarm and soggy. This homemade version is hot, fresh, and has a texture that takes minutes to make. It’s also cheaper. Feeding four people this cornbread costs less than $5 in ingredients. That’s a steal for something this good.
Perfect with Honey Butter — The honey butter isn’t just an afterthought. It’s a necessary component. The salty, creamy butter cuts through the heat of the chilies, and the honey brings out the natural sweetness of the corn. It’s the kind of combination that makes you want to lick the plate. I usually double the honey butter recipe because I can’t resist dipping.
Easy Weeknight Dinner — If you can boil water and mix a bowl, you can make this. It’s a one-bowl recipe. No fancy equipment needed. I make this on weeknights when I’m tired, and it comes together in 10 minutes of prep and 20 minutes of baking. It’s the ultimate low-effort, high-reward meal.
Makes Amazing Leftovers — I know, I know—cornbread is best fresh. But this one actually tastes great cold or reheated. I pack it in my lunchbox sometimes, or I eat it straight from the fridge with a cup of coffee. It holds up really well because of that crispy crust, which actually gets crunchier as it cools.
This is my go-to when I need dinner to just work. No complicated techniques, no weird ingredients, just reliable, delicious food that makes everyone happy. And if you’re looking for other easy lunch ideas, these ham and cheese pretzel roll-ups are also a quick win for busy days.
Ingredients You’ll Need
Here’s the best part: you probably have most of this already in your pantry. The key to this recipe is quality, not complexity. I’m particular about three ingredients here, and I’ll tell you exactly why.
Yellow Cornmeal (1 cup / 120g) — This is the star. Use stone-ground yellow cornmeal for the best texture. It has a coarser grind that gives you that authentic cornbread crunch. Fine cornmeal makes it too cakey. I love Bob’s Red Mill stone-ground for this. Avoid the “instant” cornmeal if you can help it.
All-Purpose Flour (½ cup / 60g) — This adds structure so the cornbread doesn’t crumble apart. You need a little flour to balance the cornmeal. Don’t skip it, or you’ll get a mess.
Baking Powder (1 tablespoon) — Fresh baking powder is crucial for the rise. If yours is older than six months, toss it and buy new. Old baking powder makes dense, flat cornbread. I keep a fresh can in my pantry specifically for this.
Salt (1 teaspoon) — Kosher salt is best because you can control the amount. It enhances the flavor of the corn and the chilies. Don’t use iodized table salt if you can help it; it has a metallic aftertaste.
Roasted Hatch Chilies (1 cup, chopped / about 150g) — This is the secret ingredient. Hatch chilies are a specific variety from New Mexico that are smoky, slightly sweet, and have a medium heat. You can find them fresh in the fall, but frozen roasted Hatch chilies work perfectly year-round. If you can’t find Hatch chilies, use roasted poblano peppers or even mild jalapeños. Just make sure they’re roasted and peeled for the best flavor.
Eggs (2 large) — Room temperature eggs mix into the batter more evenly. I take them out of the fridge while I prep the other ingredients.
Buttermilk (1 cup / 240ml) — This adds tang and tenderness. The acidity reacts with the baking powder for a better rise. If you don’t have buttermilk, make your own: add 1 tablespoon of lemon juice or white vinegar to a measuring cup, then fill the rest with whole milk. Let it sit for 5 minutes until it curdles.
Sour Cream (½ cup / 120g) — This keeps the cornbread moist and adds a rich, creamy texture. I use full-fat sour cream. Low-fat versions can make the texture gummy.
Vegetable Oil (¼ cup / 60ml) — This adds richness and helps create that crispy crust. I use vegetable or canola oil. Olive oil works but can be too strong-tasting for this specific profile.
Unsalted Butter (3 tablespoons, melted) — For the batter. Adds flavor and richness.
For the Skillet (The Crust Maker)
Butter or Bacon Grease (2 tablespoons) — This is non-negotiable for the crust. I heat the butter (or bacon grease, if I’m feeling fancy) in the cast-iron skillet until it’s shimmering and just starting to smoke. This sizzle creates the crispy edge. Bacon grease adds a smoky depth that pairs beautifully with the chilies.
Honey Butter (For Serving)
Butter (½ cup / 115g, softened) — Use high-quality unsalted butter. Salted butter is too salty when combined with the honey.
Honey (2 tablespoons) — Local honey is best if you can find it, but any good honey works. It adds a floral sweetness that balances the savory cornbread.
I’m particular about my banana oat breakfast cookies too, and I use the same rule: quality ingredients make all the difference. For this cornbread, don’t skimp on the butter and chilies. They’re the heart of the dish.
Equipment Needed
You don’t need fancy equipment for this. Here’s what I actually use.
Cast-Iron Skillet — I use a 10-inch cast-iron skillet. It’s the secret to the crispy crust. Cast iron retains heat incredibly well, which sizzles the batter immediately upon contact. If you don’t have cast iron, use a heavy baking dish, but the crust won’t be as good. My Lodge skillet is old and seasoned to perfection. It’s been with me since college.
Mixing Bowl — A medium-sized bowl for mixing the batter. Glass or ceramic works best because they don’t retain cold temperatures.
Whisk — For mixing the wet ingredients. A whisk incorporates air better than a spoon, which helps with the rise.
Measuring Cups and Spoons — Standard stuff. Dollar store versions work fine. Just make sure they’re accurate.
Oven Mitts — Your cast iron will be hot. Very hot. Don’t skip these. I’ve burned myself more times than I care to admit.
Knife and Cutting Board — For chopping the roasted Hatch chilies. A sharp knife makes this easier and safer.
Paring Knife — For spreading the honey butter. Or just use a regular butter knife.
Pastry Brush — Optional, but nice for brushing extra butter on the crust after baking. Makes it extra shiny and delicious.
Don’t have a cast-iron skillet? Any big pot works—doesn’t need to be fancy, but the material matters. Ceramic or glass won’t give you the same crust. I’m obsessed with my cast iron because it lasts forever and gets better with age.
How to Make It: Step-by-Step
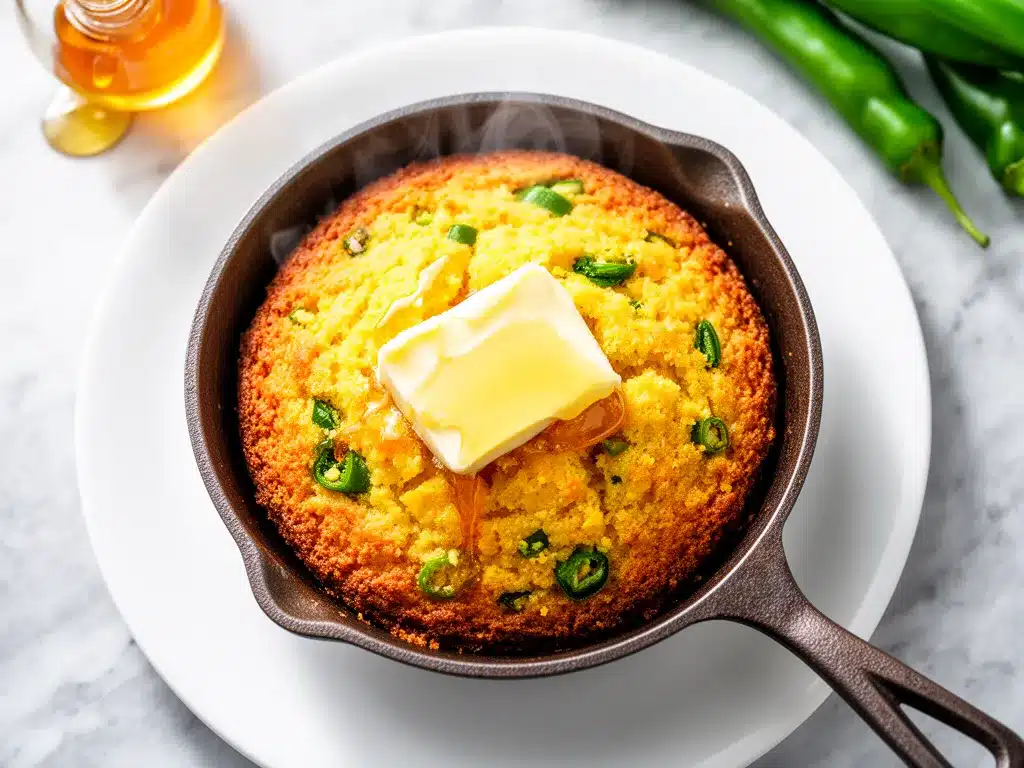
Alright, let’s make this! I’m walking you through exactly how I do it, including the little tricks I’ve picked up. This crispy Hatch chili cornbread comes together quickly, but the steps matter.
Step 1: Prep Your Ingredients (5 minutes)
Before you start cooking, chop your roasted Hatch chilies into small pieces. If you’re using frozen chilies, let them thaw first and pat them dry with a paper towel. Excess moisture can make the cornbread soggy. Measure out your cornmeal, flour, baking powder, and salt. Mix these dry ingredients together in a medium bowl. Whisk them well to ensure the baking powder is evenly distributed. This prevents bitter spots of baking powder in the final product.
Step 2: Preheat the Oven and Skillet (5 minutes)
Place your cast-iron skillet in the oven and preheat to 425°F (220°C). Letting the skillet heat up in the oven is the secret to the crispy crust. The pan needs to be screaming hot when the batter hits it. This usually takes about 15-20 minutes, so start this early.
Step 3: Mix the Wet Ingredients (2 minutes)
In a separate bowl, whisk together the eggs, buttermilk, sour cream, melted butter, and vegetable oil. Whisk until smooth and well combined. The mixture should look creamy and uniform. If your butter has solidified, microwave it for 10 seconds to liquefy it completely.
Step 4: Combine Wet and Dry (1 minute)
Pour the wet ingredients into the dry ingredients. Gently fold them together with a spatula or spoon. Do not overmix! You want the batter to be lumpy. Overmixing develops gluten, which makes the cornbread tough and dense. Stop mixing as soon as you see no more dry flour. It’s okay if there are a few small lumps.
Step 5: Add the Chilies
Fold in the chopped Hatch chilies. Distribute them evenly throughout the batter. You want a chili in every bite.
Step 6: The Sizzle (Critical Step)
Carefully remove the hot skillet from the oven. Add the butter or bacon grease. It will melt instantly and start to smoke. Swirl the skillet to coat the bottom and sides evenly. This is the most dangerous step—be careful of the hot grease. Pour the batter into the hot skillet. It should sizzle loudly. If it doesn’t sizzle, the pan wasn’t hot enough, and you might not get the best crust. Spread the batter evenly with a spoon.
Step 7: Bake (20-25 minutes)
Place the skillet back in the oven. Bake for 20-25 minutes. The cornbread is done when the top is golden brown and crispy, and a toothpick inserted into the center comes out clean. The edges should be pulling away slightly from the sides of the skillet. Do not overbake, or it will be dry.
Step 8: Cool and Serve
Remove the skillet from the oven. Let the cornbread cool for 5 minutes. This allows it to set so it doesn’t fall apart when you cut it. Serve warm with honey butter. The contrast of the hot, crispy cornbread and the cool, creamy honey butter is pure magic.
Total Time: About 30 minutes (10 minutes active, 20 minutes mostly hands-off)
Expert Tips & Tricks
Here’s everything I’ve learned from making this dozens of times. These tips will save you from my mistakes.
Hot Skillet is Non-Negotiable
This is the #1 tip. The sizzle creates the crust. If your skillet isn’t hot enough, the batter will just sit there and bake like a cake. You want that immediate sear. I always preheat the skillet for the full 20 minutes, even if the oven is ready. Patience pays off.
Don’t Overmix the Batter
I know it’s tempting to smooth out the lumps, but don’t. Lumpy batter = tender cornbread. Smooth batter = dense, rubbery cornbread. Stop mixing when it’s just combined. Trust me on this.
Use Roasted Chilies
Raw chilies are too sharp and watery. Roasting them brings out their sweetness and smokiness. If you’re buying fresh Hatch chilies, roast them yourself: char them under a broiler or on an open flame until the skin is blackened, then steam them in a bag for 10 minutes to make peeling easy. Frozen roasted chilies are a great shortcut.
Room Temperature Ingredients
Room temperature eggs and buttermilk incorporate into the batter more evenly. Cold ingredients can cause the melted butter to solidify into little clumps, which leads to uneven texture. Take your eggs out of the fridge 15 minutes before you start.
Let It Rest
Don’t cut into the cornbread immediately after baking. It needs 5 minutes to set. If you cut it too soon, it will crumble. This is also when you can spread a little extra butter on top while it’s still hot.
Common Mistakes (and how to avoid them):
Mistake: Cornbread is dry
Fix: You overbaked it. Check it at 20 minutes. The toothpick should come out with a few moist crumbs, not completely clean. Also, make sure you’re using full-fat sour cream and buttermilk.
Mistake: Cornbread is flat
Fix: Your baking powder is old. Check the expiration date. Also, make sure you’re not pressing down on the batter when you pour it into the skillet.
Mistake: Crust is burnt
Fix: Your oven is too hot, or you left it in too long. Check your oven temperature with an oven thermometer. Ovens can be inaccurate. Also, if the top is browning too fast, cover it loosely with aluminum foil for the last 5 minutes.
Pro Tricks I’ve Learned:
For Extra Crispy Edges
Brush the top of the cornbread with melted butter right after you take it out of the oven. This adds another layer of crispness and flavor.
For Better Flavor
Add a pinch of smoked paprika to the dry ingredients. It enhances the smokiness of the chilies without adding more heat.
Make-Ahead Strategy
You can mix the batter ahead and store it in the fridge for up to 24 hours. Just let it come to room temperature before pouring it into the hot skillet. This is great for dinner parties.
Variations & Substitutions
Once you’ve nailed the basic version, here’s how you can mix it up. I’ve tried all of these.
Spicy Version
Add ½ teaspoon of cayenne pepper or red pepper flakes to the dry ingredients. Or use hotter peppers like serranos instead of Hatch chilies. Great for those who like a kick.
Corn and Black Bean
Add 1 cup of canned black beans (drained and rinsed) and 1 cup of fresh or frozen corn kernels. This adds protein and texture. It’s a heartier version that’s great for vegetarians.
Jalapeño and Cheddar
Swap the Hatch chilies for chopped fresh jalapeños and add 1 cup of shredded cheddar cheese. This is a classic combo that’s always a hit.
Sweet Cornbread
Omit the chilies and add ½ cup of honey to the wet ingredients. Use white cornmeal for a milder flavor. This is more like a dessert cornbread.
Dietary Modifications:
Gluten-Free
Use a gluten-free cornmeal and replace the all-purpose flour with a 1:1 gluten-free flour blend. The texture might be slightly crumblier, but it’s still delicious.
Dairy-Free
Replace buttermilk with dairy-free buttermilk (soy milk + vinegar), replace sour cream with dairy-free sour cream, and use coconut oil instead of butter. The flavor will be different, but it still works.
Lower-Fat
Use low-fat buttermilk and Greek yogurt instead of sour cream. Reduce the oil to 2 tablespoons. It’s not as rich, but it’s lighter.
Vegan
Use flax eggs (2 tablespoons ground flaxseed + 6 tablespoons water), dairy-free buttermilk, dairy-free sour cream, and coconut oil. The texture will be denser, but the flavor is still good.
Serving & Storage
How to Serve:
I usually serve this straight from the skillet at the dinner table—it looks rustic and stays warm. But here are other ways I’ve enjoyed it:
Side Dishes:
- BBQ pulled pork (the cornbread soaks up the sauce perfectly)
- Chili con carne (a classic Southwestern combo)
- Grilled steak with chimichurri
- Simple green salad with ranch dressing
Toppings Bar:
When I have guests, I put out: extra honey butter, chopped chives, crumbled cotija cheese, and hot sauce. Everyone customizes their slice.
Wine Pairing:
Not a wine expert, but my wine-snob friend says a crisp Sauvignon Blanc or a light Pinot Noir works great with this. For beer, a lager or IPA complements the heat.
Storage Instructions:
Refrigerator:
Store in an airtight container for up to 4 days. The crust will soften in the fridge, but the flavor stays good.
Reheating:
Best method: Preheat oven to 350°F. Place cornbread on a baking sheet and heat for 10-15 minutes. This restores the crispness.
Microwave method: Heat in 30-second intervals. It will be soft, not crispy.
Air fryer: Heat at 350°F for 3-5 minutes. This is actually my favorite method for reheating because it keeps the crust crunchy.
Freezing:
This freezes well! Wrap slices tightly in plastic wrap, then in foil. Freeze for up to 3 months. Thaw at room temperature and reheat in the oven or air fryer.
Meal Prep:
I make a double batch on Sundays and freeze half. It’s a great snack or side dish for busy weeknights. Just reheat and serve with honey butter.
Pro tip: If leftovers are drying out, wrap them in a damp paper towel and microwave for 20 seconds. It steams them back to moistness.
Nutrition Information
I’m not a nutritionist, but here’s the breakdown if you’re tracking.
Per Serving (based on 8 servings):
- Calories: 280
- Protein: 6g
- Carbs: 32g
- Fiber: 2g
- Sugar: 4g
- Fat: 14g
- Saturated Fat: 7g
- Cholesterol: 50mg
- Sodium: 350mg
- Calcium: 80mg
What’s Good:
- Good source of carbohydrates for energy
- Contains some fiber from the cornmeal
- Can add vegetables to boost nutrition
What to Know:
- Higher in calories from butter and sour cream
- Contains dairy and gluten
- Moderate sodium (use low-sodium broth if adding beans)
My Take:
Look, this is comfort food with butter and corn. It’s not a diet recipe. But it’s way better than takeout, costs less, and I know exactly what’s in it. When I want to make it lighter, I use the low-fat version and load up on chilies. But usually? I just eat a reasonable portion and enjoy it.
Dietary Notes:
- Contains: gluten, dairy, eggs
- Can be made: vegetarian, gluten-free, vegan (with modifications)
- Not suitable for: dairy-free (without modifications), vegan (without modifications)
Final Thoughts
So that’s my crispy Hatch chili cornbread! I’ve probably talked your ear off at this point, but when you make a recipe this often, you have a lot to say about it.
This has saved weeknight dinners more times than I can count. It’s my answer to “what’s for dinner” when I’m tired, don’t want takeout, and still want something that tastes really good. My kids are happy, my husband’s happy, and I’m happy because I’m not stressed about cooking.
Make it yours! Try different add-ins, swap in your favorite vegetables, adjust the heat level. The best recipes are the ones you adapt to your family’s tastes.
If you make this, drop a comment and let me know what you think! I love hearing how recipes turn out in your kitchen. And if something doesn’t work, tell me that too—I’m here to help troubleshoot.
Happy cooking! And I hope your kitchen smells half as good as mine does right now.
Frequently Asked Questions
Q: Can I use canned corn instead of Hatch chilies?
A: You can, but you’ll lose that smoky, savory depth. If you use canned corn, add ½ teaspoon of smoked paprika to compensate for the missing smokiness. Fresh or frozen Hatch chilies are best for the authentic flavor.
Q: Why did my cornbread turn out crumbly?
A: Usually means you used too much cornmeal or not enough binder. Make sure you’re following the ratio of cornmeal to flour. Also, don’t overmix the batter, and let it cool for 5 minutes before cutting. If it’s still too crumbly, add a little more sour cream or buttermilk next time.
Q: Can I make this ahead for a dinner party?
A: Absolutely! You can mix the batter and store it in the fridge for up to 24 hours. Just let it sit out for 15 minutes before baking. Or, bake the cornbread ahead and reheat it in the oven or air fryer. It tastes great reheated.
Q: Why did my cornbread stick to the skillet?
A: The skillet wasn’t properly seasoned or greased. Make sure you’re using plenty of butter or bacon grease in the hot skillet. If you’re using a new cast-iron skillet, make sure it’s well-seasoned. Also, let the cornbread cool for 5 minutes before trying to remove it.
Q: Can I use self-rising cornmeal?
A: Yes, but you need to adjust the recipe. If you use self-rising cornmeal, omit the all-purpose flour and reduce the baking powder to ½ teaspoon. Self-rising cornmeal already contains baking powder and salt, so you’ll need to reduce the added salt too.
Q: How do I store leftover honey butter?
A: Store it in an airtight container in the fridge for up to 2 weeks. It will harden, so let it sit at room temperature for 10 minutes before serving. You can also freeze it for up to 3 months.
Q: Can I double this recipe?
A: Yes, but you’ll need a larger skillet or two skillets. Double the cooking time by 5 minutes. Check for doneness with a toothpick. If your oven is small, you might need to bake them in batches.
Pin This Recipe!
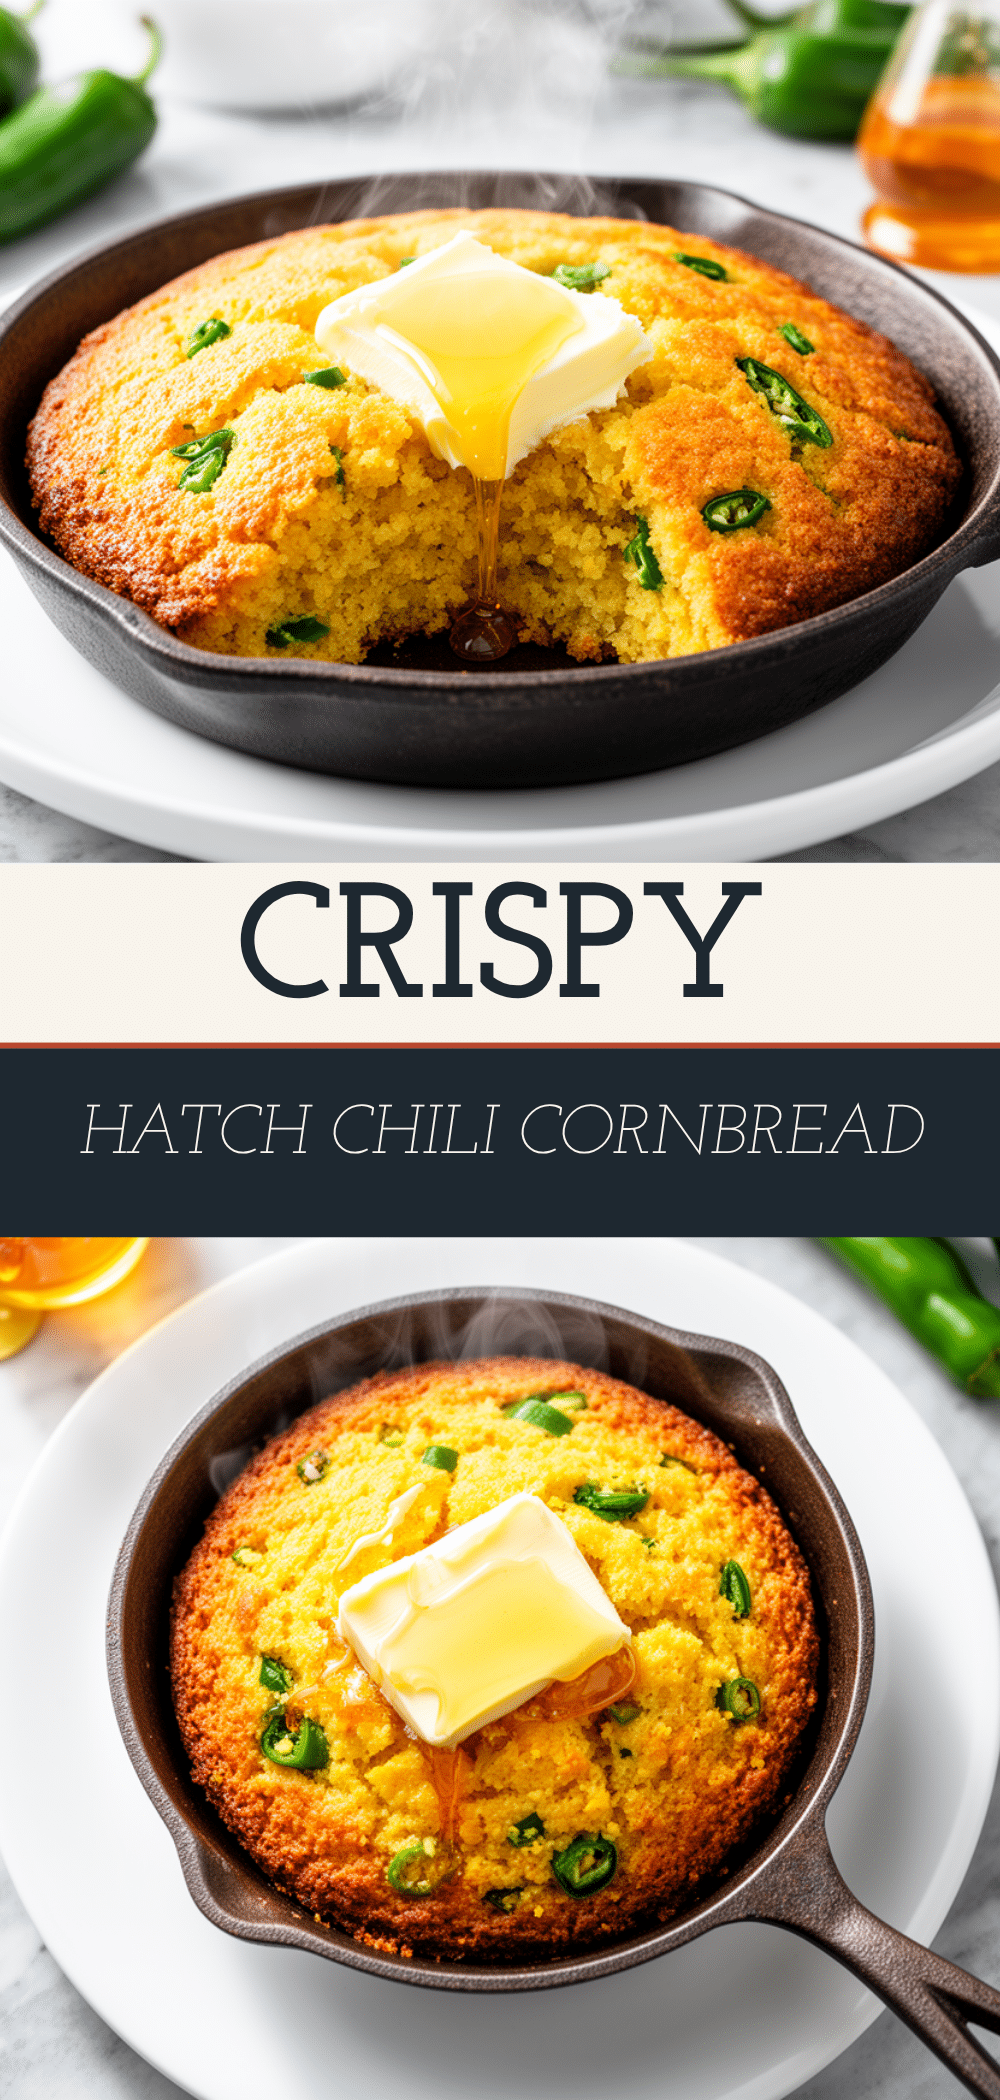

Crispy Hatch Chili Cornbread: 5-Step Best Homemade Recipe
- Total Time: 30 minutes
- Yield: 8 servings 1x
Description
A savory, homemade cornbread featuring a shatteringly crisp crust achieved by baking in a hot cast-iron skillet, filled with smoky roasted Hatch chilies and served with honey butter.
Ingredients
- 1 cup (120g) stone-ground yellow cornmeal
- ½ cup (60g) all-purpose flour
- 1 tablespoon baking powder
- 1 teaspoon kosher salt
- 1 cup (150g) roasted Hatch chilies, chopped
- 2 large eggs, room temperature
- 1 cup (240ml) buttermilk
- ½ cup (120g) full-fat sour cream
- ¼ cup (60ml) vegetable oil
- 3 tablespoons unsalted butter, melted
- 2 tablespoons butter or bacon grease (for skillet)
- ½ cup (115g) softened unsalted butter (for honey butter)
- 2 tablespoons honey (for honey butter)
Instructions
- Preheat oven to 425°F (220°C). Place a 10-inch cast-iron skillet in the oven to heat for 15-20 minutes.
- In a medium bowl, whisk together cornmeal, flour, baking powder, and salt.
- In a separate bowl, whisk eggs, buttermilk, sour cream, melted butter, and vegetable oil until smooth.
- Pour wet ingredients into dry ingredients and gently fold with a spatula until just combined; do not overmix. The batter should remain lumpy.
- Fold in the chopped roasted Hatch chilies.
- Carefully remove the hot skillet from the oven. Add butter or bacon grease; swirl to coat the bottom and sides. It should smoke slightly.
- Pour batter into the hot skillet; it should sizzle loudly. Spread evenly.
- Bake for 20-25 minutes until the top is golden brown and a toothpick inserted in the center comes out clean.
- Cool in the skillet for 5 minutes before cutting.
- For honey butter, mix softened butter and honey until creamy. Serve cornbread warm with honey butter.
Notes
Ensure the cast-iron skillet is fully preheated to create the crispy crust. Do not overmix the batter to avoid a dense texture. Let the cornbread cool for 5 minutes before cutting to prevent crumbling. For a gluten-free version, use gluten-free cornmeal and a 1:1 gluten-free flour blend.
- Prep Time: 10 minutes
- Cook Time: 20 minutes
- Category: Side Dish
- Cuisine: Southwestern
Nutrition
- Serving Size: 1 wedge
- Calories: 280
- Sugar: 4
- Sodium: 350
- Fat: 14
- Saturated Fat: 7
- Carbohydrates: 32
- Fiber: 2
- Protein: 6
Keywords: Hatch chili cornbread, crispy cornbread, cast iron cornbread, southwestern recipes, homemade cornbread, savory cornbread, honey butter


