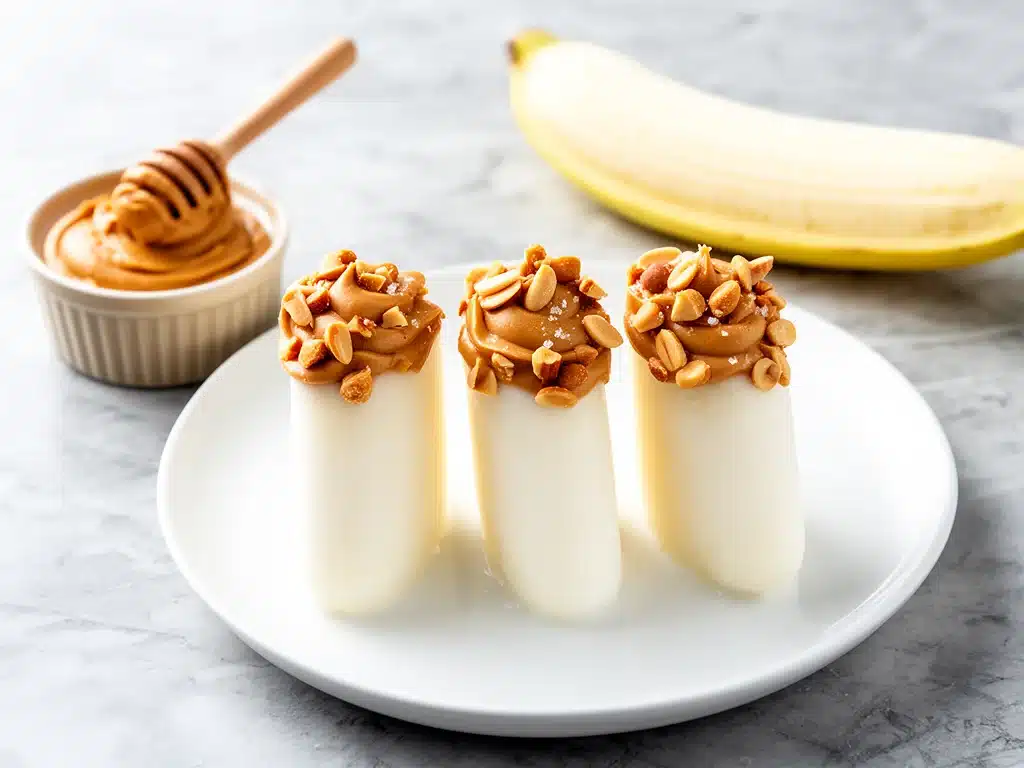
Last Tuesday, I was in full “desperate mom” mode. It was 4:30 PM, the sun was still out, and my kids had just come in from soccer practice. They were hangry, sweaty, and looking at me with that specific expression that says, “Feed us something good, but not junk.” I opened the freezer, hoping to find something salvageable, and instead found a bag of bananas that had been hiding in the back since last week. They were black, squishy, and perfect.
I didn’t have time to bake. I didn’t have the energy to stand over a stove. But I did have peanut butter and those sad, sweet bananas. So, I threw them in the blender with a splash of milk and a handful of chocolate chips, poured the mixture into popsicle molds, and stuck them in the freezer.
Twenty minutes later, the results were so good my husband walked by, saw what I was making, and immediately asked for a mold. These creamy frozen banana peanut butter pops aren’t just a healthy snack hack. They are genuinely delicious. They taste like a creamy ice cream bar but with actual nutrition inside. I’ve made them three times this week alone, and honestly? I might be obsessed.
If you’ve been looking for a way to use up overripe bananas without baking a loaf of bread, or if you just want a treat that doesn’t leave you with a sugar crash, this is it. It’s three ingredients (okay, maybe four if you add chocolate chips), it takes five minutes of active prep, and it’s the kind of thing you’ll make on repeat because it’s that good.
Why These Banana Pops Will Become Your New Best Friend
There are a million frozen banana recipes out there, but this specific combo of banana and peanut butter hits a different note. It’s rich, it’s cold, and it satisfies that late-afternoon sweet tooth without feeling like a cheat. Here’s why I keep coming back to this recipe:
- It’s actually healthy — No refined sugar, no artificial flavors. Just fruit, nut butter, and maybe a little chocolate. It’s a win-win for you and your kids. I feel good giving these to my kids because it’s basically fruit ice cream.
- Zero cooking required — If you can blend things, you can make this. There’s no heating, no baking, no mess. It’s perfect for hot days when you don’t want to turn on the oven, or lazy evenings when you’re too tired to cook.
- Uses up overripe fruit — We all have that one bag of bananas in our kitchen that have gone from “perfect yellow” to “black and mushy.” This recipe is the hero for saving them from the compost bin. The riper the banana, the sweeter the pops.
- Customizable to the max — Want them vegan? Easy. Want them gluten-free? They already are. Want to add protein powder? Go for it. This base recipe is a blank canvas for whatever you have in your pantry.
- Great for meal prep — I make a big batch on Sunday mornings while the kids are playing. By the time Wednesday rolls around, the freezer is stocked with healthy treats. It saves me from the 3 PM snack crisis every single time.
Real talk: I used to buy those expensive frozen fruit bars at the store, and they were mostly ice and sugar. These pops are creamy, rich, and satisfying. They’re the kind of snack that makes you feel like you’re treating yourself, even though you’re eating fruit.
What You’ll Need to Make These Pops
The beauty of this recipe is how simple the ingredient list is. You probably have everything you need right now. Here’s the breakdown of what goes into the blender, and why each part matters.
The Core Ingredients
Ripe bananas (4 large) — This is the star of the show. You want bananas that are heavily spotted with brown or even black. The peels should be black. This means the starches have converted to sugar, giving you natural sweetness without adding any extra sugar. If your bananas are still yellow, they’ll work, but the pops will be less sweet. You can freeze yellow bananas for a few days to speed up the process.
Peanut butter (½ cup) — I use natural creamy peanut butter. The kind with just peanuts and salt is ideal. If you use one with added sugar or hydrogenated oils, it might change the texture slightly, but it’ll still taste good. Avoid crunchy peanut butter if you want that smooth, ice-cream-like consistency. If you’re allergic to peanuts, almond butter or cashew butter works just as well.
Milk (¼ to ½ cup) — This helps everything blend smoothly. I use whole milk for extra creaminess, but any milk works. Almond milk, oat milk, or coconut milk are great dairy-free options. Start with ¼ cup and add more if the blender is struggling. You don’t want the mixture to be too watery, or the pops will be icy instead of creamy.
The Optional Add-Ins
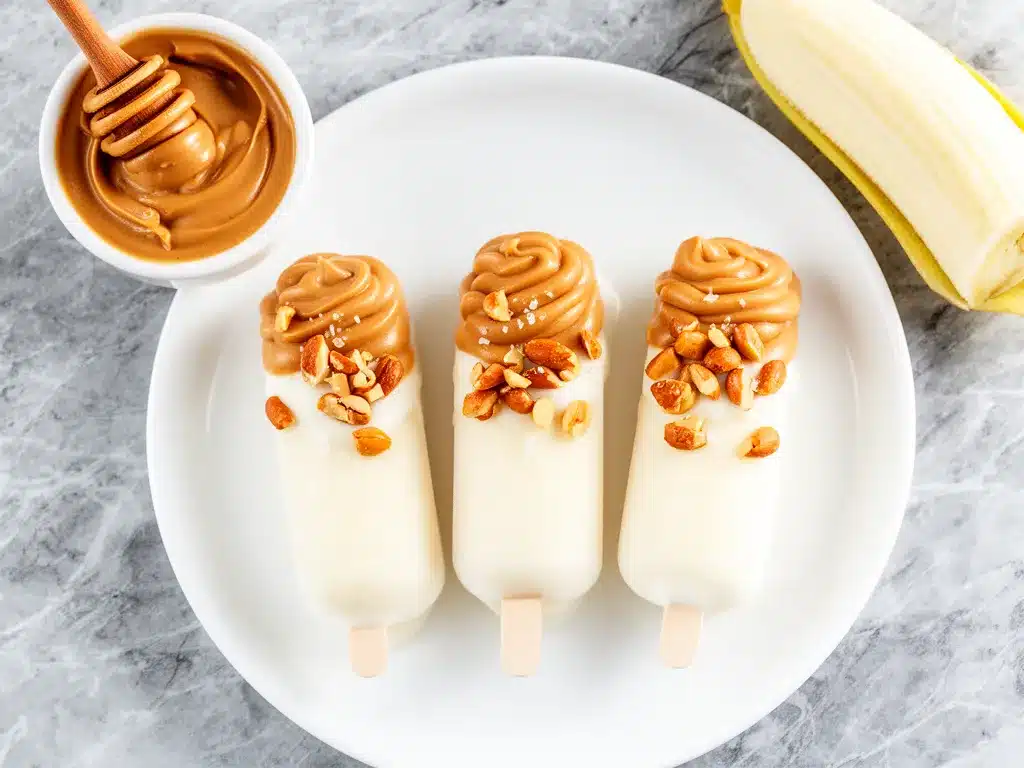
Chocolate chips (¼ cup) — I can’t stress enough how good these are with chocolate. They add little bursts of flavor and make the pops feel more like a dessert bar. Mini chocolate chips work best because they distribute evenly. Dark chocolate chips are a great option if you want to keep the sugar lower.
Vanilla extract (1 teaspoon) — Just a splash to enhance the flavor. It’s subtle, but it makes the banana and peanut butter taste more “dessert-like.” Skip it if you’re in a rush, but I recommend it.
Sea salt (a pinch) — Salt brings out the sweetness of the banana and the richness of the peanut butter. Don’t skip it. It’s the secret ingredient that makes homemade pops taste like store-bought ice cream.
Equipment You’ll Need
You don’t need fancy gadgets for this. Here’s what I use:
High-speed blender or food processor — A standard blender works fine, but a high-speed one (like a Vitamix or Ninja) makes the mixture incredibly smooth. If you’re using a weaker blender, you might need to stop and scrape down the sides a few times.
Popsicle molds — Any size works. I use silicone molds because they’re easy to pop out. If you don’t have molds, you can pour the mixture into small paper cups and insert wooden popsicle sticks (or chopsticks) after freezing for an hour. Just make sure the sticks are stable.
Measuring cups and spoons — Standard stuff. No need to be precise here; eyeballing it is totally fine.
How to Make Creamy Frozen Banana Peanut Butter Pops
Alright, let’s get blending. This is the easiest part of the whole process.
Step 1: Prep the Bananas
Peel your ripe bananas and break them into chunks. If your bananas are very ripe, they might be soft and messy—that’s perfect. Toss the chunks into your blender. I like to freeze the banana chunks for at least 30 minutes before blending if I want a thicker, ice-cream-like texture. If you’re in a hurry, fresh bananas work too, but the mixture will be thinner.
Step 2: Blend Until Smooth
Add the peanut butter, milk, vanilla, and salt to the blender. Blend on high until the mixture is completely smooth and creamy. This usually takes about 30-60 seconds. If the mixture is too thick to blend, add another tablespoon of milk. If it’s too thin, add another half banana. You want a consistency that’s like thick milkshake or soft-serve ice cream.
If you’re adding chocolate chips, fold them in now with a spoon. Don’t blend them in, or you’ll end up with chocolate-colored pops instead of swirled ones.
Step 3: Pour into Molds
Pour the mixture into your popsicle molds, leaving about ¼ inch of space at the top. The mixture will expand slightly as it freezes, so don’t fill them to the brim. If you’re using molds with sticks, insert them now. If you’re using molds without sticks, freeze for 1 hour until the edges are set, then insert sticks and freeze the rest of the way.
Step 4: Freeze
Place the molds in the freezer for at least 4-6 hours, or overnight. The longer they freeze, the firmer they’ll be. I usually leave them in overnight so they’re ready whenever I need them.
Step 5: Pop and Enjoy
To remove the pops, run the molds under warm water for 10-15 seconds. This loosens the edges and makes them slide out easily. If they’re stuck, give the mold a gentle wiggle. Serve immediately and enjoy!
Expert Tips for Perfect Pops
After making these dozens of times, I’ve learned a few tricks to make sure they come out perfect every time.
- Use the ripest bananas possible — I can’t say this enough. The blacker the banana, the sweeter and creamier the pops. If your bananas are still green or yellow, freeze them for a few days first.
- Don’t skimp on the peanut butter — The peanut butter provides the fat and creaminess. If you use too little, the pops will be icy. If you use too much, they might be too dense. ½ cup is the sweet spot.
- Blend thoroughly — Any lumps of banana or peanut butter will result in a grainy texture. Blend until it’s completely smooth. If you’re using a weak blender, this might take a few minutes. Be patient.
- Freeze the molds flat — Make sure your freezer shelf is level. If the molds are tilted, the pops will freeze unevenly, and the sticks might not stay centered.
- Store extras properly — If you have leftover mixture, you can freeze it in small containers for later. But it’s best made fresh for the best texture.
Variations and Substitutions
Once you’ve mastered the basic recipe, here are some fun ways to mix it up.
Chocolate Peanut Butter Cups
Add ¼ cup of mini chocolate chips to the batter. For an extra treat, drizzle melted chocolate on top of the pops after they’re frozen. It looks fancy and tastes even better.
Strawberry Banana Swirl
Blend 1 cup of frozen strawberries with the bananas and peanut butter. The strawberries add a nice tartness that cuts through the richness of the peanut butter. It’s like a strawberry shortcake in popsicle form.
Protein-Packed Version
Add a scoop of vanilla protein powder to the blender. This makes the pops a great post-workout snack. You might need to add a little more milk to compensate for the thickening effect of the protein powder.
Almond Butter Swap
Replace the peanut butter with almond butter for a slightly milder, nuttier flavor. It works just as well and is great for peanut-free zones like schools.
Vegan Option
This recipe is naturally vegan if you use dairy-free milk and vegan chocolate chips. Check your peanut butter label to make sure it doesn’t contain added honey or other non-vegan ingredients.
Serving and Storage
Serving Suggestions: These pops are great on their own, but they also pair well with a glass of cold milk or a side of fresh fruit. I like to serve them at parties because they’re fun and healthy-looking. Kids love helping to make them, too.
Storage: Store the pops in the freezer for up to 1 month. They might get a little icy after a few weeks, but they’ll still be delicious. If you notice ice crystals forming, eat them sooner rather than later.
Reheating: You don’t need to reheat these! Just eat them straight from the freezer. If they’re too hard to bite into, let them sit at room temperature for 5 minutes.
Nutrition Information
I’m not a nutritionist, but here’s a rough estimate for one pop (makes 8 pops total):
Calories: 120
Protein: 4g
Carbs: 15g
Fat: 6g
Fiber: 2g
Sugar: 10g
These pops are relatively low in sugar (thanks to the natural fruit sweetness) and have a good amount of protein and healthy fats from the peanut butter. They’re a much better option than store-bought ice cream bars, which can have 20+ grams of added sugar per serving.
Final Thoughts
These creamy frozen banana peanut butter pops are the kind of recipe that changes your life. Okay, maybe that’s a little dramatic, but they really do solve so many problems. They’re a healthy snack, a fun activity for kids, a way to use up overripe fruit, and a delicious treat that doesn’t feel guilty.
I’ve made these for back-to-school snacks, for summer parties, and just for random Tuesday afternoons. They’re versatile, easy, and always a hit. If you’re looking for more easy snack ideas, check out these chewy banana oat breakfast cookies for another banana-based treat that’s perfect for meal prep.
Give this recipe a try this week. I bet you’ll be making them on repeat just like I am. And if you do, let me know how they turn out! I love hearing about your kitchen experiments.
Frequently Asked Questions
Can I use frozen bananas instead of fresh?
Yes! In fact, using frozen bananas makes the pops thicker and creamier. Just thaw them slightly before blending so the blender doesn’t struggle. If you use fresh bananas, the pops will be softer and might need to freeze longer.
Why are my pops icy instead of creamy?
This usually happens if there’s not enough fat in the recipe. Make sure you’re using enough peanut butter and milk. Also, blending the mixture thoroughly helps eliminate ice crystals. If you’re using frozen bananas, make sure they’re fully thawed before blending.
Can I make these without a blender?
You can, but the texture won’t be as smooth. You’d need to mash the bananas very thoroughly and mix in the peanut butter by hand. It’s possible, but a blender is definitely recommended for that ice-cream-like consistency.
How long do these pops last in the freezer?
They last best for up to 1 month. After that, they might develop ice crystals or freezer burn. They’re still safe to eat, but the quality declines. I usually make a batch that lasts about 2-3 weeks.
Can I use other nut butters?
Absolutely. Almond butter, cashew butter, and sunflower seed butter all work great. Just keep in mind that different nut butters have different textures and sweetness levels, so you might need to adjust the milk or vanilla accordingly.
Are these pops gluten-free?
Yes, they are naturally gluten-free. Just make sure your peanut butter and any add-ins (like chocolate chips) are certified gluten-free if you have celiac disease or a severe allergy.
Pin This Recipe!
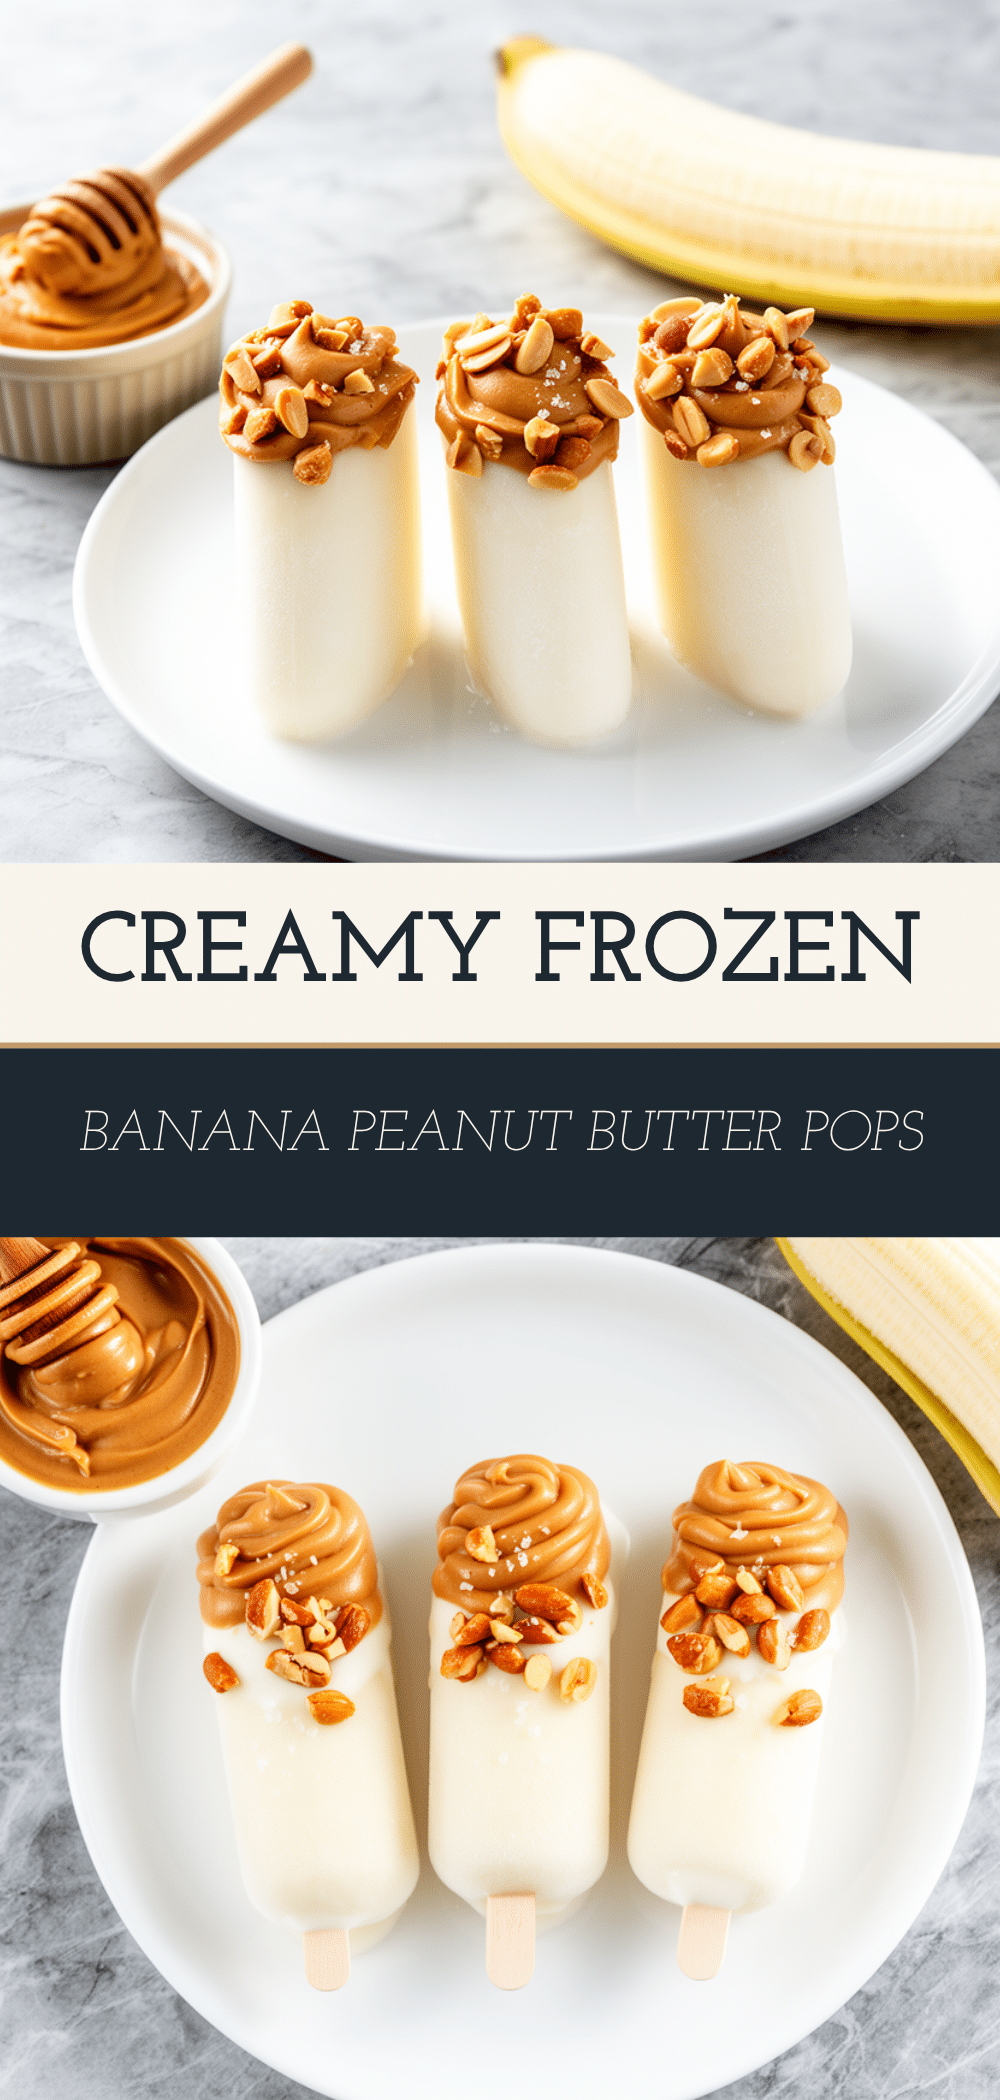
Creamy Frozen Banana Peanut Butter Pops
- Total Time: 4 hours 5 minutes
- Yield: 8 servings 1x
Description
A healthy, 3-ingredient frozen treat made with ripe bananas, peanut butter, and milk. These pops are creamy, naturally sweet, and perfect for using up overripe fruit without any baking required.
Ingredients
- 4 large ripe bananas (peeled and broken into chunks)
- ½ cup creamy natural peanut butter
- ¼ to ½ cup milk (dairy or non-dairy like almond or oat milk)
- 1 teaspoon vanilla extract (optional)
- A pinch of sea salt (optional)
- ¼ cup mini chocolate chips (optional)
Instructions
- Peel ripe bananas and break them into chunks. For a thicker texture, freeze the banana chunks for at least 30 minutes before blending.
- Add banana chunks, peanut butter, milk, vanilla extract, and sea salt to a high-speed blender or food processor.
- Blend on high until the mixture is completely smooth and creamy, about 30-60 seconds. Add more milk if too thick or another half banana if too thin.
- If using chocolate chips, fold them into the mixture with a spoon rather than blending them in to maintain swirls.
- Pour the mixture into popsicle molds, leaving about ¼ inch of space at the top for expansion.
- Insert popsicle sticks if using molds without them. If using molds without sticks, freeze for 1 hour until edges are set, then insert sticks.
- Freeze for at least 4-6 hours or overnight until firm.
- To serve, run the molds under warm water for 10-15 seconds to loosen the pops, then slide them out and enjoy.
Notes
Use the ripest bananas possible (black peels) for maximum sweetness and creaminess. Ensure the freezer shelf is level so pops freeze evenly. These can be stored in the freezer for up to 1 month. If pops are too hard to bite into, let them sit at room temperature for 5 minutes.
- Prep Time: 5 minutes
- Cook Time: 0 minutes
- Category: Dessert
- Cuisine: American
Nutrition
- Serving Size: 1 pop
- Calories: 120
- Sugar: 10
- Sodium: 50
- Fat: 6
- Saturated Fat: 1
- Carbohydrates: 15
- Fiber: 2
- Protein: 4
Keywords: banana pops, peanut butter pops, healthy dessert, frozen treats, kid-friendly snacks, gluten-free, vegan, no-bake, meal prep


