There was a specific Tuesday in November three years ago when the rain wouldn’t stop falling against my window. I had invited six friends over for what I thought would be a simple “chill night,” but as the clock ticked toward 6 PM, I realized I had zero plan. I stared into the freezer, where a frozen pot pie sat like a frozen brick of regret. I remembered the last time I’d heated one up: soggy bottom, rubbery crust, and a filling that tasted like cardboard and preservatives.
I couldn’t serve that to my friends. Not the ones who appreciate good food, not the ones who come over specifically to see what I’ve cooked up. So, I did something I hadn’t done in years. I pulled out the flour. I grabbed the butter. And I made a pie crust from scratch.
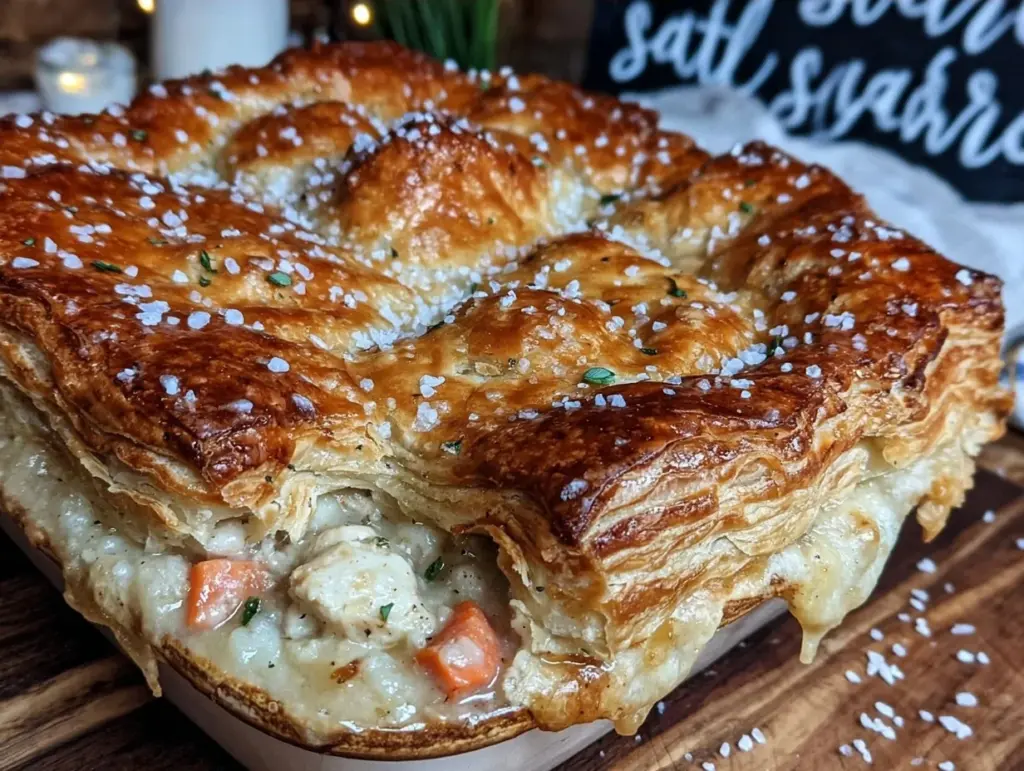
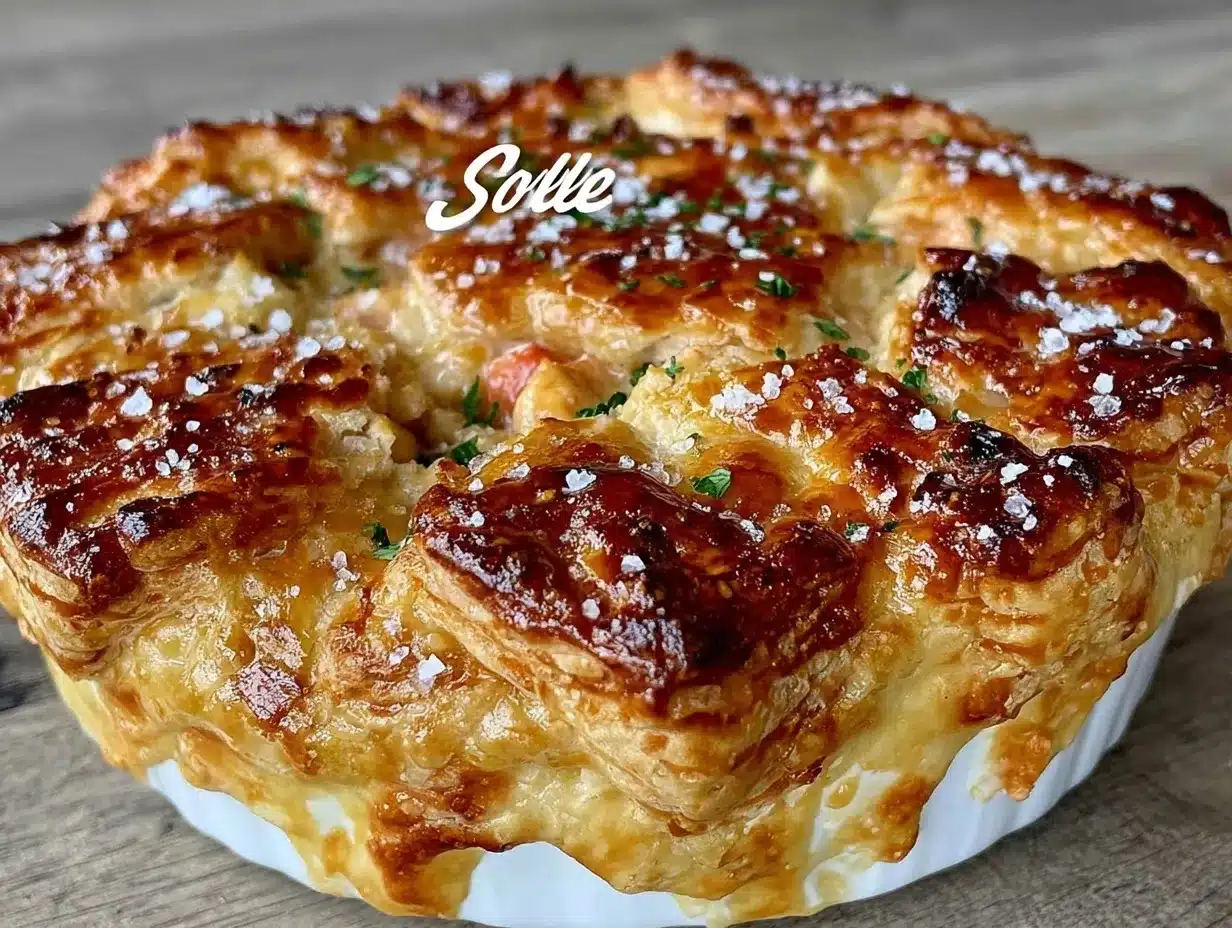
It wasn’t perfect. My first attempt was a bit crumbly, and I definitely overworked the dough (big mistake, as you’ll see). But when that golden, flaky lid came out of the oven, smelling like toasted wheat and rich herbs, the room changed. The aroma pulled people into the kitchen. The sound of the knife slicing through the crisp crust was the soundtrack to the evening. We didn’t just eat dinner; we experienced it. That night, I realized that Autumn Chicken Pot Pie with Flaky Golden Crust isn’t just comfort food—it’s the ultimate hostess move. It says, “I care enough to make this from scratch, but I’ve made it easy enough that you can help me.”
I’ve since made this recipe for Thanksgiving (when I didn’t want another turkey), for rainy Sunday suppers, and for date nights. It has become my secret weapon for impressive, cozy, shareable meals that taste like a hug. If you’ve been intimidated by pie crusts, let me tell you: you don’t need to be a pastry chef. You just need to know a few tricks. And once you try this filling—creamy, herbaceous, and packed with tender chicken and sweet root vegetables—you’ll never go back to the frozen aisle.
Why You’ll Love This Autumn Chicken Pot Pie
This isn’t your average weeknight casserole. This is the dish that turns a regular dinner into an event. Here’s why it keeps showing up on my table, and why it should show up on yours.
- It Looks Like It Came from a Bakery — Seriously. The golden, flaky top with those decorative cutouts or braided edges? It looks incredibly high-effort. Guests always ask, “Did you buy that?” The answer is always no. It’s a huge flex for your hosting skills.
- It’s a Complete Meal in One Dish — I love recipes that do the heavy lifting. You’ve got your protein (chicken), your veggies (carrots, peas, potatoes), your starch (crust), and your sauce (creamy gravy). You don’t need to cook a side salad or bake bread. Just serve it with some roasted Brussels sprouts or a simple arugula salad, and you’re done.
- It Freezes Like a Dream — This is crucial. You can assemble these unbaked and freeze them for up to three months. Need to feed a crowd next month? Or just want a “just-in-case” dinner for a busy week? This is your safety net. It reheats beautifully, too.
- It’s Naturally Gluten-Free Friendly (If You Want) — While I love traditional flour crusts, I’ve tested this with a gluten-free blend, and the texture holds up surprisingly well. The filling is naturally GF, so you can accommodate dietary restrictions without sacrificing flavor.
- It Tastes Better the Next Day — Don’t get me wrong, it’s amazing hot out of the oven. But the flavors meld together overnight. The crust stays crispier if you reheat it in the oven, and the filling gets even richer. It’s the ultimate leftovers win.
Whether you’re hosting a cozy autumn dinner party or just want to treat yourself to something indulgent on a cold night, this recipe delivers. It’s rich, it’s warm, and it’s deeply satisfying. Plus, it pairs beautifully with other fall favorites like my creamy thyme chicken and wild rice soup if you’re feeling extra generous with the menu.
Ingredients You’ll Need
Here’s the thing about pot pie: the quality of your ingredients matters more than the quantity. Since there aren’t twenty different spices hiding in the background, every ingredient needs to shine. I’m particular about three things here: the butter, the broth, and the vegetables.
For the Flaky Golden Crust
Unsalted Butter (1 cup / 225g, very cold) — This is non-negotiable. I use European-style butter like Kerrygold or Plugra because the higher fat content creates those gorgeous, distinct flakes. Cube it and keep it in the freezer for 10 minutes before you start.
All-Purpose Flour (2 ½ cups / 315g) — Standard AP flour works perfectly. Don’t try to swap this for whole wheat unless you want a dense, heavy crust. We want light and airy.
Ice Water (½ to ¾ cup / 120-180ml) — Must be ice cold. If the water is warm, it melts the butter too early, and you lose the flakiness. I keep a glass of ice water in the fridge specifically for this.
Salt (1 teaspoon) — Enhances the flavor of the dough. Don’t skip it.
Egg Wash (1 egg beaten with 1 tablespoon water) — For that shiny, golden-brown finish. I add a pinch of sugar to the egg wash for extra color.
For the Creamy Filling
Chicken (3 cups / 450g, cooked and shredded) — I use rotisserie chicken for speed, but poached chicken breasts work too. Shred it into bite-sized pieces. Avoid large chunks; you want every bite to have the right ratio of crust to filling.
Butter (4 tablespoons / 60g) — For the roux. Use the same quality butter as in the crust.
All-Purpose Flour (¼ cup / 30g) — To thicken the sauce. This creates the roux that binds everything together.
Chicken Broth (2 cups / 480ml) — I use low-sodium so I can control the saltiness. Good quality broth makes a huge difference here. If you don’t have it, my creamy chicken alfredo tortellini uses a similar base, so you can see how much good broth matters.
Heavy Cream (1 cup / 240ml) — For richness. Don’t skimp. This is a treat recipe.
Onion (1 medium, diced) — Yellow or white. Sweet and aromatic.
Garlic (3 cloves, minced) — Fresh only. Jarred garlic tastes metallic in a delicate cream sauce.
Carrots (2 medium, diced into small cubes) — Small cubes so they cook evenly and fit nicely in the pie.
Potatoes (1 cup, diced Yukon Gold) — Yukon Golds hold their shape better than Russets in a creamy sauce. They add a lovely buttery texture.
Frozen Peas (1 cup) — Add them at the end so they stay bright green and sweet.
Fresh Herbs (2 tablespoons thyme, 1 tablespoon parsley) — Fresh thyme is the soul of this dish. Dried works in a pinch, but fresh is worth the trip to the store.
Seasonings — 1 teaspoon salt, ½ teaspoon black pepper, ½ teaspoon paprika (for color and warmth), and a pinch of nutmeg (trust me, it adds depth).
Equipment Needed
You don’t need a fancy kitchen for this. Here’s what I actually use, and what you can skip.
Two 9-inch Pie Dishes — I usually make two smaller pies instead of one giant one. It’s easier to serve, and you get more crispy edges. Plus, it’s less intimidating to make two smaller crusts than one huge one.
Food Processor — Optional, but helpful for the crust. It keeps the butter cold and distributes it evenly. If you’re doing it by hand, use a pastry cutter or two forks.
Large Skillet or Dutch Oven — For cooking the filling. You need enough space to stir the veggies and sauce without spilling.
Rolling Pin — Any standard rolling pin works. I like my wooden one, but silicone is fine too.
Baking Sheet — Line it with parchment paper. The bottom crust can leak, and you don’t want to scrub your oven rack later.
Silicone Brush — For the egg wash. It gives you better control than a pastry brush.
How to Make It: Step-by-Step
Alright, let’s make this! I’m walking you through exactly how I do it, including the little tricks I’ve picked up over the years. The process has two parts: the crust (which needs a little chill time) and the filling (which cooks fast).
Step 1: Make the Pie Dough (15 minutes + 30 minutes chill)
In a food processor, pulse the flour and salt. Add the cold, cubed butter. Pulse in short bursts until the mixture looks like coarse meal with some pea-sized chunks of butter remaining. Key Tip: Those butter chunks are what create the flaky layers.
Add ice water, one tablespoon at a time, pulsing after each addition. Stop when the dough just begins to clump together when you pinch it. Don’t over-mix. You want it shaggy.
Divide the dough into two disks. Wrap tightly in plastic wrap and refrigerate for at least 30 minutes (or up to 3 days). This relaxes the gluten and re-chills the butter.
Step 2: Prep the Vegetables
While the dough chills, dice your carrots and potatoes into small, uniform cubes (about ¼ inch). This ensures they cook through in the same amount of time. Mince your onion and garlic. Have your shredded chicken measured out and ready.
Step 3: Cook the Filling (20 minutes)
In a large skillet, melt 4 tablespoons of butter over medium heat. Add the diced onions and cook for 3-4 minutes until soft and translucent. Add the garlic, carrots, and potatoes. Cook for another 5 minutes, stirring occasionally, until the carrots start to soften.
Sprinkle the ¼ cup flour over the vegetables and stir constantly for 1 minute. This cooks off the raw flour taste. You’ll see the mixture become slightly pasty.
Pour in the chicken broth and heavy cream, whisking constantly to prevent lumps. Bring to a simmer. Let it cook for 5-7 minutes, stirring often, until the sauce thickens enough to coat the back of a spoon. It should be creamy and rich, not watery.
Remove from heat. Stir in the shredded chicken, frozen peas, fresh thyme, parsley, salt, pepper, paprika, and nutmeg. Taste and adjust seasoning. The filling should be well-seasoned, as the crust is bland. Let it cool slightly while you roll out the dough.
Step 4: Assemble the Pies
Preheat your oven to 400°F (200°C). Place a baking sheet on the middle rack to heat up.
On a floured surface, roll out one disk of dough into a 12-inch circle. Carefully transfer it to the pie dish. Trim the edges so they hang over by about ½ inch. Add the cooled filling to the crust.
Roll out the second disk. You can place it whole on top for a classic look, or cut it into strips for a lattice top. I like cutting out leaf shapes for an autumn vibe. Place the top crust on the filling. Trim the excess crust, leaving a ½ inch overhang. Fold the top crust under the bottom crust and crimp the edges with your fingers or a fork.
Cut 4-5 slits in the top crust to allow steam to escape. This prevents the crust from getting soggy.
Brush the top generously with the egg wash. If you want extra color, sprinkle a little coarse sugar on top.
Step 5: Bake Until Golden (45-50 minutes)
Place the pie dish on the preheated baking sheet. This helps the bottom crust cook evenly and prevents a soggy bottom.
Bake at 400°F (200°C) for 20 minutes. Then, reduce the heat to 375°F (190°C) and bake for another 25-30 minutes. The crust should be deep golden brown, and the filling should be bubbling vigorously through the vents. If the edges are browning too fast, cover them with a pie shield or foil.
Let the pie cool for at least 15-20 minutes before cutting. This allows the filling to set so it doesn’t run out when you slice it.
Expert Tips & Tricks
Here’s everything I’ve learned from making this dozens of times. These tips will save you from my mistakes.
- Keep Everything Cold — For the crust, cold butter and cold water are your best friends. If the butter starts to melt before it hits the oven, you lose the flaky layers. If your kitchen is warm, put the dough back in the fridge for 10 minutes before rolling.
- Don’t Skip the Preheated Baking Sheet — This is a game-changer for the bottom crust. A hot pan at the start helps set the bottom layer immediately, preventing sogginess.
- Blind Bake? Not Necessary Here — Since the filling is already cooked, you don’t need to blind bake the crust. Just make sure your filling isn’t piping hot when you put it in the pie dish, or it might steam the crust from the inside.
- Use Yukon Golds — Russet potatoes break down too much in a creamy sauce. Yukon Golds or fingerlings hold their shape and add a nice buttery bite.
- Let It Rest — I know it’s hard to wait, but cutting into a hot pot pie is a disaster. The filling is like lava, and it will spill out everywhere. 15 minutes of cooling is worth it for a clean slice.
Variations & Substitutions
Once you’ve nailed the basic version, here’s how you can mix it up. I’ve tried all of these.
Turkey Pot Pie — Perfect for using up leftover turkey after Thanksgiving. Same recipe, different bird.
Vegetarian Version — Swap the chicken for chickpeas or mushrooms. Sauteed cremini mushrooms add a great umami depth. I also add extra celery and leeks for flavor.
Gluten-Free Crust — Use a 1:1 gluten-free flour blend. Add 1 teaspoon of xanthan gum if your blend doesn’t have it. The texture will be slightly more tender and less flaky, but still delicious.
Dairy-Free — Use coconut oil instead of butter for the crust (it has a higher smoke point and creates a flaky texture). Use full-fat coconut milk instead of heavy cream. The flavor will be slightly coconutty, which pairs well with the herbs.
Spicy Kick — Add a teaspoon of cayenne pepper or a diced jalapeño to the filling. It cuts through the richness nicely.
Different Veggies — Feel free to swap in corn, green beans, or butternut squash. Just make sure the veggies are cut to similar sizes for even cooking.
Serving & Storage
How to Serve: I usually serve this straight from the pie dish at the center of the table. It looks rustic and inviting. Pair it with a crisp green salad with a vinaigrette to cut through the richness. A glass of Pinot Noir or Chardonnay works perfectly.
Refrigerator: Store leftovers in an airtight container for up to 3 days. The crust may soften slightly in the fridge, but it reheats beautifully.
Reheating: The microwave is the enemy of flaky crusts. Reheat in the oven at 350°F (175°C) for 15-20 minutes, or until heated through. This keeps the crust crisp. If you must use the microwave, do it in short bursts and cover the edges with foil.
Freezing: You can freeze unbaked pies for up to 3 months. Wrap tightly in plastic and foil. Bake from frozen, adding 15-20 minutes to the cook time. You can also freeze baked leftovers, but the texture won’t be quite as good.
Pro Tip: If you’re making this for a dinner party, assemble the pies the night before. Cover and refrigerate. Take them out 30 minutes before baking to take the chill off. This makes serving day stress-free.
Nutrition Information
I’m not a nutritionist, but here’s the breakdown if you’re tracking. Note that this is an estimate and can vary based on specific ingredients used.
Per Serving (based on 8 servings per pie):
- Calories: 580
- Protein: 22g
- Carbs: 45g
- Fiber: 3g
- Fat: 32g
- Saturated Fat: 16g
Look, this is comfort food. It’s rich, it’s creamy, and it’s meant to be enjoyed. But it’s also balanced with protein and veggies. When I want to make it lighter, I use a lighter cream and more veggies, but honestly? I usually just enjoy a reasonable portion and savor every bite.
Final Thoughts
So that’s my go-to Autumn Chicken Pot Pie with Flaky Golden Crust! I’ve probably talked your ear off at this point, but when you make a recipe this often, you have a lot to say about it.
This pie has saved me more times than I can count. It’s my answer to “what’s for dinner” when I want to impress, when I’m hosting, or when I just need a warm hug in a dish. It’s messy, it’s delicious, and it brings people together. My guests always leave full and happy, and I love that.
Make it yours! Try different herbs, swap in your favorite vegetables, or add a bit of cheese on top. The best recipes are the ones you adapt to your family’s tastes.
If you make this, drop a comment and let me know what you think! I love hearing how recipes turn out in your kitchen. And if something doesn’t work, tell me that too—I’m here to help troubleshoot.
Happy cooking! And I hope your kitchen smells half as good as mine does right now.
Frequently Asked Questions
Can I use store-bought pie crust?
Absolutely. If you’re short on time, a high-quality refrigerated crust works fine. But I strongly recommend making your own if you have the time. The difference in texture and flavor is night and day. The homemade crust is what makes this recipe special.
Why did my bottom crust get soggy?
This usually happens if the filling was too hot when you added it, or if the oven wasn’t hot enough. Always let the filling cool slightly before assembling. Also, using a preheated baking sheet (as mentioned in the tips) helps cook the bottom crust quickly.
Can I make this ahead of time?
Yes! Assemble the pies up to 24 hours ahead. Cover and refrigerate. When you’re ready to bake, you can put them in the oven straight from the fridge, but you may need to add 10-15 minutes to the baking time.
Can I freeze the baked pie?
You can, but the crust might lose some of its flakiness upon reheating. It’s still delicious, but for the best texture, freeze the unbaked pie. Thaw it in the fridge overnight before baking.
What herbs go best in chicken pot pie?
Thyme is the classic choice. Rosemary and sage also work well. Parsley adds freshness. I stick with thyme and parsley for this recipe, but feel free to experiment.
How do I know when the pot pie is done?
The crust should be deep golden brown, and the filling should be bubbling vigorously through the vents. If you’re unsure, insert a knife into the center of the filling (through the crust) to check if the vegetables are tender.
Pin This Recipe!
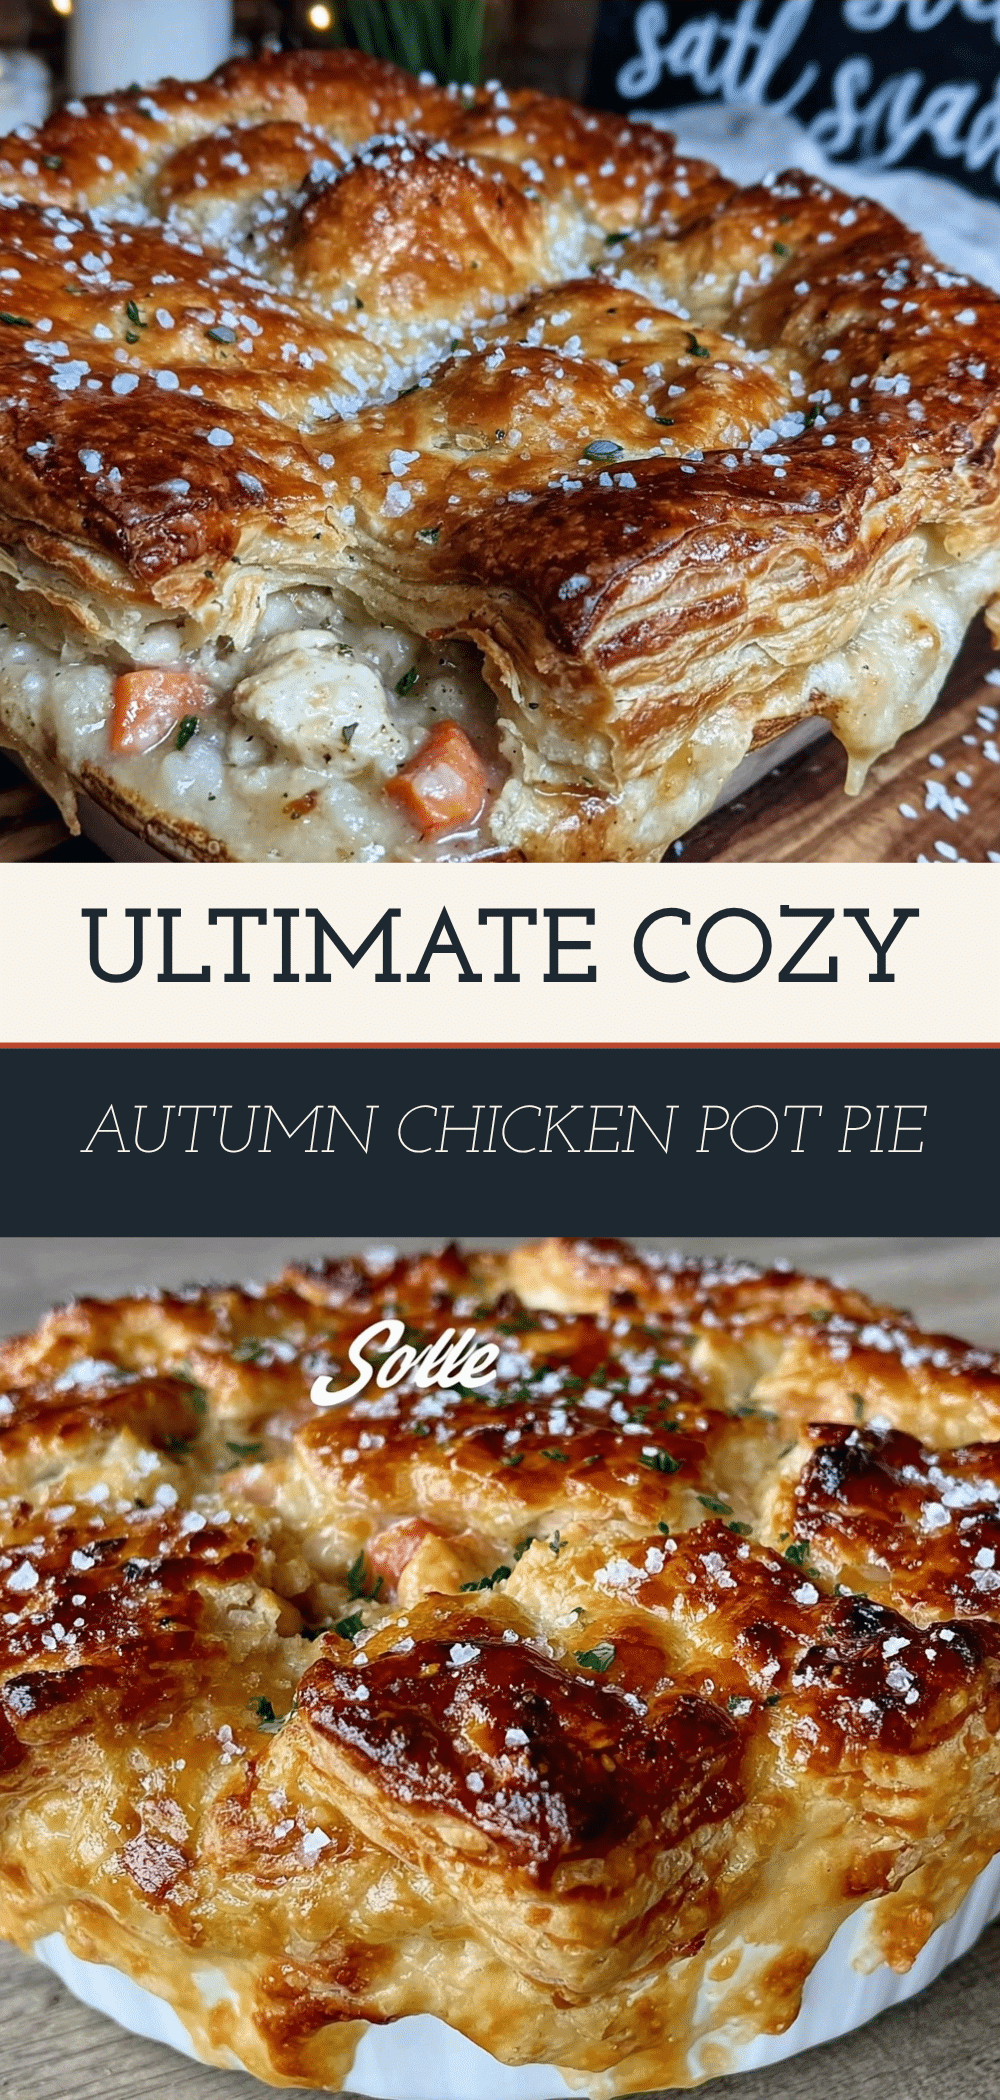

Autumn Chicken Pot Pie with Flaky Golden Crust
- Total Time: 1 hour 35 minutes
- Yield: 8 servings 1x
Description
A homemade chicken pot pie featuring a rich, creamy filling with tender chicken and root vegetables, topped with a flaky, golden-brown butter crust. Perfect for dinner parties or cozy nights.
Ingredients
- For the Crust:
- 1 cup (225g) unsalted butter, very cold and cubed
- 2 ½ cups (315g) all-purpose flour
- ½ to ¾ cup (120-180ml) ice water
- 1 teaspoon salt
- 1 egg beaten with 1 tablespoon water (for egg wash)
- For the Filling:
- 3 cups (450g) cooked and shredded chicken
- 4 tablespoons (60g) butter
- ¼ cup (30g) all-purpose flour
- 2 cups (480ml) low-sodium chicken broth
- 1 cup (240ml) heavy cream
- 1 medium onion, diced
- 3 cloves garlic, minced
- 2 medium carrots, diced into small cubes
- 1 cup diced Yukon Gold potatoes
- 1 cup frozen peas
- 2 tablespoons fresh thyme
- 1 tablespoon fresh parsley
- 1 teaspoon salt
- ½ teaspoon black pepper
- ½ teaspoon paprika
- Pinch of nutmeg
Instructions
- Make the dough: Pulse flour and salt in a food processor. Add cold cubed butter and pulse until mixture resembles coarse meal with pea-sized butter chunks.
- Add ice water one tablespoon at a time, pulsing until dough begins to clump. Do not over-mix.
- Divide dough into two disks, wrap in plastic, and refrigerate for at least 30 minutes.
- Prep vegetables: Dice carrots and potatoes into ¼-inch cubes. Mince onion and garlic.
- Cook filling: Melt 4 tablespoons butter in a large skillet over medium heat. Sauté onion for 3-4 minutes until soft.
- Add garlic, carrots, and potatoes; cook for 5 minutes until carrots soften.
- Sprinkle ¼ cup flour over vegetables and stir for 1 minute to cook off raw flour taste.
- Whisk in chicken broth and heavy cream. Simmer for 5-7 minutes until sauce thickens.
- Remove from heat. Stir in chicken, peas, thyme, parsley, salt, pepper, paprika, and nutmeg. Let cool slightly.
- Preheat oven to 400°F (200°C). Place a baking sheet on the middle rack to heat.
- Roll out one dough disk into a 12-inch circle. Place in pie dish, leaving ½ inch overhang.
- Add cooled filling to the crust.
- Roll out second dough disk. Place on top, trim excess, and crimp edges. Cut 4-5 slits in top crust.
- Brush with egg wash and sprinkle with coarse sugar if desired.
- Place pie on preheated baking sheet. Bake at 400°F for 20 minutes.
- Reduce heat to 375°F (190°C) and bake for another 25-30 minutes until golden brown and filling is bubbling.
- Cool for 15-20 minutes before slicing to allow filling to set.
Notes
Keep all ingredients for the crust very cold to ensure flakiness. Use a preheated baking sheet to prevent a soggy bottom. Let the pie rest for 15-20 minutes after baking to allow the filling to set. Can be frozen unbaked for up to 3 months.
- Prep Time: 45 minutes
- Cook Time: 50 minutes
- Category: Main Course
- Cuisine: American
Nutrition
- Serving Size: 1 slice (based on 8
- Calories: 580
- Fat: 32
- Saturated Fat: 16
- Carbohydrates: 45
- Fiber: 3
- Protein: 22
Keywords: chicken pot pie, autumn recipe, comfort food, homemade pie crust, dinner party, flaky crust, creamy filling, root vegetables


