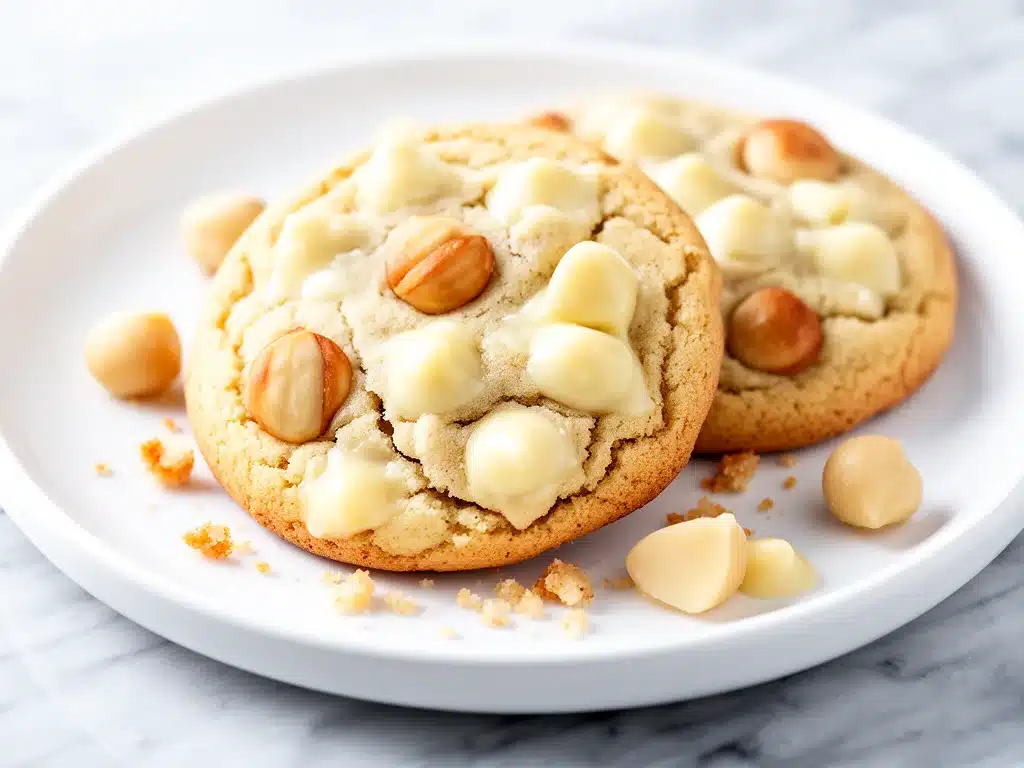
There is a specific kind of panic that hits at 7:30 PM on a Tuesday. You’ve just gotten the kids fed, the dishes are done, and you’re staring into the fridge wondering if there’s anything left that doesn’t involve reheating pizza for the third time in a week. That was me last month. I was tired, the house was quiet, and I desperately wanted something sweet that felt indulgent but didn’t require a three-hour baking session or a trip to the grocery store.
I found myself reaching for my go-to emergency dessert: these chewy white chocolate macadamia cookies. I’ve made them so many times that I can mix the dough with my eyes closed. And here’s the thing—they are absolutely perfect for busy weeknights. They come together in about 15 minutes of active time, they use ingredients I always have in my pantry (or close enough), and they taste like something you’d buy at a fancy bakery but cost pennies to make.
Most people think cookies are a weekend project. They imagine flour everywhere, intricate piping, and hours of cooling time. But these cookies? They’re different. They’re rustic, they’re forgiving, and they deliver that perfect soft, chewy center with crispy edges that makes everyone in the house stop what they’re doing and gather in the kitchen. I’ve tested this recipe at least twenty times, tweaking the ratio of nuts to chocolate and the baking time until it was foolproof. This isn’t just a cookie; it’s my secret weapon for turning a mundane Tuesday night into a little celebration.
If you’re skeptical about making cookies from scratch when you’re exhausted, hear me out. This is the easiest dessert you’ll ever make. It’s better than store-bought, it’s warmer, and honestly? It’s going to save your weeknight sanity.
Why You’ll Love This Recipe
I know what you’re thinking. “Cookies? On a weeknight?” But trust me, once you bake these, you’ll never look at dessert time the same way. This recipe has completely changed our evening routine because it removes all the friction. There’s no stress, no complicated techniques, and no weird ingredients you can’t pronounce. Here’s why these chewy white chocolate macadamia cookies have earned a permanent spot in our weekly rotation:
- Stupid Simple Prep — Seriously, if you can stir a bowl, you can make these. I’ve walked my teenage daughter through it over FaceTime while she was at sleepaway camp. No mixer required. You just cream the butter and sugars, stir in the dry ingredients, and fold in the chocolate. That’s it. Five steps. You can do it in your pajamas.
- Lightning Fast — From start to first warm cookie, it’s under 30 minutes. The active time is maybe 10-15 minutes. The rest is just waiting for the oven to do its thing. I make these on nights when I have exactly zero energy left but still want to feel like a good parent. It takes less effort than ordering delivery and waiting for a driver.
- Pantry-Friendly Ingredients — You probably have 90% of this already. Butter, sugar, flour, eggs, baking soda, salt, white chocolate chips, and macadamia nuts. If you’re missing something, you can sub in semi-sweet chocolate or even nuts you have on hand (like pecans or walnuts). It’s forgiving. I once used cashews because I was out of macadamias, and my husband didn’t even notice until I told him.
- Crowd-Pleaser Status — I’ve served these to my picky 8-year-old, my husband’s coworkers (when I brought a batch to the office), and my health-conscious friend who claims she doesn’t like sweets. They all came back for seconds. The combination of salty nuts and sweet chocolate is just irresistible. It’s the kind of flavor profile that works for everyone.
- Makes Amazing Leftovers — These cookies actually taste better the next day. The flavors meld together, and the chewiness intensifies. I deliberately make a double batch so I have lunchbox treats for the next two days. They keep beautifully in an airtight container, staying soft for days.
- Budget-Smart — Feeds 12-15 people for under $10. That’s less than a single slice of cake at a coffee shop. When you’re trying to stretch a grocery budget, homemade cookies are a lifesaver. You get more cookies, better quality, and zero preservatives.
This is my go-to when I need dessert to just work. No complicated techniques, no weird ingredients, just reliable, delicious food that makes everyone happy. It’s comfort in cookie form.
Ingredients You’ll Need
Here’s the best part: you probably have most of this already. This isn’t a recipe that requires a special trip to a specialty store. I’m particular about a few things, but mostly, this is about good basics done right. Let’s break down what you need and why it matters.
For the Dough Base
Unsalted butter (1 cup / 226g, softened) — This is non-negotiable. I use unsalted so I can control the saltiness. Make sure it’s softened to room temperature. If it’s too cold, it won’t cream properly with the sugar, and your cookies will be dense. If it’s melted, they’ll spread too thin. I take mine out of the fridge about an hour before I start. Softened means it should yield slightly to pressure but still hold its shape.
Granulated sugar (½ cup / 100g) — This helps create those crispy edges. Don’t skip it for all brown sugar, or they’ll be too cakey. The granulated sugar gives structure and crunch.
Light brown sugar (1 cup / 200g, packed) — This is the secret to the chewiness. The molasses in the brown sugar keeps the cookies moist and soft. Pack it down tight when you measure it. I use light brown sugar because I like the milder flavor, but dark brown works if you want a deeper, toffee-like taste.
Large egg (1 large) — Room temperature egg incorporates better into the dough. Crack it, check for shells, and add it. Simple.
Vanilla extract (2 teaspoons) — Use real vanilla, not imitation. It makes a huge difference in flavor. I keep a bottle of Nielsen-Massey in my pantry because it’s potent and pure. If you’re out, skip it rather than using fake vanilla—it’ll taste chemical.
All-purpose flour (2 ½ cups / 312g) — Spoon and level this. Don’t scoop it directly from the bag, or you’ll pack it down and end up with dry cookies. Spoon it into the measuring cup and level it off with a knife. If you don’t have all-purpose, you can use cake flour for a softer texture, but all-purpose is standard.
Baking soda (1 teaspoon) — This helps the cookies spread and brown. Make sure it’s fresh. If it’s old, your cookies won’t rise properly. A quick test: drop a little in vinegar. If it fizzes, it’s good.
Salt (1 teaspoon) — Even though we’re using unsalted butter, we need salt to balance the sweetness. It enhances the chocolate and nut flavors. I use fine sea salt.
For the Mix-Ins
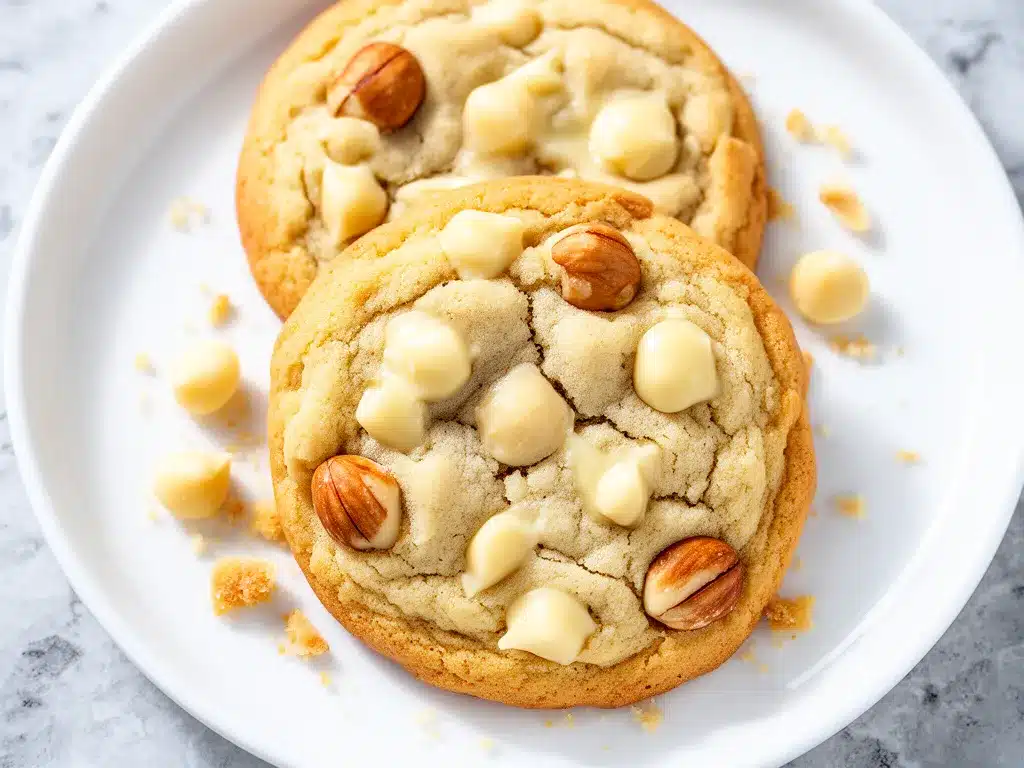
White chocolate chips (2 cups / 340g) — I use Ghirardelli or Toll House white chips. They melt beautifully and don’t seize up. Don’t use baking bars chopped up unless you like controlling the chunk size yourself. Chips hold their shape better in the oven.
Macadamia nuts (1 cup / 115g, roughly chopped) — This is the star. Macadamias are buttery, rich, and slightly sweet. I buy them in the nuts section and chop them roughly with a knife. You don’t need them perfectly uniform. If you can’t find macadamias, pecans or walnuts work, but macadamias give that distinct, luxurious texture. They’re pricey, but a little goes a long way.
Flaky sea salt (for topping) — Optional but highly recommended. Sprinkling a little Maldon salt on top right after they come out of the oven adds a gorgeous crunch and contrasts the sweetness. It’s the pro move.
Equipment Needed
You don’t need fancy equipment for this. Here’s what I actually use, plus some honest opinions on what’s worth buying.
Large mixing bowl — I use a 4-quart stainless steel bowl. It needs to be big enough to fold in the chocolate chips without making a mess. My ancient glass bowl from college still works fine, but steel is easier to clean.
Electric hand mixer or stand mixer — I prefer a hand mixer because it’s faster to clean. But you can absolutely do this by hand with a wooden spoon. It just takes more elbow grease. If you have a stand mixer, use the paddle attachment on medium-low speed.
Measuring cups and spoons — Pretty standard stuff. Dollar store versions work fine, but make sure they’re accurate. I’ve had cheap cups that were off by 10%, which ruins baking.
Baking sheets — I use two half-sheet pans. Light-colored aluminum pans are best because they conduct heat evenly. Dark pans can burn the bottoms. If you only have one pan, you’ll need to bake in batches.
Parchment paper — Line your baking sheets with parchment. This is non-negotiable for easy cleanup and even baking. It prevents sticking and helps the cookies brown evenly. I never bake these directly on the pan—it’s a recipe for burnt bottoms.
Cooling rack — To transfer cookies after baking. If you don’t have one, you can use a clean wire rack or just let them cool on the pan for 5 minutes, then move them.
Silicone spatula — For folding in the chocolate chips. I use a large spatula because it gets into the corners of the bowl. Silicone is better than wood for scraping the bowl clean.
Optional but nice:
- Cookie scoop — Those little spring-loaded scoops. They make all cookies the same size, which ensures even baking. I use a 2-tablespoon scoop. If you don’t have one, use two spoons to drop dough.
- Instant-read thermometer — Not really needed here, but good to have for other recipes.
How to Make It: Step-by-Step
Alright, let’s make this! I’m walking you through exactly how I do it, including the little tricks I’ve picked up over years of baking. This is the easy chewy white chocolate macadamia cookie method that never fails.
Step 1: Prep Your Oven and Pans (2 minutes)
Preheat your oven to 350°F (175°C). This is crucial. If your oven is too cool, the cookies will spread too much before they set. If it’s too hot, they’ll burn on the outside and be raw inside. Line two baking sheets with parchment paper. If you’re baking in batches, just line one and wash it while the first batch cools.
Step 2: Cream the Butter and Sugars (3-4 minutes)
In your large mixing bowl, combine the softened butter, granulated sugar, and brown sugar. Beat on medium-high speed for about 3-4 minutes. You’re looking for a light, fluffy texture. The mixture should look pale and creamy. This step incorporates air, which helps the cookies rise slightly. Don’t rush this. If you skip it, your cookies will be dense bricks. I usually do this while my coffee brews in the morning.
Step 3: Add Wet Ingredients (1 minute)
Add the egg and vanilla extract to the butter mixture. Beat on medium speed until just combined. Scrape down the sides of the bowl with your spatula to make sure everything is incorporated. The mixture might look a little curdled at first—that’s okay. It’ll come together when you add the flour.
Step 4: Mix Dry Ingredients (1 minute)
In a separate medium bowl (or just measure directly into the wet mix if you’re lazy, which I am sometimes), whisk together the flour, baking soda, and salt. Whisking ensures the baking soda is evenly distributed. If you don’t whisk, you might get pockets of bitter baking soda in your cookies.
Step 5: Combine Wet and Dry (2 minutes)
Gradually add the dry ingredients to the wet ingredients, mixing on low speed. Stop as soon as the flour disappears. Do not overmix! Overmixing develops gluten, which makes cookies tough. You want them tender and chewy, not bread-like. The dough will look thick and slightly sticky.
Step 6: Fold in the Mix-Ins (2 minutes)
Using your silicone spatula, gently fold in the white chocolate chips and chopped macadamia nuts. Be gentle. You don’t want to crush the nuts or melt the chocolate with friction. Just stir until they’re evenly distributed. I usually do this by hand because I can feel when it’s done.
Step 7: Scoop and Bake (12-14 minutes)
Drop rounded tablespoons of dough onto the prepared baking sheets, spacing them about 2 inches apart. They will spread. Bake for 12-14 minutes. Here’s the key: pull them out when the edges are just starting to turn golden brown, but the centers still look soft and slightly undercooked. They will finish cooking on the hot pan after you take them out. If you bake them until they look firm in the oven, they’ll be dry and crumbly when they cool.
Step 8: Cool and Serve (10 minutes)
Let the cookies cool on the baking sheet for 5 minutes. This sets their structure. Then transfer them to a cooling rack to cool completely. Or, if you’re like me, eat one warm while it’s still gooey. Sprinkle with flaky sea salt if you’re feeling fancy.
Total Time: About 25 minutes (10 minutes active, 15 minutes baking/cooling)
Expert Tips & Tricks
Here’s everything I’ve learned from making this dozens of times. These tips will save you from my mistakes and guarantee perfect cookies every time.
Chill the Dough (If You Have Time)
This is the #1 tip for thicker, chewier cookies. After you mix the dough, cover it and refrigerate for at least 30 minutes (or up to 3 days). Chilling solidifies the fat, which means the cookies spread less in the oven. If you bake them immediately, they might spread too thin and become crispy instead of chewy. I know you’re impatient, but 30 minutes makes a huge difference. I’ve made this mistake before—baked them right away, and they were flat pancakes. Now I always chill.
Don’t Overbake
This is the most common mistake. Cookies continue to cook on the hot baking sheet after you remove them from the oven. Pull them out when the edges are golden but the centers look soft. They will firm up as they cool. If you wait until they look done in the oven, they’ll be dry by the time they cool. Trust the visual cues, not the clock.
Use Good Chocolate
I’ve tried cheap white chocolate chips, and they taste waxy and artificial. Spend the extra dollar on Ghirardelli or Callebaut. The flavor difference is night and day. White chocolate is mostly cocoa butter, so higher quality means better taste and better melt.
Room Temperature Ingredients
Butter, eggs, and vanilla should all be at room temperature. Cold butter won’t cream properly. Cold eggs can cause the butter to seize. It’s worth taking them out of the fridge 30 minutes before you start. If you forget, microwave the butter for 5-second bursts, and put the egg in a bowl of warm water for 2 minutes.
Pro Tricks I’ve Learned:
- For Extra Flavor — Toast the macadamia nuts in a dry pan for 3-4 minutes before chopping them. This releases their oils and makes them nuttier. It’s a small step that adds big depth.
- For Better Texture — Use a cookie scoop for uniform size. This ensures even baking. No more burnt edges on big cookies and raw centers on small ones.
- For Restaurant-Quality Finish — Sprinkle flaky sea salt on top immediately after baking. The heat melts the salt slightly, and it adds a savory contrast that elevates the sweetness.
Variations & Substitutions
Once you’ve nailed the basic version, here’s how you can mix it up. I’ve tried all of these, and they all work.
Chocolate Chip Macadamia
Swap half the white chocolate chips for semi-sweet or dark chocolate chips. This cuts the sweetness and adds complexity. My husband prefers this version because it’s less cloying.
Double White Chocolate
Add ½ cup of white chocolate chunks (chopped from a bar) in addition to the chips. This gives you both melty pockets and distinct chocolate bites. It’s decadent and worth the extra effort.
Macadamia-Free
Use pecans or walnuts instead. Pecans are closer in texture to macadamias—buttery and rich. Walnuts add a nice crunch but are more bitter. If you’re on a budget, pecans are a great sub.
Vegan Version
Use vegan butter (like Earth Balance) and vegan white chocolate chips (like Enjoy Life). Use a flax egg (1 tablespoon ground flaxseed mixed with 3 tablespoons water) instead of the regular egg. The texture will be slightly different but still tasty. My vegan friend loves these.
Gluten-Free
Use a 1:1 gluten-free flour blend (like Bob’s Red Mill or King Arthur). Most blends work perfectly in cookies. Add ¼ teaspoon xanthan gum if your blend doesn’t include it. The cookies might be slightly more crumbly, but they’re delicious.
Coconut Lover’s
Add 1 cup of shredded coconut (toasted) to the dough. This makes them taste like a macadamia nut cookie from Hawaii. It’s tropical and amazing.
Serving & Storage
How to Serve:
I usually serve these warm with a glass of cold milk. It’s classic for a reason. But here are other ways I’ve enjoyed them:
- Ice Cream Sandwiches — Sandwich a scoop of vanilla bean ice cream between two cooled cookies. It’s like a homemade macadamia nut ice cream sandwich.
- Cookie Butter — Blend cooled cookies in a food processor with a little cream until it’s a spreadable consistency. Use it on toast or apple slices. Yes, really.
- Crumbled over Ice Cream — Crumble a few cookies over a bowl of vanilla ice cream for a quick dessert topping.
Storage Instructions:
Refrigerator:
Store in an airtight container at room temperature for up to 5 days. If your kitchen is hot, refrigerate them, but let them come to room temperature before eating for the best texture. They stay soft and chewy if sealed well.
Freezing:
These freeze beautifully! You can freeze the baked cookies for up to 3 months. Place them in a single layer in a freezer bag, then press out the air. To serve, let them thaw at room temperature for 30 minutes. Or, freeze the dough balls on a baking sheet, then transfer to a bag. Bake straight from frozen, adding 1-2 minutes to the bake time.
Meal Prep:
I make these on Sundays and store them in a large container. They’re perfect for lunchbox treats or after-school snacks. The kids love packing them in their bags, and they don’t get stale by Monday.
Pro tip: If your cookies start to dry out, place a slice of bread in the container with them. The cookies will absorb moisture from the bread and stay soft. It’s a old baker’s trick that actually works.
Nutrition Information
I’m not a nutritionist, but here’s the breakdown if you’re tracking. Keep in mind that these are estimates based on standard ingredients.
Per Serving (based on 12 cookies):
- Calories: 280
- Protein: 3g
- Carbs: 32g
- Fiber: 1g
- Sugar: 22g
- Fat: 16g
- Saturated Fat: 9g
- Cholesterol: 25mg
- Sodium: 180mg
- Calcium: 30mg
What’s Good:
- Macadamia nuts provide healthy fats and some protein.
- They’re a decent treat portion size (one or two cookies).
What to Know:
- Higher in calories and sugar because of the white chocolate and butter.
- Contains dairy and nuts.
- Not suitable for vegan or gluten-free diets without modifications.
My Take:
Look, these are cookies. They’re supposed to be a treat. They’re not a health food. But they’re made with real ingredients, no preservatives, and you control the sugar. When I make them, I enjoy one or two with a cup of tea and feel good about it. It’s about balance. If you’re watching calories, stick to one cookie and share the rest.
Final Thoughts
So that’s my go-to chewy white chocolate macadamia cookie! I’ve probably talked your ear off at this point, but when you make a recipe this often, you have a lot to say about it.
This has saved weeknight dinners more times than I can count. It’s my answer to “what’s for dessert” when I’m tired, don’t want takeout, and still want something that tastes really good. My kids are happy, my husband’s happy, and I’m happy because I’m not stressed about cooking.
Make it yours! Try different add-ins, swap in your favorite nuts, adjust the sugar. The best recipes are the ones you adapt to your family’s tastes. And if you’re looking for more easy weeknight treats, check out my chewy banana oat breakfast cookies for a healthier option, or these back-to-school ham and cheese pretzel roll-ups if you need a quick lunch idea. But for dessert? These cookies are king.
If you make this, drop a comment and let me know what you think! I love hearing how recipes turn out in your kitchen. And if something doesn’t work, tell me that too—I’m here to help troubleshoot.
Happy baking! And I hope your kitchen smells half as good as mine does right now.
Frequently Asked Questions
Q: Can I use margarine instead of butter?
A: You can, but the flavor and texture won’t be as good. Butter has water and milk solids that contribute to the taste and structure. Margarine is mostly oil and water, and it can make cookies greasy. If you must use it, use a stick margarine, not the tub spread. But really, just use butter. It’s worth it.
Q: My cookies spread too much—what happened?
A: This usually means your butter was too warm when you started, or you didn’t chill the dough. If your butter was melted or very soft, it spread before the structure set. Next time, make sure your butter is cool to the touch, not just room temperature. Also, chilling the dough for 30 minutes helps firm up the fat. If your oven is too hot, they might spread too fast. Check your oven temperature with a thermometer.
Q: Can I make these ahead for a party?
A: Absolutely! Bake them up to 3 days ahead and store in an airtight container. They actually taste better after a day or two as the flavors meld. If you need to make them a week ahead, freeze the baked cookies. Thaw them the night before the party. They’ll be just as good as fresh.
Q: Why did my cookies turn out cakey instead of chewy?
A: This usually means you used too much flour or overmixed the dough. Make sure you’re spooning and leveling your flour, not scooping it. Also, don’t overmix once you add the flour. And check your baking soda—if it’s old, it might not be working properly, leading to a dense texture. Finally, make sure you’re not overbaking. Remove them when they look slightly underdone.
Q: Can I use dark chocolate chips instead of white?
A: Yes! Swap them out for semi-sweet or dark chocolate chips. The flavor will be richer and less sweet. I actually prefer this version myself. The bitterness of dark chocolate balances the macadamia nuts beautifully. You can also do half white and half dark for the best of both worlds.
Q: How do I reheat leftovers without them getting dry?
A: Microwave a cookie for 10-15 seconds on high. It will become soft and gooey again. Or, bake them in a 300°F oven for 3-4 minutes. Don’t overheat them, or they’ll crisp up. If you’re serving them with ice cream, warming them slightly makes the ice cream melt just right.
Q: Can I double this recipe?
A: Yes, double everything and use two mixing bowls or mix in batches. The cooking times stay the same. I do this when I’m meal-prepping or feeding a crowd. Just make sure your baking sheets are large enough. You might need to bake in more batches to avoid overcrowding, which causes uneven baking.
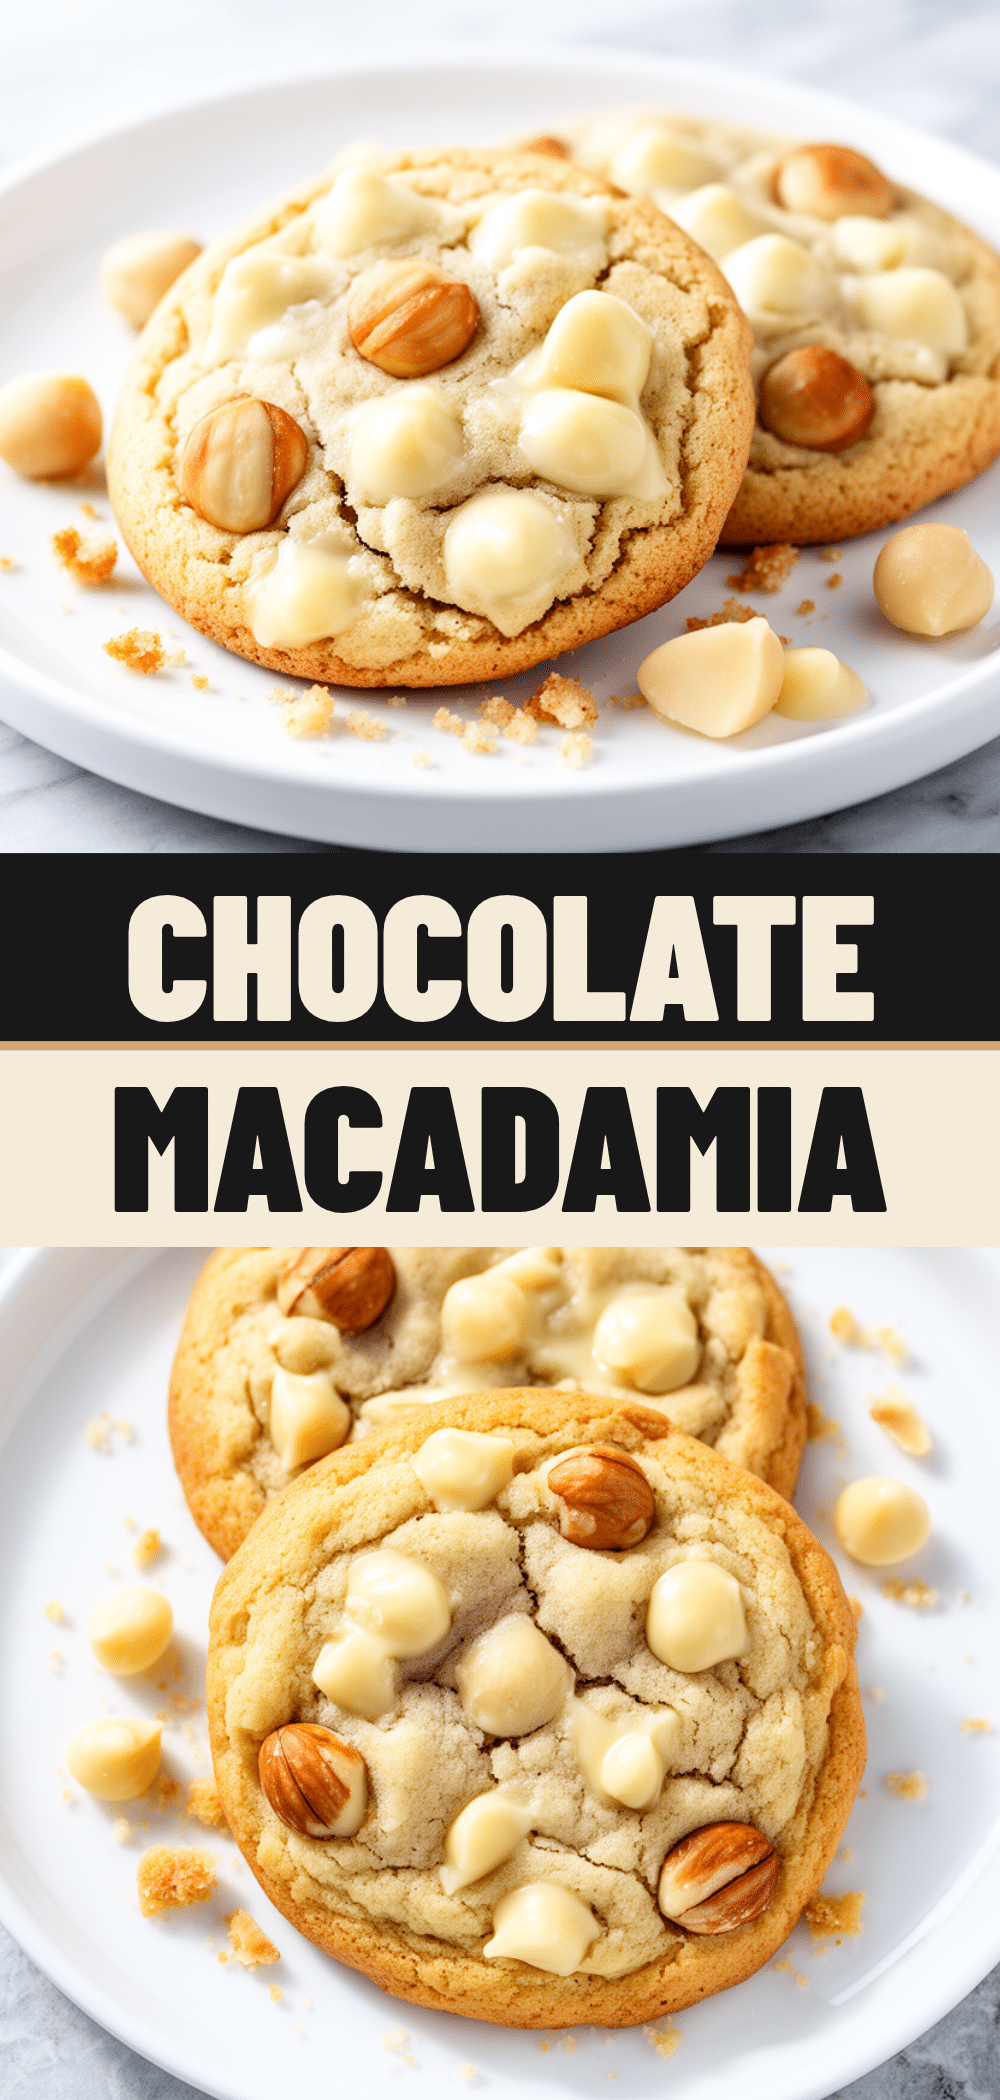
Pin This Recipe!
Chewy White Chocolate Macadamia Cookies
- Total Time: 25 minutes
- Yield: 12-15 cookies 1x
Description
These easy weeknight cookies come together in under 30 minutes with pantry-friendly ingredients. They feature a soft, chewy center, crispy edges, and a perfect balance of sweet white chocolate and salty macadamia nuts.
Ingredients
- 1 cup (226g) unsalted butter, softened to room temperature
- ½ cup (100g) granulated sugar
- 1 cup (200g) light brown sugar, packed
- 1 large egg, room temperature
- 2 teaspoons vanilla extract
- 2 ½ cups (312g) all-purpose flour, spooned and leveled
- 1 teaspoon baking soda
- 1 teaspoon fine sea salt
- 2 cups (340g) white chocolate chips
- 1 cup (115g) macadamia nuts, roughly chopped
- Flaky sea salt, for topping (optional)
Instructions
- Preheat oven to 350°F (175°C) and line two baking sheets with parchment paper.
- In a large mixing bowl, cream the softened butter, granulated sugar, and brown sugar on medium-high speed for 3-4 minutes until light and fluffy.
- Add the egg and vanilla extract to the butter mixture and beat on medium speed until just combined, scraping down the sides of the bowl.
- In a separate bowl, whisk together the flour, baking soda, and salt.
- Gradually add the dry ingredients to the wet ingredients on low speed, mixing only until the flour disappears. Do not overmix.
- Using a silicone spatula, gently fold in the white chocolate chips and chopped macadamia nuts until evenly distributed.
- Drop rounded tablespoons of dough onto the prepared baking sheets, spacing them about 2 inches apart.
- Bake for 12-14 minutes, or until the edges are golden brown but the centers still look soft and slightly undercooked.
- Let the cookies cool on the baking sheet for 5 minutes to set their structure, then transfer to a cooling rack to cool completely.
- Sprinkle with flaky sea salt immediately after baking if desired.
Notes
For thicker, chewier cookies, chill the dough for at least 30 minutes before baking. Ensure butter is softened but not melted. Do not overbake; cookies continue to cook on the hot pan after removal. Store in an airtight container at room temperature for up to 5 days. To keep soft, place a slice of bread in the container.
- Prep Time: 15 minutes
- Cook Time: 12-14 minutes
- Category: Dessert
- Cuisine: American
Nutrition
- Serving Size: 1 cookie
- Calories: 280
- Sugar: 22
- Sodium: 180
- Fat: 16
- Saturated Fat: 9
- Carbohydrates: 32
- Fiber: 1
- Protein: 3
Keywords: white chocolate macadamia cookies, easy weeknight dessert, chewy cookies, baking from scratch, family friendly dessert, pantry baking