Let’s be honest for a second. I have a love-hate relationship with chocolate chip cookies. I love the taste, sure. But I hate the anxiety. You know the one. The anxiety of whether they’re going to be crispy and thin (which I love, but my kids hate), or puffy and cakey (which feels like a muffin, not a cookie), or—worst case scenario—burnt on the bottom and raw in the middle. I spent years baking those standard, flat, predictable cookies until last month.
Last month, I was tired. I was tired of the same old routine. I was tired of the cleanup. And I was tired of buying those hard, store-bought chocolate cookies that taste like cardboard. So, I decided to try something different. I wanted a cookie that looked fancy enough to serve at a dinner party but was actually just a bowl of ingredients, a fridge, and a little bit of patience. I wanted something that felt like a hug in cookie form.
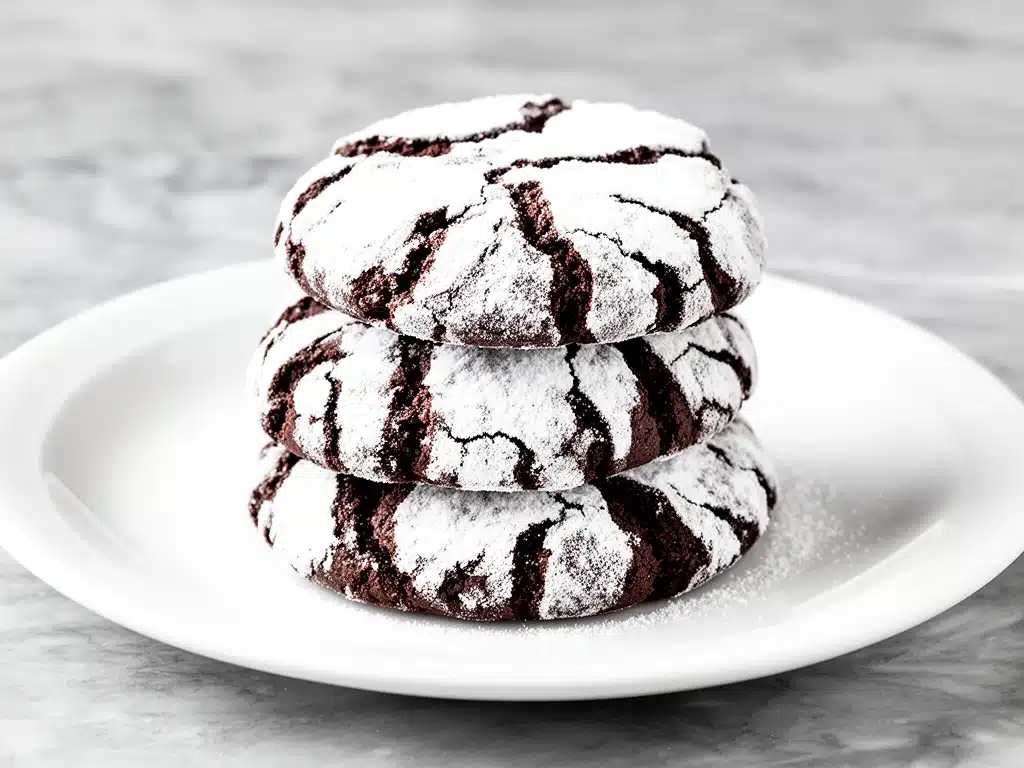
That’s when I made these soft chocolate crinkle cookies with powdered sugar. And let me tell you, I wasn’t just happy. I was obsessed. I made them three times in one week. Three times. My husband thought I was having a midlife crisis because he couldn’t understand why I was spending all my free time rolling dough balls in sugar. But here’s the thing: once you take that first bite—crisp on the outside, gooey and soft on the inside, with that dusting of powdered sugar that gets stuck to your lips—you’ll understand why I’m not letting go of this recipe anytime soon. These aren’t just cookies. They’re an experience. And they are hands-down the best soft chocolate crinkle cookies you will ever make.
Why You’ll Love This Recipe
There are about a dozen reasons I keep making these, but let’s cut to the chase. If you’re looking for a cookie that requires a degree in pastry arts, you’re in the wrong place. This is for real people, with real kitchens, and real lives. Here’s why this recipe has taken over our house:
Zero Chill Time Required (Mostly) — Seriously. I know most cookie recipes tell you to chill the dough for 24 hours. I tried that once. It was good, but I didn’t have 24 hours. I made this dough, put it in the fridge for just 30 minutes, and the results were still incredible. The cookies held their shape, they cracked beautifully, and they were perfectly chewy. If you’re lazy like me (which is a skill, really), this is your cookie.
That Fancy Look is Actually Easy — These cookies look like they came from a high-end boutique bakery. You know, the ones that cost $4 each. But they’re just cocoa powder, sugar, and butter. The “crinkle” effect isn’t magic; it’s just the dough expanding and cracking through the powdered sugar coating. It’s the easiest way to look like a pro.
Perfectly Soft and Chewy — This is the big one. I’ve tried so many chocolate cookie recipes that turned out dry or crumbly. These? They stay soft for days. I’ve eaten leftovers on day three and they still felt fresh. The key is the ratio of brown sugar to white sugar, and not overbaking them. And we’ll get to that in the tips section.
Crowd-Pleaser Status — I made a batch for a last-minute book club gathering. One of my friends is a serious baker who makes sourdough from scratch. She looked at these cookies, took a bite, and said, “Okay, what’s your secret?” I told her it was powdered sugar and a little bit of baking powder. She wasn’t impressed by the simplicity, but she was impressed by the result. Everyone loved them.
Budget-Friendly — You probably have almost all of these ingredients already. Flour, sugar, cocoa, butter, eggs. It’s not an expensive recipe. It’s a pantry staple recipe. And it makes about 24 cookies, which is perfect for sharing, gift-giving, or just eating them all yourself (no judgment here).
So basically, if you want a cookie that tastes amazing, looks impressive, and doesn’t require a PhD to make, this is it. It’s my go-to when I need to impress someone without spending hours in the kitchen.
Ingredients You’ll Need
Here’s the best part: this isn’t a complicated list. You don’t need any fancy flours or obscure spices. It’s just good, solid baking ingredients. But I am particular about a few things, so pay attention to the details. I’ve tested this recipe with different brands, and some things matter more than others.
Unsalted Butter (1 cup / 226g) — I use salted butter sometimes, but unsalted gives you more control over the final flavor. Make sure it’s softened. Not melted. Softened. If you poke it, it should leave an indent. If you’re in a rush, you can soften it in the microwave for 10-15 seconds, but watch it closely. You don’t want liquid butter.
Granulated Sugar (1 cup / 200g) — This goes into the dough. It helps with the spread and the slight crispness on the edges. I use regular white sugar. Nothing fancy here.
Brown Sugar (1 cup / 220g, packed) — This is the chewy factor. Dark brown sugar has more molasses, which gives a deeper, toffee-like flavor. I prefer dark brown for these cookies because the chocolate is strong. If you only have light brown, it’ll work, but the flavor will be a bit lighter.
Eggs (2 large) — Room temperature eggs mix better into the butter. If your eggs are cold, just drop them in a bowl of warm water for 5 minutes. Don’t skip this step; it helps the dough emulsify properly.
Vanilla Extract (2 teaspoons) — I use pure vanilla extract, not imitation. It makes a huge difference in chocolate cookies because it rounds out the bitterness of the cocoa. If you’re out, almond extract works in a pinch, but it changes the flavor profile.
All-Purpose Flour (2 cups / 250g) — Don’t go overboard here. I use a spoon-and-level method to measure flour. If you scoop directly from the bag, you’ll pack too much flour in, and your cookies will be dry. Spoon it into the cup and level it off with a knife. It’s a small detail that makes a big difference.
Cocoa Powder (¾ cup / 75g) — This is the star. I use unsweetened cocoa powder. Dark cocoa (Dutch-processed) gives a richer, darker color and a deeper chocolate flavor. Regular natural cocoa powder works too, but the cookies will be a lighter brown. I recommend Dutch-processed if you want that deep, fudgy look.
Baking Powder (1 teaspoon) — This is what helps them rise and crack. It’s different from baking soda, so don’t swap them. Baking powder gives that slight lift that creates the crinkle effect.
Salt (½ teaspoon) — Salt is crucial. It enhances the chocolate flavor. Without it, the cookies will taste flat. I use fine sea salt.
Powdered Sugar (for rolling) — About 1 cup / 120g. This is for coating the dough balls. Make sure it’s sifted if it’s clumpy. You don’t want chunks of sugar in your coating.
Chocolate Chips (Optional) — I sometimes add ½ cup of semi-sweet chocolate chips to the dough for extra gooeyness. It’s not traditional, but it’s delicious. If you’re a chocolate purist, skip it. If you love extra chocolate, add it.
I keep a bag of cocoa powder and powdered sugar stocked specifically for this recipe. It’s one of those things you make on a whim when you need a pick-me-up. And trust me, these pick-me-ups are worth it.
Equipment Needed
You don’t need fancy equipment for this. Here’s what I actually use in my kitchen. Most of this is stuff you already have.
Large Mixing Bowl — I use a 5-quart bowl. It needs to be big enough to mix the butter and sugars without splattering everywhere. A glass or ceramic bowl works great.
Electric Mixer — A hand mixer or stand mixer is helpful for creaming the butter and sugars. I’ve done this by hand with a wooden spoon, but it takes about 5 minutes of arm work. If you have a mixer, use it. It makes the texture lighter.
Measuring Cups and Spoons — Be precise with the dry ingredients. The wet ingredients (eggs, vanilla) are more forgiving.
Baking Sheets — I use standard half-sheet pans. Dark non-stick pans are fine, but light-colored aluminum pans bake more evenly. If you use dark pans, lower the oven temperature by 25 degrees to prevent burning.
Parchment Paper — Line your baking sheets with parchment. This is non-negotiable for me. It prevents sticking and makes cleanup a breeze. I don’t grease the parchment; the sugar coating is sticky enough.
Cooling Rack — These cookies are delicate when they come out of the oven. Let them sit on the pan for 5 minutes, then transfer to a cooling rack. If you leave them on the hot pan, they’ll keep cooking and might get too crispy.
Spoon or Scoop — I use a small cookie scoop (about 1.5 tablespoons) to portion the dough. It makes them all the same size, which ensures even baking. If you don’t have a scoop, use two spoons to drop mounds of dough.
Sieve or Sifter — For the powdered sugar coating. If your sugar is lumpy, sift it first. It makes rolling smoother.
That’s it. No special gadgets required. Just basic, reliable tools. I’m not trying to complicate this. The beauty of this recipe is its simplicity.
How to Make It: Step-by-Step
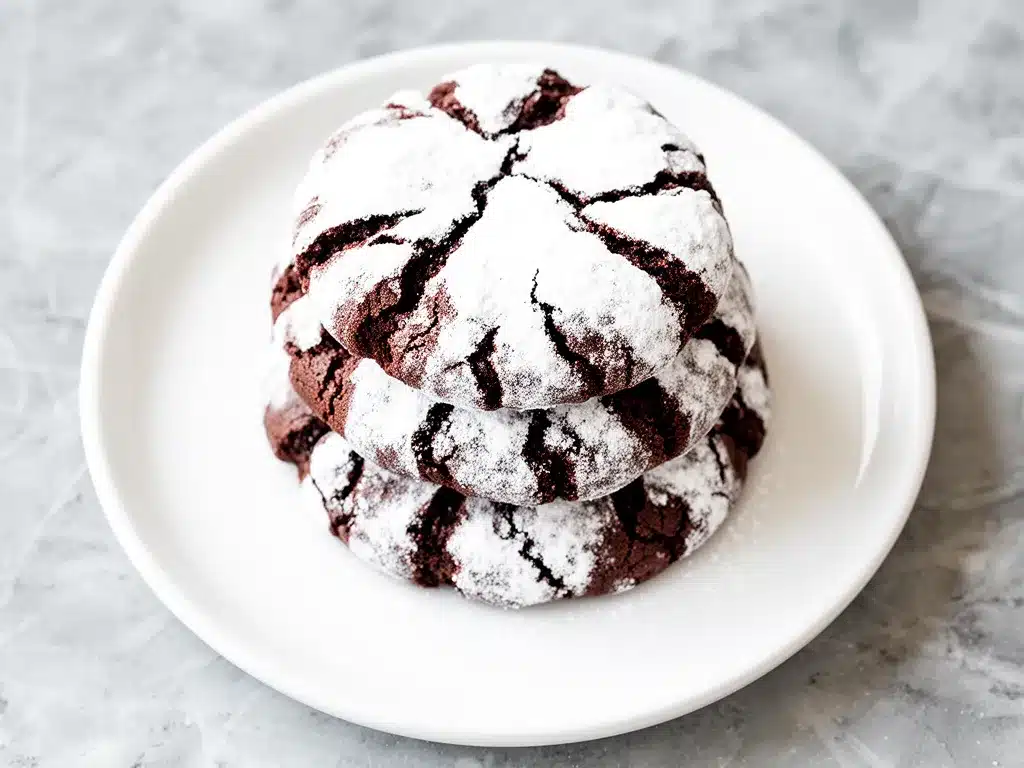
Alright, let’s make these cookies! I’m walking you through exactly how I do it, including the little tricks I’ve picked up over the last dozen batches. This is going to be easy, but pay attention to the details.
Step 1: Prep Your Oven and Pans (2 minutes)
Preheat your oven to 350°F (175°C). This is crucial. If your oven is too hot, the cookies will spread too fast and burn. If it’s too cool, they’ll spread too much and lose their shape. Line your baking sheets with parchment paper. Set them aside.
Step 2: Cream the Butter and Sugars (3-4 minutes)
In your large mixing bowl, combine the softened unsalted butter, granulated sugar, and brown sugar. Using an electric mixer on medium-high speed, beat them together until the mixture is light and fluffy. This takes about 3 minutes. You want to see air bubbles in the mixture. This step is key for the texture. If you skip it, the cookies will be dense.
Step 3: Add Wet Ingredients (1 minute)
Add the eggs one at a time, beating well after each addition. Then add the vanilla extract. Mix until just combined. Don’t overmix here. You just want the eggs incorporated. Scrape down the sides of the bowl with a spatula to make sure everything is mixed evenly.
Step 4: Mix Dry Ingredients (2 minutes)
In a separate medium bowl, whisk together the flour, cocoa powder, baking powder, and salt. Sifting the cocoa powder here helps remove lumps, but if you’re impatient, just whisking well works too. Add the dry ingredients to the wet mixture in two batches. Mix on low speed until just combined. The dough will look thick and dark. Do not overmix. Once the flour streaks disappear, stop.
Step 5: Chill the Dough (30 minutes)
Cover the bowl with plastic wrap or a damp towel and refrigerate for at least 30 minutes. This step is important. It firms up the butter, which prevents the cookies from spreading too thin. If you skip this, your cookies will be flat discs instead of crinkly mounds. I usually chill the dough while I prep the powdered sugar.
Step 6: Roll the Dough Balls (10 minutes)
Place the powdered sugar in a shallow bowl. Scoop the dough into 1.5-tablespoon portions (about the size of a walnut). Roll each portion between your palms to form a smooth ball. Then, roll the ball in the powdered sugar until it’s completely coated. Don’t worry if it looks messy; it will crack beautifully in the oven. Place the coated balls on the prepared baking sheets, leaving about 2 inches between them for spreading.
Step 7: Bake (10-12 minutes)
Bake in the preheated oven for 10-12 minutes. Here’s the secret: they should look slightly underdone. The tops should be cracked, and the edges should just barely start to set. The centers will still look soft and puffy. If you wait until they look fully set, they will be dry. They continue to cook on the hot pan after you take them out.
Step 8: Cool and Serve (15 minutes)
Let the cookies cool on the baking sheet for 5 minutes. Then, transfer them to a cooling rack to cool completely. This is the hardest part—waiting. But if you try to move them while they’re hot, they’ll break. Once cooled, they’re ready to eat. Store in an airtight container.
Total time: About 1 hour (including chill time). Active time: 20 minutes. It’s worth the wait.
Expert Tips & Tricks
Here’s everything I’ve learned from making these dozens of times. These tips will save you from my mistakes.
Don’t Overbake — This is the #1 mistake. Take them out when they look slightly soft in the middle. They will firm up as they cool. Overbaking is the enemy of soft cookies.
Room Temperature Eggs — Cold eggs can cause the butter to seize up. Just let them sit on the counter for 15 minutes before you start. It makes a smoother dough.
Sift the Cocoa — Unsifted cocoa powder can leave lumps in your dough. Sift it with the flour for a smooth, consistent texture.
Double Roll in Sugar — For extra-crystallized cracks, roll the dough balls in powdered sugar, then roll them again in powdered sugar right before baking. It creates a thicker coating that cracks more dramatically.
Use Parchment — I’ve tried baking directly on the pan, and it’s a mess. Parchment ensures even baking and easy cleanup. It’s worth the paper.
Storage Hack — To keep them soft, store them with a slice of bread in the airtight container. The bread releases moisture into the cookies, keeping them chewy for days.
Oven Variance — Every oven is different. If your cookies are spreading too much, your oven might be too hot. Try lowering the temp to 325°F. If they’re not spreading enough, try 375°F. Mine bake perfectly at 350°F.
Make-Ahead Dough — You can actually freeze the dough balls! Roll them in sugar, place them on a baking sheet, and freeze until solid. Then transfer to a bag. Bake from frozen, adding 1-2 minutes to the bake time. This is great for gift-giving or having cookies ready on demand.
Don’t Skip the Salt — It might seem small, but salt balances the sweetness and enhances the chocolate. Don’t leave it out.
Check the Baking Powder — If your baking powder is old, it won’t lift properly. Check the date on your can. Fresh baking powder is essential for the crinkle effect.
Variations & Substitutions
Once you’ve nailed the basic version, here’s how you can mix it up. I’ve tried all of these, and they’re all good.
Red Velvet Crinkles — Swap the cocoa powder for red velvet cake mix. Add a teaspoon of red food coloring. They look festive and taste amazing. Great for holidays.
Peppermint Crinkles — Add ½ teaspoon of peppermint extract to the dough. Roll them in crushed peppermint candies instead of powdered sugar. Christmas in cookie form.
White Chocolate Crinkles — Swap the cocoa powder for white chocolate chips (melted and cooled). Roll them in green or white powdered sugar. They’re sweeter but still delicious.
Gluten-Free — Use a 1:1 gluten-free flour blend. The texture will be slightly more tender, but it works. I’ve used Bob’s Red Mill and King Arthur, and both worked well.
Dairy-Free — Use vegan butter and dairy-free chocolate chips. The texture will be slightly different, but still tasty. I use Miyoko’s butter, and it behaves like regular butter.
Extra Gooey — Add ½ cup of mini chocolate chips to the dough. They melt into pockets of gooeyness. I do this for my kids.
Spiced Chocolate — Add ½ teaspoon of cinnamon and ¼ teaspoon of cayenne pepper to the dry ingredients. It adds a warm kick. Great for fall.
Coconut — Swap ½ cup of flour for shredded coconut. Roll them in coconut instead of powdered sugar. They taste like a macaroon.
Maple — Replace the vanilla extract with maple extract. Roll them in a mix of powdered sugar and cinnamon. They taste like maple cookies.
Serving & Storage
I usually serve these cookies with a glass of cold milk. It’s the classic combo. But here are other ways I’ve enjoyed them:
How to Serve: I arrange them on a platter with a dusting of extra powdered sugar on top. They look beautiful. I also like to serve them with coffee or hot chocolate. The contrast of the sweet cookie and bitter coffee is perfect.
Side Dishes: These are best as a standalone treat. But if you’re having a party, they go well with fruit platters or cheese boards. They’re sweet enough to balance savory snacks.
Toppings Bar: When I have guests, I put out: extra powdered sugar, crushed nuts, sprinkles, and drizzled chocolate. Everyone customizes their cookie. It’s fun and interactive.
Wine Pairing: Not a wine expert, but I like a sweet dessert wine like Port or Moscato with these. It complements the chocolate.
Storage Instructions:
Refrigerator: Store in an airtight container at room temperature for up to 5 days. Do not refrigerate; they’ll get hard. If you live in a humid climate, they might get soft faster.
Freezing: Freeze baked cookies in an airtight container for up to 3 months. Thaw at room temperature. Or freeze the dough balls as mentioned earlier.
Reheating: If you want them warm, microwave for 10-15 seconds. They’ll be soft and gooey. Don’t overdo it; they’ll melt.
Pro tip: If they start to get stale, pop them in the oven at 300°F for 3 minutes. They’ll be fresh again. I do this all the time.
Nutrition Information
I’m not a nutritionist, but here’s the breakdown if you’re tracking. Keep in mind that these are rich cookies, so portion control is key.
Per Cookie (based on 24 cookies):
- Calories: 180
- Protein: 2g
- Carbs: 26g
- Fiber: 1g
- Sugar: 18g
- Fat: 9g
- Saturated Fat: 5g
- Cholesterol: 25mg
- Sodium: 110mg
What’s Good: They’re not a health food, but they’re better than store-bought. You control the ingredients. No preservatives, no weird chemicals. Just real food.
What to Know: High in sugar and calories. Enjoy in moderation. If you’re watching sugar, you can reduce the powdered sugar coating, but it affects the texture.
My Take: Look, this is a treat. It’s a cookie. It’s supposed to be delicious. Don’t stress the nutrition. Make it, eat it, enjoy it. That’s the point.
Final Thoughts
So that’s my soft chocolate crinkle cookie recipe! I’ve probably talked your ear off at this point, but when you make a recipe this often, you have a lot to say about it. These cookies have saved my social life. They’re my go-to when I need to bring something to a party, give as a gift, or just treat myself on a Tuesday night.
They’re soft, chewy, chocolatey, and ridiculously easy to make. The crinkle effect is satisfying to watch, and the taste is even better. I hope you try this recipe and love it as much as I do. Make it yours! Try different coatings, add chips, or just eat them plain. The best recipes are the ones you adapt to your tastes.
If you make this, drop a comment and let me know what you think! I love hearing how recipes turn out in your kitchen. And if something doesn’t work, tell me that too—I’m here to help troubleshoot. Happy baking! And I hope your kitchen smells half as good as mine does right now.
Frequently Asked Questions
Q: Can I use cocoa nibs instead of cocoa powder?
A: No, cocoa nibs are crunchy and won’t dissolve into the dough. You need cocoa powder for the smooth texture and chocolate flavor. Nibs are better as a mix-in.
Q: Why did my cookies spread too much?
A: Your butter was probably too soft or melted. Or you didn’t chill the dough enough. Make sure your butter is just softened, not liquid. And chill the dough for at least 30 minutes.
Q: Why didn’t my cookies crinkle?
A: You might have rolled them in too little sugar, or your baking powder is old. Also, if you overmixed the dough, it can affect the rise. Try double-rolling in sugar and checking your baking powder date.
Q: Can I freeze the dough?
A: Yes! Roll the dough balls in sugar, freeze them on a tray, then transfer to a bag. Bake from frozen, adding 1-2 minutes to the bake time. This is great for having cookies ready on demand.
Q: Can I use brown butter?
A: Yes, brown butter adds a nutty, rich flavor. Let it cool completely before using. It changes the flavor profile slightly, but it’s delicious.
Q: How do I store leftovers?
A: In an airtight container at room temperature for up to 5 days. Add a slice of bread to keep them soft. Don’t refrigerate; they’ll get hard.
Q: Can I make these gluten-free?
A: Yes, use a 1:1 gluten-free flour blend. The texture will be slightly more tender, but it works. I’ve tested this with success.
Pin This Recipe!
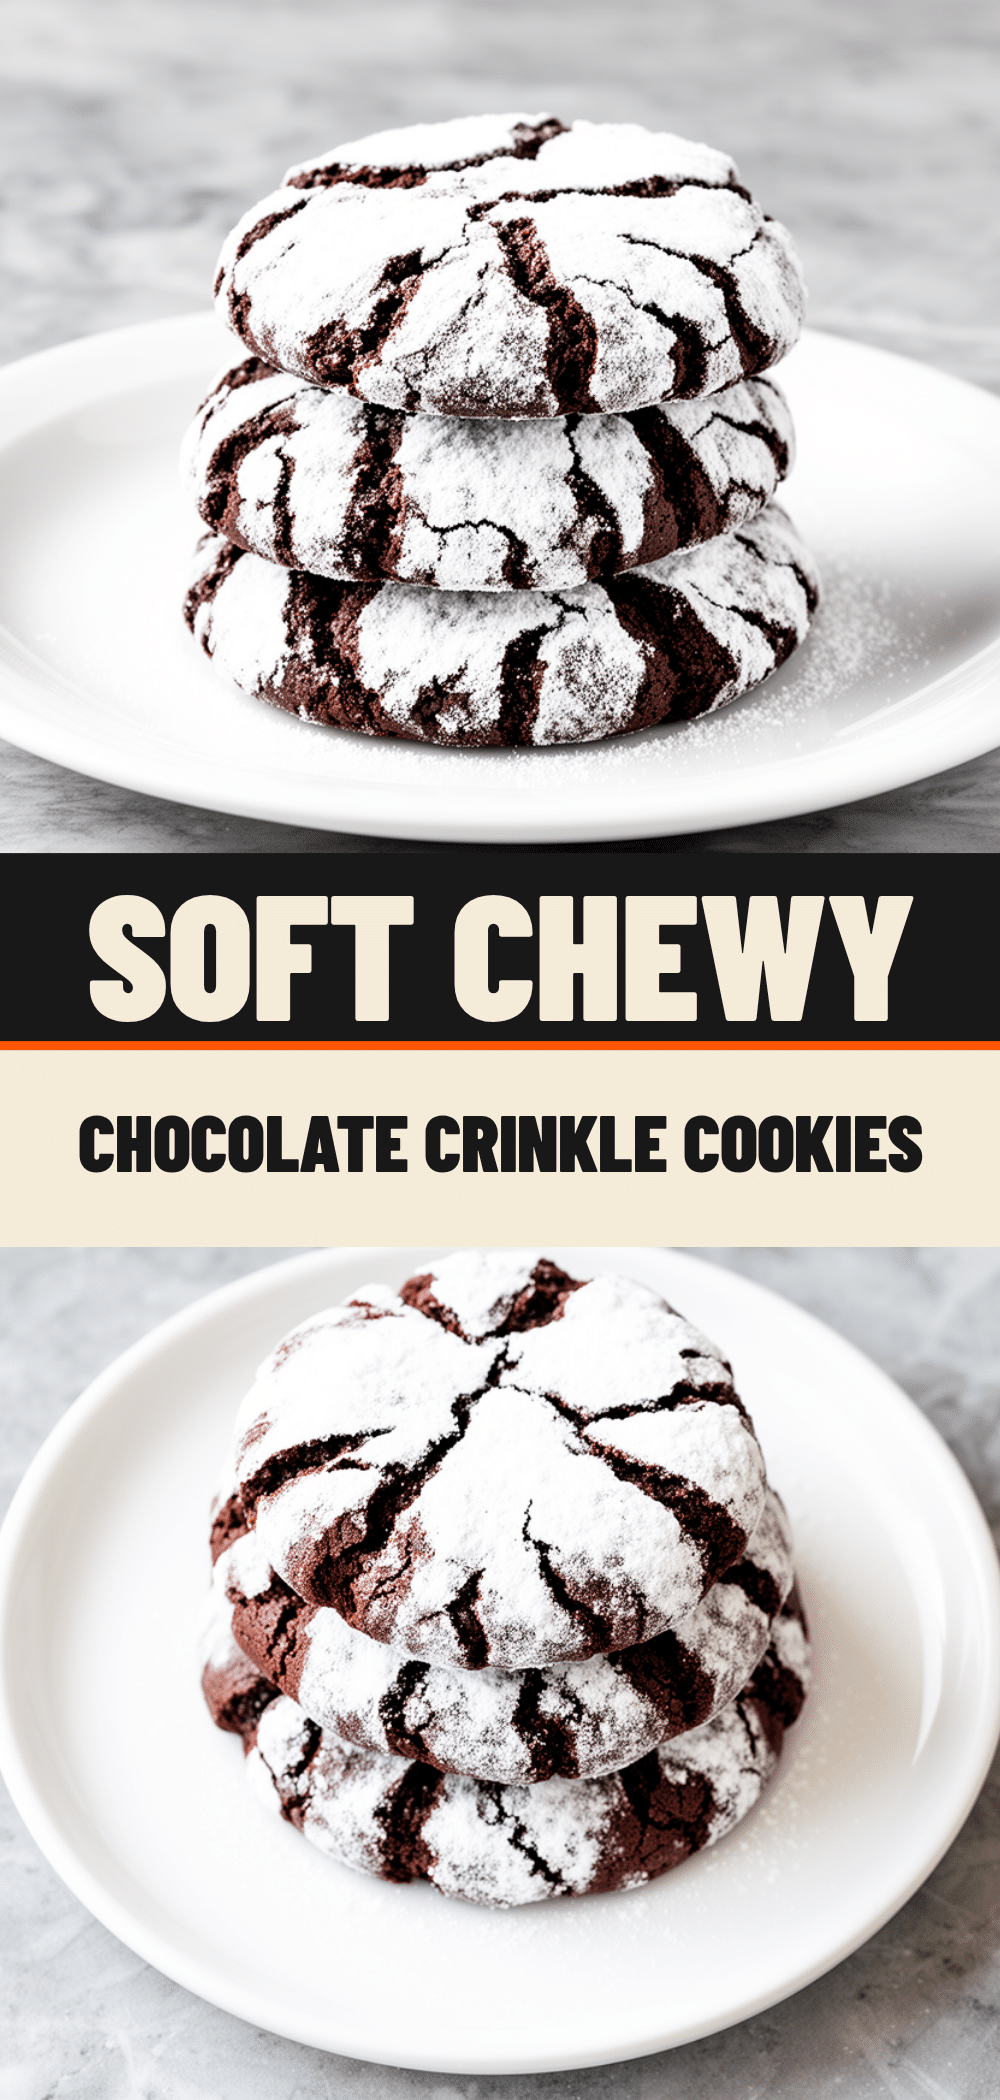
Soft Chocolate Crinkle Cookies: Best Soft & Chewy Recipe
- Total Time: 1 hour
- Yield: 24 cookies 1x
Description
These soft chocolate crinkle cookies are crisp on the outside and gooey on the inside, coated in powdered sugar. They require minimal chill time and are easy to make with pantry staples.
Ingredients
- 1 cup (226g) unsalted butter, softened
- 1 cup (200g) granulated sugar
- 1 cup (220g) packed brown sugar
- 2 large eggs, room temperature
- 2 teaspoons vanilla extract
- 2 cups (250g) all-purpose flour
- ¾ cup (75g) unsweetened cocoa powder
- 1 teaspoon baking powder
- ½ teaspoon salt
- 1 cup (120g) powdered sugar, for rolling
- ½ cup semi-sweet chocolate chips (optional)
Instructions
- Preheat oven to 350°F (175°C) and line baking sheets with parchment paper.
- In a large mixing bowl, cream together the softened butter, granulated sugar, and brown sugar until light and fluffy, about 3 minutes.
- Add eggs one at a time, beating well after each addition, then mix in vanilla extract until combined.
- In a separate bowl, whisk together flour, cocoa powder, baking powder, and salt.
- Add dry ingredients to the wet mixture in two batches, mixing on low speed until just combined. Do not overmix.
- Cover the dough and refrigerate for at least 30 minutes to firm up.
- Place powdered sugar in a shallow bowl. Scoop dough into 1.5-tablespoon portions and roll into balls.
- Roll each dough ball in powdered sugar until completely coated.
- Place coated balls on prepared baking sheets, leaving 2 inches between them.
- Bake for 10-12 minutes until tops are cracked and edges just barely start to set. Centers should still look soft.
- Let cookies cool on the baking sheet for 5 minutes, then transfer to a cooling rack to cool completely.
Notes
Do not overbake; cookies continue to cook on the hot pan. For extra-crystallized cracks, double-roll the dough balls in powdered sugar. Store with a slice of bread to keep them soft. Dough can be frozen for later use.
- Prep Time: 20 minutes
- Cook Time: 10-12 minutes
- Category: Dessert
- Cuisine: American
Nutrition
- Serving Size: 1 cookie
- Calories: 180
- Sugar: 18
- Sodium: 110
- Fat: 9
- Saturated Fat: 5
- Carbohydrates: 26
- Fiber: 1
- Protein: 2
Keywords: chocolate crinkle cookies, soft cookies, chewy cookies, easy cookie recipe, powdered sugar cookies, chocolate cookies