I have a confession to make. Last Friday night, I was supposed to be prepping for a busy week. I had emails to answer, laundry to fold, and a general sense of impending doom hovering over my kitchen island. Instead, I found myself staring at a jar of Nutella, a stick of butter, and a bag of chocolate chips, thinking, “What if I just… stuffed everything?”
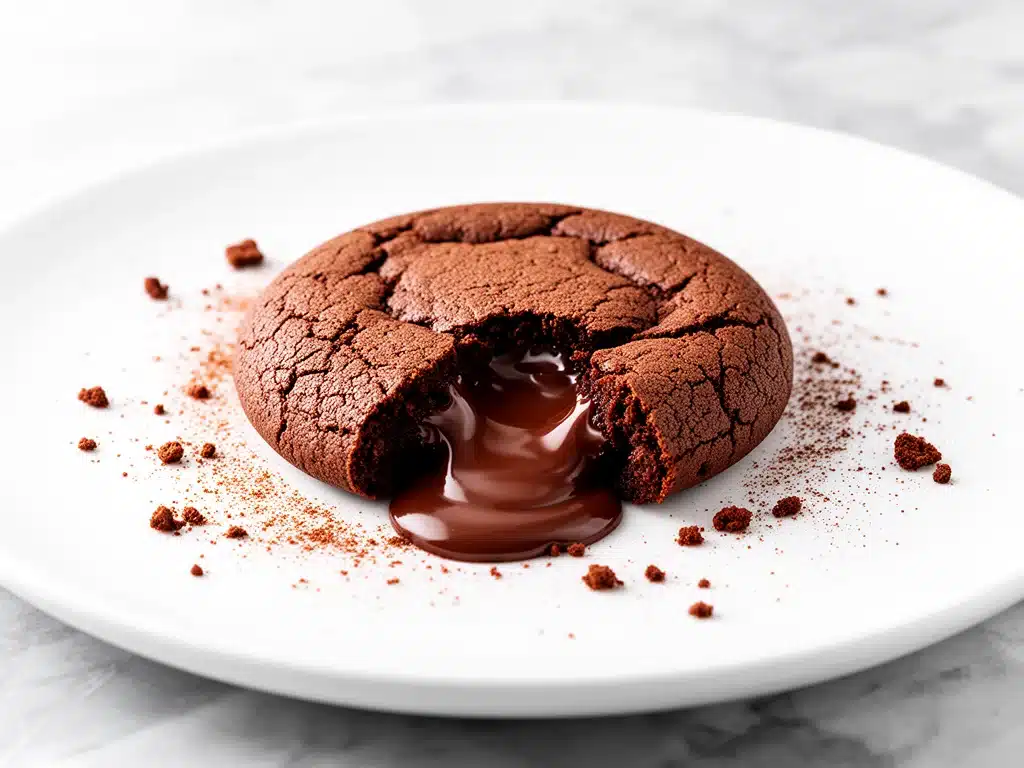
It started as a lazy midnight snack idea. I wanted something sweet, something rich, and something that would make my husband stop scrolling through his phone long enough to look at me. I threw together a batch of chocolate cookies, but this time, I didn’t just sprinkle chips on top. I took a tablespoon of hazelnut spread, wrapped it in dough, and baked it. When I pulled the first tray out of the oven, I broke one open just to check the center. It didn’t just melt; it oozed. A warm, gooey river of Nutella spilled onto the plate.
My husband took one bite, closed his eyes, and actually sighed. Not a polite “thanks for dinner” sigh, but a deep, soulful “I need this immediately” sigh. That was the moment I knew these molten Nutella stuffed chocolate cookies were going to be a permanent fixture in my house. They aren’t just cookies. They’re a dessert experience. They’re crispy on the outside, chewy in the middle, and filled with a center that’s basically liquid gold.
I’ve made these cookies at least fifteen times in the last two months. I’ve tweaked the dough ratios, experimented with different chocolate chips, and even tried stuffing them with peanut butter (which was good, but Nutella is king). I’ve served them to picky teenagers, skeptical neighbors, and my own mother-in-law, who claims she “doesn’t really like sweets.” She ate three in one sitting and asked for the recipe before she left. That’s how you know you’ve hit the jackpot.
Here’s the thing about these cookies: they look complicated, but they’re stupid simple. You don’t need fancy equipment. You don’t need to be a professional baker. You just need a few pantry staples and about fifteen minutes of active time. The hardest part? Waiting for them to cool so the center doesn’t burn your tongue. If you’ve ever wanted to impress guests with something that tastes like it came from a high-end French patisserie but actually comes from your standard kitchen counter, this is your recipe. It’s rich, it’s indulgent, and it’s easier than you think.
Why You’ll Love This Recipe
There are about ten reasons I keep making these molten Nutella stuffed chocolate cookies, but if I had to narrow it down, here are the big ones. These aren’t just another chocolate chip cookie recipe. They’re a game-changer for anyone who loves a serious dessert.
The Center is Liquid Gold — Seriously, the molten center is the star of the show. When you bite into a warm cookie, that gooey Nutella spills out. It’s not just a chunk of spread; it’s a warm, flowing river of hazelnut chocolate. It’s the kind of texture that makes people stop talking and start eating. I’ve seen adults’ eyes go wide when they see the center spill out. It’s pure magic.
Ready in 15 Minutes — I’m not talking about total bake time, but active prep time. From mixing the dough to popping the tray in the oven, it takes me about 15 minutes. The baking time is another 10-12 minutes, but you’re mostly just waiting. I make these on weeknights when I want a treat but don’t have hours to spend in the kitchen. It’s perfect for last-minute dinner parties or satisfying a sudden craving.
Pantry-Friendly Ingredients — You probably already have most of these ingredients. Flour, sugar, butter, cocoa powder, eggs, chocolate chips, and Nutella. If you have a jar of Nutella in your cupboard (and let’s be honest, who doesn’t?), you’re 90% of the way there. This isn’t a recipe that requires a special trip to a specialty store. It’s accessible, affordable, and easy.
Kids and Adults Love Them Equally — This is rare. Most kid-friendly desserts are too sweet for adults, and most adult desserts are too sophisticated for kids. These cookies hit the sweet spot. They’re sweet enough for my seven-year-old’s birthday party but rich and complex enough to satisfy my coffee-drinking friends. I’ve served these at book clubs, sleepovers, and family gatherings, and they disappear faster than I can bake them.
Makes Amazing Leftovers — Okay, real talk: these don’t last long. But if they do survive until the next day, they’re still incredible. They actually taste better the next day as the flavors meld together. I keep them in an airtight container, and I’ve been known to eat them cold for breakfast (don’t tell my doctor). Reheating one in the microwave for 10 seconds brings back that molten center, making it feel like fresh-baked again.
This recipe has completely changed my dessert game. It’s my go-to when I need to impress, when I need comfort, or when I just want something delicious without the stress. No complicated techniques, no weird ingredients, just reliable, jaw-droppingly good cookies that make everyone happy.
Ingredients You’ll Need
Here’s the best part: you probably have most of this already. This isn’t a recipe that requires exotic spices or hard-to-find flours. It’s built on simple, classic ingredients that work together to create something special. I’m particular about a few things here, and I’ll tell you exactly why.
For the Cookie Dough
Unsalted Butter (1 cup / 226g, softened) — This is the foundation. You want it softened to room temperature, not melted. If it’s melted, your cookies will spread too much and become flat discs. Softened butter creams better with the sugar, creating that perfect chewy texture. I usually take my butter out of the fridge about an hour before I start. If I’m in a hurry, I cut it into cubes and let it sit for 15 minutes.
Granulated Sugar (1 cup / 200g) — This gives the cookies their crisp edges. White sugar doesn’t dissolve completely, creating those crunchy bits on the outside. I don’t skip this for brown sugar alone because I want that contrast.
Brown Sugar (1 cup / 220g, packed) — This is where the chewiness comes from. The molasses in brown sugar adds moisture and a deep, caramel-like flavor. I use light brown sugar, but dark brown works too if you want a more intense molasses taste. Pack it tightly into the cup for accuracy.
Eggs (2 large, room temperature) — Room temperature eggs emulsify better into the dough. Cold eggs can cause the butter to seize up slightly, leading to a denser cookie. I take them out of the fridge with the butter. If you forget, just drop them in a bowl of warm water for five minutes.
Vanilla Extract (2 teaspoons) — Don’t skimp on this. Good quality vanilla brings out the chocolate flavor. I use pure vanilla extract, not imitation. It’s a small cost that makes a big difference in taste.
All-Purpose Flour (2 ½ cups / 315g) — This provides the structure. I sift it with the other dry ingredients to remove lumps, which ensures a smooth dough. Too much flour makes them cakey; too little makes them greasy. Measuring correctly is key. I spoon the flour into the cup and level it off, don’t scoop directly from the bag.
Cocoa Powder (½ cup / 50g, unsweetened) — This gives the cookies their deep chocolate flavor. I use Dutch-processed cocoa powder because it’s darker and has a richer taste. Regular natural cocoa powder works too, but the flavor will be slightly lighter and more acidic.
Baking Soda (1 teaspoon) — This helps the cookies spread and brown. Make sure it’s fresh! Old baking soda won’t work well. If your cookies don’t spread, check the expiration date.
Salt (½ teaspoon) — Salt is crucial. It balances the sweetness and enhances the chocolate flavor. I use kosher salt. If you use table salt, reduce to ¼ teaspoon.
Chocolate Chips (1 cup / 170g) — I use semi-sweet chocolate chips for the dough. They add pockets of chocolate without overpowering the Nutella center. Dark chocolate chips work too if you prefer less sweetness.
For the Filling
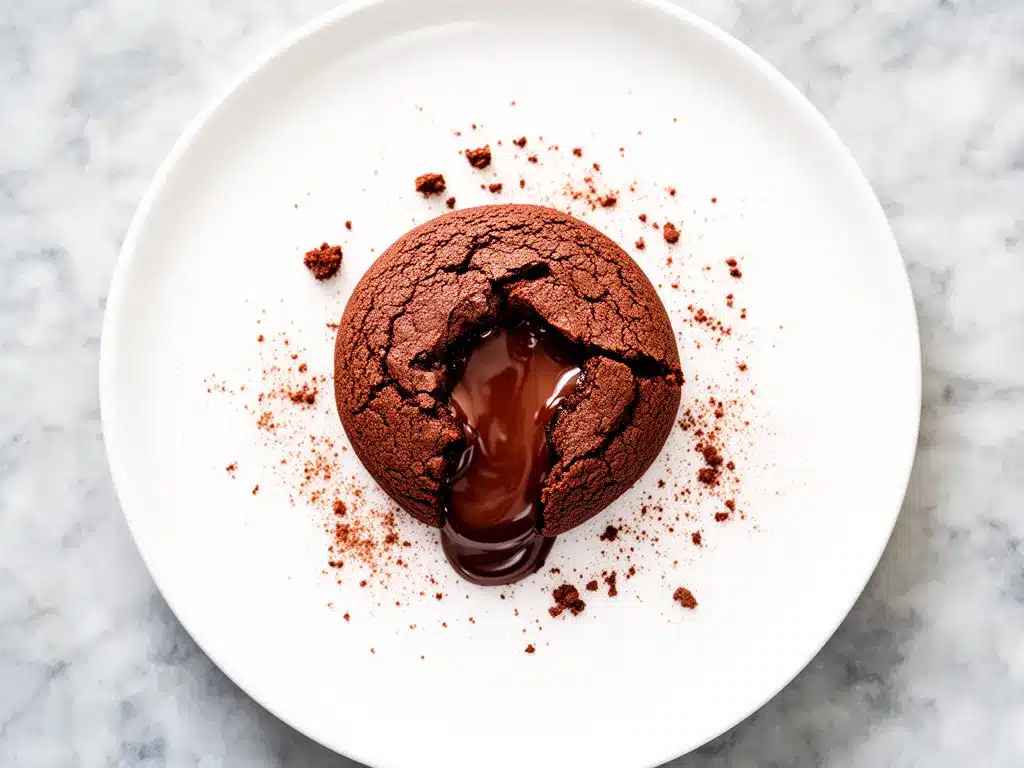
Nutella (about 1 cup / 250g) — Yes, the jar of hazelnut spread. I use the standard Nutella, but other chocolate-hazelnut spreads work too. The key is to freeze the Nutella first. This is the secret to keeping it molten inside without leaking out. See my tips below for how to do this.
Extra Chocolate Chips (optional) — Some people like to add a chocolate chip on top of the Nutella ball for an extra chocolatey surprise. I sometimes do this, but it’s not necessary.
Pro Tip: I always buy Nutella in bulk when it’s on sale. It keeps for months in the pantry, and having a large jar means I’m always ready to make these cookies on a whim. If you’re worried about the Nutella being too runny, put the jar in the fridge for 30 minutes before scooping. It will firm up just enough to handle.
Equipment Needed
You don’t need fancy equipment for this. Here’s what I actually use. Most of this is standard kitchen gear, so you probably have it all.
Large Mixing Bowls — I use two large bowls. One for wet ingredients, one for dry. A 5-quart bowl is perfect. I prefer glass or stainless steel because they’re easy to clean.
Electric Mixer — A hand mixer or stand mixer makes creaming the butter and sugar much easier. I used to do it by hand, but my arms got tired, and the texture wasn’t as good. An electric mixer ensures the butter and sugar are properly aerated, which gives the cookies a better texture.
Mixing Spatula — A silicone spatula is essential for scraping the bowl and folding in the flour. I have one that’s heat-resistant, so I can use it for mixing and then scrape the batter into the dough.
Baking Sheets — I use standard half-sheet pans. Dark baking sheets are better because they conduct heat more efficiently, leading to better browning. If you have light-colored sheets, your cookies might take a minute longer to bake.
Parchment Paper — Line your baking sheets with parchment paper. This prevents sticking and makes cleanup a breeze. I never bake these cookies directly on the pan because the Nutella can leak and burn.
Cooling Rack — Essential for letting the cookies cool. If you let them cool on the hot pan, they’ll continue to cook and might get too firm. A wire rack allows air to circulate.
Ice Cube Tray or Mini Muffin Tin — I use an ice cube tray to freeze the Nutella portions. It creates perfect, uniform balls. A mini muffin tin works too, but the ice cube tray is easier to pop them out of.
Spoon or Scoop — I use a small cookie scoop (about 1 tablespoon) for the dough. It ensures uniform size, so they bake evenly. If you don’t have a scoop, use two teaspoons.
Knife — A sharp knife is helpful for cutting the dough if you need to adjust the size.
Optional but nice: Offset Spatula — Great for smoothing the dough over the Nutella. Pastry Brush — For brushing off excess flour.
Tool Tip: I’m obsessed with my parchment paper. It’s cheap, and it saves so much time on cleanup. I never skip it. Also, if you don’t have an electric mixer, you can use a sturdy wooden spoon, but it will take a few minutes of arm work.
How to Make It: Step-by-Step
Alright, let’s make this! I’m walking you through exactly how I do it, including the little tricks I’ve picked up. This process is straightforward, but timing is everything, especially with the frozen Nutella center.
Step 1: Freeze the Nutella (15-30 minutes)
This is the most important step. You need the Nutella to be frozen solid so it doesn’t leak out while baking. Spoon Nutella into an ice cube tray or mini muffin tin. Each cube should be about 1 tablespoon. Pop them in the freezer for at least 15 minutes, or until they’re hard as rocks. If you’re short on time, put the tray in the freezer for 10 minutes and check. They should be firm to the touch. This step ensures that when you bite into the cookie, the center is warm and molten, not runny everywhere.
Step 2: Prep Your Dough
Preheat your oven to 350°F (175°C). Line two baking sheets with parchment paper. This prevents sticking and ensures even baking. Have your frozen Nutella balls ready nearby. You’ll be assembling the cookies soon, so don’t let the Nutella thaw.
Step 3: Cream the Butter and Sugars
In a large bowl, beat the softened unsalted butter, granulated sugar, and brown sugar together until light and fluffy. This takes about 2-3 minutes with an electric mixer. You want the mixture to be pale and creamy. This step incorporates air into the dough, which helps the cookies rise and become chewy. If you’re doing this by hand, it will take about 5 minutes of vigorous stirring.
Step 4: Add Eggs and Vanilla
Add the eggs one at a time, beating well after each addition. Then add the vanilla extract. Mix until just combined. Don’t overmix here, or your cookies might become dense. The mixture should look smooth and slightly glossy.
Step 5: Mix Dry Ingredients
In a separate medium bowl, whisk together the flour, cocoa powder, baking soda, and salt. Whisking ensures that the baking soda and salt are evenly distributed, which is crucial for consistent flavor and texture. Sifting is optional but recommended if your cocoa powder is lumpy.
Step 6: Combine Wet and Dry
Gradually add the dry ingredients to the wet ingredients, mixing on low speed until just combined. Be careful not to overmix. Once the flour disappears, stop mixing. Overmixing develops gluten, which makes cookies tough. You want them tender and chewy. Fold in the chocolate chips with a spatula.
Step 7: Assemble the Cookies
This is the fun part. Take a tablespoon of dough and flatten it in your palm. Place one frozen Nutella ball in the center. Carefully wrap the dough around the Nutella, sealing it completely. Roll it into a smooth ball. Make sure there are no cracks or holes, or the Nutella will leak. Place the ball on the prepared baking sheet, about 2 inches apart. Repeat with the remaining dough and Nutella balls. You should get about 12-15 cookies, depending on size.
Step 8: Bake
Bake for 10-12 minutes. The cookies should look set on the edges but still soft in the center. They will continue to cook on the hot pan after you remove them from the oven. Do not overbake, or the center won’t be molten. The tops might look slightly cracked, which is normal and adds to the rustic look.
Step 9: Cool and Serve
Let the cookies cool on the baking sheet for 5 minutes. This allows them to set slightly so they don’t fall apart. Then transfer them to a wire rack to cool completely, or eat them warm (which I highly recommend). The center will be warm and gooey. Serve with a glass of cold milk or a cup of coffee. Enjoy!
Expert Tips & Tricks
Here’s everything I’ve learned from making these molten Nutella stuffed chocolate cookies dozens of times. These tips will save you from my mistakes and ensure perfect results every time.
Freeze the Nutella Solid
This is non-negotiable. If the Nutella isn’t frozen, it will melt into the dough and leak out, creating a mess on your baking sheet. I freeze mine for at least 30 minutes to be safe. If you’re in a rush, freeze for 15 minutes and check. They should be hard. If they’re soft, keep freezing. This step is the difference between a molten center and a greasy cookie.
Don’t Overmix the Dough
Once you add the flour, mix until just combined. Overmixing makes the cookies tough and cakey. You want them chewy and tender. If you see streaks of flour, that’s okay. Just give it one more gentle fold. The dough will come together as you bake.
Use Room Temperature Butter
Softened butter is key for creaming. If it’s too cold, it won’t mix well with the sugar. If it’s melted, your cookies will spread too much. Aim for butter that’s soft enough to leave an indent when you press it but not oily. This usually takes about an hour at room temperature.
Seal the Dough Tight
When wrapping the dough around the Nutella, make sure there are no air pockets or cracks. Pinch the dough firmly to seal it. If you see any holes, patch them with a tiny bit of extra dough. This prevents leaking and ensures a nice, contained center.
Chill the Dough (Optional but Recommended)
If your kitchen is warm, or if you’re not baking immediately, chill the assembled cookie balls in the fridge for 15-20 minutes before baking. This helps them hold their shape and prevents spreading. I usually do this if I’m making them ahead of time.
Don’t Overbake
The cookies should look slightly underdone in the center when you take them out. They will finish cooking on the hot pan. If you bake them until they look fully set, the center will be firm, not molten. Aim for soft, puffy cookies with set edges.
Common Mistakes (and how to avoid them):
Mistake: Nutella leaks out. Fix: Your Nutella wasn’t frozen enough, or the dough wasn’t sealed tight. Freeze longer and pinch the dough firmly.
Mistake: Cookies are flat. Fix: Your butter was too warm or melted. Use properly softened butter, and chill the dough before baking.
Mistake: Cookies are dry. Fix: You overbaked them. Take them out when they look slightly underdone in the center.
Pro Tricks I’ve Learned:
For Extra Richness Add a pinch of espresso powder to the dry ingredients. It enhances the chocolate flavor without making the cookies taste like coffee.
For Better Texture Chill the dough balls for 30 minutes before baking. This helps them rise better and keeps their shape.
For Presentation Dust the tops with powdered sugar after baking. It looks elegant and adds a touch of sweetness.
Variations & Substitutions
Once you’ve nailed the basic version, here’s how you can mix it up. I’ve tried all of these, and they’re all delicious.
Peanut Butter Stuffed
Replace the Nutella with frozen peanut butter. Use creamy peanut butter and freeze it in tablespoon portions. The salty-sweet combination is amazing. This is my husband’s favorite variation.
White Chocolate Chip
Use white chocolate chips instead of semi-sweet. This makes the cookies sweeter and more colorful. Great for holidays or special occasions.
Double Chocolate
Add ½ cup of mini chocolate chips to the dough for extra chocolatey pockets. This is for true chocolate lovers.
Gluten-Free
Use a 1:1 gluten-free flour blend. The texture will be slightly different but still delicious. I’ve used Bob’s Red Mill and King Arthur, and both work well.
Dairy-Free
Use dairy-free butter and dairy-free Nutella (or a similar chocolate-hazelnut spread). The cookies will be slightly less rich but still tasty.
Vegan
Use vegan butter, flax eggs, and vegan Nutella. The dough will be slightly different, but the concept works. I’ve tried it, and it’s good, though not quite the same as the original.
Mini Version
Make mini cookies by using smaller portions of dough and Nutella. Bake for 6-8 minutes. Great for parties and finger food.
Stuffed with Other Things
Try stuffing with peanut butter cups, caramel, or even a small piece of cream cheese. The possibilities are endless. I’ve tried stuffed with a mini KitKat, and it was incredible.
Serving & Storage
How to serve these molten Nutella stuffed chocolate cookies is almost as important as how you make them. Here’s how I enjoy them.
How to Serve:
I usually serve these warm, straight from the oven. They look rustic and inviting. But here are other ways I’ve enjoyed them:
Side Dishes:
– A glass of cold milk (classic)
– A cup of hot coffee or espresso
– A scoop of vanilla ice cream (for a cookie à la mode)
– A dollop of whipped cream
Toppings Bar:
When I have guests, I put out: powdered sugar, extra chocolate chips, crushed hazelnuts, and sea salt flakes. Everyone customizes their cookie.
Wine Pairing:
Not a wine expert, but a sweet dessert wine like Moscato or a Port works great with these. The sweetness complements the Nutella.
Storage Instructions:
Refrigerator:
Store in an airtight container for up to 5 days. They stay chewy and fresh. If they start to dry out, add a slice of bread to the container to keep them moist.
Freezing:
You can freeze the unbaked cookie dough balls. Place them on a baking sheet and freeze until solid, then transfer to a freezer bag. Bake from frozen, adding 1-2 minutes to the bake time. You can also freeze baked cookies, but the center might lose some of its molten quality when thawed. I prefer freezing the dough.
Reheating:
Best method: Microwave for 10-15 seconds. This brings back the molten center. Oven method: Bake at 350°F for 3-5 minutes. Don’t overheat, or the center will harden.
Pro tip: If you’re making them ahead for a party, freeze the Nutella balls and assemble the cookies the day of. Bake them just before serving for the best experience.
Nutrition Information
I’m not a nutritionist, but here’s the breakdown if you’re tracking. Keep in mind that this is an estimate and can vary based on the specific brands and ingredients you use.
Per Cookie (based on 12 cookies):
- Calories: 320
- Protein: 4g
- Carbs: 42g
- Fiber: 2g
- Sugar: 28g
- Fat: 16g
- Saturated Fat: 9g
- Cholesterol: 35mg
- Sodium: 180mg
What’s Good:
- Decent protein from butter and eggs
- Calcium from butter and eggs
- Iron from cocoa powder
What to Know:
- Higher in calories and sugar due to Nutella and sugar
- Contains dairy and gluten
- Moderate sodium
My Take:
Look, these are molten Nutella stuffed chocolate cookies. They’re indulgent, rich, and sweet. They’re not a diet food. But they’re a treat, and sometimes you just need a treat. When I make them, I enjoy one or two and savor them. They’re better than store-bought desserts, and I know exactly what’s in them. Moderation is key, but don’t feel guilty about enjoying them.
Dietary Notes:
- Contains: gluten, dairy, eggs, nuts
- Can be made: gluten-free, vegan (with substitutions)
- Not suitable for: nut allergies (due to Nutella)
Final Thoughts
So that’s my go-to molten Nutella stuffed chocolate cookies! I’ve probably talked your ear off at this point, but when you make a recipe this often, you have a lot to say about it. These cookies have saved my social life more times than I can count. They’re my answer to “what dessert should I bring?” when I’m tired, don’t want to buy something generic, and still want to impress.
My kids love them, my husband loves them, and my friends love them. They’re the perfect balance of easy and impressive. Make them yours! Try different add-ins, swap in your favorite chocolate chips, or adjust the Nutella amount. The best recipes are the ones you adapt to your family’s tastes.
If you make this, drop a comment and let me know what you think! I love hearing how recipes turn out in your kitchen. And if something doesn’t work, tell me that too—I’m here to help troubleshoot. Happy baking! And I hope your kitchen smells half as good as mine does right now.
Frequently Asked Questions
Can I use a different nut spread instead of Nutella?
Yes! You can use any chocolate-hazelnut spread, peanut butter, or even almond butter. Just make sure to freeze it solid before assembling. Peanut butter will give a salty-sweet twist, which is delicious. Just ensure it’s thick enough to hold its shape when frozen.
Why did my Nutella leak out?
This usually happens if the Nutella wasn’t frozen long enough, or if the dough wasn’t sealed tightly. Make sure the Nutella is rock hard before wrapping. Also, pinch the dough firmly to seal any cracks. If you see any holes, patch them with extra dough.
Can I make these ahead of time?
Yes! You can freeze the unbaked cookie dough balls. Place them on a baking sheet and freeze until solid, then transfer to a freezer bag. Bake from frozen, adding 1-2 minutes to the bake time. You can also assemble them and refrigerate for up to 24 hours before baking.
How do I store leftovers?
Store in an airtight container at room temperature for up to 5 days. If they start to dry out, add a slice of bread to the container. For the best texture, reheat in the microwave for 10-15 seconds before eating.
Can I use dark chocolate chips?
Absolutely! Dark chocolate chips will make the cookies less sweet and more intense. I recommend 60-70% dark chocolate for a good balance. Just keep in mind that the Nutella is already sweet, so you might not need as much sugar in the dough.
Why are my cookies flat?
This usually means your butter was too warm or melted. Use properly softened butter, and chill the dough before baking. Also, make sure you’re measuring your flour correctly. Too much flour can make them cakey, but too little can make them flat.
Can I double this recipe?
Yes! Double all the ingredients and mix in batches if needed. The baking time stays the same. Just make sure you have enough baking sheets, or bake in batches. The results will be the same.
Pin This Recipe!
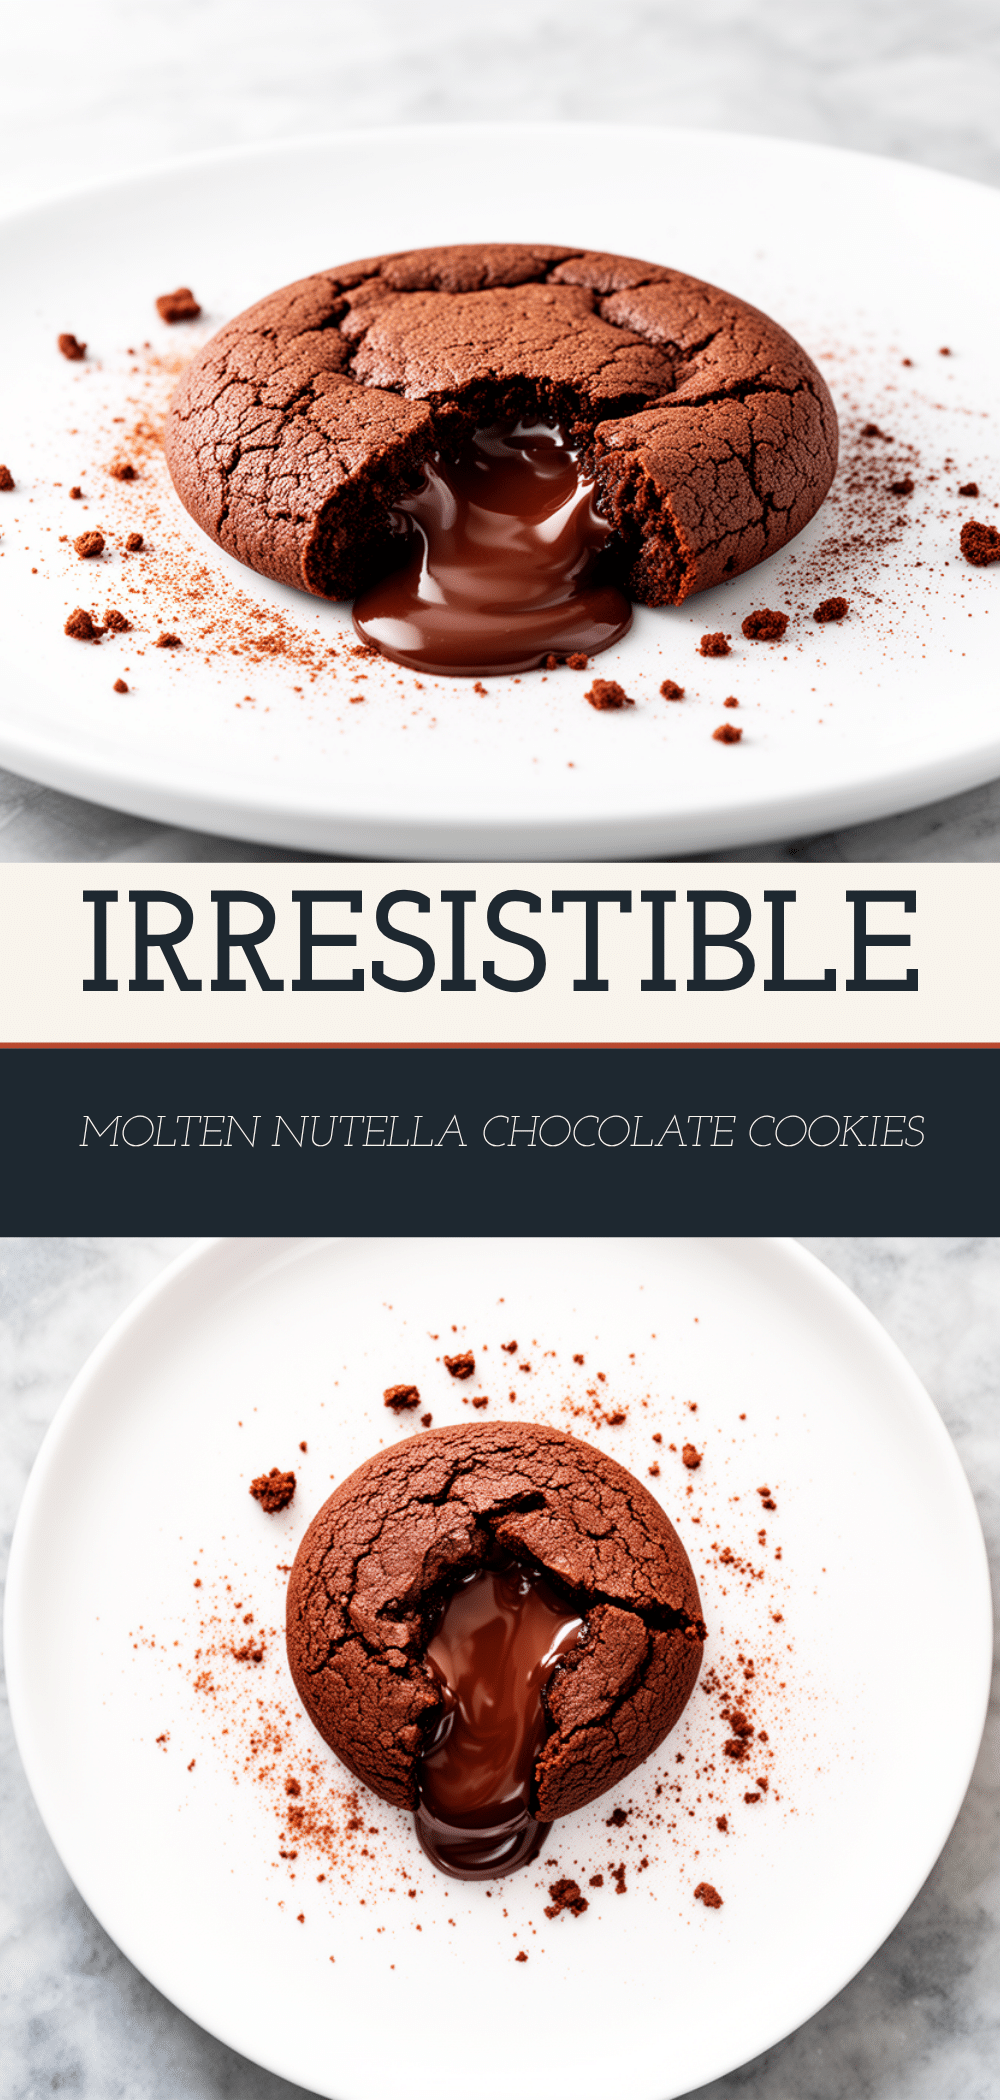
Molten Nutella Stuffed Chocolate Cookies
- Total Time: 25-27 minutes
- Yield: 12-15 cookies 1x
Description
Rich, chewy chocolate cookies stuffed with a frozen center of Nutella that melts into a gooey, molten river when baked. These cookies are crispy on the outside, soft in the middle, and ready in just 15 minutes of active prep time.
Ingredients
- 1 cup (226g) unsalted butter, softened to room temperature
- 1 cup (200g) granulated sugar
- 1 cup (220g) packed light brown sugar
- 2 large eggs, room temperature
- 2 teaspoons pure vanilla extract
- 2 ½ cups (315g) all-purpose flour
- ½ cup (50g) unsweetened cocoa powder (Dutch-processed recommended)
- 1 teaspoon baking soda
- ½ teaspoon kosher salt
- 1 cup (170g) semi-sweet chocolate chips
- 1 cup (250g) Nutella, frozen into 1-tablespoon portions
Instructions
- Spoon Nutella into an ice cube tray or mini muffin tin (about 1 tablespoon per portion). Freeze for at least 15-30 minutes until solid.
- Preheat oven to 350°F (175°C). Line two baking sheets with parchment paper.
- In a large bowl, beat the softened butter, granulated sugar, and brown sugar together until light and fluffy (about 2-3 minutes with an electric mixer).
- Add eggs one at a time, beating well after each addition. Mix in vanilla extract until combined.
- In a separate medium bowl, whisk together flour, cocoa powder, baking soda, and salt.
- Gradually add dry ingredients to wet ingredients, mixing on low speed until just combined. Do not overmix. Fold in chocolate chips.
- Take a tablespoon of dough, flatten in palm, place one frozen Nutella ball in center, and wrap dough around it, sealing completely. Roll into a smooth ball.
- Place cookie balls on prepared baking sheets, about 2 inches apart.
- Bake for 10-12 minutes until edges are set but centers are still soft.
- Let cookies cool on the baking sheet for 5 minutes before transferring to a wire rack.
Notes
Ensure Nutella is frozen solid to prevent leaking. Do not overmix the dough to maintain a chewy texture. If the dough is too warm, chill assembled cookies for 15-20 minutes before baking. Store in an airtight container for up to 5 days.
- Prep Time: 15 minutes
- Cook Time: 10-12 minutes
- Category: Dessert
- Cuisine: American
Nutrition
- Serving Size: 1 cookie
- Calories: 320
- Sugar: 28
- Sodium: 180
- Fat: 16
- Saturated Fat: 9
- Carbohydrates: 42
- Fiber: 2
- Protein: 4
Keywords: Nutella cookies, molten chocolate cookies, stuffed cookies, chocolate dessert, easy baking, hazelnut spread, cookie recipe


