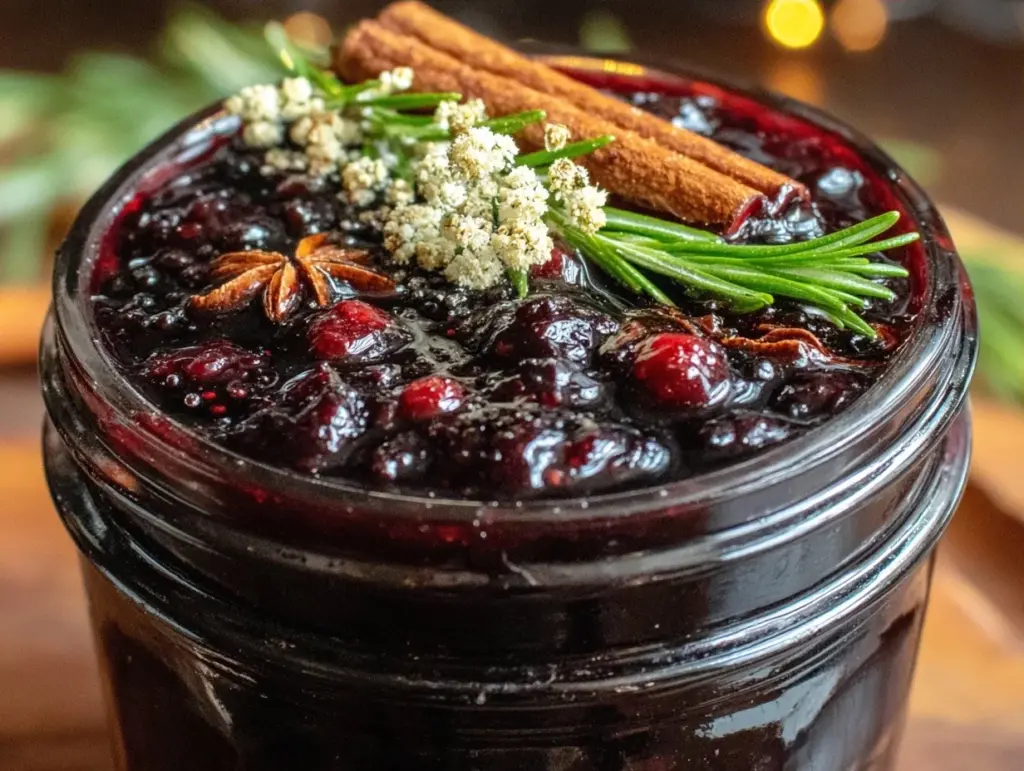
I remember the smell of my grandmother’s kitchen in late November. It wasn’t the smell of fresh bread or roasted chicken, though those were common too. It was that deep, earthy, slightly metallic scent of simmering berries and spices. The windows would be fogged up, no matter how high we cranked the heat. Outside, the world was turning gray and cold, but inside, there was this dark, ruby-red pot bubbling on the stove that promised we’d be okay. We’d be warm. We’d be healthy.
My grandmother, Nana Rose, didn’t believe in store-bought remedies. If you had a scratchy throat or felt that familiar tingle in your nose, she didn’t reach for a pharmacy bottle. She reached for the elderberries. She’d ladle a small, sticky spoonful of her syrup into hot water with a slice of lemon, handing it to me like it was liquid gold. It tasted tart, sweet, and spicy all at once. I used to hate the tartness, but now? I crave it. It’s the taste of being cared for.
For years, I tried to shortcut it. I bought jars from the health food store, thinking they were the same. They weren’t. Store-bought syrup is often thin, overly sweet, and lacks that profound depth of flavor that comes from patience. It’s missing the soul of the recipe. That’s why I’m sharing this Cozy Immunity-Boosting Elderberry Syrup the way Nana Rose made it. It’s not the fastest method. It takes time. But it’s the real way. It’s the way that actually works when the winter winds pick up.
I’ve made this Cozy Immunity-Boosting Elderberry Syrup every year since she passed, tweaking it just slightly to fit my modern kitchen, but keeping the core principles intact. There’s a specific rhythm to making it. You have to watch the bubbles. You have to taste as you go. You have to respect the ingredients. When you make this, you’re not just making a syrup. You’re making a shield. You’re making a hug in a bottle. And honestly, in these busy days, we could all use a little more of that kind of care.
Why You’ll Love This Cozy Immunity-Boosting Elderberry Syrup
So, why make this from scratch when you can buy it? Real talk: you can’t replicate the potency and the flavor of homemade. Here’s what makes this batch different from anything you’ll find on a shelf.
- Unmatched Potency — Because you’re simmering fresh or dried berries with real spices, you get a full extraction of anthocyanins and vitamins. I’ve felt the difference in my own body. When I take this, I feel like I’m actually doing something for my immune system, not just drinking sugar water.
- Control Over Sweetness — Store-bought versions are often loaded with high-fructose corn syrup. With this Cozy Immunity-Boosting Elderberry Syrup, you control the honey or maple syrup. I prefer raw honey for its own antimicrobial properties, but you can adjust to your taste. It’s tart and sweet, balanced perfectly.
- Multi-Use Magic — This isn’t just for tea. I drizzle this over plain yogurt in the morning. I mix a tablespoon into my morning oatmeal. I even put a spoonful in my daughter’s hot chocolate when she’s feeling under the weather. It’s versatile enough to sneak into your diet without feeling like medicine.
- Cost-Effective — A jar of organic elderberry syrup at the store can cost $15 or more. Making this costs about $8-$10 for a year’s supply of dried berries and spices. That’s pennies per serving. It’s an investment in your health that pays off quickly.
- Comforting Ritual — There is something meditative about simmering spices on the stove. It fills the house with a scent that feels like safety. In a world that feels chaotic, this process grounds me. It reminds me to slow down and take care of myself, much like I do when I’m making my ultra creamy loaded baked potato soup for a quiet night in.
This is my go-to when the season changes. It’s my way of holding onto tradition while protecting my family. Once you taste the real thing, you’ll never go back.
Key Ingredients for Authentic Flavor
The beauty of this recipe is its simplicity. You don’t need a pantry full of obscure items. But you do need quality. Here’s what you need to make this Cozy Immunity-Boosting Elderberry Syrup right.
Dried Elderberries (1 cup / 110g) — This is the star. Do not substitute fresh elderberries unless you know how to properly cook them to remove toxins. Dried berries are concentrated and easier to store. I buy mine from a trusted bulk supplier because quality varies wildly. Look for plump, dark berries, not shriveled dust. If you can’t find dried, fresh is okay if you boil them thoroughly, but dried is more consistent for syrup.
Water (4 cups / 950ml) — Just good old tap or filtered water. No fancy mineral water needed here. We’re extracting the flavor, not drinking it straight.
Raw Honey (1 cup / 340g) — This is your sweetener and your preservative. Raw, unfiltered honey is best because it contains enzymes and pollen that support immunity. If you’re vegan, use pure maple syrup, but note that it will change the flavor profile slightly and may not preserve as long. I stick with honey because it’s what Nana used, and it adds that floral depth.
Fresh Ginger Root (2 inches / 30g) — Peel and slice this. Fresh ginger adds a spicy kick that wakes up your sinuses. It’s anti-inflammatory and helps with nausea. Don’t use powdered ginger here; the flavor is too flat. You need that fresh, zesty heat.
Cinnamon Sticks (2 large / 10g) — Use Ceylon cinnamon if you can find it. It’s milder and sweeter than Cassia. If you can’t find Ceylon, Cassia works, but it’s stronger and has a more intense bite. Two sticks are enough to infuse the syrup without overpowering the berries.
Whole Cloves (1 teaspoon / 2g) — Just a teaspoon. Cloves are potent. Too many and your syrup will taste like a dentist’s office. They add warmth and have antimicrobial properties. Be gentle with these.
Star Anise (1 pod) — This is optional, but Nana always included it. It adds a subtle licorice note that makes the syrup feel complex and sophisticated. If you don’t have it, skip it, but I recommend trying it at least once.
Orange Peel (1 large orange / zest only) — Use a peeler to remove the orange zest, avoiding the white pith which is bitter. The citrus oils brighten the heavy, earthy flavor of the elderberries. It’s a game-changer for balance.
Tools Needed
You don’t need fancy equipment. I learned this the hard way when I tried to use a blender to strain the berries and ended up with a gritty mess. Here’s what I actually use.
Heavy-Bottomed Pot — I use a 4-quart Dutch oven. A heavy bottom prevents scorching. Elderberries have a high sugar content once they break down, and they stick easily. A thin pot will burn the bottom, and there’s nothing worse than burnt elderberry syrup.
Fine-Mesh Strainer — This is non-negotiable. You want a smooth syrup. I use a chinois-style strainer with a very fine mesh. If you don’t have one, a regular fine-mesh strainer works, but you’ll need to press the berries harder.
Wooden Spoon — For stirring and mashing the berries. Metal spoons can scratch non-stick surfaces, but more importantly, the wooden spoon lets you feel the texture of the berries as they break down.
Garlic Press or Mortar and Pestle — Optional, but useful if you want to crush the ginger slightly before adding it to release more juices. I usually just slice it thinly, which works fine.
Funnel and Glass Jars — For bottling. I use 8-ounce mason jars. Glass is essential because honey is acidic and can interact with some plastics over time. Clean jars are critical for storage.
How to Make It
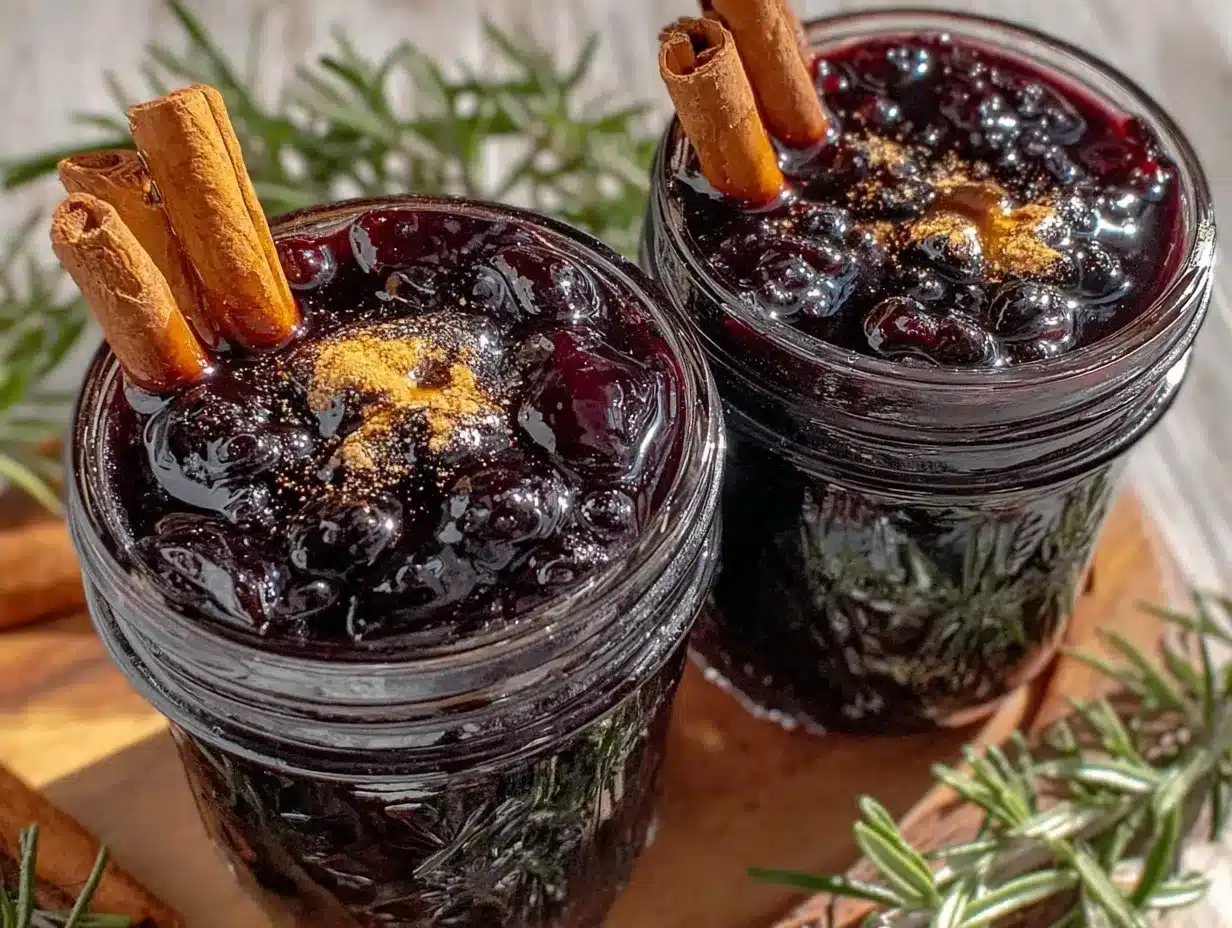
Making this Cozy Immunity-Boosting Elderberry Syrup is simple, but it requires attention. Here’s exactly how I do it, step by step.
Step 1: Combine and Simmer (20 minutes)
In your heavy-bottomed pot, combine the dried elderberries, water, sliced ginger, cinnamon sticks, cloves, star anise, and orange zest. Bring the mixture to a boil over medium-high heat. Once it boils, reduce the heat to low. Let it simmer gently for 20 minutes. You’ll see the water turn a deep purple. The berries will start to burst. Use your wooden spoon to gently press them against the side of the pot. This helps release the juices. Don’t rush this step. If the heat is too high, the berries will burn. If it’s too low, they won’t break down. You want a gentle, steady simmer.
Step 2: Steep and Mash (30 minutes)
After 20 minutes of simmering, turn off the heat. Let the mixture sit in the pot, covered, for 30 minutes. This steeping period is crucial. It allows the flavors to meld and the berries to fully release their pigments and nutrients. When you uncover it, the scent will be incredible. Now, take your wooden spoon and mash the berries thoroughly. You want as much pulp and juice as possible. If you leave large chunks of berry, you’re wasting flavor. Get it messy. This is the part that feels like cooking, not just following instructions.
Step 3: Strain the Syrup (10 minutes)
Place your fine-mesh strainer over a large bowl or measuring cup. Pour the berry mixture into the strainer. Do not just let it drip. Use the back of a spoon to press and squeeze the pulp. You want every drop of that dark, nutrient-rich liquid. This might take some elbow grease. Discard the solids. If you have a lot of pulp, you can strain it a second time through a coffee filter or cheesecloth for an ultra-smooth syrup, but I usually skip this unless I’m being fancy.
Step 4: Sweeten and Bottle (5 minutes)
Let the strained syrup cool slightly until it’s warm, not hot. This is important. If you add honey to boiling syrup, you destroy its beneficial enzymes. Once the syrup is warm to the touch, stir in the raw honey until it’s fully dissolved. Taste it. Is it too tart? Add a little more honey. Too sweet? Add a squeeze of lemon juice to balance it. Once you’re happy, pour the syrup into your clean glass jars using a funnel.
Total Time: 1 hour 5 minutes (including steeping). Active time is only about 30 minutes.
Expert Tips from Years of Making This
Here’s everything I learned from making this too many times, so you don’t have to make my mistakes.
Don’t Skip the Steep
The first time I made this, I strained it immediately after simmering. The syrup was watery and weak. It tasted like colored water. The 30-minute steep is where the magic happens. The berries continue to break down and release their essence. Be patient. It’s worth it.
Watch the Honey Temperature
As mentioned, don’t add honey to hot syrup. It’s not just about preserving enzymes; it’s about flavor. Boiling honey can make it taste metallic and bitter. Wait until the syrup is warm, like bathwater temperature, before stirring it in.
Use Glass Jars Only
I once stored my syrup in a plastic container for a week. When I opened it, the plastic had a slight odor, and the syrup tasted off. Honey is acidic and can leach chemicals from certain plastics. Always use glass. It also looks beautiful on the counter, which is a nice bonus.
Add Lemon at the End
If you want a brighter flavor, add a tablespoon of fresh lemon juice after the honey is mixed in. The acid cuts through the sweetness and highlights the berry flavor. It’s a small touch that makes a big difference.
Common Problems & Solutions
Problem: Syrup is too thin. Solution: You didn’t mash the berries enough, or you used too much water. Next time, use less water or mash more aggressively.
Problem: Syrup is too thick. Solution: You used too little water or boiled it too long. Add a little warm water to thin it out.
Problem: Mold forms. Solution: This usually happens if the syrup wasn’t cooled properly before bottling, or if the jars weren’t sterilized. Always use clean, dry jars and let the syrup cool completely before sealing.
Recipe Variations
Once you’ve nailed the basic version, here’s how to mix it up. Elderberry syrup is a canvas for other flavors.
Elderberry Lavender Syrup
Add 1 tablespoon of dried culinary lavender buds during the simmering step. Remove them before straining. The floral notes pair beautifully with the tart berries. This is great for calming anxiety and promoting sleep.
Elderberry Ginger-Boost Syrup
Double the ginger to 4 inches. Add a pinch of cayenne pepper (1/4 teaspoon) during the simmer. This is a firehouse syrup. It’s amazing for clearing sinuses when you’re really sick. I use this one when I feel a cold coming on.
Elderberry Vanilla Syrup
Add 1 vanilla bean, split and scraped, during the simmer. This makes the syrup smoother and sweeter, with a dessert-like quality. It’s wonderful stirred into warm milk before bed.
Vegan Option
Simply substitute the honey with pure maple syrup. Note that maple syrup has a stronger flavor than honey, so it will change the taste profile. It’s still delicious, just different.
Quick Shot Version
Instead of making a syrup, you can make a concentrated juice. Use half the water, simmer for 30 minutes, strain, and drink 1 ounce as a shot. It’s intense and powerful.
Serving & Storage
Serving:
I serve this Cozy Immunity-Boosting Elderberry Syrup in 1-2 tablespoon doses. Stir it into hot water with a lemon slice for a tea. Mix it into oatmeal. Drizzle it over yogurt. My favorite way is to mix it with a little hot water and a slice of ginger, drinking it like a medicinal shot when I feel off.
Storage:
This syrup keeps well in the refrigerator for up to 3 months. Because it contains honey and sugar, it’s naturally preservative, but the fresh berries and spices mean it won’t last forever. Store it in a dark glass jar in the fridge. If you want to keep it longer, you can freeze it in ice cube trays and pop the cubes into smoothies or tea. It freezes perfectly for 6 months.
Be honest: This doesn’t freeze well in liquid form because the texture can change slightly, but the cubes work great. Always check for mold before using. If it smells off, toss it.
Nutrition Information
I’m not a nutritionist, but here’s the breakdown per 1 tablespoon serving.
| Nutrient | Amount |
|---|---|
| Calories | 45 |
| Total Fat | 0g |
| Carbohydrates | 11g |
| Fiber | 1g |
| Sugars | 9g |
| Protein | 0g |
| Sodium | 1mg |
My Take: This is sweet, but it’s not a dessert. The nutrients from the elderberries and spices are the real value here. It’s better than any commercial syrup, and you know exactly what’s in it. It’s a healthy indulgence, not a diet food. Enjoy it mindfully.
Final Thoughts
Making this Cozy Immunity-Boosting Elderberry Syrup is more than just cooking. It’s an act of love for your future self. It’s a reminder that taking care of your body doesn’t have to be complicated or expensive. It just needs time and intention. I hope you make this and fill your home with that comforting smell of elderberries and spices. If you do, I’d love to hear how it turns out. Drop a comment below and let me know your favorite way to use it.
Happy cooking!
FAQs
Q: Can I use fresh elderberries instead of dried?
A: You can, but you must cook them thoroughly to remove toxic compounds. Dried berries are safer and more concentrated. If you use fresh, double the water and simmer for 45 minutes instead of 20. But honestly, dried is easier and more consistent.
Q: How long does this syrup last?
A: In the refrigerator, it lasts up to 3 months. If you add extra honey (making it very sweet), it can last up to 6 months. Always store it in a clean glass jar.
Q: Is this safe for children?
A: Yes, but not for infants under 1 year old due to the honey. For older children, dilute it more in water or food. Start with 1 teaspoon to see how they like the taste.
Q: Can I make this in a slow cooker?
A: Yes. Combine berries, spices, and water in the slow cooker. Cook on low for 6-8 hours. Then strain and add honey. It’s a great option if you want to set it and forget it.
Q: Why is my syrup cloudy?
A: This is normal, especially if you didn’t strain it through a coffee filter. Cloudiness doesn’t mean it’s bad. It just means there are fine particles of berry pulp in it. It’s still delicious.
Q: Can I add other spices?
A: Absolutely. Star anise, cloves, and cinnamon are classic, but you can add cardamom or nutmeg. Just be careful not to overpower the elderberry flavor. Start with small amounts.
Pin This Recipe!
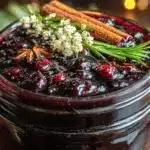
Cozy Immunity-Boosting Elderberry Syrup: Grandmothers Real Way
- Total Time: 1 hour 5 minutes
- Yield: Approximately 4 cups (32 servings) 1x
Description
A traditional, homemade elderberry syrup made with dried berries, spices, and raw honey. This recipe focuses on potency, flavor, and immune support, offering a comforting ritual for cold and flu season.
Ingredients
- 1 cup (110g) dried elderberries
- 4 cups (950ml) water
- 1 cup (340g) raw honey
- 2 inches (30g) fresh ginger root, peeled and sliced
- 2 large cinnamon sticks (10g)
- 1 teaspoon whole cloves (2g)
- 1 pod star anise (optional)
- Zest of 1 large orange
Instructions
- In a heavy-bottomed pot, combine dried elderberries, water, sliced ginger, cinnamon sticks, cloves, star anise, and orange zest.
- Bring the mixture to a boil over medium-high heat, then reduce heat to low and simmer gently for 20 minutes. Press berries gently with a wooden spoon to release juices.
- Turn off the heat and let the mixture steep, covered, for 30 minutes to allow flavors and nutrients to fully extract.
- Mash the berries thoroughly with a wooden spoon to extract maximum pulp and juice.
- Place a fine-mesh strainer over a large bowl and pour the mixture through. Press the pulp hard to squeeze out all liquid. Discard solids.
- Let the strained syrup cool until it is warm (not hot) to preserve honey enzymes.
- Stir in the raw honey until fully dissolved. Adjust sweetness or tartness with additional honey or lemon juice if desired.
- Pour the finished syrup into clean glass jars using a funnel.
Notes
Do not add honey to boiling syrup as it destroys beneficial enzymes and alters flavor. Always store in glass jars, as honey is acidic and can interact with plastics. The syrup keeps in the refrigerator for up to 3 months or can be frozen in ice cube trays for 6 months. If using fresh elderberries, ensure they are cooked thoroughly to remove toxins and double the simmering time.
- Prep Time: 15 minutes
- Cook Time: 50 minutes
- Category: Condiments
- Cuisine: American
Nutrition
- Serving Size: 1 tablespoon
- Calories: 45
- Sugar: 9
- Sodium: 1
- Carbohydrates: 11
- Fiber: 1
Keywords: elderberry syrup, immunity booster, homemade syrup, cold remedy, natural health, winter wellness, honey syrup, antioxidant drink