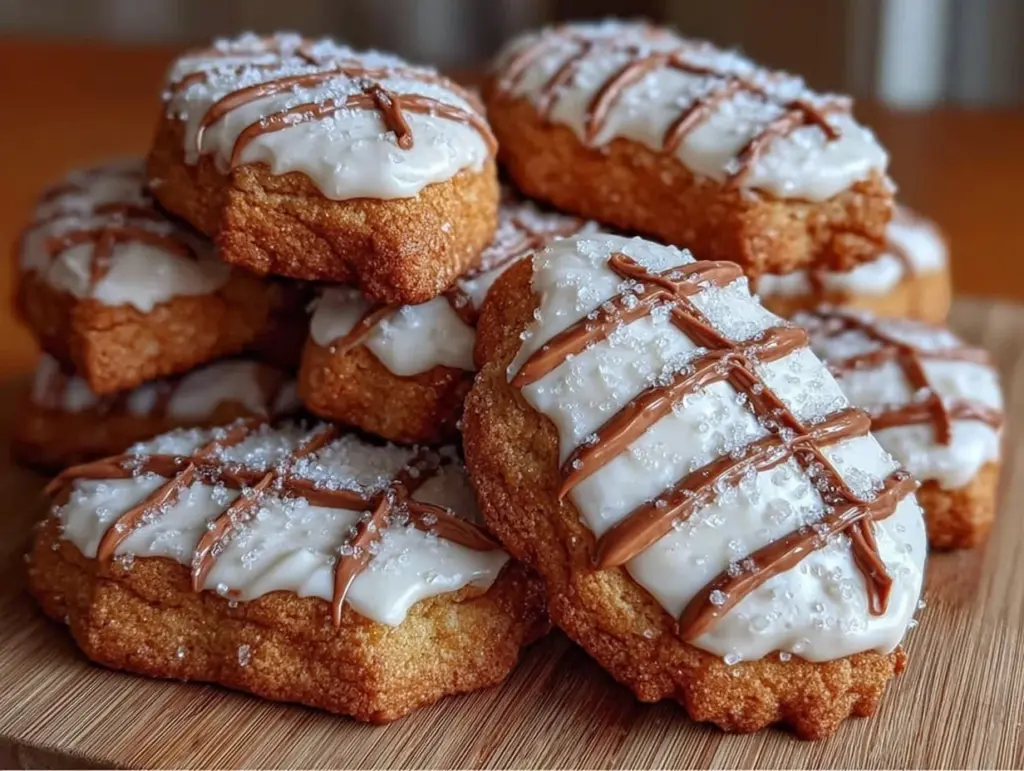
It’s 6 AM on a Saturday. The house is quiet. The coffee is brewing. And I’m staring at a stack of parchment paper like it owes me money. This is my ritual. While the rest of the world is hitting snooze, I’m already three steps ahead, prepping the week’s desserts so I don’t have to panic when Wednesday hits and the kids are asking for “just one more treat” after soccer practice. I’ve been meal-prepping since before it was cool, and let me tell you, my secret weapon isn’t a fancy meal-kit service. It’s a batch of football sugar cookies with royal icing.
People think baking for a crowd means chaos. It doesn’t. It means planning. Last season, I made this football sugar cookies with royal icing for my husband’s office party, the kids’ school bake sale, and our own Sunday game day spread. I baked them on Saturday, iced them on Sunday, and wrapped them up. By Thursday, I had a stash in the freezer that saved me from buying overpriced, stale store-bought snacks. This recipe isn’t just about cookies; it’s about buying back your time. It’s about knowing exactly what you’re eating and having it ready when you need it most.
I’ve tested this football sugar cookies with royal icing version dozens of times. I’ve tried too much baking powder (they puffed like soufflés and collapsed). I’ve tried skipping the chill time (they spread into puddles). I’ve tried piping icing with trembling hands (it looked like abstract art). But this version? This is the one. It holds its shape. It freezes beautifully. And it tastes like pure, buttery comfort. If you’re looking to master the art of “make it once, eat it four times this week,” this is your starting line. Let’s get organized.
Why You’ll Love This
Look, I get it. Baking can feel like a chore when you’re already juggling work, school runs, and dinner prep. But this football sugar cookies with royal icing changes the game because it works *with* your schedule, not against it. Here’s why I keep coming back to this batch:
- It Freezes Like a Dream — I baked 48 cookies last month and froze 36 of them un-iced. They stayed fresh for three months. Thaw them out, ice them, and they taste brand new. This is the core of my “make it once, eat it four times this week” strategy.
- Zero Spread, Perfect Shape — The secret is in the dough temperature. I chill the dough for a full 24 hours. This prevents spreading, so your footballs stay football-shaped and don’t merge into one giant cookie blob. I learned this after my first batch looked like amoebas.
- Make-Ahead Friendly — You can bake the cookies on Saturday, ice them on Sunday, and store them by Monday. When your kids ask for snacks on Thursday or Friday, they’re ready to go. No last-minute panic.
- Kid-Friendly Activity — The royal icing is safe to eat raw (if you use pasteurized eggs or meringue powder), and kids love decorating. It’s a quiet activity that keeps them busy while I finish up the weekly grocery prep.
- Customizable Colors — Whether your team is red and white, blue and gold, or green and yellow, you can tint the icing to match. I make a neutral batch for myself and color the rest for the game day spread. It’s efficient and festive.
- Sturdy Enough for Travel — These cookies don’t crumble. I pack them in tupperware for tailgates and office parties. They survive the drive. Unlike my brown butter chocolate chip cookies, which are fragile and best eaten immediately, these are built for transport.
This is my go-to when I need a treat that looks impressive but requires minimal effort during the week. It’s reliable. It’s efficient. And it tastes amazing.
Key Ingredients
Let’s talk about what goes into this football sugar cookies with royal icing. I’m not using fancy, hard-to-find items. Everything is standard grocery store fare. But the ratios matter. Here’s exactly what you need, measured precisely so you don’t have to guess.
Unsalted Butter (1 cup / 226g) — Room temperature is non-negotiable. If it’s too cold, it won’t cream properly. If it’s melted, the cookies will spread. I leave it on the counter for two hours. Soft, but still holding its shape. This creates the tender crumb.
Granulated Sugar (1 ½ cups / 300g) — This isn’t just for sweetness. The sugar crystals help cream with the butter to create air pockets, which gives the cookies their structure. I use standard white granulated sugar. Brown sugar adds moisture, but I want these crisp, not chewy.
Large Eggs (2 large / ~100g) — Room temperature eggs incorporate better into the creamed butter and sugar. Cold eggs can cause the mixture to curdle. Crack them into a small bowl first, let them sit while you measure flour, then add them.
Vanilla Extract (2 tsp / 10ml) — Pure vanilla. Not imitation. I’ve tasted the difference. It adds depth that simple sugar cookies lack. I buy the Nielsen-Massey brand because the seeds are visible, and I trust the quality.
All-Purpose Flour (3 ½ cups / 440g) — Spoon and level method. Never scoop directly from the bag. Scooping packs the flour in, leading to dry, tough cookies. Spoon it into the measuring cup and level it off with a knife. This ensures the right flour-to-fat ratio.
Baking Powder (1 tsp / 5g) — Just a little bit. We don’t want these to rise much. We want them to hold their shape. Check your baking powder freshness; if it’s older than six months, it might not activate properly.
Salt (1 tsp / 6g) — Essential for balancing the sweetness. Don’t skip it. It makes the vanilla taste more like vanilla.
For the Royal Icing:
Confectioners’ Sugar (4 cups / 480g) — Sift this! It’s lumpy. Sifting ensures your icing is smooth and doesn’t clog your piping bags. I sift twice for the best result.
Meringue Powder (3 tbsp / 25g) — I use meringue powder instead of raw egg whites for food safety and stability. It’s easier to work with and holds up better in humidity. If you must use egg whites, ensure they are pasteurized.
Warm Water (3-4 tbsp / 45-60ml) — Add gradually. You want a stiff consistency for outlining, and a thinner consistency for flooding (filling in the shape).
Food Coloring Gel — Gel colors are more concentrated than liquid colors, so they don’t water down your icing. I use Americolor gels. They mix in easily without changing the texture.
Tools Needed
You don’t need a fancy kitchen to make this football sugar cookies with royal icing. Here’s what I actually use, and what you can swap out.
Stand Mixer — I use my KitchenAid. It makes creaming the butter and sugar effortless. If you’re using a hand mixer, you’ll need to mix for about 3-4 minutes to get it pale and fluffy. It’s doable, but your arm will get tired.
Rolling Pin — A standard wooden rolling pin works fine. I like a 12-inch one. If you don’t have one, a clean, empty wine bottle works surprisingly well in a pinch.
Football Cookie Cutters — I buy a set of 3 different sizes. The 2-inch size is perfect for bite-sized treats. The 3-inch size is better for larger portions. Having multiple sizes lets you mix and match for visual interest.
Parchment Paper — Line your baking sheets. I never use non-stick spray on the pans; it can leave a greasy residue that affects the cookie texture. Parchment is my best friend for easy cleanup and even baking.
Piping Bags and Tips — I use disposable piping bags for the icing. Tip #3 (small round) for outlining, and Tip #2 for flooding. If you don’t have these, you can use a ziplock bag with the corner snipped off, but it’s less precise.
Air Tight Containers — For storage. I use plastic containers with locking lids. They keep the cookies fresh and prevent them from absorbing fridge odors.
Cooking Instructions

Let’s get into the nitty-gritty. This process takes about 30 minutes of active time, plus chilling. But the result is worth every minute. Follow these steps exactly.
Step 1: Cream the Butter and Sugar (5 minutes)
In the bowl of your stand mixer fitted with the paddle attachment, beat the room temperature butter and granulated sugar on medium-high speed. You’re looking for a pale, fluffy mixture. It should look like light yellow whipped cream. This usually takes 3-4 minutes. Scrape down the sides of the bowl with a spatula to ensure everything is incorporated. This step adds air, which gives the cookies their structure.
Step 2: Add Eggs and Vanilla (2 minutes)
With the mixer on low, add the eggs one at a time. Mix until just combined after each egg. Then add the vanilla extract. Mix for another 30 seconds. The mixture might look slightly curdled at first—that’s okay. It will come together when you add the dry ingredients.
Step 3: Mix Dry Ingredients (1 minute)
In a separate bowl, whisk together the flour, baking powder, and salt. This ensures the baking powder is evenly distributed. If you skip this, you might get pockets of bitter baking powder in your cookies.
Step 4: Combine Wet and Dry (2 minutes)
Turn the mixer to low. Gradually add the dry ingredients to the wet ingredients. Mix until *just* combined. Do not overmix. Once the flour disappears, stop. Overmixing develops gluten, which makes the cookies tough instead of tender. The dough should be stiff and slightly sticky.
Step 5: Chill the Dough (24 hours)
This is the most important step. Divide the dough into two disks. Wrap them tightly in plastic wrap. Refrigerate for at least 4 hours, but ideally 24 hours. Chilling firms up the butter, which prevents spreading. It also allows the flour to hydrate fully, resulting in a better flavor. I usually bake the dough on Sunday night for a Wednesday game day, or bake it on Saturday for a Sunday game day.
Step 6: Roll and Cut (15 minutes)
Preheat your oven to 350°F (175°C). Line two baking sheets with parchment paper. Take one disk of dough and roll it out on a lightly floured surface to about ¼-inch thickness. Use your football cookie cutters to cut out shapes. Place them on the baking sheets, leaving 1 inch of space between them. Re-roll the scraps and cut again. You’ll get about 36-48 cookies depending on the size of your cutters.
Step 7: Bake (10-12 minutes)
Bake the cookies for 10-12 minutes. They should be set around the edges but still soft in the center. They will firm up as they cool. Do not overbake, or they will be dry. Rotate the pans halfway through baking for even browning. Let them cool on the baking sheet for 5 minutes, then transfer to a wire rack to cool completely. They must be completely cool before icing, or the icing will melt.
Step 8: Make the Royal Icing (10 minutes)
In a clean, grease-free bowl, beat the meringue powder and 3 tablespoons of warm water on high speed for 3 minutes until stiff peaks form. Gradually add the sifted confectioners’ sugar, one cup at a time, beating on low. Once combined, increase speed to high and beat for another 3 minutes. The icing should be thick, glossy, and smooth. Divide into separate bowls for coloring.
Step 9: Pipe and Flood (30 minutes)
Fill a piping bag fitted with a #3 tip with white icing. Outline the football shape. Then, thin a small amount of icing with a few drops of water until it flows like honey. Use this “flood” icing to fill in the outlined shape. Use a toothpick to pop any air bubbles and spread the icing to the edges. Let it dry for 4-6 hours, or overnight, until hard to the touch.
Total time: 30 minutes active, 24 hours chilling, 10 minutes baking, 4 hours drying.
Expert Tips
Here’s everything I learned from making this football sugar cookies with royal icing too many times. Save yourself the mistakes.
The Dough Must Be Cold
If your dough feels warm to the touch when you start rolling, put it back in the fridge for 15 minutes. Warm dough spreads. I’ve ruined batches because I was too impatient. Patience pays off in crisp edges.
Consistency is Key for Icing
The icing needs to be thick enough to hold its shape but thin enough to self-level. The “15-second rule” is helpful: lift your spoon, let the icing drip back into the bowl. If it smooths out in 15 seconds, it’s ready for flooding. If it takes longer, add a drop of water. If it’s too thin, add more sugar.
Use Gel Food Coloring
Liquid food coloring adds water, which can throw off your icing consistency. Gel colors are concentrated and don’t change the texture. I’ve tried both, and gel is the only way to go for vibrant, professional-looking colors.
Store Properly
Once the icing is completely dry, store the cookies in a single layer in an airtight container. If you need to stack them, place parchment paper between layers. They will keep at room temperature for up to 5 days. For longer storage, freeze them un-iced.
Don’t Skip the Sift
Confectioners’ sugar has cornstarch in it, which clumps. Sifting ensures your icing is smooth. Lumpy icing clogs piping tips and looks amateurish. I sift twice. It takes an extra minute, but it’s worth it.
Recipe Variations
Once you’ve nailed the basic football sugar cookies with royal icing, here’s how to mix it up. You can adapt this for any occasion.
Team Color Theme
Tint the royal icing in your team’s colors. Use a dark color for the laces and outlines, and a light color for the flood. It’s a simple way to show spirit without changing the recipe.
Chocolate Dipped
Instead of royal icing, dip the bottom half of the cooled cookies in melted chocolate. Sprinkle with white sanding sugar for a snowy effect. This pairs well with the one bowl banana bread vibe if you’re going for a cozy, homey feel.
Gluten-Free Version
Swap the all-purpose flour for a 1:1 gluten-free flour blend that contains xanthan gum. The texture will be slightly more crumbly, but the flavor remains the same. I’ve tested this, and it works well.
Vegan Option
Use vegan butter and meringue powder (which is egg-free). The icing will hold up well. The cookies will be slightly less tender, but still delicious.
Mini Footballs
Use a mini football cutter for bite-sized treats. These are perfect for office parties and plateaus. They bake in 8-9 minutes. Keep an eye on them so they don’t overbake.
Decorated with Sprinkles
Before the flood icing sets, sprinkle with gold or silver nonpareils. It adds a festive touch and hides any minor imperfections in your piping.
Serving & Storage
Serving:
These football sugar cookies with royal icing are perfect for game day spreads, tailgates, and office parties. I serve them on a tiered stand for visual impact. They pair well with ultra creamy loaded baked potato soup for a savory-sweet contrast, or with a simple black coffee.
Storage:
At room temperature: Store in an airtight container for up to 5 days. Keep them away from direct sunlight to prevent the icing from melting or fading.
In the refrigerator: Not recommended. The humidity can make the icing sticky. Only refrigerate if you live in a very hot, humid climate.
In the freezer: I recommend freezing the baked cookies un-iced. Wrap them tightly in plastic wrap, then place in a freezer bag. They will last for 3 months. Thaw at room temperature, then ice them when you need them. This is the best way to “make it once, eat it four times this week.”
Nutrition Information
I’m not a nutritionist, but here’s the breakdown per cookie (approx. 2-inch size):
| Nutrient | Amount |
|---|---|
| Calories | 140 kcal |
| Protein | 2g |
| Carbohydrates | 22g |
| Fiber | 0.5g |
| Fat | 6g |
| Sodium | 90mg |
My Take:
These are sweet treats. They’re not going to be part of your healthy lunch prep. But they’re better than buying processed snacks from the gas station. I know exactly what’s in them. I use them as a reward or a special occasion treat. Balance is key.
Final Thoughts
Making this football sugar cookies with royal icing is more than just baking. It’s about planning ahead. It’s about having a stash of homemade goodness ready to go when life gets busy. I’ve made this batch for my husband’s office, the kids’ school, and our own family gatherings. It’s reliable. It’s delicious. And it saves me time.
If you make this, drop a comment! I love hearing how it turns out in your kitchen. Did you use gel colors? Did you freeze them? Let me know. Happy cooking!
FAQs
Can I use raw egg whites for the royal icing?
You can, but I don’t recommend it unless you use pasteurized egg whites. Meringue powder is safer and more stable, especially if you’re storing the cookies for later. It also prevents the risk of salmonella.
Why did my cookies spread?
This usually happens if the butter was too warm or if the dough wasn’t chilled long enough. Make sure your butter is room temperature, not melted. And chill the dough for at least 4 hours, ideally 24.
Can I freeze the iced cookies?
I don’t recommend freezing iced cookies. The icing can become sticky or crack when thawed. It’s better to freeze the baked cookies and ice them fresh when you’re ready to serve.
How do I fix cracked icing?
Cracks usually happen if the icing is too thick or if the cookies weren’t completely cool before icing. Thin the icing with a few drops of water until it flows smoothly. And always ensure cookies are 100% cool.
Can I make the dough ahead?
Yes! You can make the dough, wrap it in plastic, and freeze it for up to 3 months. Thaw it in the fridge overnight before rolling and baking.
What if I don’t have a stand mixer?
You can use a hand mixer or even a wooden spoon and elbow grease. Creaming the butter and sugar by hand takes longer, but it’s doable. Just make sure the butter is soft enough to mix.
How long does the icing take to dry?
It takes about 4-6 hours to dry to the touch, and 12-24 hours to harden completely. Don’t stack them until they are fully hardened, or the icing will stick together.
Pin This Recipe!
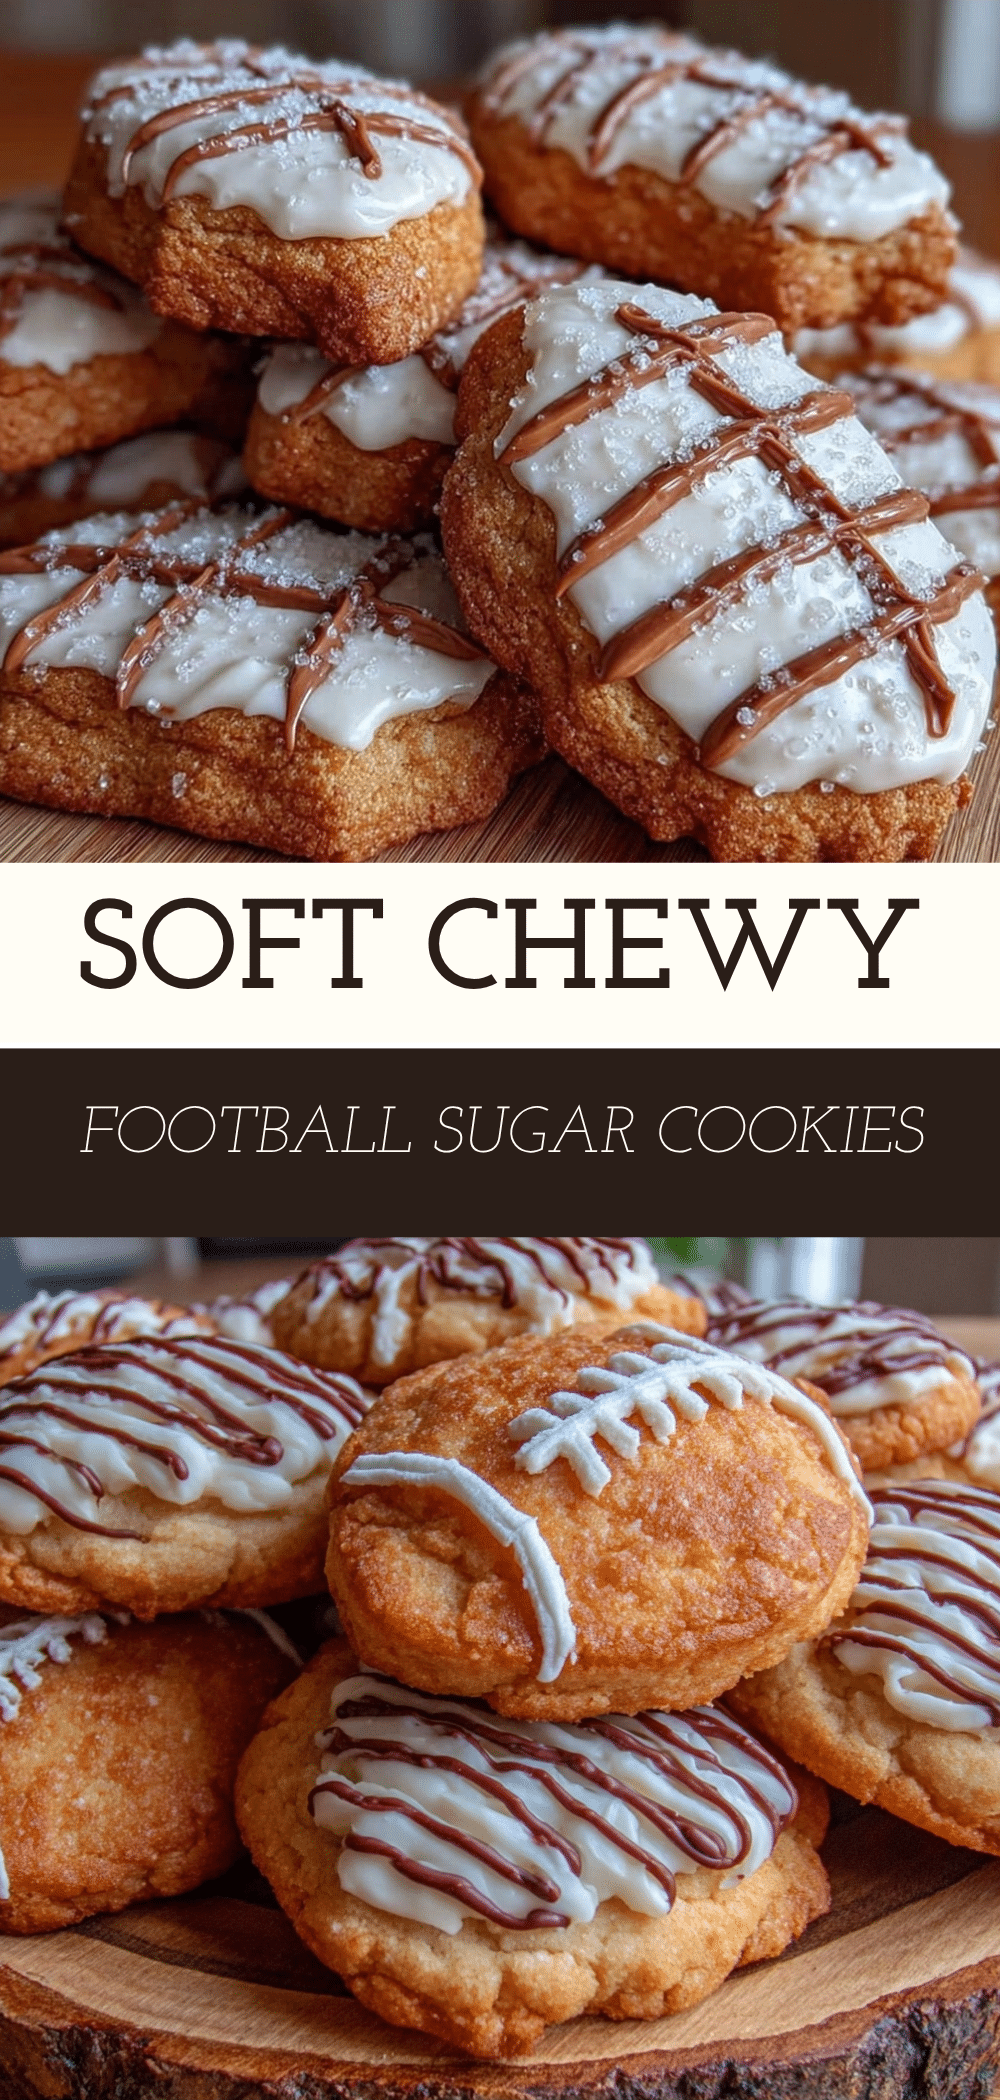
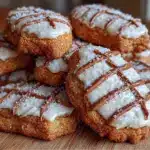
Football Sugar Cookies with Royal Icing
- Total Time: 24 hours 42 minutes
- Yield: 36-48 cookies 1x
Description
Make-ahead football-shaped sugar cookies with royal icing that freeze beautifully and hold their shape, perfect for game day, tailgates, and office parties.
Ingredients
- 1 cup (226g) unsalted butter, room temperature
- 1 ½ cups (300g) granulated sugar
- 2 large eggs, room temperature
- 2 tsp vanilla extract
- 3 ½ cups (440g) all-purpose flour
- 1 tsp baking powder
- 1 tsp salt
- 4 cups (480g) confectioners’ sugar, sifted
- 3 tbsp (25g) meringue powder
- 3–4 tbsp (45-60ml) warm water
- Food coloring gel
Instructions
- In a stand mixer fitted with the paddle attachment, beat room temperature butter and granulated sugar on medium-high speed for 3-4 minutes until pale and fluffy. Scrape down the sides.
- With the mixer on low, add eggs one at a time, mixing until just combined after each. Add vanilla extract and mix for 30 seconds.
- In a separate bowl, whisk together flour, baking powder, and salt.
- Turn mixer to low and gradually add dry ingredients to wet ingredients. Mix until just combined; do not overmix.
- Divide dough into two disks, wrap tightly in plastic wrap, and refrigerate for at least 4 hours, ideally 24 hours.
- Preheat oven to 350°F (175°C). Line baking sheets with parchment paper. Roll dough to ¼-inch thickness on a lightly floured surface.
- Cut out football shapes using cookie cutters. Place on baking sheets 1 inch apart. Re-roll scraps to cut more cookies.
- Bake for 10-12 minutes until edges are set but centers are soft. Rotate pans halfway through. Cool on sheets for 5 minutes, then transfer to a wire rack to cool completely.
- In a clean bowl, beat meringue powder and 3 tablespoons warm water on high speed for 3 minutes until stiff peaks form.
- Gradually add sifted confectioners’ sugar, one cup at a time, beating on low. Increase speed to high and beat for 3 minutes until thick and glossy.
- Divide icing into bowls and tint with food coloring gel.
- Fill a piping bag with a #3 tip with white icing. Outline the football shape.
- Thin a small amount of icing with water until it flows like honey. Use this to flood the outlined shape. Pop air bubbles with a toothpick.
- Let icing dry for 4-6 hours or overnight until hard to the touch.
Notes
Chilling the dough for 24 hours is crucial to prevent spreading. Use gel food coloring for vibrant colors without altering icing consistency. Store un-iced cookies in the freezer for up to 3 months. Do not refrigerate iced cookies as humidity can make icing sticky.
- Prep Time: 30 minutes
- Cook Time: 10-12 minutes
- Category: Dessert
- Cuisine: American
Nutrition
- Serving Size: 1 cookie (approx. 2-
- Calories: 140
- Sugar: 18
- Sodium: 90
- Fat: 6
- Saturated Fat: 3
- Carbohydrates: 22
- Fiber: 0.5
- Protein: 2
Keywords: football cookies, sugar cookies, royal icing, game day snacks, make ahead dessert, kid-friendly baking, party treats