It was 11 PM on a Tuesday, and I was staring into the fridge like it held the secrets to the universe. Spoiler alert: it didn’t. It had half a stick of butter, a sad-looking lemon, and a box of brown sugar that had hardened into a brick the size of a small car. I wasn’t hungry for dinner. I was hungry for sugar. Specifically, I wanted something warm, cinnamon-heavy, and cheap enough that my bank account wouldn’t cry about it.
I’ve been living alone for about two years now, and let me tell you, grocery shopping alone is a trap. You buy ingredients for three different meals, and then you’re left with that one weird spice jar or that bag of chips you only bought because it was on sale. I was tired of wasting money on fancy desserts that required seven ingredients I’d only use once. So, I looked at what I had, looked at the clock, and decided to hack a classic.
I’ve always loved soft chewy snickerdoodle cookies, but making a dozen requires rolling balls, spacing them on a tray, and cleaning three sheets. For a single person with a tiny kitchen and a tiny budget, that’s overkill. I wanted the flavor without the fuss. I wanted the gooey, cinnamon-sugar crust without the dish pile.
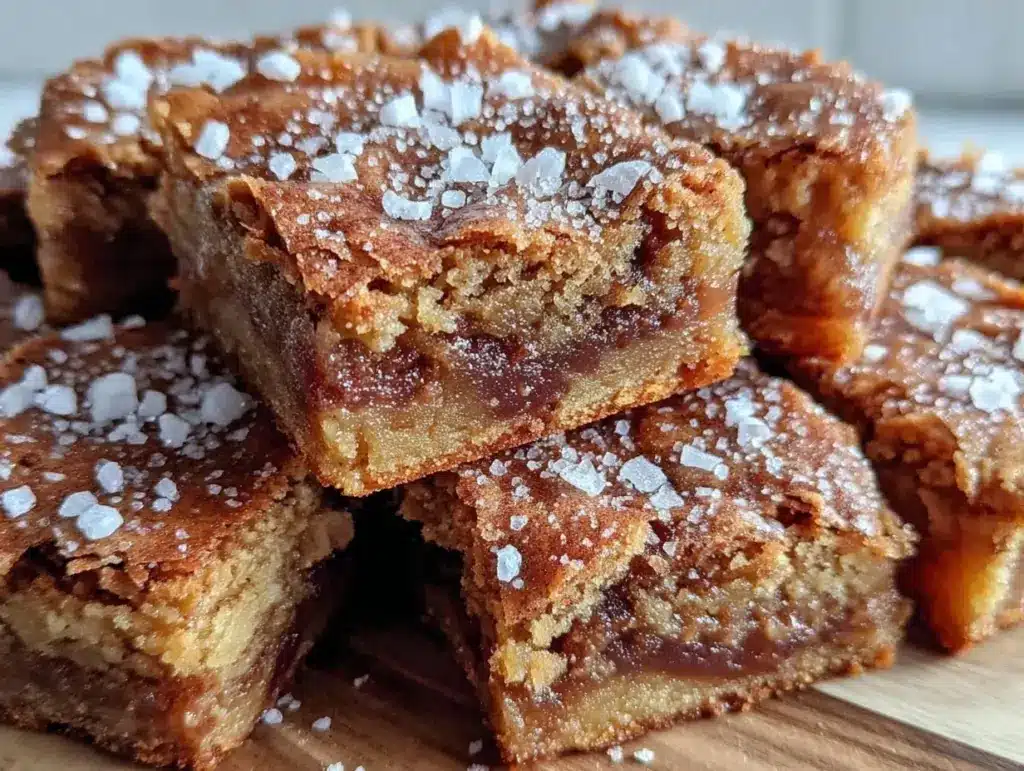
So, I threw these together. I call them Chewy Brown Sugar Snickerdoodle Cookie Bars, but really, they’re just my way of stretching a few pantry staples into a dessert that tastes like it cost more than it did. I made a test batch last week, and I ate half before they cooled. The other half? I ate the next morning with my coffee. It’s the perfect single-serving indulgence that doesn’t break the bank. If you’re like me—watching every dollar but refusing to skip the sweet stuff—this is your new best friend.
Why You’ll Love This Budget-Friendly Dessert
Here’s the thing about baking when you’re eating for one: it has to be efficient. If it takes more than 45 minutes or requires buying cream cheese, I’m not doing it. These bars fit the bill perfectly. They’re my go-to when I need a treat that feels special but costs pennies per serving.
Stupid Simple Ingredients — Seriously, you probably have four out of these five already. Flour, sugar, butter, cinnamon, and an egg. No weird baking sodas or expensive extracts. It’s pantry rescue at its finest.
Single-Serving Friendly — Because they’re baked in a square pan, you can cut exactly one piece. No more guiltily staring at the rest of the cookie sheet for three days. You bake it, you cut it, you eat it. Done.
Lightning Fast — From mixing to oven, it’s about 30 minutes. I’m talking 10 minutes of active time. I’ve made this on nights when I was too tired to cook dinner, let alone bake a cake. It’s that easy.
Cost-Per-Serving is Tiny — I did the math. Even with premium butter, this batch costs me about $2.50 to make. That’s less than a dollar per bar. Compare that to a slice of bakery cake or a coffee shop pastry, and you’re saving serious cash.
Perfect with Coffee — These aren’t just dessert; they’re breakfast. Or snack. Or 3 PM slump cure. The cinnamon and brown sugar combo pairs perfectly with a black coffee or tea. It’s comfort in a square.
This recipe has saved me from buying expensive takeout desserts more times than I can count. It’s practical, it’s cheap, and it tastes amazing. Plus, since it’s a bar, it’s less messy to eat. No crumbling cookie pieces on my shirt while I’m working at my computer.
Ingredients You’ll Need
Here’s the best part: you probably have most of this already. This isn’t a recipe that requires a trip to three different stores. It’s built on cheap, reliable staples. I’m particular about the butter here—it makes a difference in the chewiness—but otherwise, we’re keeping it simple and budget-friendly.
Unsalted Butter (½ cup / 115g, softened) — This is the base. I use regular supermarket butter. No need for European-style fancy butter for this. Just make sure it’s softened so it creams easily. If you’re in a hurry, microwave it for 10 seconds at a time.
Light Brown Sugar (1 cup / 200g) — This is the star. Light brown sugar gives that molasses flavor without being too overpowering. It also keeps the bars chewy. If you only have dark brown sugar, use it, but the flavor will be more intense. And yes, if your brown sugar is rock hard, microwave it with a cup of water for 30 seconds to soften it up.
Granulated Sugar (¼ cup / 50g) — We use a little white sugar to balance the molasses and help with that crispy edge. It’s cheap and effective.
Large Egg (1) — Just one. This binds everything together. Room temperature is best, but cold works if you’re in a rush. I usually just crack it right into the bowl.
Vanilla Extract (1 teaspoon) — I use the cheap stuff in a bottle. You won’t taste the difference in these bars, and why spend $10 on extract for one teaspoon? Save your money.
All-Purpose Flour (1 ½ cups / 190g) — Standard flour. Sift it if you can, but honestly, I just scoop and level. Don’t pack it down, or your bars will be dense.
Baking Powder (½ teaspoon) — This gives them a little lift. Make sure it’s not expired. I check my baking powder by dropping a bit in hot water—it should fizz. If it doesn’t, toss it.
Salt (½ teaspoon) — Essential for flavor. Don’t skip it. It makes the cinnamon taste like cinnamon, not just sweet.
Ground Cinnamon (2 teaspoons) — This is the flavor profile. Use fresh cinnamon if you have it. Old cinnamon tastes like dust. I keep a small jar just for this.
Extra Granulated Sugar (2 tablespoons) — For the topping. Mix this with 1 teaspoon of cinnamon. This creates that classic snickerdoodle crust.
Pro Tip: I always measure my flour by spooning it into the cup and leveling it off. Scooping directly from the bag compacts it, and you’ll end up with dry, crumbly bars. It’s a small habit that saves a big waste.
Equipment Needed
You don’t need fancy gadgets for this. Here’s what I actually use in my tiny kitchen.
8×8 Inch Square Pan — This is the standard size. It’s cheap, easy to find, and perfect for single-serving batches. If you don’t have one, a small round cake pan works, but the baking time might vary slightly.
Mixing Bowl — Medium size. I use a glass bowl because it’s easy to clean and I can see what’s happening.
Fork or Hand Mixer — I use a fork for this. It’s faster than cleaning a mixer, and since the dough is soft, a fork works just fine. If you prefer a mixer, go for it, but it’s not necessary.
Measuring Cups and Spoons — Standard stuff. Dollar store versions work fine. Just make sure your tablespoon is accurate.
Parchment Paper — Optional but nice. It makes cleanup easier. I usually just grease the pan with a little butter to save on paper.
Knife — For cutting the bars. A serrated knife works best to get clean slices without squishing them.
Small Bowl — For mixing the cinnamon-sugar topping. Any small bowl will do.
Tool Tip: Don’t have an 8×8 pan? A 9×9 will work, but your bars will be thinner and bake faster. Watch them closely. I once baked them in a 10-inch pan and they dried out because I didn’t adjust the time. Learn from my mistake.
How to Make It: Step-by-Step
Alright, let’s make this! I’m walking you through exactly how I do it, including the little tricks I’ve picked up over time.
Step 1: Prep Your Pan and Oven (5 minutes)
Preheat your oven to 350°F (175°C). Grease your 8×8 inch pan with a little butter or cooking spray. I usually just rub a stick of butter around the edges and bottom. It’s easier than parchment and tastes better.
Step 2: Cream the Butter and Sugars (3 minutes)
In your mixing bowl, combine the softened butter, light brown sugar, and granulated sugar. Use a fork or hand mixer to beat them together until they’re light and fluffy. This takes about 2-3 minutes. You want the mixture to look pale and creamy. This step is crucial for the chewy texture. If you skip it, your bars will be dense.
Step 3: Add Wet Ingredients (1 minute)
Crack in the egg and add the vanilla extract. Mix until just combined. Don’t overmix here. You just want it to disappear into the butter mixture. It might look a little curdled at first—that’s normal. It’ll come together in the next step.
Step 4: Mix in Dry Ingredients (2 minutes)
Add the flour, baking powder, and salt. Stir gently with a fork or spatula until the flour disappears. The dough will be soft and sticky. Do not overmix! Overmixing develops gluten, and you’ll get tough bars. Stop as soon as you see no more white flour. It should look like a thick, soft cookie dough.
Step 5: Press into Pan (2 minutes)
Transfer the dough to your prepared pan. Use your fingers or the back of a spoon to press it into an even layer. Get it into the corners. It doesn’t need to be perfect, but try to keep it even so it bakes uniformly.
Step 6: Add Cinnamon Sugar Topping (1 minute)
In a small bowl, mix the 2 tablespoons of granulated sugar with 1 teaspoon of cinnamon. Sprinkle this evenly over the dough. Press it down gently so it sticks. This creates that classic snickerdoodle crust. If you like extra cinnamon, add a bit more, but don’t go overboard or it’ll be bitter.
Step 7: Bake (20-25 minutes)
Place the pan in the preheated oven. Bake for 20-25 minutes. You’ll know they’re done when the edges are golden brown and the center is just set. It should still look slightly soft in the middle—that’s how you get the chew. If you bake them until the center is hard, they’ll be dry. I usually take them out at 22 minutes.
Step 8: Cool and Cut (15 minutes)
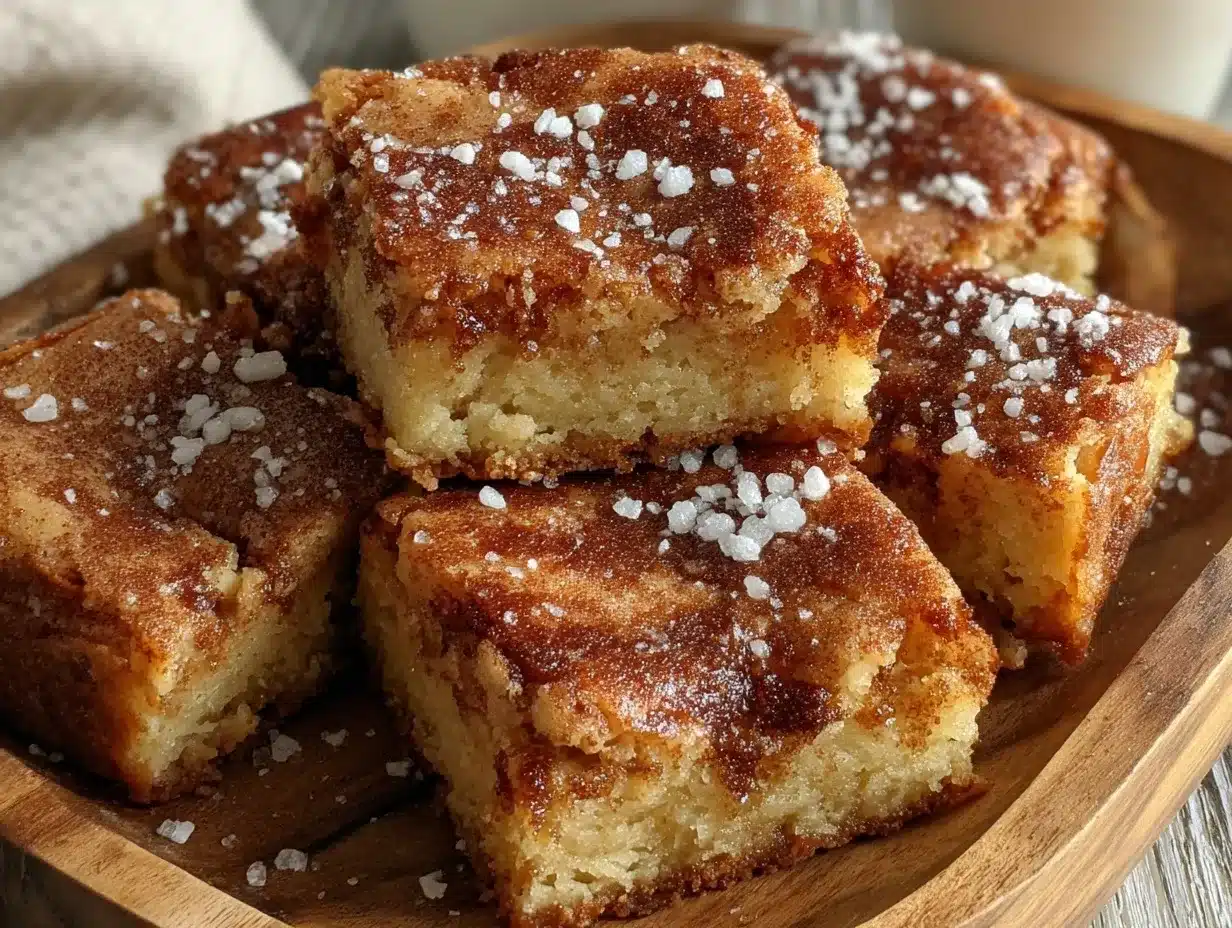
Let the bars cool in the pan for at least 15 minutes. This is the hardest part. I know you want to dig in, but if you cut them hot, they’ll fall apart. Once cooled, cut into squares. I usually cut them into 9 squares for perfect single servings.
Visual Cue: The edges should pull away slightly from the pan. The top should have a matte, sugary finish. If it looks shiny and wet, give it 2 more minutes.
Expert Tips & Tricks
Here’s everything I’ve learned from making this dozens of times. These tips will save you from my mistakes.
Softened Butter is Key
If your butter is too cold, it won’t cream properly. If it’s melted, your bars will be flat and greasy. Aim for room temperature. If you’re in a hurry, cut it into small cubes and let it sit for 10 minutes.
Don’t Overbake
This is the #1 mistake. These bars continue to cook on the hot pan after you take them out of the oven. If they look done in the oven, they’ll be overdone in the pan. Err on the side of underbaking. They should look slightly underdone in the center.
Use Light Brown Sugar
Dark brown sugar has more molasses, which can make the bars too moist and heavy. Light brown sugar gives the right balance of chew and flavor. If you only have dark, mix it with a little white sugar to dilute the molasses.
Cool Completely for Clean Cuts
I know, I know, it’s torture. But if you cut them warm, they’ll be mushy. Let them cool for at least 15 minutes. If you’re impatient, put the pan in the fridge for 10 minutes to speed it up.
Store Properly
Keep them in an airtight container at room temperature for up to 3 days. If you live in a humid area, add a piece of bread to the container to keep them chewy. The bread absorbs moisture and keeps the bars soft.
Variations & Substitutions
Once you’ve nailed the basic version, here’s how you can mix it up. I’ve tried all of these.
Double Chocolate Version
Add 2 tablespoons of cocoa powder to the dry ingredients. It’s rich and fudgy. I sometimes add a handful of chocolate chips on top before baking.
Peanut Butter Swirl
Drop a tablespoon of peanut butter on top of the dough and swirl it with a knife before adding the cinnamon sugar. It adds protein and breaks up the sweetness.
Apple Cinnamon
Fold in ½ cup of diced apples (peeled) into the dough before pressing into the pan. It adds moisture and makes it feel like pie. Cook for 25-30 minutes.
Gluten-Free
Use a 1:1 gluten-free flour blend. The texture will be slightly different but still delicious. I’ve used Bob’s Red Mill and it works well.
Dairy-Free
Use coconut oil instead of butter and dairy-free chocolate chips if adding them. The flavor will be slightly coconutty, which actually pairs well with cinnamon.
Serving & Storage
How to Serve:
I usually eat these straight from the pan with a fork. But if I’m having guests, I’ll cut them into neat squares and serve them on a plate with a dollop of whipped cream or a scoop of vanilla ice cream. They’re great with coffee or tea.
Side Dishes:
A cup of black coffee is the perfect companion. If you want something savory to balance it, maybe a piece of fruit or a handful of nuts.
Storage Instructions:
Refrigerator: Not recommended. These are best at room temperature. If you must refrigerate, they’ll get hard. Bring them to room temperature before eating.
Freezer: Yes, these freeze well. Wrap individual squares in plastic wrap and store in a freezer bag for up to 2 months. Thaw at room temperature. I make a batch on Sunday and grab one each morning for a week.
Pro Tip: If your bars get stale, microwave one square for 10 seconds. It’ll be soft and warm again. It’s like fresh out of the oven.
Nutrition Information
I’m not a nutritionist, but here’s the breakdown if you’re tracking. Keep in mind that these are treats, so enjoy them in moderation.
Per Serving (based on 9 squares):
- Calories: 180
- Protein: 2g
- Carbs: 28g
- Fiber: 1g
- Sugar: 18g
- Fat: 8g
- Saturated Fat: 5g
- Sodium: 120mg
What’s Good:
It’s a relatively small portion for a dessert. The brown sugar provides some minerals, though not much. It’s cheaper than buying a slice of cake, so you’re saving money even if it’s not a health food.
What to Know:
Higher in sugar and carbs. If you’re watching your intake, cut them into 12 squares instead of 9 to reduce the portion size. Or share with a friend.
Final Thoughts
So that’s my Chewy Brown Sugar Snickerdoodle Cookie Bars! I’ve probably talked your ear off at this point, but when you make a recipe this often, you have a lot to say about it. These bars have saved me from buying expensive desserts when I’m broke and craving something sweet. They’re cheap, easy, and taste amazing.
This is my answer to “what’s for dessert?” when I’m tired, don’t want takeout, and still want something that tastes really good. It’s simple, it’s budget-friendly, and it’s delicious. Make it yours! Try different add-ins, swap in your favorite spices, or just enjoy it as is. The best recipes are the ones you adapt to your life.
If you make this, drop a comment and let me know what you think! I love hearing how recipes turn out in your kitchen. And if something doesn’t work, tell me that too—I’m here to help troubleshoot. Happy cooking! And I hope your kitchen smells half as good as mine does right now.
Frequently Asked Questions
Can I use dark brown sugar instead of light?
You can, but the flavor will be more intense and molasses-heavy. Light brown sugar is milder and better for this recipe. If you only have dark, mix it with a little white sugar to balance it out.
Why did my bars turn out dry?
You probably overbaked them. These bars continue to cook in the pan after you take them out of the oven. Take them out when the center still looks slightly soft. They’ll firm up as they cool.
Can I double this recipe?
Yes, but you’ll need a 9×13 inch pan. Double the baking time to about 30-35 minutes. Check them at 30 minutes to make sure they’re not drying out.
Can I make this ahead for a party?
Absolutely. Make them a day ahead and store them in an airtight container. They’ll actually taste better the next day as the flavors meld. Just cut them right before serving.
Can I freeze the dough?
Yes! Press the dough into the pan, wrap it tightly in plastic wrap, and freeze for up to 2 months. Bake directly from frozen, adding 5-10 minutes to the baking time.
Can I use margarine instead of butter?
You can, but the flavor won’t be as rich. Butter adds a nutty, creamy taste that margarine lacks. If you’re on a tight budget, margarine works, but you’ll miss the depth of flavor.
How do I keep them chewy?
Don’t overbake, use brown sugar, and store them in an airtight container. If they get hard, add a piece of bread to the container for a few hours to rehydrate them.
Pin This Recipe!
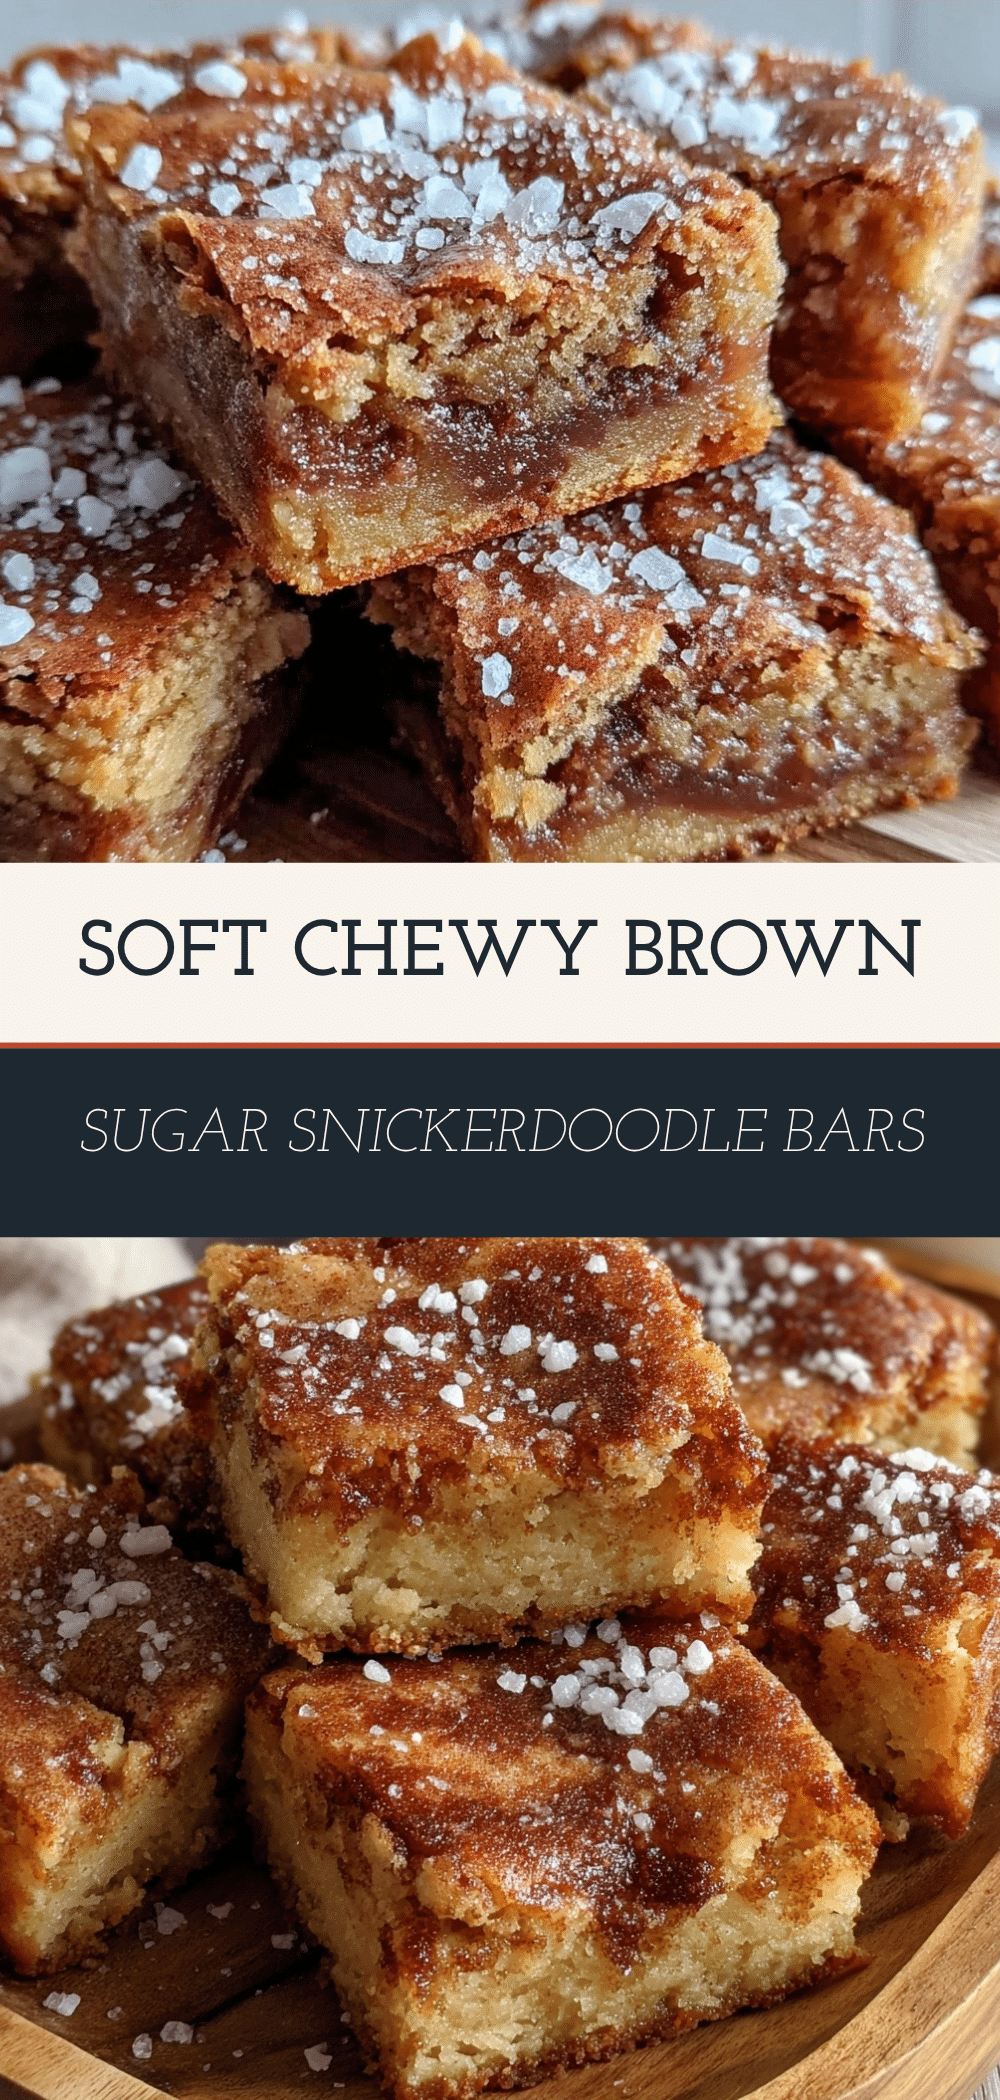
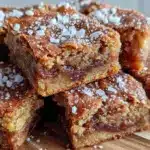
Chewy Brown Sugar Snickerdoodle Cookie Bars
- Total Time: 30 minutes
- Yield: 9 servings 1x
Description
A budget-friendly, single-serving dessert that combines the flavors of snickerdoodle cookies into easy-to-make bars. Perfect for late-night cravings, these bars are cheap, efficient, and require minimal cleanup.
Ingredients
- 1/2 cup (115g) unsalted butter, softened
- 1 cup (200g) light brown sugar
- 1/4 cup (50g) granulated sugar
- 1 large egg
- 1 teaspoon vanilla extract
- 1 1/2 cups (190g) all-purpose flour
- 1/2 teaspoon baking powder
- 1/2 teaspoon salt
- 2 teaspoons ground cinnamon
- 2 tablespoons granulated sugar (for topping)
- 1 teaspoon ground cinnamon (for topping)
Instructions
- Preheat oven to 350°F (175°C). Grease an 8×8 inch square pan with butter or cooking spray.
- In a mixing bowl, cream together the softened butter, light brown sugar, and granulated sugar until light and fluffy (about 2-3 minutes).
- Add the egg and vanilla extract to the butter mixture. Mix until just combined.
- Add the flour, baking powder, and salt. Stir gently until the flour disappears and the dough is soft and sticky. Do not overmix.
- Press the dough evenly into the prepared pan.
- In a small bowl, mix the 2 tablespoons of granulated sugar with 1 teaspoon of cinnamon. Sprinkle evenly over the dough and press gently to adhere.
- Bake for 20-25 minutes, or until edges are golden brown and the center is just set but still slightly soft.
- Let the bars cool in the pan for at least 15 minutes before cutting into squares.
Notes
Softened butter is key for proper creaming. Do not overbake as the bars continue to cook in the hot pan after removal. Cool completely for clean cuts. Store in an airtight container at room temperature for up to 3 days. For gluten-free, use a 1:1 gluten-free flour blend. For dairy-free, substitute butter with coconut oil.
- Prep Time: 10 minutes
- Cook Time: 20-25 minutes
- Category: Dessert
- Cuisine: American
Nutrition
- Serving Size: 1 square (approx. 1/
- Calories: 180
- Sugar: 18
- Sodium: 120
- Fat: 8
- Saturated Fat: 5
- Carbohydrates: 28
- Fiber: 1
- Protein: 2
Keywords: snickerdoodle bars, brown sugar cookies, budget dessert, single serving dessert, easy baking, cinnamon sugar, cheap dessert, chewy bars