I have a confession to make: I used to hate baking pasta. Or at least, I thought I did. Every time I tried to make baked ziti, it ended up dry, the cheese was rubbery, and the sauce had separated into a greasy mess that made my kitchen smell like old oil. I’d stare at the oven timer like it was my enemy, convinced that the only way to get that restaurant-quality comfort was to order takeout or spend three hours simmering a ragù from scratch.
Then, about two years ago, I was hosting a last-minute dinner for my in-laws. They were coming in 45 minutes, and my pantry was half-empty. I had a bag of ziti, a tub of ricotta, and a jar of marinara. I threw together what I thought would be a mediocre, rushed dinner. I didn’t bother layering it perfectly. I didn’t have time to make fresh sauce. I just mixed it all up, dumped it in the dish, and shoved it in the oven.
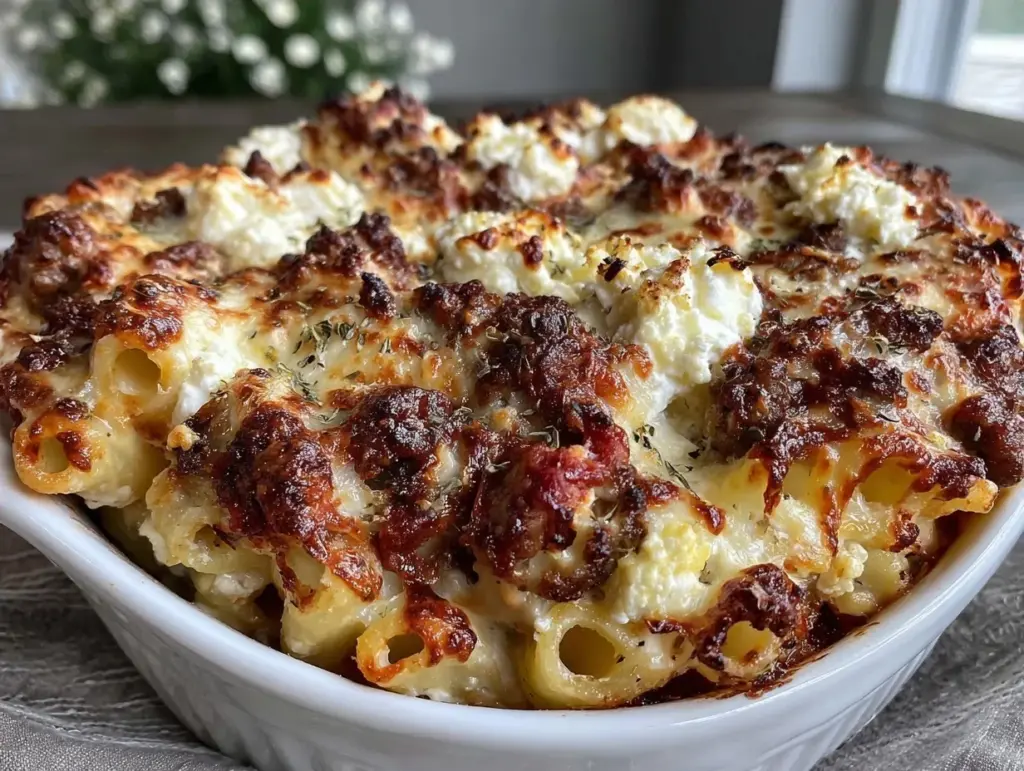
When I pulled it out, the kitchen smelled like heaven. Not just “good cooking” smells, but that deep, savory, cheesy aroma that makes you forget your manners. My mother-in-law took one bite and paused. She looked at me, then at the dish, and said, “This is incredible. What’s your secret?”
It wasn’t a secret. It was just the right ratio of creamy ricotta to tangy marinara, and a little bit of luck. Since then, I’ve made this creamy ricotta baked ziti at least once a week. It’s the ultimate weeknight meal—sturdy enough to feel like a feast, but simple enough to throw together while the kids are doing homework. It’s the kind of dish that disappears so fast you’ll need to make a double batch just to have leftovers for lunch the next day.
Why You’ll Love This Recipe
There are a hundred ways to make pasta bake, but this version hits a specific sweet spot. It’s not heavy and suffocating like some casseroles, but it’s rich and satisfying enough to cure any comfort food craving. Here’s why this has earned a permanent spot in my weekly rotation:
Zero Stress, Maximum Flavor — You don’t need to make a sauce from scratch. I use a high-quality jarred marinara (I swear by Rao’s or a local brand if you can find it) and jazz it up with a few simple pantry staples. It tastes homemade but takes 15 minutes of active prep.
The Ricotta Magic — This is the game-changer. By mixing the ricotta with an egg and herbs, you get little pockets of creamy, mild cheese that balance out the sharp, acidic tomato sauce. It’s the texture contrast that makes people ask for the recipe.
Perfect for Meal Prep — This dish actually tastes better the next day. The flavors meld together overnight, and the pasta absorbs just enough sauce to stay moist. I make a big batch on Sunday, and for three nights straight, dinner is already solved.
Family-Proof — My kids usually have a million “no”s before dinner, but they devour this. The cheese pull is real, and the flavors are familiar but elevated. It’s also easy to hide some veggies in the sauce if you’re feeling sneaky.
One-Dish Wonder — Okay, technically you boil the pasta in one pot and mix in one bowl, but it all goes into one baking dish. Cleanup is a breeze, which is exactly what I need after a long workday.
This isn’t just dinner; it’s a hug on a plate. It’s reliable, it’s delicious, and it makes your house smell like a cozy Italian restaurant.
Ingredients You’ll Need
Here’s the best part: you probably already have most of this in your fridge or pantry. This recipe relies on good quality basics rather than a long list of exotic spices.
For the Pasta Base
Ziti pasta (1 pound / 450g) — I stick with ziti or penne rigate. The tube shape holds the sauce and cheese pockets perfectly. Avoid spaghetti or fettuccine here; you need that structural integrity to keep the layers from collapsing. I always use Barilla because it cooks evenly and doesn’t get mushy.
Marinara sauce (24-26 oz / 680-740g) — Don’t skip the quality here. Since this is the main flavor driver, use a sauce you’d eat plain off a spoon. Look for one with tomatoes, olive oil, garlic, and basil. Avoid the cheap stuff with high fructose corn syrup.
Whole milk ricotta (15 oz / 425g) — This is the star. Do not use “low-fat” or “part-skim” ricotta for baking unless you want dry, crumbly results. Whole milk ricotta stays creamy and lush. If you can find fresh ricotta from the deli counter, that’s even better, but the tub works fine.
Large egg (1 large) — This binds the ricotta mixture so it doesn’t just slide to the bottom of the dish. It creates that custard-like texture in the cheese pockets.
Fresh basil (½ cup, chopped) — Fresh is non-negotiable here. Dried basil tastes like dust. Chop up a good handful and stir it into the ricotta. It adds brightness that cuts through the richness.
Garlic (2 cloves, minced) — Just two cloves. Fresh only. If you’re using jarred garlic, reduce to 1 teaspoon, but fresh tastes so much better.
For the Topping
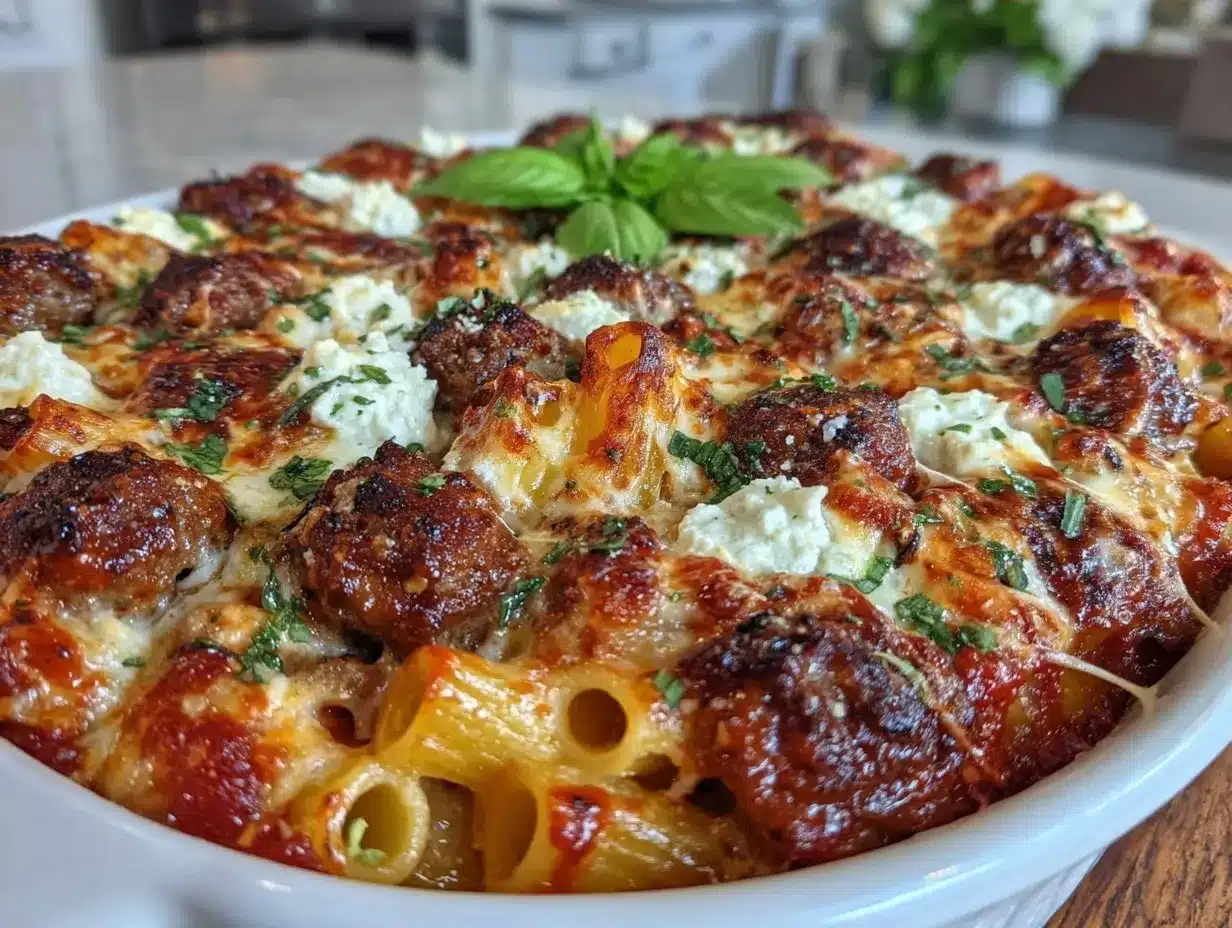
Mozzarella cheese (2 cups / 225g, shredded) — Buy a block and shred it yourself. Pre-shredded mozzarella is coated in potato starch to prevent clumping, which stops it from melting smoothly. You want that gooey, stretchy melt, not granular cheese.
Parmesan cheese (½ cup / 50g, grated) — Adds a salty, umami kick to the top crust. Freshly grated is best.
Red pepper flakes (½ teaspoon) — Optional, but I always add a pinch for a tiny hint of heat that wakes up the palate.
Extra virgin olive oil (1 tablespoon) — A drizzle on top before baking gives the cheese a golden, glossy finish.
Equipment Needed
You don’t need fancy gadgets for this. Here’s what I actually use:
9×13-inch baking dish — A ceramic or glass dish works best. It distributes heat evenly and keeps the bottom from burning. I have a Pyrex one that’s been with me for years.
Large pot — For boiling the pasta. Needs to hold a pound of pasta comfortably.
Large mixing bowl — For combining the ricotta, egg, and herbs. Any size works.
Colander — For draining the pasta. Or just tilt the pot carefully if you’re feeling adventurous.
Box grater — For shredding the mozzarella and grating the Parmesan. A microplane is great for the Parmesan if you want it fine.
Wooden spoon or spatula — For stirring everything together. Silicone works too.
Measuring cups and spoons — Standard stuff. No need for high-end brands here.
How to Make It: Step-by-Step
Alright, let’s make this! I’m walking you through exactly how I do it, including the little tricks I’ve picked up to ensure it’s perfect every time.
Step 1: Prep Your Oven and Dish (5 minutes)
Preheat your oven to 375°F (190°C). Grease your 9×13-inch baking dish with a little olive oil or non-stick spray. This prevents sticking and helps the edges get crispy. I usually just rub a little oil around with my fingers.
Step 2: Cook the Pasta (10 minutes)
Bring a large pot of salted water to a boil. The water should taste like the ocean—don’t skimp on salt. Add the ziti and cook according to package directions until al dente. This usually means cooking it for 1-2 minutes less than the package says. Why? Because the pasta will continue to cook in the oven. If you cook it fully now, it’ll be mushy later. Drain the pasta and set it aside. Do not rinse it! You want that starch to help the sauce cling.
Step 3: Make the Ricotta Mixture (5 minutes)
While the pasta cooks, grab your large mixing bowl. Add the ricotta cheese, the egg, half of the chopped basil, the minced garlic, and a pinch of salt and pepper. Whisk it together until it’s smooth and creamy. It should look like a thick, fluffy paste. If it seems too dry, add a splash of milk, but usually, it’s just right.
Step 4: Combine Pasta and Sauce (5 minutes)
Add the cooked ziti to the pot you boiled it in (or back to the bowl if you prefer). Pour in the marinara sauce. Stir well to coat every noodle. Then, add the ricotta mixture. Here’s the trick: don’t stir it in completely. Use a spoon to drop big dollops of the ricotta mixture over the pasta. You want pockets of cheese, not a uniform gray mix. It looks messy, but that’s the goal.
Step 5: Assemble and Top (5 minutes)
Transfer the pasta mixture to your prepared baking dish. Spread it out evenly. Sprinkle the shredded mozzarella and grated Parmesan over the top. Make sure you get to the edges—the crispy, cheesy edges are my favorite part. Drizzle the extra virgin olive oil over the cheese.
Step 6: Bake Until Golden (25-30 minutes)
Place the dish in the oven. Bake for 20 minutes, then check it. The cheese should be bubbly and starting to brown. If you want more color, turn on the broiler for the last 2-3 minutes, but watch it like a hawk! Burnt cheese tastes bitter. I usually bake it for the full 25-30 minutes without broiling to keep it creamy inside.
Step 7: Rest and Serve
Remove from the oven and let it rest for 10 minutes. I know this is hard, but if you cut into it immediately, everything will slide apart. Resting lets the cheese set slightly so you get nice squares. Garnish with the remaining fresh basil and serve warm.
Expert Tips & Tricks
Here’s everything I’ve learned from making this dozens of times. These tips will save you from my mistakes.
Don’t Overcook the Pasta — This is the #1 mistake. Al dente is your friend. The residual heat in the oven will finish the cooking. If you boil it until it’s soft, it’ll turn into mush in the dish.
Room Temperature Ricotta — If your ricotta is straight from the fridge, it’s hard to mix. Take it out 15 minutes before you start. It blends with the egg much easier and creates a smoother texture.
Shred Your Own Cheese — I cannot stress this enough. Pre-shredded cheese will not melt properly. It’s worth the extra two minutes to shred a block of mozzarella. The difference in texture is night and day.
Let It Rest — I know, I know, you want to eat it now. But waiting 10 minutes makes a huge difference. It’s easier to serve and the flavors settle. Trust me on this one.
Boost the Flavor — If you want more depth, add a teaspoon of sugar to the marinara sauce to balance the acidity of the tomatoes. Or stir in a pinch of red pepper flakes for heat.
Make It Ahead — You can assemble this dish up to 24 hours in advance. Cover it tightly with plastic wrap and refrigerate. When you’re ready to bake, add 10-15 minutes to the baking time since the dish is cold.
Variations & Substitutions
Once you’ve nailed the basic version, here’s how you can mix it up. I’ve tried all of these.
Meat Lover’s — Brown ½ pound of Italian sausage or ground beef before adding the sauce. Drain the fat and stir it into the marinara. This makes it heartier and more filling.
Veggie-Packed — Sauté 1 cup of chopped spinach or mushrooms with the garlic before mixing. Or just stir raw spinach leaves into the pasta before baking—they’ll wilt right in. This is how I get my kids to eat vegetables.
Spicy Kick — Add ½ teaspoon of crushed red pepper to the ricotta mixture. Or use a spicy marinara sauce. Perfect if you like a little heat.
Gluten-Free — Use gluten-free ziti. Everything else is naturally gluten-free. I’ve used Barilla gluten-free pasta and it works great.
Dairy-Free — Use dairy-free ricotta (like almond-based) and dairy-free mozzarella. It won’t be exactly the same, but it’s still tasty. I’ve made this for a lactose-intolerant friend, and she loved it.
Protein Boost — Stir in 2 cups of shredded rotisserie chicken. This is similar to how I make my baked buffalo chicken mac and cheese, but with Italian flavors. Great for using up leftovers.
Serving & Storage
How to Serve: I usually serve this straight from the dish at the dinner table. It looks rustic and stays warm. Pair it with a simple green salad with balsamic vinaigrette to cut the richness. Garlic bread is, of course, mandatory.
Refrigerator: Store leftovers in an airtight container for up to 4 days. The sauce will thicken in the fridge—totally normal.
Reheating: Best method: Add a splash of water or milk to a skillet, add your leftover pasta, and heat gently over low heat. Stir until creamy again. Microwave method: Heat in 30-second intervals, stirring between. Add a splash of liquid if it’s too thick.
Freezing: You can freeze this! Assemble the dish but don’t bake it. Cover tightly with foil and freeze for up to 3 months. Thaw in the fridge overnight, then bake as directed, adding 15-20 minutes to the time.
Meal Prep: This is perfect for meal prep. Divide into individual containers. It reheats beautifully in the microwave. I make a big batch on Sunday and eat it for lunch all week.
Nutrition Information
I’m not a nutritionist, but here’s the breakdown if you’re tracking. Note that this is a rich dish, so portion control is key.
Per Serving (based on 8 servings):
- Calories: 450
- Protein: 22g
- Carbs: 48g
- Fiber: 3g
- Sugar: 6g
- Fat: 18g
- Saturated Fat: 10g
- Cholesterol: 65mg
- Sodium: 680mg
Look, this is comfort food with cheese and pasta. It’s not a diet recipe. But it’s way better than takeout, costs less, and I know exactly what’s in it. When I want to make it lighter, I use part-skim ricotta and add extra veggies. But usually? I just eat a reasonable portion and enjoy it.
Final Thoughts
So that’s my go-to creamy ricotta baked ziti! I’ve probably talked your ear off at this point, but when you make a recipe this often, you have a lot to say about it.
This has saved weeknight dinners more times than I can count. It’s my answer to “what’s for dinner” when I’m tired, don’t want takeout, and still want something that tastes really good. My kids are happy, my husband’s happy, and I’m happy because I’m not stressed about cooking.
Make it yours! Try different add-ins, swap in your favorite vegetables, or use a different pasta shape. The best recipes are the ones you adapt to your family’s tastes. If you make this, drop a comment and let me know what you think! I love hearing how recipes turn out in your kitchen. And if something doesn’t work, tell me that too—I’m here to help troubleshoot.
Happy cooking! And I hope your kitchen smells half as good as mine does right now.
Frequently Asked Questions
Can I use a different pasta shape?
Yes! Penne, rigatoni, or even shells work great. Just make sure you choose a short pasta that can hold the sauce and cheese pockets. Long pasta like spaghetti won’t work well for this style of baking.
Why did my baked ziti turn out dry?
This usually happens if the pasta was overcooked before baking, or if there wasn’t enough sauce. Make sure you use a full jar of sauce (24-26 oz) and cook the pasta al dente. Also, don’t skip the resting time—it helps retain moisture.
Can I make this ahead of time?
Absolutely. Assemble the dish, cover it tightly with plastic wrap, and refrigerate for up to 24 hours. When you’re ready to bake, remove the wrap, let it sit at room temperature for 15 minutes, then bake as directed. You may need to add 5-10 minutes to the baking time.
Can I freeze baked ziti?
Yes, but it’s best to freeze it before baking. Assemble the dish, cover tightly with foil, and freeze for up to 3 months. Thaw in the fridge overnight, then bake. If you freeze it after baking, the texture of the ricotta may become grainy upon thawing.
What kind of ricotta should I use?
Use whole milk ricotta for the best texture. Low-fat ricotta tends to be drier and crumblier. If you can find fresh ricotta from the deli counter, that’s ideal, but the tub variety works fine too. Just make sure it’s creamy, not dry.
Can I add meat to this?
Definitely! Brown ½ pound of Italian sausage or ground beef and stir it into the marinara sauce before combining with the pasta. This adds protein and makes the dish even more filling. I also love adding leftover rotisserie chicken, similar to how I use it in my creamy chicken alfredo tortellini.
How do I reheat leftovers without it getting dry?
Add a splash of water or milk when reheating. This helps restore the creamy texture. In the microwave, heat in 30-second intervals, stirring between. In the oven, cover with foil and heat at 350°F until warmed through.
Pin This Recipe!
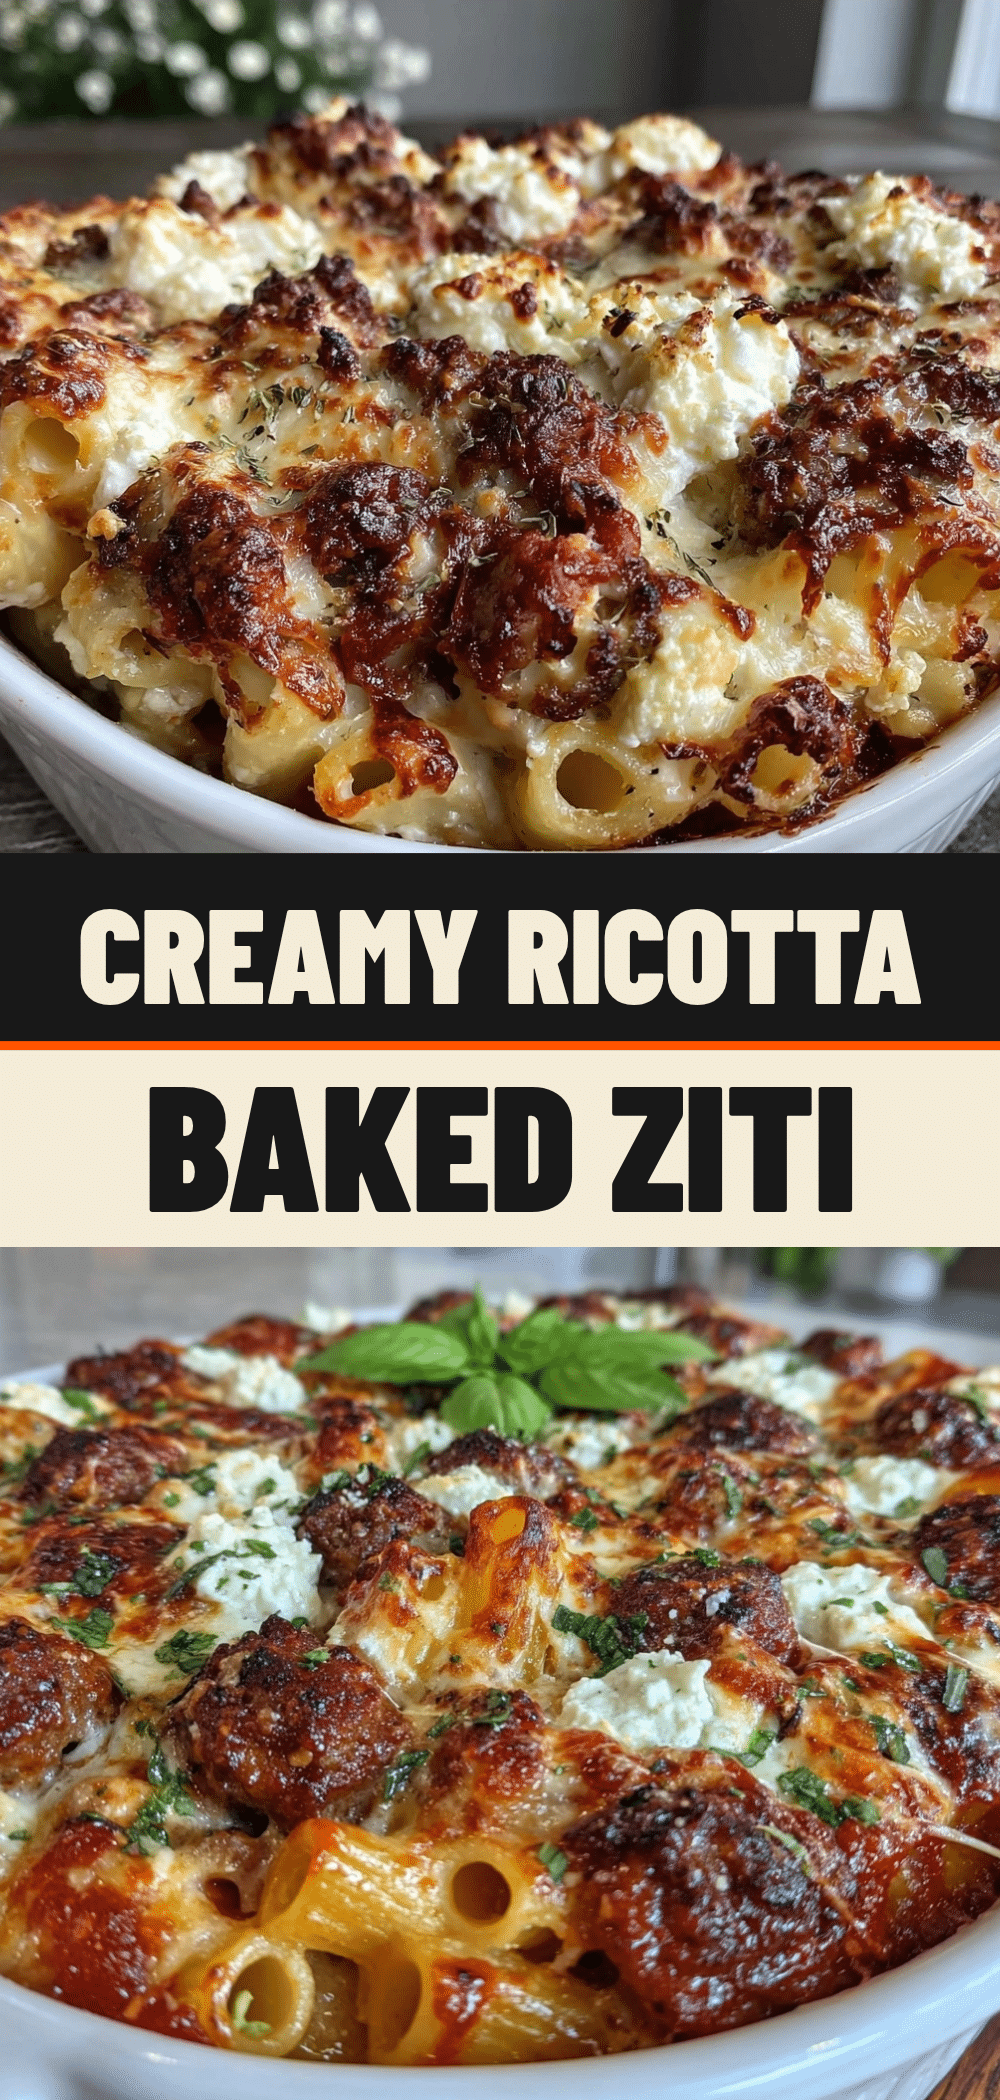
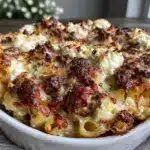
Creamy Ricotta Baked Ziti: Best Weeknight Pasta
- Total Time: 45 minutes
- Yield: 8 servings 1x
Description
A simple, creamy baked ziti that uses jarred marinara and whole milk ricotta for maximum flavor with minimal stress. Perfect for weeknight dinners and meal prep.
Ingredients
- 1 pound ziti pasta
- 24–26 oz marinara sauce
- 15 oz whole milk ricotta
- 1 large egg
- ½ cup fresh basil, chopped
- 2 cloves garlic, minced
- 2 cups mozzarella cheese, shredded
- ½ cup Parmesan cheese, grated
- ½ teaspoon red pepper flakes
- 1 tablespoon extra virgin olive oil
- Salt and pepper to taste
Instructions
- Preheat oven to 375°F (190°C) and grease a 9×13-inch baking dish.
- Boil ziti in salted water until al dente (1-2 minutes less than package directions), then drain without rinsing.
- In a large bowl, whisk ricotta, egg, half the basil, garlic, salt, and pepper until smooth.
- Combine cooked pasta and marinara sauce in the pot or a large bowl.
- Add dollops of the ricotta mixture to the pasta; do not stir completely to create cheese pockets.
- Transfer mixture to the baking dish, spread evenly, and top with mozzarella, Parmesan, red pepper flakes, and olive oil.
- Bake for 25-30 minutes until cheese is bubbly and golden.
- Let rest for 10 minutes before serving.
Notes
Do not overcook the pasta as it will continue to cook in the oven. Shred your own cheese for better melting. Let the dish rest for 10 minutes before cutting to allow the cheese to set. For meal prep, this dish tastes better the next day.
- Prep Time: 15 minutes
- Cook Time: 30 minutes
- Category: Main Course
- Cuisine: Italian
Nutrition
- Serving Size: 1 serving
- Calories: 450
- Sugar: 6
- Sodium: 680
- Fat: 18
- Saturated Fat: 10
- Carbohydrates: 48
- Fiber: 3
- Protein: 22
Keywords: baked ziti, ricotta pasta, weeknight dinner, comfort food, easy pasta recipe, meal prep