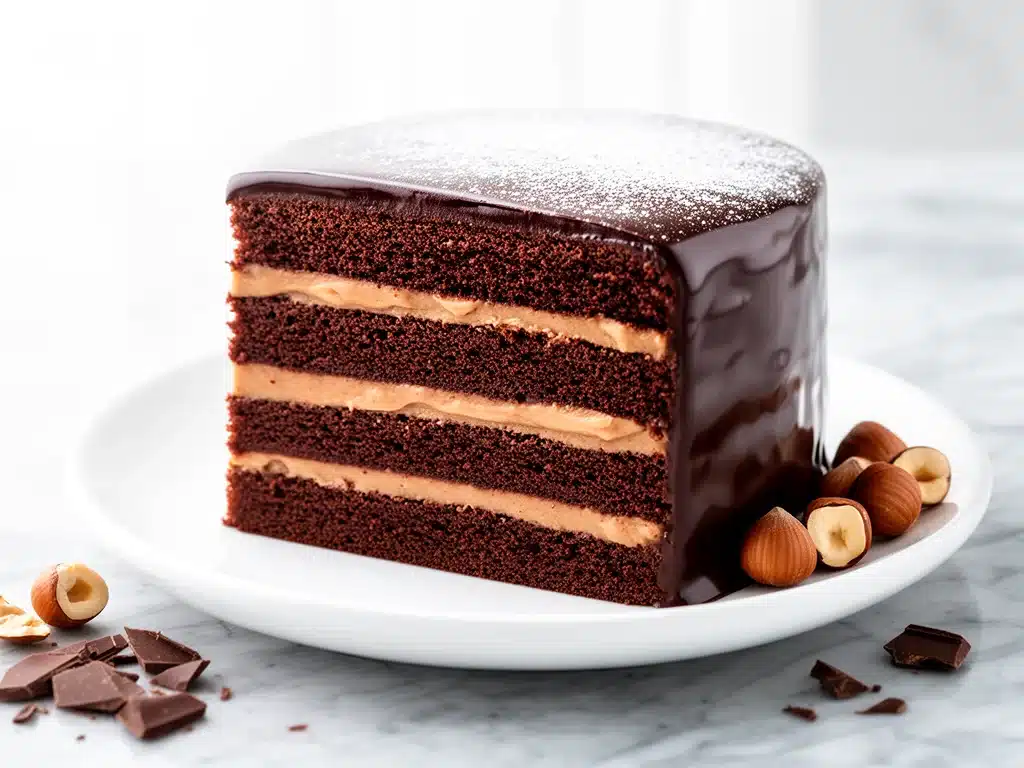
Last November, I was tasked with bringing dessert to a holiday party that had about fifty people attending. I’ve been to enough potlucks to know the drill: the good stuff gets eaten in the first ten minutes, and you’re left with a plastic container of slightly dry banana bread. I wanted something that would stop people in their tracks. Something that smelled incredible the moment the lid came off and looked fancy enough to sit on a tiered stand without looking like I tried too hard.
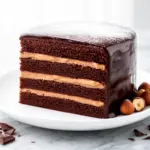
I ended up making this chocolate hazelnut layer cake with ganache. I didn’t just make it once; I made it twice because my first batch was slightly underbaked in the center (oops). But the second time? It was magic. I brought it in, and within five minutes, three different people asked me for the recipe. One guy even asked if I catered the event. (I didn’t. I just really like baking.)
The secret isn’t some complicated French technique or a rare ingredient you can only find in Paris. It’s the combination of deep, dark chocolate and toasted hazelnuts. The nuts add this incredible nutty richness that cuts through the sweetness of the ganache. It’s the kind of cake that feels like a hug from your favorite aunt—warm, indulgent, and totally worth the effort.
I’ve tested this recipe about a dozen times over the last year. I’ve tweaked the flour ratios, experimented with different chocolate brands, and even tried making it with almond flour for a gluten-free version (spoiler: it’s good, but the hazelnut version is king). This is the version that works. It’s reliable, it’s delicious, and yes, it will impress everyone who takes a bite. Whether it’s for a birthday, a date night, or just because you need a reason to eat cake for breakfast, this chocolate hazelnut layer cake is the answer.
Why You’ll Love This Chocolate Hazelnut Layer Cake
Let’s be real for a second. Baking a three-layer cake sounds intimidating. It sounds like something you’d see on a TV show where everything goes wrong and the baker has to cry in the kitchen. But this recipe? It’s actually straightforward. Here’s why this cake has earned a permanent spot in my rotation:
It’s Actually Moist — I’m not talking about “dry crumbs with a hint of moisture” moist. I’m talking about “fork slides through effortlessly” moist. The combination of buttermilk and oil in the batter keeps it tender for days. I’ve kept slices of this cake covered on the counter for three days, and it still tasted fresh. No drying out. No staling.
The Ganache is Foolproof — A lot of people are scared of making ganache. They think it’s going to seize or get grainy. Not with this method. You just pour hot cream over chocolate and stir. That’s it. If you can stir, you can make this ganache. And when it sets, it’s that perfect glossy, firm-but-soft shell that snaps when you cut it.
Hazelnuts Add Serious Flavor — Plain chocolate cake is great. Chocolate hazelnut cake is *chef’s kiss*. The toasted hazelnuts bring out these earthy, almost caramel-like notes that pair perfectly with the dark chocolate. It’s not just sweet; it’s complex. You’ll notice the difference immediately.
It Makes You Look Like a Pro — This cake looks like it came from a high-end bakery. The layers are even, the ganache drips are smooth, and the texture is professional-grade. You don’t need to be a master baker to pull this off. You just need to follow the steps, and people will assume you went to culinary school.
Perfect for Special Occasions — I’ve made this for birthdays, anniversaries, and even a last-minute apology to my in-laws (it worked). It’s versatile enough to be dressed up with fresh berries or kept simple with just the ganache. It’s the kind of cake that says, “I care about you enough to bake something special.”
This isn’t just a recipe; it’s a confidence booster. Once you make this chocolate hazelnut layer cake, you’ll never buy a boxed mix again. Trust me.
Ingredients You’ll Need
Here’s the thing: you don’t need a ton of weird ingredients. Most of this is standard baking pantry stuff, plus a few key items that make the magic happen. I’m going to break down exactly what you need and why it matters. I’ve included both US and metric measurements because I know some of you prefer precision.
For the Cake Layers
All-Purpose Flour (2 ½ cups / 315g) — This is your base. Don’t use cake flour unless you want a lighter texture. All-purpose gives it that perfect tender crumb. Sift it if you’re feeling fancy, but don’t stress if you don’t.
Sugar (1 ½ cups / 300g) — Granulated white sugar. Don’t substitute with brown sugar unless you want a denser, molasses-heavy cake. This sugar keeps it light and sweet.
Cocoa Powder (¾ cup / 75g) — Use unsweetened cocoa powder. I prefer Dutch-processed cocoa because it’s darker and has a richer flavor. Regular natural cocoa works too, but the color will be lighter. Don’t use hot chocolate mix—it has sugar in it.
Baking Powder & Baking Soda (1 ½ tsp / 7.5g and 1 ½ tsp / 7.5g) — This is a double-leavening setup. The baking soda reacts with the buttermilk, and the baking powder helps it rise in the oven. Don’t skip either one.
Salt (1 tsp / 6g) — Crucial. Salt makes the chocolate taste more like chocolate. Don’t skimp.
Buttermilk (1 ½ cups / 360ml) — This adds tang and tenderness. If you don’t have buttermilk, make your own by adding 1 tablespoon of lemon juice or vinegar to 1 ½ cups of milk and letting it sit for 10 minutes. It works surprisingly well.
Vegetable Oil (½ cup / 120ml) — Oil keeps cakes moister than butter. Butter tastes great, but oil wins on texture. I use a neutral oil so it doesn’t overpower the chocolate.
Eggs (3 large, room temperature) — Room temperature eggs emulsify better into the batter. Cold eggs can make the batter curdle. Take them out of the fridge 30 minutes before you start.
Vanilla Extract (2 tsp / 10ml) — Use real vanilla, not imitation. It makes a noticeable difference in flavor.
For the Chocolate Hazelnut Ganache
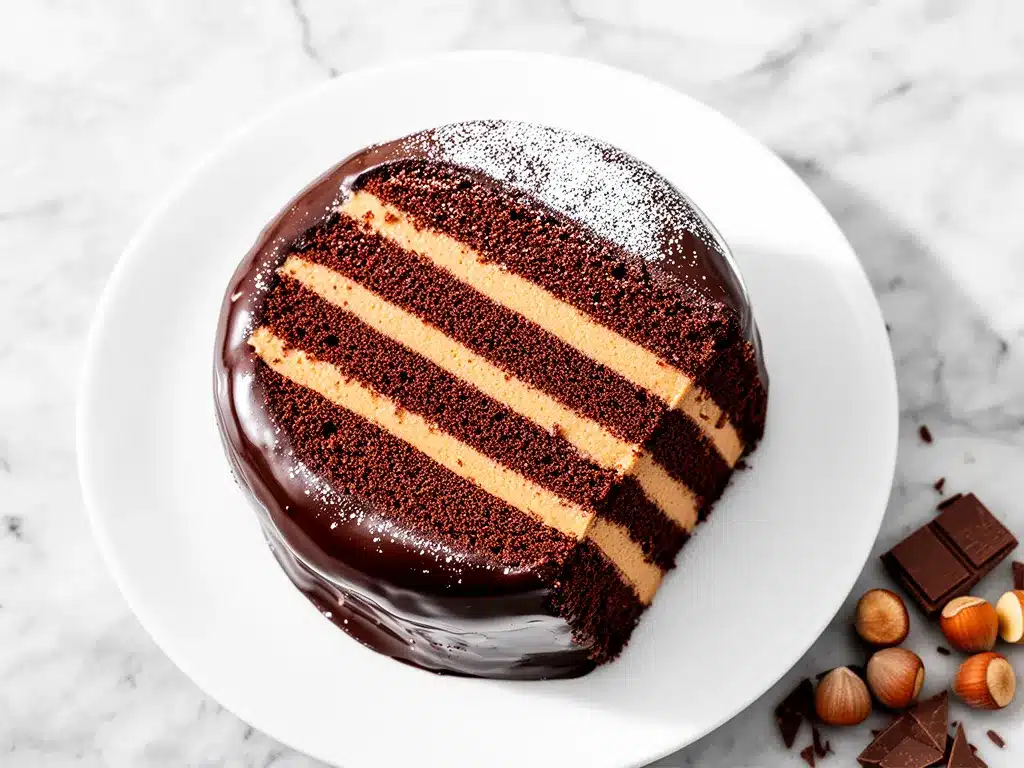
Dark Chocolate (8 oz / 225g, chopped) — Use high-quality chocolate. I like Lindt 70% or Ghirardelli 60%. The better the chocolate, the better the ganache. Chop it finely so it melts evenly.
Heavy Cream (1 cup / 240ml) — Full-fat only. Half-and-half won’t be rich enough. You need the fat content for that glossy, smooth texture.
Roasted Hazelnuts (1 cup / 115g, finely chopped) — Toast them first! Raw hazelnuts don’t have the same depth. I toast them in a dry pan until they smell nutty and the skins crack. Then I chop them finely.
Butter (2 tablespoons / 30g) — Optional, but it adds a nice shine and richness to the ganache. I always add it.
For the Frosting & Assembly
Buttercream (optional) — Some people prefer buttercream between the layers instead of ganache. I like a thin layer of chocolate buttercream to help the ganache stick. If you’re doing a naked cake, skip this.
Extra Hazelnuts (for garnish) — Whole or halved toasted hazelnuts look beautiful on top.
Equipment Needed
You don’t need fancy gadgets for this. Here’s what I actually use in my kitchen:
Three 8-inch Round Cake Pans — This is non-negotiable. You need three even layers. If you don’t have three pans, you can bake in two and split one batch, but three is easier. Grease and line the bottoms with parchment paper. Trust me on the parchment—it saves so much stress.
Mixer — A stand mixer with a paddle attachment is ideal. Hand mixer works too, but it takes more arm strength. I use my KitchenAid, but any mixer will do.
Sifting Tool — A fine-mesh sieve. Sifting the dry ingredients removes lumps and aerates the flour. It’s a small step that makes a big difference.
Offset Spatula — For spreading the ganache smoothly. A regular spatula works, but an offset one gives you better control.
Bench Scraper — Optional, but it helps when smoothing the ganache on the sides of the cake. It makes it look professional.
Cooling Rack — Let the cakes cool completely before frosting. Warm cake = melted ganache = disaster.
How to Make It: Step-by-Step
Alright, let’s get baking! This is where the magic happens. I’m going to walk you through exactly how I do it, including the little tricks that keep the cake moist and the ganache smooth.
Step 1: Prep Your Pans and Oven (10 minutes)
Preheat your oven to 350°F (175°C). Grease your three 8-inch cake pans with butter or non-stick spray. Line the bottoms with parchment paper circles. This ensures the cakes release easily and don’t stick. Dust the sides with a little flour or cocoa powder to prevent sticking. Set them aside.
Step 2: Toast and Chop the Hazelnuts (5 minutes)
While the oven heats, toast your hazelnuts. Place them in a dry skillet over medium heat. Shake the pan frequently for 5-7 minutes until they’re fragrant and the skins start to crack. Let them cool slightly, then rub them in a clean kitchen towel to remove most of the skins. Chop them finely. You want small bits, not huge chunks.
Step 3: Mix the Dry Ingredients (5 minutes)
In a large bowl, sift together the flour, cocoa powder, baking powder, baking soda, and salt. Whisk them together to combine. Sifting is key here—it removes any lumps of cocoa powder and makes the batter smoother. Set aside.
Step 4: Mix the Wet Ingredients (5 minutes)
In another bowl, whisk together the buttermilk, vegetable oil, eggs, and vanilla extract. The mixture should be smooth and well-combined. If your eggs are cold, the mixture might look slightly curdled. That’s okay; it’ll come together when you mix it with the dry ingredients.
Step 5: Combine Wet and Dry (5 minutes)
Add the wet ingredients to the dry ingredients. Mix on low speed until just combined. Scrape down the sides of the bowl. Then, mix on medium speed for 2 minutes. This develops the gluten slightly and ensures the batter is smooth. Don’t overmix, but don’t undermix either. The batter should be thick and glossy.
Step 6: Fold in the Hazelnuts (2 minutes)
Gently fold in the chopped toasted hazelnuts with a spatula. Be careful not to crush them. You want little bits of nut in every bite.
Step 7: Bake the Layers (30-35 minutes)
Divide the batter evenly among the three pans. Bake for 30-35 minutes. The cakes are done when a toothpick inserted into the center comes out clean or with a few moist crumbs. Do not overbake! Overbaking is the #1 cause of dry cake. Rotate the pans halfway through baking for even browning.
Step 8: Cool Completely (1 hour)
Let the cakes cool in the pans for 10 minutes, then turn them out onto a wire rack. Let them cool completely before frosting. This is crucial. If the cakes are even slightly warm, the ganache will melt and slide off.
Step 9: Make the Ganache (10 minutes)
Chop your dark chocolate into small pieces and place it in a heatproof bowl. Heat the heavy cream in a saucepan until it just starts to simmer. Pour the hot cream over the chocolate. Let it sit for 5 minutes. Then, stir gently from the center outward until smooth. Stir in the butter and chopped hazelnuts. Let it cool for 15-20 minutes until it thickens slightly but is still pourable.
Step 10: Assemble the Cake (20 minutes)
Place one cake layer on a cake stand or plate. Spread a thin layer of ganache (or buttercream) on top. Add the second layer. Repeat with the third layer. Pour the remaining ganache over the top, letting it drip down the sides. Use an offset spatula to smooth the top and create drips on the sides.
Step 11: Garnish and Chill (30 minutes)
Decorate with extra toasted hazelnuts. Chill the cake for at least 30 minutes to set the ganache. Then slice and serve.
Expert Tips & Tricks
Here’s everything I’ve learned from making this cake dozens of times. These tips will save you from my mistakes.
Room Temperature Ingredients — This is non-negotiable. Cold eggs and buttermilk can cause the batter to curdle, leading to uneven baking. Take everything out of the fridge an hour before you start.
Don’t Overmix — Once you add the flour, mix until just combined. Overmixing develops too much gluten, making the cake tough. You want a tender crumb, not a breadstick.
Check for Doneness Early — Ovens vary. Start checking at 28 minutes. If the toothpick comes out clean, pull it. If it has wet batter, give it 2 more minutes.
Cool Completely — I know it’s tempting to frost while it’s warm, but don’t. Warm cake melts ganache. Patience pays off.
Chop Hazelnuts Finely — You want bits, not chunks. Large pieces can make the cake hard to slice and eat.
Use Quality Chocolate — The ganache is only as good as the chocolate you use. Don’t use cheap chips. Use real chocolate bars.
Make-Ahead Friendly — You can bake the layers up to 2 days ahead and store them wrapped in plastic wrap. The ganache can be made 1 day ahead. This makes the day-of baking much easier.
Variations & Substitutions
Once you’ve nailed the basic version, here’s how you can mix it up. I’ve tried all of these.
Gluten-Free Version — Swap the all-purpose flour for a 1:1 gluten-free flour blend. It works surprisingly well. I’ve used Bob’s Red Mill and King Arthur, and both worked great.
Dairy-Free Version — Use dairy-free butter and milk (like oat or almond milk) in the cake. Use dairy-free chocolate for the ganache. The texture is slightly different, but still delicious.
Chocolate Chip Addition — Add ½ cup of dark chocolate chips to the batter along with the hazelnuts. It’s like a cookie in cake form.
Espresso Boost — Add 1 teaspoon of instant espresso powder to the dry ingredients. It enhances the chocolate flavor without making it taste like coffee.
White Chocolate Ganache — Swap the dark chocolate for white chocolate. It’s sweeter and milder. Pairs well with the hazelnuts.
Single Layer Cake — Double the recipe for a 9-inch layer cake. Bake for 35-40 minutes.
Serving & Storage
How to Serve: — Slice with a sharp knife dipped in hot water for clean cuts. Serve at room temperature for the best flavor and texture.
Side Dishes: — Pair with fresh berries, whipped cream, or a scoop of vanilla ice cream. A glass of red wine or coffee goes perfectly with this cake.
Storage: — Store leftovers in an airtight container at room temperature for up to 3 days. In the fridge for up to 5 days. Let it come to room temperature before serving.
Freezing: — You can freeze the unfrosted cake layers wrapped in plastic wrap and foil for up to 3 months. Thaw overnight in the fridge before frosting.
Nutrition Information
I’m not a nutritionist, but here’s the breakdown if you’re tracking. This is a rich, indulgent cake, so enjoy in moderation.
Per Slice (1/12 of cake):
– Calories: 450
– Fat: 28g
– Carbs: 52g
– Protein: 6g
– Sugar: 35g
– Fiber: 2g
This cake is high in calories and sugar due to the chocolate, cream, and sugar. But it’s also made with real ingredients like nuts and eggs. If you’re watching your sugar, try a smaller slice or use less ganache.
Final Thoughts
So that’s my go-to chocolate hazelnut layer cake! It’s rich, it’s moist, and it’s absolutely worth the effort. I’ve made this for so many special moments, and it never fails to impress. Whether you’re a seasoned baker or a beginner, this recipe will give you confidence and delicious results.
Make it yours! Add extra nuts, swap the chocolate, or decorate it your way. The best recipes are the ones you adapt to your tastes. If you make this, drop a comment and let me know how it turned out. I love hearing from you!
Happy baking! And I hope your kitchen smells amazing.
Frequently Asked Questions
Can I use milk instead of buttermilk?
Yes! Make your own buttermilk by adding 1 tablespoon of lemon juice or vinegar to 1 cup of milk. Let it sit for 10 minutes. It will curdle slightly, which is exactly what you want.
Why did my cake sink in the middle?
This usually happens if the oven was opened too early or if the cake was underbaked. Make sure your oven is preheated and check for doneness with a toothpick. Don’t open the oven door for the first 20 minutes.
Can I make this cake ahead of time?
Absolutely. Bake the layers up to 2 days ahead and store them wrapped. Make the ganache 1 day ahead. Assemble the cake the day you plan to serve it.
Why is my ganache grainy?
This happens if the chocolate wasn’t chopped finely enough or if the cream wasn’t hot enough. Make sure the cream is simmering before pouring it over the chocolate. Stir gently until smooth.
Can I use almond flour instead of hazelnuts?
You can, but it won’t have the same flavor. Almond flour will make the cake denser. If you want a nutty flavor, try pecans or walnuts instead.
How do I store leftover cake?
Store it in an airtight container at room temperature for up to 3 days. In the fridge for up to 5 days. Let it come to room temperature before serving for the best texture.
Pin This Recipe!
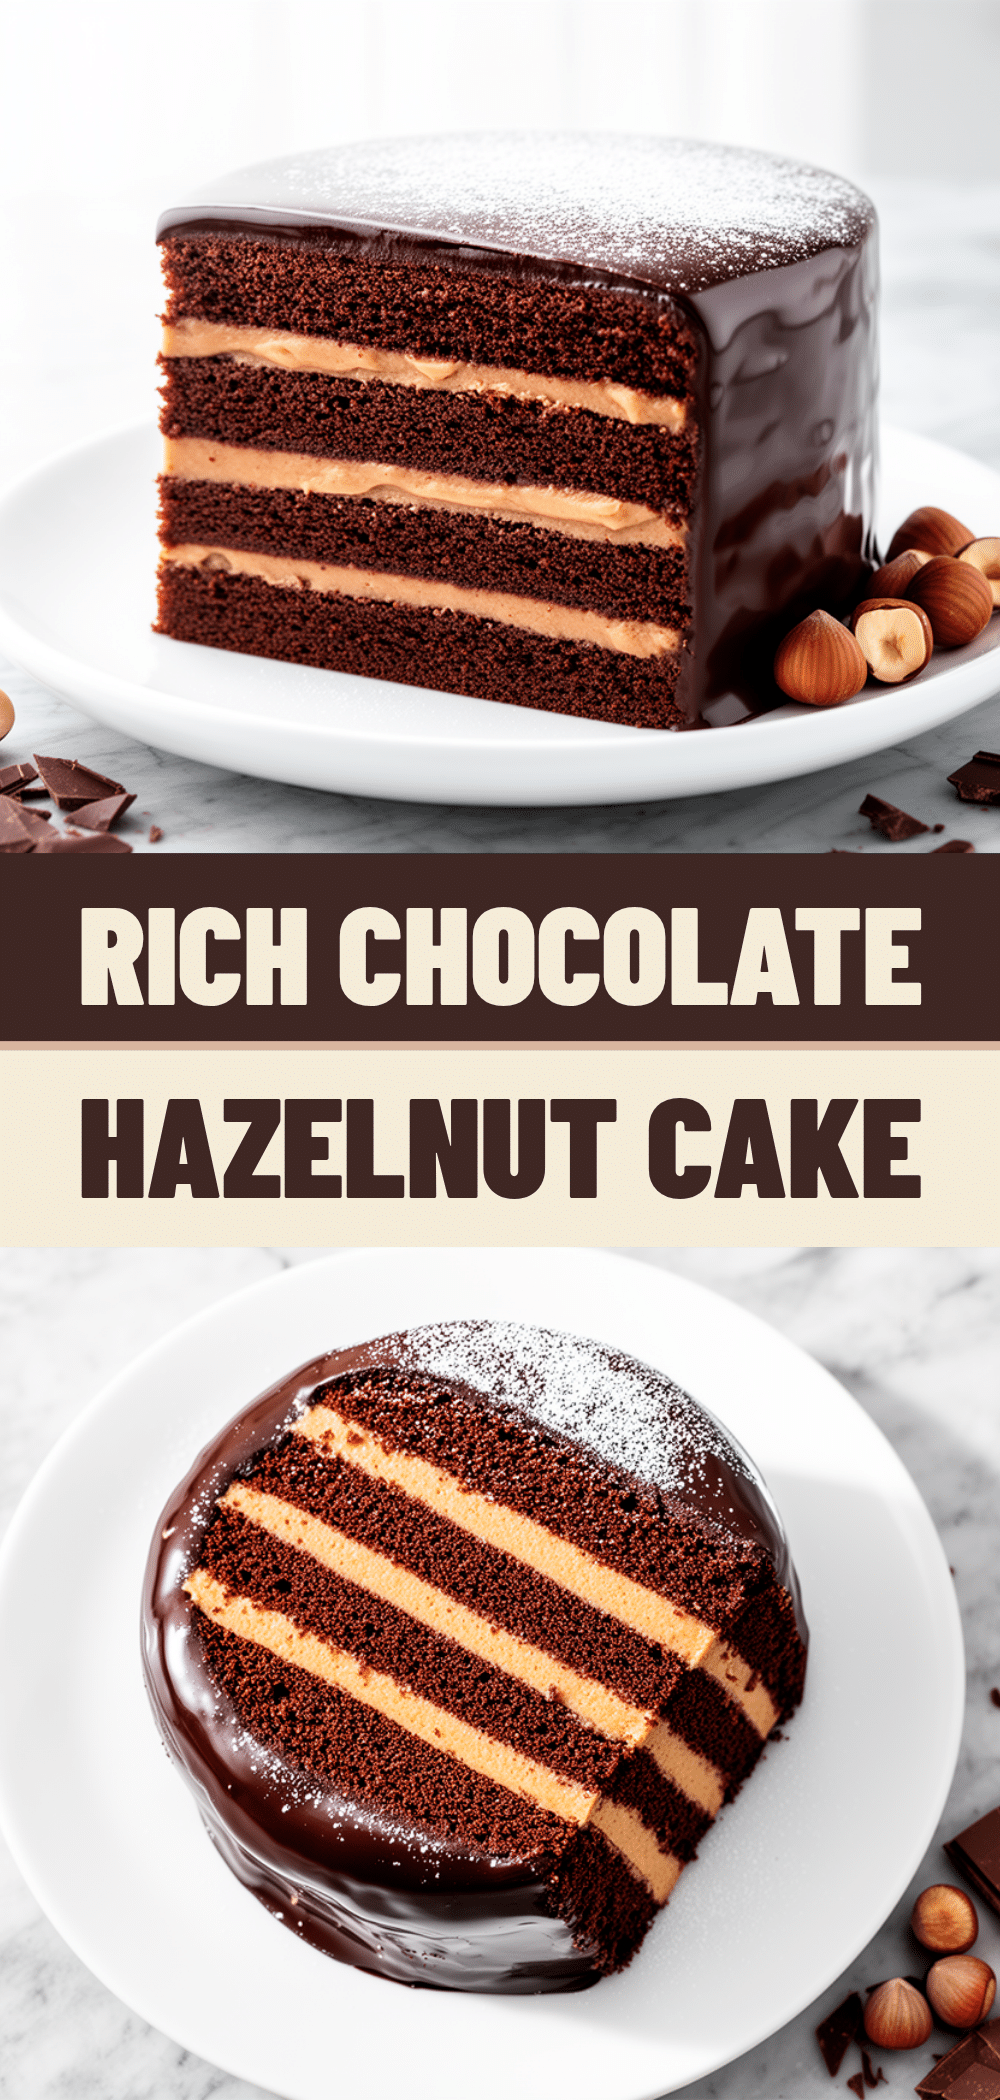
Chocolate Hazelnut Layer Cake: Easy 3-Layer Recipe
- Total Time: 1 hour 20 minutes
- Yield: 12 servings 1x
Description
A rich, moist three-layer chocolate cake featuring toasted hazelnuts and a glossy dark chocolate ganache. This reliable recipe is designed to impress at any occasion with its professional texture and deep, complex flavor.
Ingredients
- 2 ½ cups all-purpose flour
- 1 ½ cups granulated white sugar
- ¾ cup unsweetened cocoa powder (Dutch-processed preferred)
- 1 ½ tsp baking powder
- 1 ½ tsp baking soda
- 1 tsp salt
- 1 ½ cups buttermilk
- ½ cup vegetable oil
- 3 large eggs, room temperature
- 2 tsp vanilla extract
- 8 oz dark chocolate, chopped
- 1 cup heavy cream
- 1 cup roasted hazelnuts, finely chopped
- 2 tablespoons butter (optional, for ganache)
- Buttercream (optional, for layering)
- Extra toasted hazelnuts (for garnish)
Instructions
- Preheat oven to 350°F (175°C). Grease three 8-inch round cake pans and line bottoms with parchment paper. Dust sides with flour or cocoa powder.
- Toast hazelnuts in a dry skillet over medium heat for 5-7 minutes until fragrant. Rub in a towel to remove skins, then chop finely.
- In a large bowl, sift together flour, cocoa powder, baking powder, baking soda, and salt. Whisk to combine.
- In a separate bowl, whisk together buttermilk, vegetable oil, eggs, and vanilla extract until smooth.
- Add wet ingredients to dry ingredients. Mix on low until just combined, then mix on medium for 2 minutes until smooth and glossy.
- Gently fold in the chopped toasted hazelnuts.
- Divide batter evenly among the three pans. Bake for 30-35 minutes, rotating pans halfway through, until a toothpick inserted comes out clean.
- Cool cakes in pans for 10 minutes, then turn out onto a wire rack to cool completely.
- For the ganache, chop dark chocolate into small pieces. Heat heavy cream until simmering, pour over chocolate, and let sit for 5 minutes. Stir gently until smooth, then stir in butter and chopped hazelnuts. Cool for 15-20 minutes until thickened.
- Assemble the cake by placing one layer on a stand, spreading a thin layer of ganache or buttercream, adding the second layer, repeating with the third. Pour remaining ganache over the top, allowing it to drip down the sides.
- Garnish with extra toasted hazelnuts and chill for at least 30 minutes to set before slicing.
Notes
Ensure all ingredients are at room temperature for best emulsification. Do not overmix the batter to avoid a tough texture. Cool cakes completely before applying ganache to prevent melting. For a gluten-free version, substitute all-purpose flour with a 1:1 gluten-free blend.
- Prep Time: 45 minutes
- Cook Time: 35 minutes
- Category: Dessert
- Cuisine: American
Nutrition
- Serving Size: 1 slice (1/12 of cak
- Calories: 450
- Sugar: 35
- Sodium: 350
- Fat: 28
- Saturated Fat: 12
- Carbohydrates: 52
- Fiber: 2
- Protein: 6
Keywords: chocolate cake, hazelnut cake, layer cake, ganache, dessert recipe, baking, holiday party dessert, rich chocolate cake