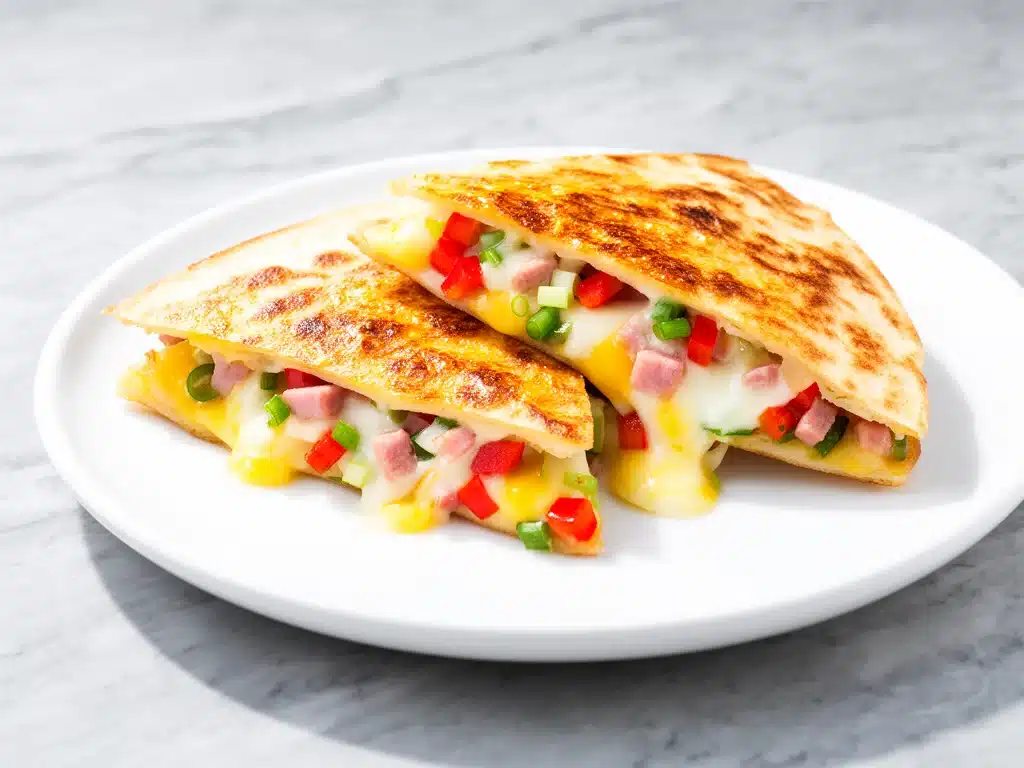
Last Tuesday, I was staring into the refrigerator at 6:45 PM, feeling that familiar, sinking dread. You know the one. It’s the look of a half-empty crisper drawer, a lonely bell pepper, and three eggs that might be past their prime. My husband had mentioned he was hungry, my kids were complaining about “boring” food, and I was absolutely not in the mood to chop vegetables for a stir-fry or manage the timing for a roast chicken.
Then I remembered the leftover ham and cheese sitting on my counter from Sunday’s brunch. I also remembered those Denver omelettes my aunt used to make—loaded with peppers, onions, and ham—that were basically comfort food in egg form. Why not combine them? Why not turn that breakfast classic into a crispy, cheesy, handheld dinner that takes less time than ordering takeout?
That’s how I discovered the Cheesy Denver Omelette Breakfast Quesadilla. It started as a desperate hack, but it quickly became our new normal. Seriously, I’ve made this for at least fifteen times in the last two months. It’s crispy on the outside, gooey on the inside, and tastes like the best diner breakfast you’ve ever had, but in a format that actually works for a busy Tuesday night.
If you’re stuck in a dinner rut or just need something fast that doesn’t feel like junk food, this is your answer. It’s essentially a ham and cheese sandwich’s cooler, more flavorful cousin. It’s 100% worth the few minutes it takes to throw together. Let me show you why this is about to become your new go-to.
Why You’ll Love This Recipe
I’m not exaggerating when I say this Cheesy Denver Omelette Breakfast Quesadilla has completely changed our weeknight dinner routine. It’s not just about speed (though that’s a huge bonus). It’s about the fact that it hits every single craving center in my brain without leaving me feeling sluggish.
Here’s why this recipe keeps coming back to the top of our list:
- Stupid Simple — Seriously, if you can scramble eggs and melt cheese, you can make this. I’ve walked my teenage son through it over FaceTime while I was at work. He nailed it on the first try.
- Lightning Fast — 15 minutes from start to finish. Maybe 20 if you’re being super careful with the cheese. I make this on weeknights when I get home at 7pm and my brain is already offline.
- Pantry & Fridge Friendly — You probably have 90% of these ingredients already. Ham, eggs, bell peppers, onions, tortillas, cheese. It’s the “clean out the fridge” meal par excellence.
- Crowd-Pleaser — I’ve served this to my vegetarian sister (without the ham), my gluten-free neighbor (with corn tortillas), and my dad who only eats “real food.” Everyone loved it. Even the picky eaters.
- Makes Amazing Leftovers — Actually tastes better the next day for lunch. I deliberately make extra for my husband’s work lunch. Reheats beautifully in a skillet.
- Budget-Smart — Feeds 4 people for under $12. That’s less than one large pizza delivery. Plus, you’re using ingredients you might already have.
This is my go-to when I need dinner to just work. No complicated techniques, no weird ingredients, just reliable, delicious food that makes everyone happy. It’s the kind of meal that makes you feel like a good cook without actually having to be one.
Ingredients You’ll Need
Here’s the best part: you probably have most of this already. I’m particular about three ingredients here, and I’ll tell you exactly why. This isn’t a complicated shopping list, just a few quality items that make a huge difference.
For the Filling:
Eggs (6 large) — I use large, pastured eggs if I can find them. They taste richer and have brighter orange yolks. But honestly, standard grocery store eggs work fine. Just make sure they’re fresh.
Ham (1 cup, diced / about 150g) — I prefer diced deli ham or leftover roast ham. Bacon works too, but ham gives that classic Denver omelette flavor. If you’re using bacon, chop it small so it distributes evenly.
Bell Peppers (1 medium, diced / about 100g) — I use a mix of red and green for color and flavor contrast. Red is sweeter, green is more bitter. Don’t skip the peppers—they add that essential crunch.
Yellow Onion (½ medium, diced / about 75g) — Sweet onions work too, but yellow gives better depth. White onions are too sharp for this. Dice them small so they cook quickly and blend in.
Shredded Mexican Cheese Blend (1 ½ cups / about 170g) — I use a pre-shredded blend of cheddar, Monterey Jack, and queso quesadilla. It melts beautifully. If you have time, shred your own from a block—it melts even better and tastes fresher.
Cheddar Cheese (½ cup, shredded / about 50g) — I add extra cheddar for that sharp, tangy flavor. It balances the mildness of the Mexican blend.
For the Assembly:
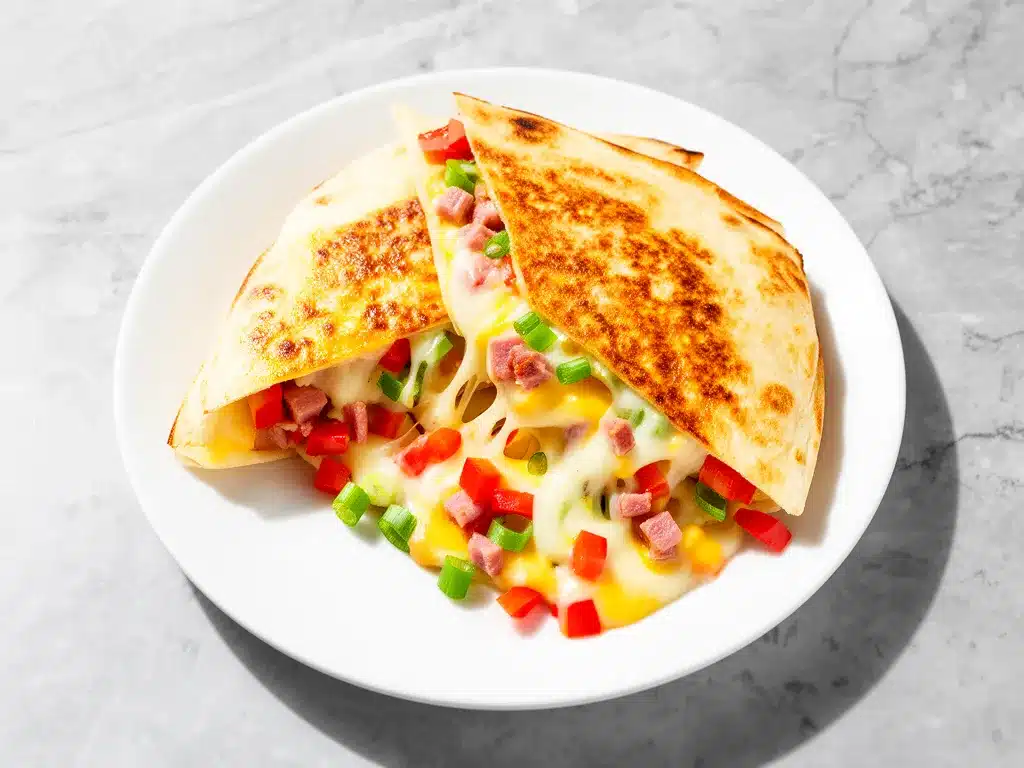
Flour Tortillas (8 large, 10-inch) — I use large flour tortillas. Corn tortillas work for gluten-free, but they’re more fragile and harder to flip. I like the chewiness of flour.
Butter (2 tablespoons) — For frying. You can use olive oil, but butter gives that rich, diner-style flavor. I use salted butter.
Salt and Pepper — To taste. I use about ½ teaspoon salt and ¼ teaspoon black pepper for the eggs.
Optional Add-ins:
- Black Beans (½ cup, drained) — Adds fiber and makes it more filling. I throw these in when I want to stretch the meal.
- Salsa (for serving) — I always serve with a side of salsa or hot sauce. It adds brightness and cuts through the richness.
- Avocado (sliced) — Great for healthy fats. I add this right before serving.
Personal Tips:
- Brand recommendations: I always use Mission flour tortillas—they’re soft, pliable, and don’t tear easily.
- Shopping shortcuts: I buy pre-shredded cheese when I’m being lazy, but fresh-shredded tastes way better. Worth the extra 2 minutes.
- Substitutions: No ham? Use cooked chicken, turkey, or even leftover steak. It’s versatile.
- Storage: Cheese keeps for months in the fridge if wrapped well. Ham lasts 5-7 days.
Common Questions:
- Can I use egg whites? Yes, but the texture will be less rich. I use whole eggs for flavor.
- Where do I find Mexican cheese blend? Almost every grocery store carries it in the dairy aisle. Look for “Mexican Blend” or “Taco Blend.”
- Can I make this ahead? You can prep the filling ahead, but assemble and cook right before serving for best texture.
Equipment Needed
You don’t need fancy equipment for this. Here’s what I actually use. Keep it simple.
10-inch Skillet — I use a stainless steel skillet. It gives me a nice crispy edge. Non-stick works too, but you won’t get that golden-brown crust. Cast iron is great if you have it.
Medium Skillet or Pan — For cooking the peppers and onions. I use a smaller pan to keep things separate.
Non-stick Spatula — For flipping the quesadillas. Silicone works too. Don’t use metal on non-stick.
Cutting Board — Any size works. I use plastic for easier cleanup.
Sharp Knife — For chopping peppers and onions. Dull knives make you cry more—learned this the hard way.
Measuring Cups and Spoons — Pretty standard stuff. Dollar store versions work fine.
Whisk or Fork — For beating the eggs. A fork works perfectly.
Optional but nice:
- Food Processor — For chopping peppers and onions quickly. Saves time if you’re making a lot.
- Cheese Grater — Box grater or microplane. Or buy pre-shredded.
Tool Tips:
- Don’t have a stainless skillet? Any big pan works—doesn’t need to be fancy. Just make sure it’s large enough for the tortilla.
- I’m obsessed with my silicone spatula—it’s flexible and won’t scratch my pans.
How to Make It: Step-by-Step
Alright, let’s make this! I’m walking you through exactly how I do it, including the little tricks I’ve picked up over time.
Step 1: Prep Your Ingredients (5 minutes)
Before you start cooking, dice your bell peppers and onions. Mince the ham if it’s not already diced. Grate your cheese if you’re doing it from scratch. Measure out your eggs. I know it seems fussy, but it makes the actual cooking way less stressful. Once you start cooking, things move fast.
Step 2: Cook the Vegetables (3-4 minutes)
Heat a medium skillet over medium heat with a little butter or oil. Add the diced peppers and onions. Cook for 3-4 minutes until they’re soft and slightly caramelized. They should be tender but not mushy. Remove from the pan and set aside. Don’t skip this—raw peppers in a quesadilla are crunchy in a bad way.
Step 3: Scramble the Eggs (2 minutes)
In a bowl, whisk the eggs with salt and pepper. Heat the same skillet over medium-low heat. Pour in the eggs. Let them sit for 30 seconds, then gently push them around with a spatula. You want soft curds, not dry scrambled eggs. They should still look slightly wet when you remove them from the heat—they’ll cook more in the quesadilla. Remove from the pan and set aside.
Step 4: Mix the Filling (1 minute)
In a large bowl, combine the cooked vegetables, scrambled eggs, diced ham, and most of the cheese (save a little for topping). Mix gently. This is your filling. Taste it—if it needs more salt, add a pinch now.
Step 5: Assemble the Quesadillas (2 minutes each)
Wipe out your skillet and heat it over medium heat with butter. Place one tortilla in the pan. Sprinkle a layer of cheese on one half. Top with the filling mixture, then add more cheese on top. Fold the tortilla over. Press down gently with your spatula.
Step 6: Cook Until Golden (3-4 minutes per side)
Cook for 2-3 minutes until the bottom is golden brown and crispy. The cheese should be melting. Flip carefully. Cook for another 2-3 minutes until the other side is golden and the cheese is fully melted. If the cheese isn’t melting, lower the heat and cover the pan for a minute to trap the heat.
Step 7: Serve
Remove from the pan and let it rest for 1 minute (so the cheese sets slightly). Cut into wedges. Serve immediately with salsa, sour cream, or guacamole. Enjoy!
Total Time: About 15-20 minutes (5 minutes active prep, 10-15 minutes cooking)
Built-in Troubleshooting:
- Quesadilla burning? Heat was too high. Lower to medium-low. Cheese needs time to melt.
- Filling falling out? You didn’t use enough cheese as “glue.” Add more cheese on both sides of the filling.
- Eggs too dry? You overcooked them. Remove from heat when they’re still slightly wet.
Expert Tips & Tricks
Here’s everything I’ve learned from making this dozens of times. These tips will save you from my mistakes.
The Game-Changers:
Don’t Overcook the Eggs
This is the #1 tip. Wet eggs in a quesadilla steam the tortilla from the inside, making it soggy. Cook them until just set, then remove. They’ll finish cooking in the quesadilla.
Use Cheese as Glue
Layer cheese on the tortilla, then filling, then more cheese. This seals the edges and keeps the filling inside. I’ve had fillings fall out before, and it’s a mess. Don’t let that happen to you.
Medium-Low Heat
High heat burns the tortilla before the cheese melts. Patience is key. Cook slowly for the best results. I learned this the hard way with a burnt, raw-cheese disaster.
Pre-Cook Vegetables
Raw veggies release water and make the quesadilla soggy. Always cook them first until tender. It’s worth the extra 3 minutes.
Rest Before Cutting
Let the quesadilla rest for 1 minute after cooking. This lets the cheese set so it doesn’t ooze out when you cut it.
Common Mistakes (and how to avoid them):
Mistake: Soggy tortilla
Fix: Don’t overfill. Use less filling, more cheese. Pre-cook veggies. Cook on medium-low heat.
Mistake: Cheese not melting
Fix: Lower heat. Cover the pan for a minute. Use a blend that melts well.
Mistake: Filling falling out
Fix: Use more cheese as glue. Press down gently while cooking.
Pro Tricks I’ve Learned:
For Restaurant-Quality Finish
Brush the outside of the tortilla with a little butter before cooking. Makes it golden and crispy.
For Extra Flavor
Add a pinch of cumin or chili powder to the egg mixture. It adds depth.
For Better Texture
Shred your own cheese. Pre-shredded has anti-caking agents that can make the sauce grainy.
Make-Ahead Strategy
Prep the filling ahead and store in the fridge for up to 2 days. Cook fresh when ready.
Variations & Substitutions
Once you’ve nailed the basic version, here’s how you can mix it up. I’ve tried all of these.
Tested Variations:
Turkey Denver Version
Swap ham for diced turkey. Add a little hot sauce to the eggs. My husband prefers this when he’s watching his sodium.
Vegetarian Powerhouse
Skip the ham. Add black beans and corn to the filling. I throw in a handful of spinach at the end. This is how I get my kids to eat vegetables.
Spicy Jalapeño
Add diced jalapeños to the vegetable mix. Use pepper jack cheese. Totally different vibe—spicy and bold.
Lighter Version
Use egg whites and reduced-fat cheese. It’s thinner but still good. I make this when I’m trying to be “healthy.”
Bacon Lover’s
Swap ham for crispy bacon bits. Cook the bacon first, crumble, and add to the filling. My kids go crazy for this.
Mushroom Medley
Sauté mushrooms with the onions. Cook until golden brown. Adds earthiness and makes it feel fancier.
Dietary Modifications:
Gluten-Free
Use corn tortillas. Everything else is naturally gluten-free. I’ve used Mission corn tortillas and they work great.
Dairy-Free
Replace cheese with dairy-free shreds. Use olive oil instead of butter. It’s different but still tasty. My lactose-intolerant friend requests this version.
Lower-Carb
Use large lettuce leaves instead of tortillas. Wrap the filling in lettuce. I won’t lie—it’s not the same, but it works if you’re watching carbs.
Different Proteins:
- Chicken (diced cooked chicken)
- Steak (leftover steak, diced)
- Salami (thinly sliced)
- White beans (vegetarian protein, add 1 can drained)
Serving & Storage
How to Serve:
I usually serve this straight from the skillet at the dinner table—it looks rustic and stays warm. But here are other ways I’ve enjoyed it:
Side Dishes:
- Simple green salad with vinaigrette
- Roasted sweet potato wedges
- Black beans and rice
- Avocado slices
Toppings Bar:
When I have guests, I put out: salsa, sour cream, guacamole, hot sauce, extra cheese. Everyone customizes their bowl.
Storage Instructions:
Refrigerator:
Store in an airtight container for up to 3 days. The tortilla will soften in the fridge—totally normal.
Reheating:
Best method: Add to a skillet over medium heat. Cook until crispy and heated through.
Microwave method: Heat in 30-second intervals. It will get chewy, not crispy.
Never works: Trying to reheat in the microwave without a splash of water. It gets rubbery.
Freezing:
Honestly, this doesn’t freeze well because of the eggs. The texture changes when thawed. Make it fresh or store in the fridge for up to 3 days.
Meal Prep:
Prep the filling on Sunday, store in the fridge. Cook quesadillas fresh each night. Takes 10 minutes and tastes way better than fully reheated.
Pro tip: If leftovers are drying out, reheat in a skillet with a little butter. Brings back that crispy texture.
Nutrition Information
I’m not a nutritionist, but here’s the breakdown if you’re tracking.
Per Serving (based on 4 servings):
- Calories: 450
- Protein: 22g
- Carbs: 38g
- Fiber: 3g
- Sugar: 4g
- Fat: 24g
- Saturated Fat: 10g
- Cholesterol: 280mg
- Sodium: 680mg
- Calcium: 300mg
What’s Good:
- Decent protein from eggs and cheese
- Calcium from the cheese
- Can add vegetables to boost nutrition
- More filling than it looks
What to Know:
- Higher in calories from cheese and tortillas
- Contains dairy and gluten
- Moderate sodium (use low-sodium ham to reduce)
My Take:
“Look, this is comfort food with cheese and eggs. It’s not a diet recipe. But it’s way better than takeout, costs less, and I know exactly what’s in it. When I want to make it lighter, I use egg whites and less cheese. But usually? I just eat a reasonable portion and enjoy it.”
Dietary Notes:
- Contains: gluten, dairy, eggs
- Can be made: gluten-free, vegetarian
- Not suitable for: vegan (without modifications), dairy-free (without modifications)
Final Thoughts
So that’s my go-to Cheesy Denver Omelette Breakfast Quesadilla! I’ve probably talked your ear off at this point, but when you make a recipe this often, you have a lot to say about it.
This has saved weeknight dinners more times than I can count. It’s my answer to “what’s for dinner” when I’m tired, don’t want takeout, and still want something that tastes really good. My kids are happy, my husband’s happy, and I’m happy because I’m not stressed about cooking.
Make it yours! Try different add-ins, swap in your favorite vegetables, adjust the spice level. The best recipes are the ones you adapt to your family’s tastes. And if you want something even faster for lunch, check out these banana oat breakfast cookies—they’re perfect for meal prep.
If you make this, drop a comment and let me know what you think! I love hearing how recipes turn out in your kitchen. And if something doesn’t work, tell me that too—I’m here to help troubleshoot.
Happy cooking! And I hope your kitchen smells half as good as mine does right now.
Frequently Asked Questions
Can I use corn tortillas?
You can, but they’re more fragile and harder to flip. I recommend flour tortillas for beginners. If you use corn, heat them first in the microwave for 10 seconds to make them pliable. They work, but require more care.
Why did my quesadilla fall apart?
Usually means you didn’t use enough cheese as glue, or you flipped it too early. Let the cheese melt and the tortilla crisp up before flipping. Press down gently with your spatula to seal the edges.
Can I make this ahead for a dinner party?
Sort of. Prep the filling up to 2 days ahead and store in the fridge. Cook the quesadillas fresh right before serving (takes 10 minutes). It won’t be quite as good as fresh, but it’s close and saves you stress during the party. I do this all the time.
Why did my eggs turn out dry?
You overcooked them. Eggs continue to cook after you remove them from the heat. Remove them when they’re still slightly wet. They’ll finish cooking in the quesadilla.
Can I use jarred peppers?
You can, but fresh tastes so much better. Jarred peppers are softer and can make the quesadilla soggy. If you must use them, drain them well and pat dry with a paper towel. But honestly, fresh peppers take 5 minutes to chop.
How do I reheat leftovers without it getting soggy?
Add to a skillet over medium heat. Cook until crispy and heated through. Microwave sort of works but tends to make it chewy. If you do microwave, add a splash of water and heat in short bursts.
Can I double this recipe?
Absolutely! Double everything and use your biggest skillet. The cooking times stay the same. I do this when I’m meal-prepping or feeding a crowd. Just make sure your pan is big enough for the tortilla—you might need to cook in batches.
Pin This Recipe!
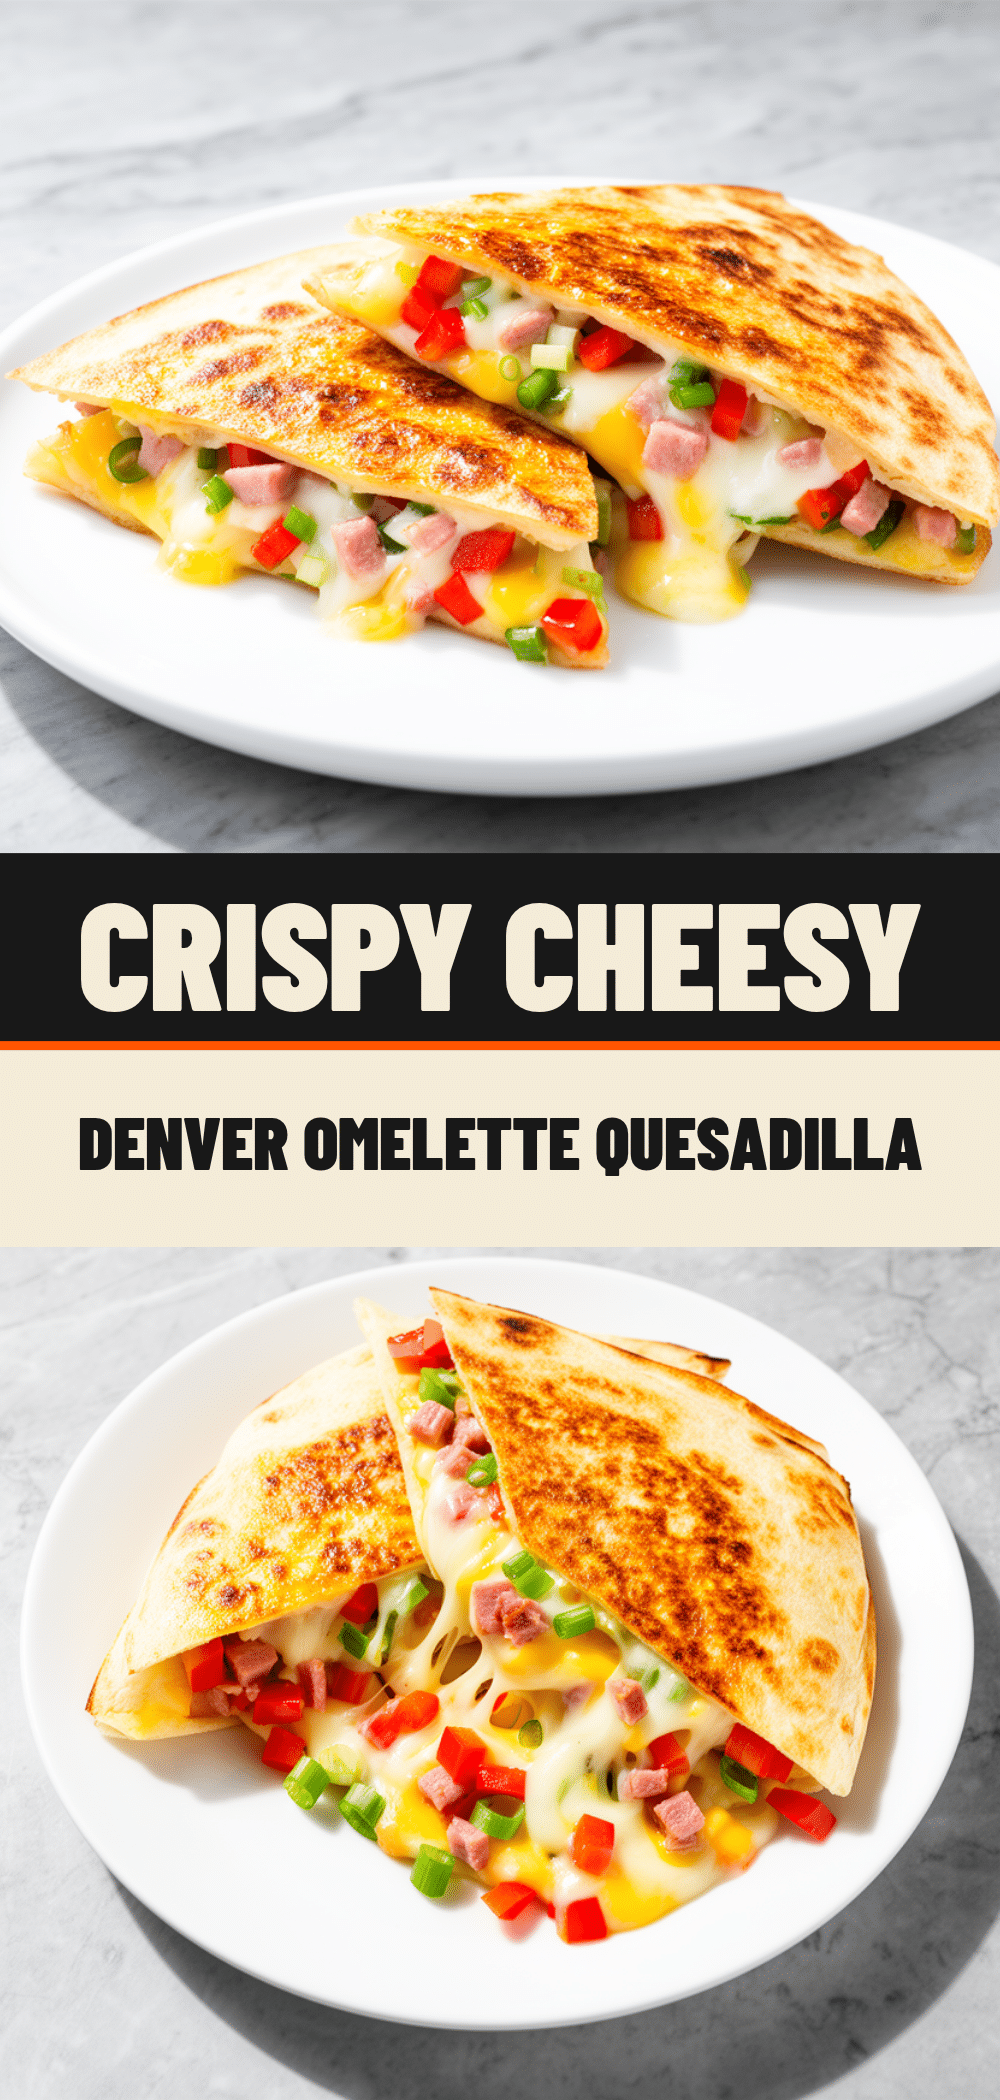

Cheesy Denver Omelette Breakfast Quesadilla
- Total Time: 15-20 minutes
- Yield: 4 servings 1x
Description
A crispy, cheesy, and handheld dinner that combines the flavors of a classic Denver omelette with a quesadilla. Ready in just 15 minutes, this recipe is perfect for busy weeknights and uses simple pantry ingredients.
Ingredients
- 6 large eggs
- 1 cup diced ham (about 150g)
- 1 medium bell pepper, diced (about 100g)
- 1/2 medium yellow onion, diced (about 75g)
- 1 1/2 cups shredded Mexican cheese blend (about 170g)
- 1/2 cup shredded cheddar cheese (about 50g)
- 8 large flour tortillas (10-inch)
- 2 tablespoons butter
- 1/2 teaspoon salt
- 1/4 teaspoon black pepper
- Optional: 1/2 cup black beans, drained
- Optional: Salsa for serving
- Optional: Sliced avocado
Instructions
- Dice the bell peppers and onions. Mince the ham if not already diced. Grate cheese if using blocks. Whisk eggs with salt and pepper.
- Heat a medium skillet over medium heat with a little butter or oil. Add diced peppers and onions; cook for 3-4 minutes until soft and slightly caramelized. Remove and set aside.
- In the same skillet over medium-low heat, pour in the whisked eggs. Let sit for 30 seconds, then gently push around with a spatula until soft curds form and slightly wet. Remove and set aside.
- In a large bowl, combine the cooked vegetables, scrambled eggs, diced ham, and most of the cheese (reserve some for topping). Mix gently.
- Wipe out the skillet and heat over medium heat with butter. Place one tortilla in the pan. Sprinkle a layer of cheese on one half, top with the filling mixture, then add more cheese on top. Fold the tortilla over and press gently.
- Cook for 2-3 minutes until the bottom is golden brown and crispy. Flip carefully and cook for another 2-3 minutes until the other side is golden and cheese is fully melted. If needed, lower heat and cover for a minute to melt cheese.
- Remove from pan and let rest for 1 minute to allow cheese to set. Cut into wedges and serve immediately with salsa, sour cream, or guacamole.
Notes
Do not overcook the eggs; they should be slightly wet when removed from heat as they will continue cooking in the quesadilla. Use cheese as ‘glue’ by layering it on the tortilla, then filling, then more cheese to prevent falling apart. Cook on medium-low heat to ensure cheese melts before tortilla burns. Pre-cook vegetables to prevent sogginess. Let quesadillas rest for 1 minute before cutting.
- Prep Time: 5 minutes
- Cook Time: 10-15 minutes
- Category: Main Course
- Cuisine: Mexican-American
Nutrition
- Serving Size: 1 quesadilla (1 tort
- Calories: 450
- Sugar: 4
- Sodium: 680
- Fat: 24
- Saturated Fat: 10
- Carbohydrates: 38
- Fiber: 3
- Protein: 22
Keywords: quesadilla, breakfast dinner, quick meals, weeknight dinner, ham and cheese, Denver omelette, easy recipes, family friendly