I still remember the exact moment I realized I had finally cracked the code on the perfect summer dessert. It was three years ago, in the height of a July heatwave that made the air shimmer off the driveway. My neighbors had just shown up unannounced with their three kids, all of whom were melting into the porch steps. I had nothing in the freezer but some sad, icy popsicles and a tub of vanilla ice cream that had been there since June. It was gritty. It was sad. And my neighbors knew it.
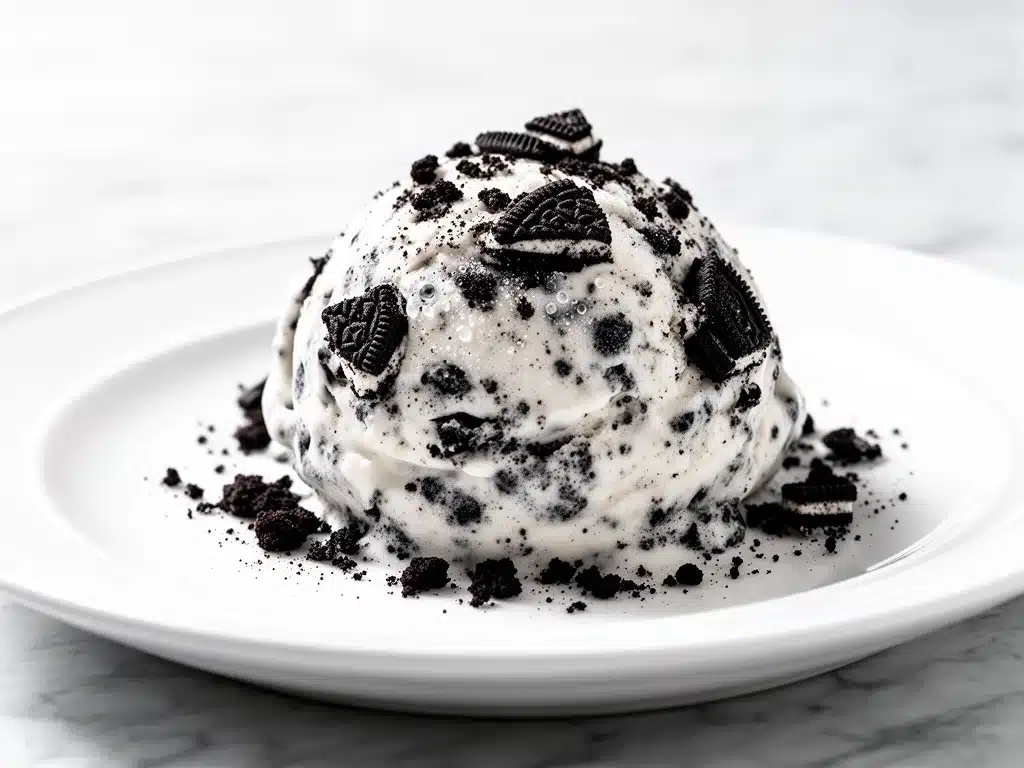
I ran to the store, grabbed a handful of ingredients, and threw together what I thought was a desperate, last-minute fix. I didn’t have an ice cream maker. I didn’t have time to churn. I just had a blender, some heavy cream, sweetened condensed milk, and a bag of Oreos. Twenty minutes later, I handed out bowls of something that wasn’t just good—it was incredible. Creamy, rich, with those perfect crunchy cookie chunks that made everyone stop talking and just eat. That was the day the No-Churn Cookies and Cream Ice Cream was born. It wasn’t planned. It was a survival tactic that turned into the most requested recipe in my house.
Since then, I’ve made this dessert at least fifty times. I’ve served it to food critics who swore they could tell the difference between churned and no-churn (they couldn’t). I’ve fed it to toddlers who usually reject anything “fancy,” and to picky eaters who thought ice cream was just “vanilla or nothing.” It works. Every single time. And the best part? You don’t need any fancy equipment. If you have a whisk and a freezer, you can make this. Seriously. It’s that simple.
Why You’ll Love This No-Churn Cookies and Cream Ice Cream
There are a lot of reasons I keep coming back to this recipe, but let’s be real—the main reason is that it takes the stress out of summer entertaining. Here’s why this 3-ingredient easy dessert has completely replaced my store-bought habits:
- Zero Equipment Required — I still have my old ice cream maker from 2015, and it sits in a cupboard gathering dust. This recipe uses a standard loaf pan and a whisk. If you can whisk cream, you can make this. I’ve made it while watching TV, while on the phone, and while my kids were screaming. It just works.
- Restaurant-Quality Texture — People always ask, “Is this actually churned?” The answer is yes, technically. The whipped cream folds in air, which creates that light, fluffy texture you usually only get with a machine. It’s not icy. It’s not dense. It’s smooth, creamy, and melts in your mouth.
- Three Ingredients, Maximum Impact — You probably already have two of these in your pantry. Heavy cream, condensed milk, and cookies. That’s it. No gelatin, no stabilizers, no weird chemicals. Just pure, indulgent flavor. It’s cleaner than store-bought stuff, too.
- Make-Ahead Magic — This is the ultimate party saver. You make it the night before (or even the morning of), and it’s ready when your guests arrive. No last-minute scrambling. No churning at 6 PM before people get here. You are the hero of the party without lifting a finger during the event.
- Customizable Forever — While Oreos are the classic choice, this base is a blank canvas. I’ve made it with chocolate chip cookies, ginger snaps, and even brownie pieces. It’s versatile enough to fit any theme or taste.
Real talk: this is my go-to when I want to impress people without spending hours in the kitchen. It’s reliable, it’s delicious, and it makes everyone feel like they’re getting a special treat.
Ingredients You’ll Need
Here’s the best part: the ingredient list is shorter than most coffee orders. I’m not exaggerating when I say this is a true 3-ingredient dessert (well, technically 4 if you count the vanilla, but you can skip that). I’m particular about quality here, though. Since there are only three main components, they need to be good.
For the Base
Heavy Whipping Cream (2 cups / 480ml) — This is non-negotiable. You need heavy cream with at least 35% fat content. Light cream or half-and-half will not whip. It won’t hold air, and your ice cream will be a brick. Keep it cold! Cold cream whips better and faster. I take it out of the fridge right before I start.
Sweetened Condensed Milk (1 can / 14oz or 397g) — This is the magic binder. It adds sweetness, creaminess, and prevents ice crystals from forming. Don’t confuse this with evaporated milk—they are totally different. Condensed milk is thick, sugary, and syrupy. Look for the can with the red label usually. I buy it in bulk when it’s on sale.
Vanilla Extract (1 teaspoon / 5ml) — Optional, but I highly recommend it. It rounds out the flavor and makes it taste more like a professional vanilla ice cream. Use real vanilla, not imitation. I know it’s expensive, but you only need a teaspoon.
For the “Cookies and Cream” Part
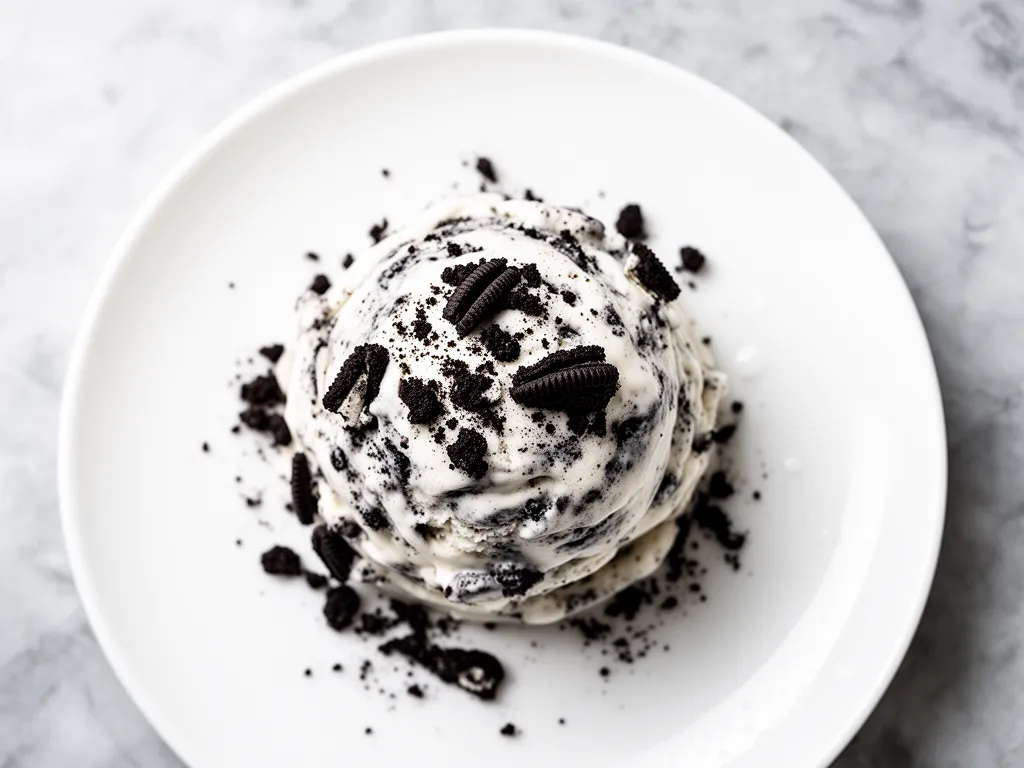
Oreo Cookies (1 package / 14.3oz or about 36 cookies) — The standard double-stuff Oreos are the classic choice. They have the perfect ratio of cookie to cream filling. If you want a more intense cookie flavor, use the “Mega Stuf” or even add some extra crushed cookies. Just don’t go too crazy, or you’ll lose that creamy texture.
Optional Add-ins:
- White Chocolate Chips (½ cup) — For extra sweetness and crunch.
- Crushed Nuts (½ cup) — Pecans or walnuts add a nice contrast if you like nutty flavors.
- Chocolate Syrup Drizzle — Swirled on top for a fancy finish.
Pro Tip: If you’re using gluten-free Oreos or another brand, just make sure they crush well. Some gluten-free cookies are more crumbly and might turn into dust rather than chunks. Test a few first!
Equipment Needed
You don’t need a fancy kitchen for this. Here’s what I actually use:
Stand Mixer or Hand Mixer — This is the most important tool. You need something that can whip cream to stiff peaks efficiently. A hand mixer works fine, but it takes about 5-7 minutes. A stand mixer with the whisk attachment takes about 3-4 minutes. I use my KitchenAid, but any mixer will do.
Large Mixing Bowl — If you’re using a hand mixer, you’ll need a large, deep bowl so the cream doesn’t splash everywhere. Stainless steel or glass is best. Plastic works too.
8×4 Loaf Pan — This is the perfect size for this amount of ice cream. It freezes evenly and is easy to remove. Line it with parchment paper for easy removal later.
Whisk or Rubber Spatula — For gently folding the cookies into the cream. You want to keep the air in the mixture, so be gentle.
Food Processor or Ziploc Bag — To crush the cookies. A food processor gives you the best chunks, but a Ziploc bag and a rolling pin works if you’re feeling rustic.
Parchment Paper — Lining the pan is crucial. It prevents the ice cream from sticking and makes it easy to lift out once frozen.
How to Make It: Step-by-Step
Alright, let’s make this! I’m walking you through exactly how I do it, including the little tricks I’ve picked up over the years.
Step 1: Prep Your Pan and Cookies (5 minutes)
Line an 8×4 loaf pan with parchment paper, leaving an overhang on the long sides. This acts as a handle later. Crush your Oreos. I like a mix of small chunks and larger pieces. If you use a food processor, pulse it a few times—don’t turn it into powder. If you’re using a bag, crush them with a rolling pin until you get the texture you want. Set aside.
Step 2: Whip the Cream (3-5 minutes)
In a large, cold bowl, whip the heavy cream on medium-high speed. Start slow, then increase the speed. Whip until you see stiff peaks. This means when you lift the whisk, the cream stands up straight and doesn’t droop. It should look like fluffy marshmallow fluff. Don’t over-whip, or it’ll turn into butter. Watch closely near the end.
Step 3: Mix the Sweetened Condensed Milk (1 minute)
Open the can of sweetened condensed milk. Stir it well—it can separate slightly. If you’re using vanilla extract, add it now. Mix it in. It should be smooth and uniform.
Step 4: Fold It Together (2 minutes)
Gently fold the sweetened condensed milk into the whipped cream. Use a rubber spatula. Cut down the middle, scrape the bottom, and fold over. Rotate the bowl and repeat. You’re looking for a uniform, creamy mixture. Don’t stir vigorously—you want to keep all that air you whipped in. It should look like a thick, airy mousse.
Step 5: Add the Cookies (1 minute)
Gently fold in the crushed Oreos. Reserve about ¼ cup of the cookies to sprinkle on top later. Fold just until the cookies are distributed. Again, be gentle. You want big chunks, not a uniform grey mix.
Step 6: Freeze (6 hours or overnight)
Pour the mixture into the prepared loaf pan. Smooth the top with a spatula. Sprinkle the reserved cookies on top for decoration. Cover tightly with plastic wrap or aluminum foil. Freeze for at least 6 hours, but overnight is best. This ensures it’s frozen solid and creamy throughout.
Step 7: Serve
When you’re ready to serve, lift the ice cream out of the pan using the parchment paper. Let it sit at room temperature for 5-10 minutes to soften slightly—it’s easier to scoop. Scoop into bowls or cones. Add whipped cream, chocolate syrup, or extra cookie crumbs if you’re feeling fancy.
Total Time: About 15 minutes active, plus 6+ hours freezing.
Expert Tips & Tricks
Here’s everything I’ve learned from making this dozens of times. These tips will save you from my mistakes.
Keep Everything Cold
This is the #1 tip. Cold cream whips better. If your bowl or beaters are warm, the cream won’t whip properly. I keep my bowl in the fridge for 30 minutes before starting. If you’re in a rush, put it in the freezer for 10 minutes. Cold tools = stiff peaks = creamy ice cream.
Don’t Skimp on the Cream
I know it’s tempting to use lighter cream to save calories, but it just doesn’t work. The fat content is what creates the structure. If you use light cream, you’ll end up with a frozen block of sweet milk. Trust the fat.
Fold, Don’t Stir
When combining the cream and condensed milk, use a folding motion. Stirring knocks out the air, which makes the ice cream dense and icy. Folding keeps it light and fluffy. It’s a small motion, but it makes a huge difference.
Cookie Choice Matters
Standard Oreos are best because they have a high cream-to-cookie ratio. If you use thin mints or double-stuff, adjust the amount. Too many cookies can make the ice cream crumbly. Too few, and it’s just sweet ice cream. Aim for a 50/50 mix of cream and cookie chunks in every bite.
Storage Hack
If you don’t have an 8×4 loaf pan, a 9×9 square pan works too. Just double the recipe or freeze for a shorter time. The ice cream will be thinner, but still delicious.
Variations & Substitutions
Once you’ve nailed the basic version, here’s how you can mix it up. I’ve tried all of these.
Chocolate Chip Cookie Dough
Instead of Oreos, use chopped chocolate chip cookies. Add a handful of mini chocolate chips for extra gooeyness. It’s like eating cookie dough ice cream without the raw eggs.
Mint Chip
Use peppermint Oreos or add 1 teaspoon of peppermint extract to the cream. Fold in dark chocolate chips instead of cookies. Refreshing and rich.
Red Velvet
Use red velvet Oreos. The cream filling adds a nice tang. You can also add a few drops of red food coloring to the condensed milk for a pink swirl.
Vegan Version
Use coconut cream (chilled) instead of heavy cream. Use vegan condensed milk (available online or make your own with coconut milk and sugar). Use vegan cookies like Oreos (which are already vegan in many regions). It’s surprisingly creamy!
Gluten-Free
Use gluten-free cookies. Many brands make Oreo-style cookies that crush well. Just check the label.
Serving & Storage
How to Serve
I usually serve this straight from the loaf pan at the dinner table—it looks rustic and homemade. But here are other ways I’ve enjoyed it:
- Waffle Cones — Warm waffle cones are the perfect vessel.
- Blender Milkshakes — Blend a scoop of this ice cream with a splash of milk for a thick milkshake.
- Sundae Bar — Set out toppings like hot fudge, whipped cream, cherries, and sprinkles. Let everyone build their own.
Storage Instructions
Refrigerator: No, don’t store it in the fridge. It will melt. Store it in the freezer.
Freezer: Keep it in the loaf pan, covered tightly with plastic wrap and foil. It will last for up to 2 weeks. After that, it might get freezer-burned. If you’re not serving it all, scoop it into an airtight container for easier serving later.
Reheating: Don’t reheat it! Just let it sit out for 5-10 minutes before scooping. If it’s too hard to scoop, let it sit longer.
Pro Tip:
If you’re making this for a party, make it the night before. It needs time to set. If you make it in the morning, it’s ready by dinner. Perfect timing.
Nutrition Information
I’m not a nutritionist, but here’s the breakdown if you’re tracking. This is a rich, indulgent dessert, so portion control is key.
Per Serving (based on 8 servings):
- Calories: 320
- Protein: 4g
- Carbs: 35g
- Fiber: 1g
- Sugar: 32g
- Fat: 18g
- Saturated Fat: 11g
- Sodium: 280mg
What’s Good:
- Simple ingredients, no artificial additives.
- Easy to customize for dietary needs (vegan, GF).
What to Know:
- High in sugar and saturated fat due to condensed milk and cookies.
- Contains dairy and gluten (unless substituted).
My Take:
Look, this is ice cream. It’s supposed to be a treat. It’s not a salad. But it’s way better than store-bought stuff because you know exactly what’s in it. When I make it for the kids, I use less sugar by using less condensed milk, but it’s still sweet. Enjoy it in moderation!
Final Thoughts
So that’s my No-Churn Cookies and Cream Ice Cream! I’ve probably talked your ear off at this point, but when you make a recipe this often, you have a lot to say about it. This has saved summer evenings more times than I can count. It’s my answer to “what’s for dessert” when I want something special but don’t want to bake a cake or make a complicated pie. My kids are happy, my husband’s happy, and I’m happy because I’m not stressed about cooking.
Make it yours! Try different cookies, add different mix-ins, or just enjoy the classic. The best recipes are the ones you adapt to your family’s tastes. If you make this, drop a comment and let me know what you think! I love hearing how recipes turn out in your kitchen. And if something doesn’t work, tell me that too—I’m here to help troubleshoot.
Happy cooking! And I hope your kitchen smells half as good as mine does right now.
Frequently Asked Questions
Can I use light cream instead of heavy cream?
No, you can’t. Light cream doesn’t have enough fat to whip into stiff peaks. If you use it, your ice cream will be icy and dense. You need heavy cream with at least 35% fat content. It’s worth the extra cost for the texture.
Why is my ice cream icy?
This usually happens if you didn’t whip the cream enough, or if you stirred too vigorously and knocked out the air. Air is what makes no-churn ice cream light. Also, make sure your pan is well-sealed to prevent freezer burn.
Can I make this ahead for a dinner party?
Yes! In fact, it’s better if you make it ahead. It needs at least 6 hours to set, but overnight is best. You can make it 2-3 days in advance. Just keep it covered tightly in the freezer.
Can I use a different type of cookie?
Absolutely! Chocolate chip cookies, ginger snaps, graham crackers, or even brownie pieces all work great. Just make sure they crush well and aren’t too hard. Soft cookies like snickerdoodles work too, but they might get mushy.
How long does this ice cream last?
It lasts for up to 2 weeks in the freezer. After that, it might develop freezer burn or lose its creamy texture. If you’re not serving it all, scoop it into an airtight container for easier serving.
Can I make this vegan?
Yes! Use coconut cream (chilled) instead of heavy cream. Use vegan condensed milk (coconut milk + sugar). Use vegan cookies like Oreos. It’s surprisingly creamy and delicious.
Why did my cream not whip?
Usually, the cream wasn’t cold enough, or the bowl/beaters were warm. Make sure everything is chilled before you start. Also, check that your cream hasn’t expired. Old cream doesn’t whip as well.
Pin This Recipe!
No-Churn Cookies and Cream Ice Cream: 3-Ingredient Easy Dessert
- Total Time: 6 hours 15 minutes
- Yield: 8 servings 1x
Description
A simple, creamy, and rich no-churn ice cream made with just heavy cream, sweetened condensed milk, and Oreos. This dessert requires no ice cream maker and delivers restaurant-quality texture with minimal effort.
Ingredients
- 2 cups heavy whipping cream (cold)
- 1 can (14oz) sweetened condensed milk
- 1 teaspoon vanilla extract (optional)
- 1 package (14.3oz) Oreo cookies, crushed
- Optional: ½ cup white chocolate chips, ½ cup crushed nuts, or chocolate syrup drizzle
Instructions
- Line an 8×4 loaf pan with parchment paper, leaving an overhang on the long sides for easy removal.
- Crush the Oreo cookies into a mix of small chunks and larger pieces using a food processor or a Ziploc bag with a rolling pin. Set aside, reserving about ¼ cup for topping.
- In a large, cold mixing bowl, whip the heavy cream on medium-high speed until stiff peaks form. Be careful not to over-whip.
- Stir the sweetened condensed milk well to ensure it is smooth. If using, mix in the vanilla extract.
- Gently fold the sweetened condensed milk into the whipped cream using a rubber spatula until uniform. Avoid vigorous stirring to maintain airiness.
- Gently fold in the crushed Oreos until just combined.
- Pour the mixture into the prepared loaf pan and smooth the top. Sprinkle the reserved cookies on top.
- Cover tightly with plastic wrap or aluminum foil and freeze for at least 6 hours, or overnight, until solid.
- To serve, lift the ice cream out of the pan using the parchment paper. Let it sit at room temperature for 5-10 minutes to soften slightly before scooping.
Notes
Keep all equipment and ingredients cold for best whipping results. Do not use light cream or half-and-half as they will not whip properly. For a vegan version, substitute heavy cream with chilled coconut cream and condensed milk with vegan condensed milk. Use gluten-free cookies if needed.
- Prep Time: 15 minutes
- Cook Time: 0 minutes
- Category: Dessert
- Cuisine: American
Nutrition
- Serving Size: 1 scoop
- Calories: 320
- Sugar: 32
- Sodium: 280
- Fat: 18
- Saturated Fat: 11
- Carbohydrates: 35
- Fiber: 1
- Protein: 4
Keywords: no-churn ice cream, cookies and cream, easy dessert, 3 ingredient dessert, summer dessert, ice cream without machine, Oreo ice cream