I remember the first time I tried to make donuts at home. It was a rainy October afternoon, and I was determined to recreate that specific, sugary magic of a county fair. I spent three hours frying batter in a pot of oil, dealing with splatter burns and unevenly cooked centers. The result? A greasy, dense mess that tasted more like disappointment than delight. I was ready to give up on homemade donuts entirely and just buy the powdered ones from the gas station.
Then, I discovered the hack that changed everything: baking bars instead of frying rings.
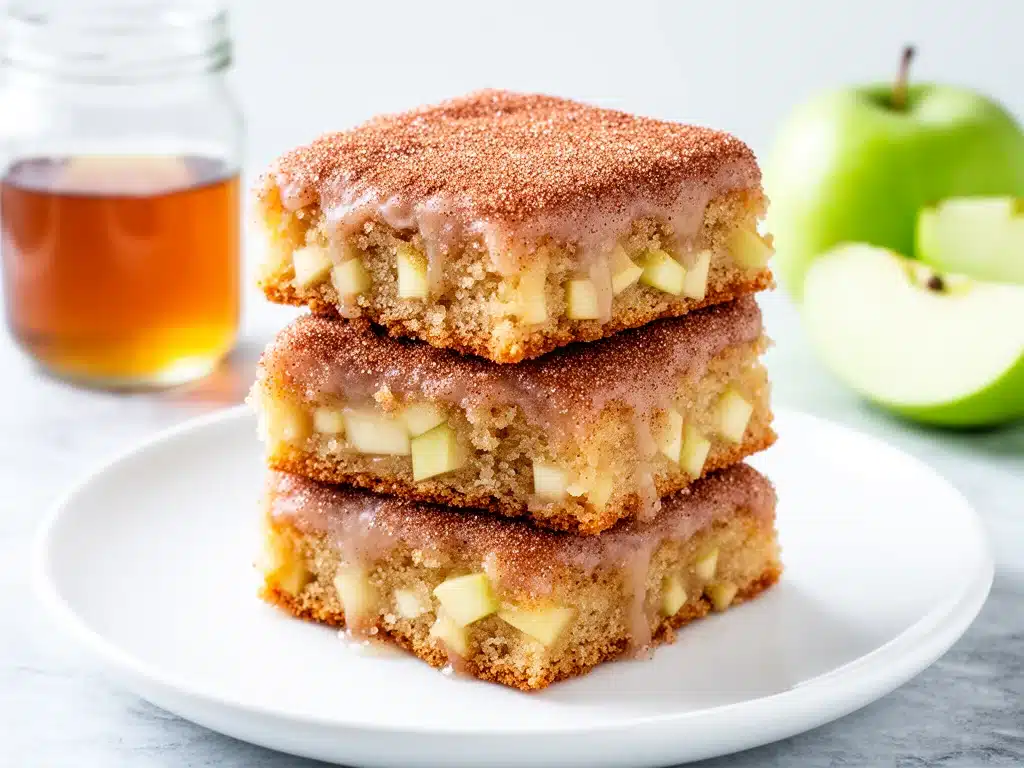
That mistake led me to these cinnamon apple cider donut bars. They are the best of both worlds—the nostalgic, spiced flavor of a classic cider donut without the deep-frying hassle or the cleanup nightmare. I’ve tested this recipe more times than I’d like to admit (I’m talking about a batch that got slightly overbaked because I was distracted by a phone call—lesson learned). Through trial and error, I’ve nailed the perfect texture: tender, cake-like, and soaked in that warm, boozy-sweet apple cider glaze.
These bars have become my go-to for autumn gatherings, school drop-offs, and rainy Sunday mornings. They’re moist, they’re spicy, and they smell like a cozy cabin in the woods. Plus, they’re incredibly forgiving for bakers of all skill levels. If you can mix a bowl of batter, you can make these. I’ve made them for picky toddlers and demanding foodie friends alike, and they all ask for the recipe within five minutes of the first bite. Let’s get baking.
Why You’ll Love This Recipe
There are a dozen reasons I keep coming back to these bars, but here are the big ones that make them a permanent fixture in my fall baking rotation.
Zero Deep Frying — Seriously, who has the time or patience to manage hot oil in a small kitchen? These bake in the oven. You get that same warm, spiced flavor profile without the grease or the risk of burning your kitchen down. It’s safer, cleaner, and honestly, a lot less stressful.
Five Ingredients, Maximum Flavor — I’m not exaggerating when I say the core batter is just five ingredients. Flour, sugar, baking powder, salt, and buttermilk. But the magic happens with the additions: apple cider reduction and spices. You get complex, layered flavors without needing a pantry full of exotic items. It’s simple cooking at its finest.
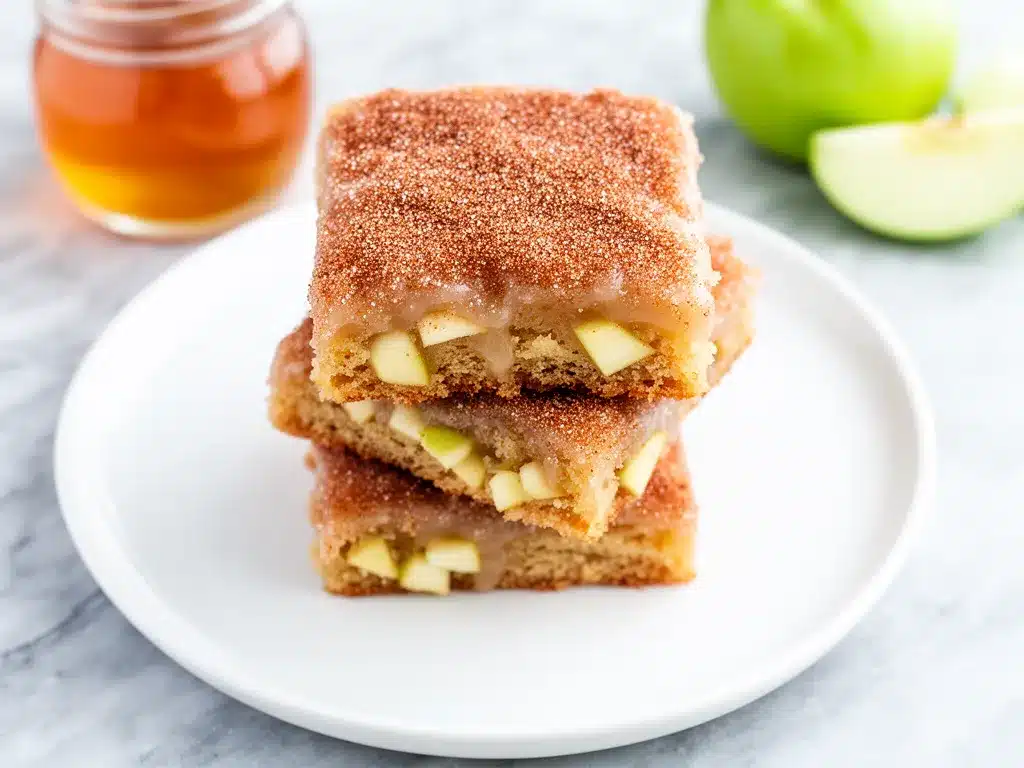
The Glaze is Non-Negotiable — Most donut recipes skimp on the glaze. Not this one. We’re making a thick, glossy apple cider glaze that sets into a sweet, crackly shell. It’s sticky, it’s sweet, and it’s what makes these bars taste like they came from a fancy bakery. I usually make extra glaze because my family will fight over the last drips.
Perfectly Moist Texture — One of the biggest issues with baked donuts is that they can be dry. By using buttermilk and a reduced cider syrup, these bars stay incredibly moist for days. I’ve kept leftovers in an airtight container for three days, and they were still soft on day four (though they didn’t last that long).
Make-Ahead Friendly — These are fantastic for meal prep or party planning. You can bake the bars the night before and glaze them right before guests arrive. The flavors actually meld and improve overnight, making them even better the next day.
So basically, if you want the taste of fall without the work, these bars are your answer. They’re reliable, delicious, and guaranteed to make your house smell amazing.
Ingredients You’ll Need
Here’s the best part: you probably have most of this already in your pantry. I’m particular about a few things here, so let’s break down exactly what you need and why.
For the Bars
All-purpose flour (2 cups / 250g) — This is your base. Don’t use cake flour unless you want them too delicate. All-purpose gives that classic donut chew. Sift it if it’s been sitting out for a while to avoid lumps.
Granulated sugar (1 cup / 200g) — Standard white sugar works best for the texture. Brown sugar adds moisture but can make them too dense. I stick to white for that light, airy crumb.
Baking powder (1 tablespoon) — You need a good amount here to help them rise since there’s no yeast. Make sure yours isn’t expired. I test mine every six months because old baking powder is the silent killer of baked goods.
Salt (1 teaspoon) — Essential for balancing the sweetness. Don’t skip it. It makes the cinnamon pop.
Buttermilk (1 cup / 240ml) — This is the secret weapon. The acidity tenderizes the gluten, making the bars soft. If you don’t have buttermilk, make a quick substitute: add 1 tablespoon of lemon juice or vinegar to 1 cup of milk and let it sit for 5 minutes. It works just as well.
Vegetable oil (1/3 cup / 80ml) — Neutral oil keeps the bars moist. I’ve tried butter, but it can make them heavier. Oil is the way to go for that tender crumb.
Eggs (2 large) — Room temperature eggs mix better into the batter. I take them out of the fridge when I start measuring my dry ingredients.
Vanilla extract (1 teaspoon) — Pure vanilla, not imitation. It adds that warm, comforting background note.
Apple cider (1 cup / 240ml) — This is the star. Use 100% pure apple cider, not the sweetened apple juice drink. You’ll be reducing it, so the flavor needs to be strong. I buy a fresh jug every fall when it’s available.
Spices (2 teaspoons cinnamon, ½ teaspoon nutmeg, ¼ teaspoon ginger) — The classic fall trio. Cinnamon is the main event, but nutmeg and ginger add that complex warmth. Use freshly grated nutmeg if you have it—it makes a huge difference.
For the Apple Cider Glaze
Powdered sugar (1 ½ cups / 180g) — Sifted! Lumps in powdered sugar are the worst. Sift it before you mix the glaze for a smooth finish.
Reduced apple cider (2 tablespoons) — This is the concentrated flavor from your reduced cider. It ties the glaze back to the bar itself.
Milk (1-2 tablespoons) — Adjust for consistency. You want it thick enough to coat the back of a spoon but thin enough to drizzle.
Pinch of salt — Cuts the sweetness of the powdered sugar.
Equipment Needed
You don’t need fancy gadgets for this. Here’s what I actually use.
9×13 inch baking pan — I use a glass pan because it browns the bottom nicely. Metal works too, but keep an eye on it so the edges don’t burn.
Medium saucepan — For reducing the apple cider. I use a non-stick one to make cleanup easier. You need enough surface area for the liquid to evaporate quickly.
Mixing bowls — Two bowls: one for dry ingredients, one for wet. I like to keep them separate to avoid overmixing.
Whisk — Essential for breaking up lumps in the flour and sugar. A fork works in a pinch, but a whisk is faster.
Pastry brush — Optional, but nice for brushing the pan with butter or oil to prevent sticking.
Wire cooling rack — Crucial. You must cool the bars completely before glazing, or the glaze will melt right off. Don’t skip this step.
How to Make It: Step-by-Step
Alright, let’s make these! I’m walking you through exactly how I do it, including the little tricks I’ve picked up over the years.
Step 1: Reduce the Apple Cider (Start this first!)
Pour the 1 cup of apple cider into your saucepan. Bring it to a boil over medium-high heat, then reduce to a simmer. Let it cook for about 15-20 minutes, until it reduces to roughly 2 tablespoons of syrup. It should be thick and syrupy, like maple syrup. This concentrates the flavor so you don’t need a ton of sugar in the glaze. Set it aside to cool completely. If you rush this, your glaze will be too thin.
Step 2: Prep the Pan and Oven
Preheat your oven to 350°F (175°C). Grease a 9×13 inch baking pan generously with butter or non-stick spray. I line the bottom with parchment paper for easy removal, but it’s not strictly necessary if you’re well-greased.
Step 3: Mix Dry Ingredients
In a medium bowl, whisk together the flour, sugar, baking powder, salt, cinnamon, nutmeg, and ginger. Make sure there are no clumps of baking powder left, or you’ll get bitter bites. Whisk it well to distribute the spices evenly.
Step 4: Mix Wet Ingredients
In a separate bowl, whisk the eggs, buttermilk, vegetable oil, and vanilla extract until smooth. The mixture might look slightly curdled—that’s normal. Just whisk it until it’s mostly combined.
Step 5: Combine Batter
Pour the wet ingredients into the dry ingredients. Gently fold them together with a spatula or wooden spoon. Stop as soon as the flour disappears. Do not overmix! Overmixing develops gluten and makes the bars tough. A few small lumps are okay. In fact, I prefer them for a rustic texture.
Step 6: Bake
Pour the batter into the prepared pan and smooth the top. Bake for 20-25 minutes, or until a toothpick inserted into the center comes out clean or with just a few moist crumbs. The edges should be lightly golden. Don’t overbake, or they’ll be dry.
Step 7: Cool Completely
Let the bars cool in the pan for 10 minutes, then transfer them to a wire rack to cool completely. This is the hardest part, but if you glaze them while warm, the glaze will slide right off and melt into a mess. Patience pays off.
Step 8: Make the Glaze
Once the cider syrup is cool, whisk it with the powdered sugar, a pinch of salt, and enough milk to reach your desired consistency. It should be thick but pourable. If it’s too thick, add milk a teaspoon at a time. If it’s too thin, add more powdered sugar.
Step 9: Glaze and Serve
Drizzle the glaze over the completely cooled bars. Use a spatula to spread it evenly to the edges. Let the glaze set for 10-15 minutes before cutting. Cut into squares and serve. Dust with extra cinnamon if you want that bakery look.
Expert Tips & Tricks
Here’s everything I’ve learned from making these dozens of times. These tips will save you from my mistakes.
Don’t Skip the Reduction
I know it takes 20 minutes, but using straight cider in the glaze adds too much liquid and not enough flavor. Reducing it concentrates the apple taste and ensures your glaze sets properly. It’s worth the wait.
Buttermilk is Key
If you use regular milk, the bars will be denser. The acidity in buttermilk reacts with the baking powder for a better rise and a tender crumb. Don’t swap it out unless you have to.
Room Temperature Ingredients
Make sure your eggs and buttermilk are at room temperature. Cold ingredients can cause the batter to seize or mix unevenly. Just leave them out for 30 minutes before you start.
Glaze Consistency Test
Dip a spoon into the glaze and lift it. If it coats the spoon and leaves a trail when you run your finger through it, it’s ready. If it runs off immediately, add more sugar. If it’s stiff, add more milk.
Storage Matters
Store leftovers in an airtight container at room temperature for up to 3 days. If your kitchen is very humid, keep them in the fridge, but let them come to room temperature before eating for the best texture.
Variations & Substitutions
Once you’ve nailed the basic version, here’s how you can mix it up. I’ve tried all of these.
Apple Cider Donut Holes
Instead of baking in a pan, scoop tablespoon-sized balls of batter into a greased mini-muffin tin. Bake for 10-12 minutes. Dip them in the glaze and roll in cinnamon sugar. Perfect for parties.
Maple Glaze Version
Swap the reduced cider in the glaze for pure maple syrup. It adds a rich, woody flavor that pairs beautifully with the apple spices in the bar.
Add-In: Chopped Apples
Fold in ½ cup of finely diced Granny Smith apples into the batter before baking. They add little bursts of fresh apple flavor and texture. Just make sure they’re small so they cook through.
Gluten-Free Option
Use a 1:1 gluten-free flour blend. The texture might be slightly more crumbly, but it still works well. Add a teaspoon of xanthan gum if your blend doesn’t include it.
Vegan Adaptation
Swap the eggs for flax eggs (2 tablespoons ground flaxseed + 5 tablespoons water). Use plant-based buttermilk (soy or almond milk with lemon juice) and coconut oil instead of vegetable oil. The glaze is naturally vegan if you skip the milk (use almond milk).
Serving & Storage
How to Serve:
I usually serve these at room temperature. They’re perfect for brunch, coffee breaks, or afternoon snacks. Pair them with a hot cup of coffee or tea to balance the sweetness.
Side Dishes:
These are sweet enough on their own, but if you want a savory contrast, serve them with scrambled eggs or bacon. They also go great alongside a bowl of chili or soup in the winter.
Storage Instructions:
Refrigerator: Store in an airtight container for up to 4 days. The glaze might soften in the fridge, but the bars will stay moist.
Freezing: These freeze well! Wrap individual bars in plastic wrap and place them in a freezer bag for up to 2 months. Thaw at room temperature before serving. The glaze holds up surprisingly well after freezing.
Pro Tip:
If your glaze cracks when you cut the bars, it’s because the bars weren’t completely cool. Next time, wait an extra 10 minutes. Also, a serrated knife gives cleaner cuts than a regular one.
Nutrition Information
I’m not a nutritionist, but here’s the breakdown if you’re tracking. Keep in mind that these are treat bars, so enjoy them in moderation.
Per Serving (based on 12 bars):
– Calories: 280
– Protein: 4g
– Carbs: 52g
– Fiber: 1g
– Sugar: 32g
– Fat: 6g
– Saturated Fat: 1g
– Cholesterol: 25mg
– Sodium: 180mg
What’s Good:
– Low in fat compared to fried donuts
– Contains some calcium from buttermilk
– Spices like cinnamon have antioxidant properties
What to Know:
– High in sugar due to the glaze and batter
– Contains gluten and dairy
– Moderate sodium
My Take:
Look, these are indulgent bars. They’re not a health food. But they’re better than store-bought donuts because you control the ingredients. When I make them, I try to balance the sweetness with a strong cup of black coffee. It’s about balance, not deprivation.
Final Thoughts
So that’s my take on cinnamon apple cider donut bars! I’ve probably talked your ear off at this point, but when you make a recipe this often, you have a lot to say about it.
These bars have saved my autumn baking routine. They’re my answer to “what’s for dessert” when I want something seasonal and comforting without spending hours in the kitchen. My kids love them, my husband requests them for his morning coffee, and my friends always ask for the recipe when they visit.
Make it yours! Try different spices, add fruit inclusions, or experiment with glaze flavors. The best recipes are the ones you adapt to your family’s tastes. If you make these, drop a comment and let me know what you think! I love hearing how recipes turn out in your kitchen. And if something doesn’t work, tell me that too—I’m here to help troubleshoot.
Happy baking! I hope your kitchen smells half as good as mine does right now.
Frequently Asked Questions
Can I use apple juice instead of apple cider?
You can, but the flavor won’t be as intense. Apple juice is sweeter and less tart. If you use juice, you might want to reduce it a bit longer to concentrate the flavor, or add a splash of lemon juice to balance the sweetness. Pure cider is definitely better.
Why did my bars turn out dry?
This usually happens if you overbake them or overmix the batter. Check them at 20 minutes. The toothpick should come out clean or with a few moist crumbs. Also, make sure you’re using buttermilk, not regular milk, for that tender texture.
Can I make the glaze ahead of time?
Yes! Store the glaze in an airtight container in the fridge for up to 3 days. Let it come to room temperature and stir well before using. It might thicken in the fridge, so you may need to add a tiny bit of milk to loosen it up.
How do I store leftovers?
Keep them in an airtight container at room temperature for up to 3 days. If your kitchen is hot or humid, store them in the fridge. They’ll stay fresh longer, but let them warm up slightly before eating for the best texture.
Can I freeze these bars?
Absolutely. Freeze the unglazed bars first, then glaze them after thawing. Or freeze them glazed—they hold up well. Wrap them tightly in plastic wrap and place in a freezer bag. Thaw at room temperature for 1-2 hours before serving.
What if I don’t have a 9×13 pan?
You can use a 9×9 square pan. The baking time will be slightly shorter—check at 18 minutes. The bars will be thicker, so keep an eye on them to ensure the center cooks through.
Pin This Recipe!
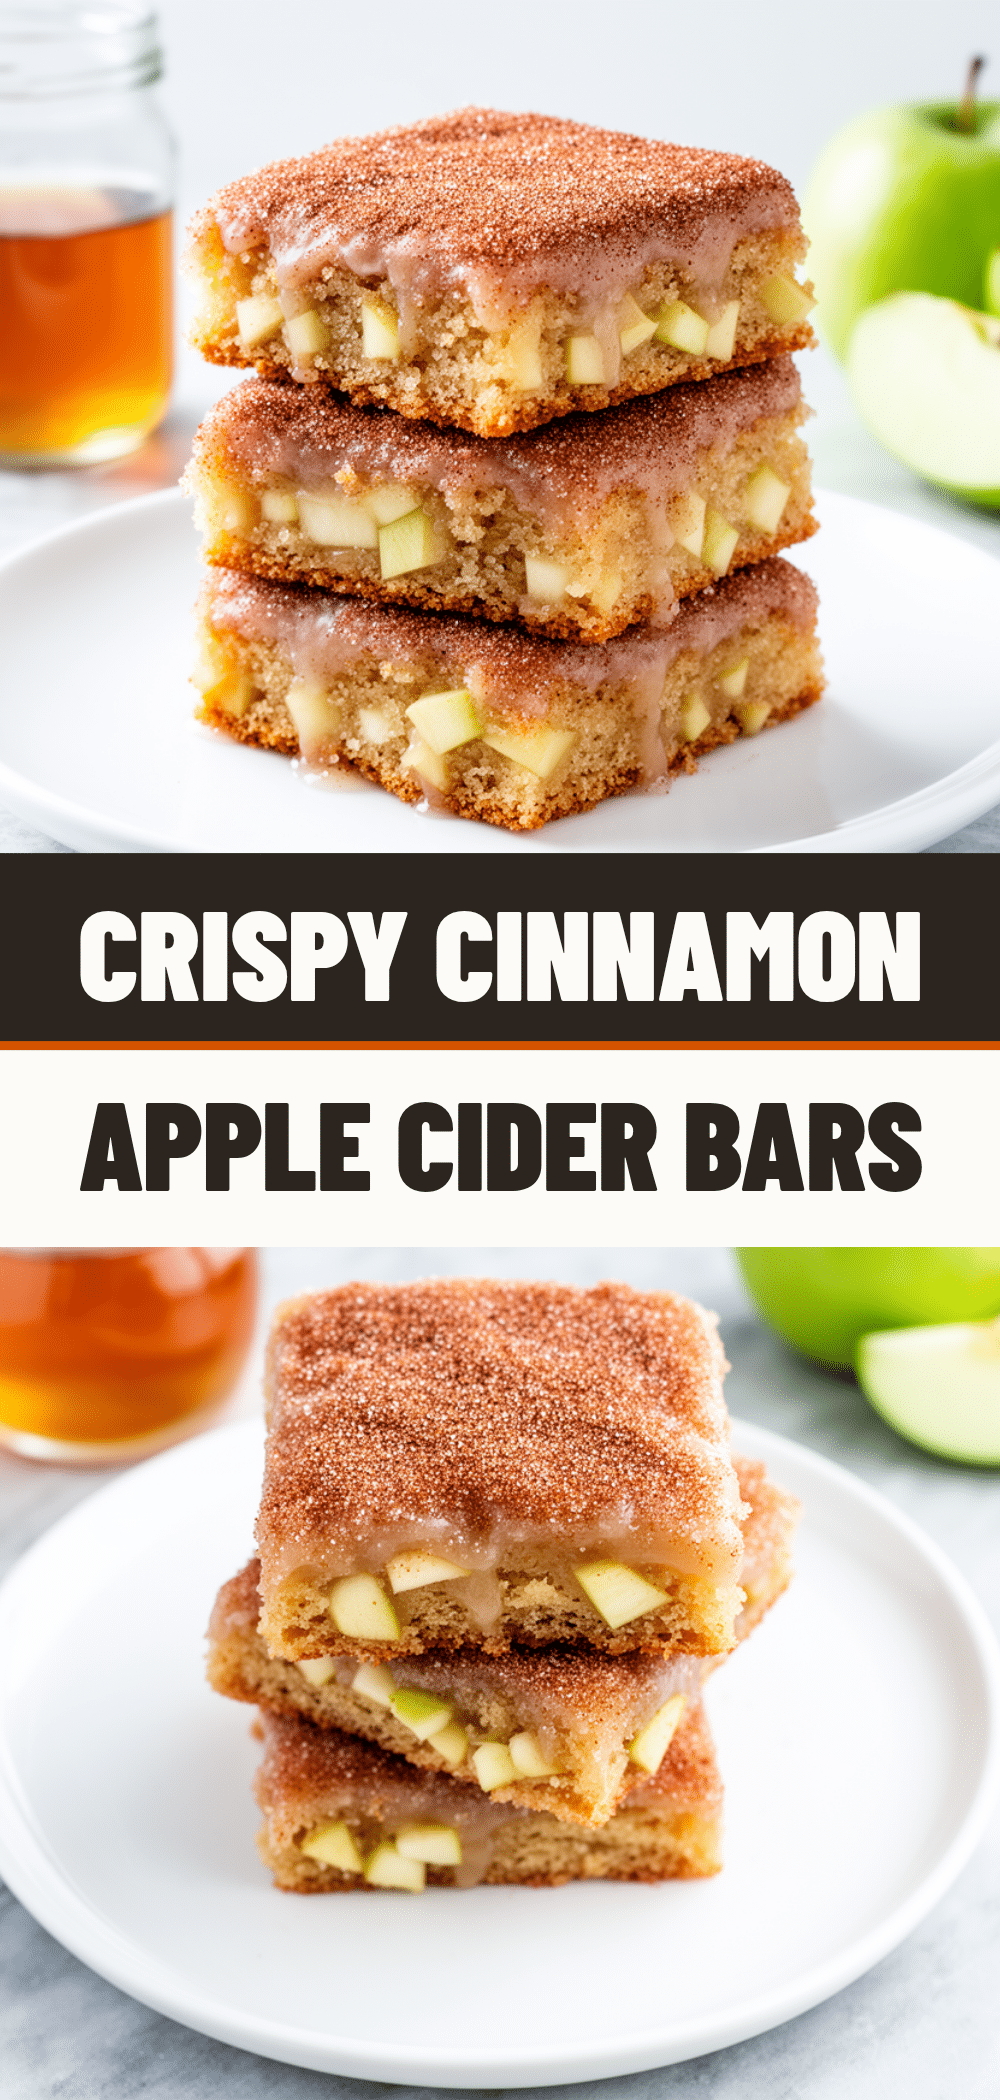
Cinnamon Apple Cider Donut Bars: Easy 5-Ingredient Recipe
- Total Time: 1 hour 5 minutes
- Yield: 12 servings 1x
Description
These baked cinnamon apple cider donut bars offer the nostalgic, spiced flavor of classic cider donuts without the deep-frying hassle. Moist, tender, and topped with a thick, glossy apple cider glaze, they are perfect for autumn gatherings and easy enough for bakers of all skill levels.
Ingredients
- 2 cups (250g) all-purpose flour
- 1 cup (200g) granulated sugar
- 1 tablespoon baking powder
- 1 teaspoon salt
- 1 cup (240ml) buttermilk
- 1/3 cup (80ml) vegetable oil
- 2 large eggs
- 1 teaspoon vanilla extract
- 1 cup (240ml) pure apple cider
- 2 teaspoons ground cinnamon
- 1/2 teaspoon ground nutmeg
- 1/4 teaspoon ground ginger
- 1 1/2 cups (180g) powdered sugar (for glaze)
- 2 tablespoons reduced apple cider syrup (for glaze)
- 1–2 tablespoons milk (for glaze)
- Pinch of salt (for glaze)
Instructions
- Preheat oven to 350°F (175°C). Grease a 9×13 inch baking pan and line with parchment paper if desired.
- Pour 1 cup apple cider into a medium saucepan. Bring to a boil over medium-high heat, then reduce to a simmer. Cook for 15-20 minutes until reduced to approximately 2 tablespoons of thick syrup. Set aside to cool completely.
- In a medium bowl, whisk together flour, sugar, baking powder, salt, cinnamon, nutmeg, and ginger until well combined and free of lumps.
- In a separate bowl, whisk eggs, buttermilk, vegetable oil, and vanilla extract until smooth.
- Pour wet ingredients into dry ingredients. Gently fold together with a spatula until just combined; do not overmix. A few small lumps are okay.
- Pour batter into the prepared pan and smooth the top.
- Bake for 20-25 minutes, or until a toothpick inserted into the center comes out clean or with a few moist crumbs.
- Let bars cool in the pan for 10 minutes, then transfer to a wire rack to cool completely.
- Once cooled, whisk the cooled reduced cider syrup, powdered sugar, pinch of salt, and 1-2 tablespoons milk to make the glaze. Adjust consistency as needed.
- Drizzle glaze over the cooled bars and spread evenly. Let set for 10-15 minutes before cutting into squares.
Notes
Ensure apple cider is reduced to concentrate flavor. Bars must be completely cool before glazing to prevent the glaze from melting. Store in an airtight container at room temperature for up to 3 days. For vegan adaptation, use flax eggs and plant-based milk/oil. For gluten-free, use a 1:1 gluten-free flour blend.
- Prep Time: 20 minutes
- Cook Time: 45 minutes
- Category: Dessert
- Cuisine: American
Nutrition
- Serving Size: 1 bar
- Calories: 280
- Sugar: 32
- Sodium: 180
- Fat: 6
- Saturated Fat: 1
- Carbohydrates: 52
- Fiber: 1
- Protein: 4
Keywords: cinnamon apple cider donut bars, baked donuts, fall baking, easy dessert, apple cider recipe, autumn treats, gluten-free option


