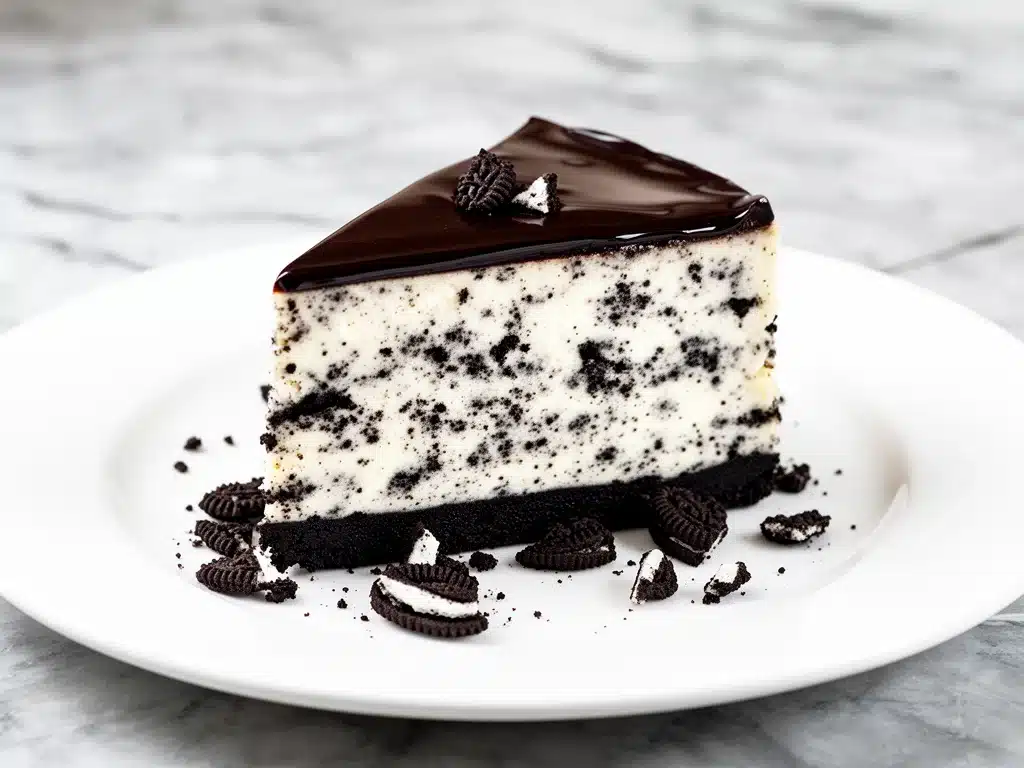
I have a confession to make. I am not a baker. I mean, I can make cookies that don’t burn, and I can roast a chicken that doesn’t taste like rubber, but ask me to work with delicate batters or precise temperatures? I’m in trouble. That’s exactly why I fell in love with this no-bake Oreo cheesecake with chocolate ganache. It’s not just easy; it’s practically foolproof. And yet, it looks like I spent hours in a professional kitchen crafting something intricate and elegant.
The first time I made this dessert was a disaster in the best way possible. I was hosting a last-minute dinner for six people—friends who had canceled on me, leaving me with an empty house and a desperate need to not look like a loser. I panicked, grabbed some Oreos, cream cheese, and chocolate from the pantry, and threw them together in my food processor. I told myself, “If this tastes okay, I’ll eat it all myself and tell them I bought it.” But when I pulled it out of the fridge the next morning, the layers were set, the ganache had that perfect glossy sheen, and the smell was irresistible. I took a bite, and honestly? I was shocked. It was rich, creamy, and had that perfect crunch from the cookie crust. My friends devoured it. They asked for the recipe. I had to come clean and tell them it was a no-bake miracle.
Since that night, this no-bake Oreo cheesecake has become my go-to for everything. Birthday parties, potlucks, date nights, or just because it’s Tuesday. It’s the kind of dessert that makes people stop talking and start eating. It’s indulgent without being overly complicated, and it feeds a crowd without breaking the bank. If you’re looking for a dessert that looks impressive but actually takes zero effort, you need to try this. It’s better than store-bought, cheaper than takeout, and tastes like pure happiness.
Why You’ll Love This No-Bake Oreo Cheesecake
There are about a dozen reasons I keep making this dessert, but here are the big ones that keep me coming back to the kitchen. This isn’t just another sweet treat; it’s a game-changer for your dessert game.
Zero Baking Required — Seriously, if you can crush cookies and mix cream, you can make this. No oven needed. No water baths. No worrying about cracks in the top. I’ve made this in the middle of summer when the heat was unbearable, and I didn’t have to turn on the stove. It’s literally just mixing, pressing, and chilling.
It Looks Fancy (But Isn’t) — The chocolate ganache dripping down the sides? That’s pure theater. People assume you spent hours tempering chocolate and piping layers. In reality, I melted chocolate chips in the microwave for 30 seconds and poured it on top. The visual impact is huge, but the effort is minimal. It’s the perfect “I didn’t try too hard” flex.
Make-Ahead Friendly — This is my secret weapon for stress-free hosting. I make the cheesecake the day before the party. It needs to chill for at least 4 hours, preferably overnight. That means on the day of the event, I’m not sweating over a hot kitchen. I just pull it out, let it sit for 15 minutes to soften slightly, and serve. I’ve done this for three generations of family gatherings, and it never fails.
Crowd-Pleaser Status — I’ve served this to picky eaters, chocolate lovers, and Oreo addicts. Everyone loves it. The combination of the salty-sweet cookie crust, the tangy cream cheese filling, and the rich chocolate ganache hits all the right notes. Even my nephew, who usually only eats plain crackers, asks for “the black and white cake” every time he visits.
Budget-Smart — Feeds 8-10 people for under $15. That’s less than a single slice at a fancy dessert shop. I buy store-brand Oreos and generic chocolate chips, and no one can tell the difference. The quality of the final product is restaurant-level, but the cost is home-cook level.
This is my go-to when I need a dessert that just works. No complicated techniques, no weird ingredients, just reliable, delicious food that makes everyone happy. It’s the closest thing I have to a culinary superpower.
Ingredients You’ll Need
Here’s the best part: you probably have most of this already. This no-bake Oreo cheesecake with chocolate ganache relies on simple, accessible ingredients. I’m particular about three things here, and I’ll tell you exactly why they matter.
For the Crust:
Oreo Cookies (24 cookies / about 300g) — I use regular Oreos, not the reduced-sugar or double-stuff versions. The standard ones have the perfect balance of sweetness and texture. You’ll need the cookies and the filling. I usually eat the filling while crushing the cookies—it’s a personal sacrifice, but necessary.
Unsalted Butter (6 tablespoons / 85g) — Melted. This binds the crumbs together. I prefer unsalted so I can control the saltiness. If you only have salted, reduce any added salt in the recipe. Don’t skip the butter; it’s what makes the crust hold its shape.
Granulated Sugar (1 tablespoon / 12g) — Optional, but I add it because Oreos aren’t super sweet, and I like a slight crunch. If you’re using Double Stuf Oreos, skip this. Trust me, I’ve tested both.
For the Cheesecake Filling:
Full-Fat Cream Cheese (24 ounces / 680g) — This is non-negotiable. Use block cream cheese, not the tub spread. It needs to be softened to room temperature. I take it out of the fridge 30 minutes before I start. If it’s cold, you’ll get lumps, and nobody wants lumpy cheesecake.
Heavy Whipping Cream (2 cups / 480ml) — Cold, straight from the fridge. This is what gives the filling its light, airy texture. Don’t use half-and-half or milk; it won’t whip up properly. I’ve tried it, and it results in a dense, heavy mess. Learn from my mistake.
Powdered Sugar (1 cup / 120g) — Sifted. I sift mine to avoid sugar clumps in the smooth filling. It dissolves faster in the cream cheese mixture too.
Vanilla Extract (2 teaspoons) — Pure vanilla, not imitation. It adds warmth and depth. I use a dark vanilla extract for a richer flavor profile.
Cream Cheese (8 ounces / 225g) — Wait, two blocks? Yes. One big block (24oz) and one small block (8oz). The smaller block helps stabilize the filling and makes it easier to whip without over-beating. It’s a trick I learned from a pastry chef friend.
For the Chocolate Ganache:
Dark Chocolate Chips (1 cup / 170g) — I use semi-sweet or dark chocolate chips. Milk chocolate is too sweet for the ganache. Quality matters here because you’re tasting it directly. I prefer Ghirardelli or Lindt.
Heavy Cream (½ cup / 120ml) — For the ganache. Heat this until it’s just simmering, then pour over the chocolate. Let it sit for 5 minutes before stirring. This creates that silky, glossy finish.
Salt (a pinch) — Adds complexity to the chocolate. Don’t skip it. It makes the chocolate taste more like chocolate.
Optional Add-ins:
Crushed Oreos (½ cup) — For sprinkling on top for extra texture and visual appeal. I love the contrast of the white crumbs against the dark chocolate.
Chocolate Shavings — For a fancy finish. I use a vegetable peeler on a chocolate bar.
Whipped Cream — For serving. I pipe it on top of each slice for an extra touch of elegance.
Equipment Needed
You don’t need fancy equipment for this. Here’s what I actually use.
Food Processor — For crushing the Oreos into fine crumbs. It’s the fastest way. If you don’t have one, put the cookies in a ziplock bag and crush them with a rolling pin. It takes longer, but it works. I’ve done it while watching TV, and it’s surprisingly therapeutic.
9-Inch Springform Pan — Essential for easy removal. The sides pop off, revealing those beautiful layers. I use a 9-inch pan because it’s the standard size for cheesecakes. If you don’t have a springform pan, you can use a regular 9-inch round pan lined with parchment paper, but removal will be trickier. I’ve tried it, and it’s messy. Just get a springform pan. They’re cheap on Amazon.
Electric Mixer — Handheld or stand mixer. You need to whip the cream and cream cheese together until stiff peaks form. Doing this by hand is possible but tiring. I’ve whipped cream by hand once, and my arm hurt for two days. Save your biceps.
Microwave-Safe Bowl — For melting the chocolate chips. I use a glass bowl because it heats evenly. Ceramic works too.
Whisk — For mixing the ganache. A small whisk is perfect for getting that smooth, lump-free consistency.
Spatula — For folding the mixture and smoothing the top. I use a silicone spatula because it scrapes the bowl clean and doesn’t scratch the pan.
Refrigerator — Obviously. You need space for the cheesecake to chill for at least 4 hours. I usually put it in the back, where it’s coldest and most stable.
Optional but nice:
- Piping Bag — For decorative whipped cream. Makes it look professional.
- Chocolate Dipped Strawberries — For garnish. Adds a pop of color and freshness.
- Knife — For slicing. Dip it in hot water between cuts for clean slices. I learned this from a cooking show, and it works every time.
How to Make It: Step-by-Step
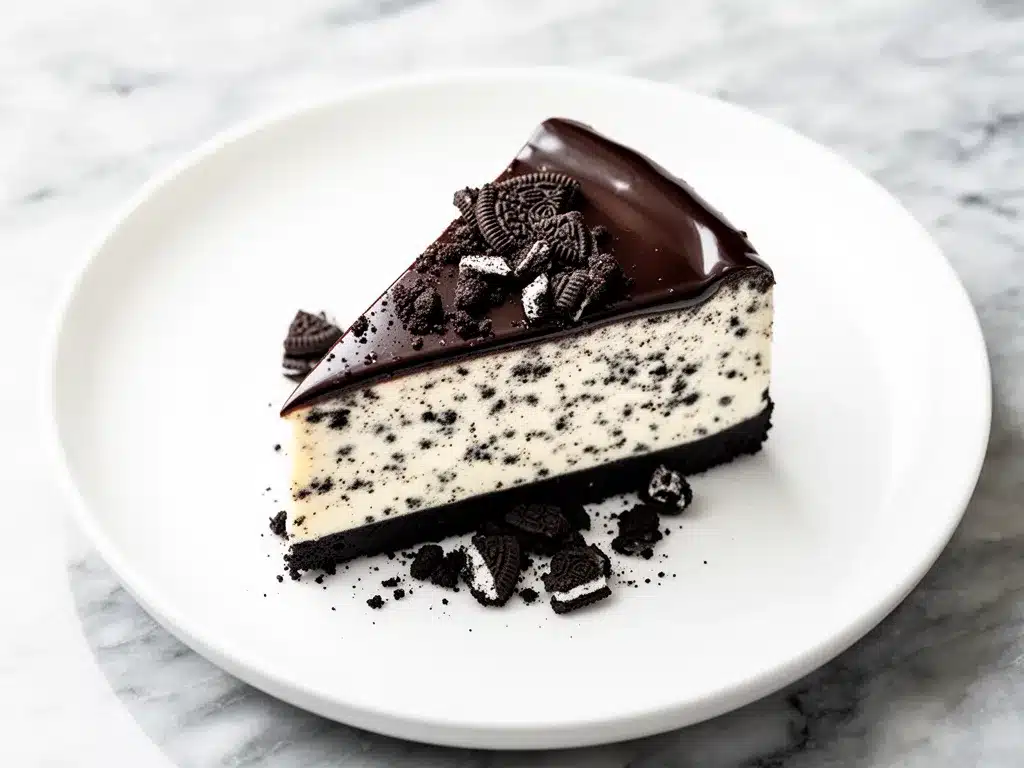
Alright, let’s make this! I’m walking you through exactly how I do it, including the little tricks I’ve picked up over the years.
Step 1: Prepare the Crust (10 minutes)
Start by crushing your Oreos. Remove the filling from 24 cookies if you’re using regular Oreos. I usually just eat the filling—it’s the best part. Place the cookies in a food processor and pulse until you have fine, sand-like crumbs. If you’re doing it by hand, put them in a bag and crush them until they’re fine. Pour the crumbs into a bowl and mix in the melted butter and sugar (if using). The mixture should look like wet sand. Press it firmly into the bottom and up the sides of your springform pan. Use the bottom of a measuring cup to pack it down tightly. This is crucial; if the crust is loose, the cheesecake will fall apart. I chill the crust in the fridge for 15 minutes while I make the filling. This sets it and makes it easier to handle.
Step 2: Whip the Cream (5 minutes)
In a large bowl, whip the cold heavy cream with the powdered sugar and vanilla extract until stiff peaks form. This means when you lift the beaters, the cream stands up straight. Don’t over-whip it into butter, but don’t under-whip it either. It needs to be stiff enough to hold its shape. Set this aside. This is the light, airy part of the cheesecake, so treat it with care.
Step 3: Mix the Cream Cheese (5 minutes)
In another large bowl, beat the softened cream cheese (both blocks) until smooth and creamy. Scrape down the sides of the bowl to make sure there are no lumps. This takes about 2-3 minutes on medium-high speed. If you see lumps, your cream cheese wasn’t soft enough. Add the powdered sugar slowly while mixing. Once it’s smooth and creamy, stop mixing. We don’t want to incorporate too much air here, or the cheesecake might rise and crack (even though it’s no-bake, air pockets can still be an issue).
Step 4: Fold It Together (3 minutes)
Gently fold the whipped cream into the cream cheese mixture. Use a spatula and cut through the middle, then scoop from the bottom. Rotate the bowl and repeat. Do this until the mixture is uniform and no white streaks remain. Be gentle! You want to keep the air in the whipped cream. This is what makes the texture light and fluffy, not dense and heavy. I usually fold for about 1-2 minutes. If you over-mix, you’ll deflate the cream, and the cheesecake will be heavy. I’ve done it, and it tastes like dense cheese cake. Don’t be me.
Step 5: Assemble the Cheesecake (5 minutes)
Pour the cheesecake filling over the chilled crust. Spread it evenly with a spatula. Tap the pan gently on the counter to release any air bubbles. Smooth the top until it’s level. I usually cover the pan with plastic wrap and refrigerate it for at least 4 hours, preferably overnight. This is the hardest part—waiting. But trust me, the longer it chills, the better it tastes. I’ve made it in 4 hours, and it’s good. I’ve made it overnight, and it’s amazing. The flavors meld together, and the texture becomes even creamier.
Step 6: Make the Ganache (10 minutes)
While the cheesecake chills, make the ganache. Heat the heavy cream in a small saucepan until it’s just simmering (small bubbles around the edges). Pour it over the chocolate chips in a microwave-safe bowl. Let it sit for 5 minutes. This allows the heat to melt the chocolate gently. After 5 minutes, whisk slowly from the center outward until smooth and glossy. If there are still lumps, microwave for 10 seconds and whisk again. Don’t overheat the chocolate, or it will seize up. The ganache should be thick but pourable. If it’s too thick, add a teaspoon of warm cream. If it’s too thin, let it cool for a few minutes.
Step 7: Finish and Serve (5 minutes)
Once the cheesecake is fully set, remove it from the fridge. Pour the ganache over the top, letting it drip down the sides. Use a spatula to smooth the top if needed. Sprinkle with crushed Oreos or chocolate shavings for decoration. Let it sit at room temperature for 15-20 minutes before slicing. This softens the cheesecake slightly, making it easier to cut. Use a sharp knife dipped in hot water for clean slices. Wipe the knife between cuts. Serve with whipped cream and fresh berries if you want to get fancy. Or just eat it with a spoon straight from the pan. I don’t judge.
Total Time: About 30 minutes active, plus 4+ hours chilling.
Expert Tips & Tricks
Here’s everything I’ve learned from making this dozens of times. These tips will save you from my mistakes.
Room Temperature Cream Cheese is Key
This is the #1 tip. If your cream cheese is cold, you’ll get lumps. I take it out of the fridge 30 minutes before I start. If I forget, I cut it into cubes and microwave it for 10-second intervals until it’s soft. But don’t melt it! Softened is the goal. My husband can tell when I’ve rushed this step. The texture will be grainy, and he’ll complain. Don’t let him complain.
Don’t Overmix the Filling
Once you add the whipped cream, fold gently. Overmixing deflates the air, resulting in a dense cheesecake. I’ve made this mistake, and the result was more like a cheese ball than a cheesecake. Fold until just combined. It should look marbled at first, then uniform. Stop mixing when it’s uniform.
Chill the Pan Before Adding Filling
I chill the crust for 15 minutes before adding the filling. This helps the crust set and prevents it from mixing with the filling. It also makes it easier to handle. I use a ziplock bag to press the crust down, which keeps my hands clean.
Use a Water Bath? No.
Since this is no-bake, you don’t need a water bath. But if you’re worried about cracks, make sure you don’t over-whip the cream. Air pockets are the enemy. Tap the pan to release bubbles before chilling.
Ganache Temperature
The ganache should be warm but not hot when you pour it over the cheesecake. If it’s too hot, it will melt the top layer of the cheesecake. If it’s too cold, it will clump up. Aim for body temperature. I test it on my wrist—it should feel warm, not hot.
Slicing Cleanly
Use a sharp knife and dip it in hot water between cuts. Wipe it dry. This ensures clean, professional-looking slices. I’ve tried cutting with a dull knife, and the layers get messy. It’s frustrating. Don’t be frustrated. Use a sharp knife.
Make-Ahead Strategy
This cheesecake actually tastes better the next day. The flavors meld together, and the texture becomes even creamier. I make it the night before a party, and it’s always a hit. I’ve made it up to 2 days in advance, and it still holds up well. Just keep it covered in the fridge.
Variations & Substitutions
Once you’ve nailed the basic version, here’s how you can mix it up. I’ve tried all of these, and they all work.
Strawberry Oreo Cheesecake
Swap the regular Oreos for strawberry Oreos. The filling will be pink, and the flavor will be slightly fruity. I love this for spring parties. It’s pretty and delicious. I’ve served this at baby showers, and everyone loved it.
Double Chocolate Cheesecake
Add ¼ cup cocoa powder to the cream cheese mixture. It makes it richer and more chocolatey. I use this version when I’m feeling extra indulgent. It’s intense, but in a good way. Just be aware, it’s sweeter, so reduce the powdered sugar slightly.
Mini Cheesecakes
Use a muffin tin instead of a springform pan. Press the crust into each cup, fill with the mixture, and chill. These are perfect for parties because everyone gets their own. I’ve made these for office parties, and they’re a hit. No slicing required.
Gluten-Free Option
Use gluten-free Oreos. The rest of the ingredients are naturally gluten-free. I’ve used gluten-free Oreos, and they work great. The texture is slightly different, but no one can tell the difference. I’ve served this to gluten-free friends, and they’ve asked for the recipe.
Dairy-Free Option
Use dairy-free cream cheese and dairy-free chocolate chips. The texture will be slightly different, but it’s still delicious. I’ve made this for lactose-intolerant friends, and they’ve loved it. Just be sure to check labels, as some dairy-free creams can be thinner.
Lower-Sugar Option
Use sugar-free Oreos and reduce the powdered sugar to ½ cup. It’s less sweet, but still good. I’ve made this for friends who are watching their sugar intake. It’s not as sweet, but the chocolate ganache still makes it feel indulgent.
Different Crusts
Use graham crackers or digestive biscuits instead of Oreos for a different flavor profile. I’ve used graham crackers, and it’s classic. But I prefer Oreos for the chocolate flavor. Try both and see which you like better.
Serving & Storage
How to Serve:
I usually serve this straight from the fridge. It’s best when it’s cold and firm. But here are other ways I’ve enjoyed it:
- With Whipped Cream — A dollop on top adds lightness.
- With Fresh Berries — Strawberries or raspberries cut the richness.
- With Chocolate Sauce — Drizzle extra ganache on top for extra indulgence.
Storage Instructions:
Refrigerator: Store in an airtight container or covered with plastic wrap for up to 5 days. The cheesecake will keep well in the fridge. I usually eat it within 3 days because it’s too good to last longer.
Freezing: This doesn’t freeze well. The texture of the cream cheese filling can become grainy when thawed. I’ve tried it, and it’s not great. Make it fresh or store in the fridge for up to 5 days.
Reheating: Do not reheat. This is a no-bake cheesecake. It’s best served cold. If it’s too hard to cut, let it sit at room temperature for 15 minutes.
Nutrition Information
I’m not a nutritionist, but here’s the breakdown if you’re tracking.
Per Serving (based on 12 servings):
- Calories: 450
- Protein: 6g
- Carbs: 42g
- Fiber: 2g
- Sugar: 32g
- Fat: 28g
- Saturated Fat: 16g
- Cholesterol: 65mg
- Sodium: 280mg
What’s Good:
- Decent protein from cream cheese
- Calcium from the dairy
- Can add berries to boost nutrition
What to Know:
- Higher in calories from cream and chocolate
- Contains dairy and gluten
- High in sugar (it’s a dessert!)
My Take:
Look, this is a dessert with cream cheese, Oreos, and chocolate ganache. It’s not a diet recipe. It’s indulgent. But it’s way better than store-bought, costs less, and I know exactly what’s in it. When I want to make it lighter, I use less ganache and add berries. But usually? I just eat a reasonable portion and enjoy it. Life is short. Eat the cheesecake.
Final Thoughts
So that’s my go-to no-bake Oreo cheesecake with chocolate ganache! I’ve probably talked your ear off at this point, but when you make a recipe this often, you have a lot to say about it.
This has saved weeknight desserts more times than I can count. It’s my answer to “what’s for dessert” when I’m tired, don’t want to bake, and still want something that tastes really good. My kids are happy, my friends are happy, and I’m happy because I’m not stressed about cooking.
Make it yours! Try different add-ins, swap in your favorite cookies, adjust the ganache thickness. The best recipes are the ones you adapt to your family’s tastes. If you make this, drop a comment and let me know what you think! I love hearing how recipes turn out in your kitchen. And if something doesn’t work, tell me that too—I’m here to help troubleshoot.
Happy cooking! And I hope your kitchen smells half as good as mine does right now.
Frequently Asked Questions
Q: Can I use low-fat cream cheese?
A: You can, but the texture will be different. Low-fat cream cheese has more water and less fat, which can make the cheesecake runny. I’ve tried it, and it doesn’t set as well. Stick to full-fat for the best results. If you must use low-fat, add a packet of instant pudding mix to help it set.
Q: My cheesecake is too soft—what happened?
A: Usually means you didn’t chill it long enough. It needs at least 4 hours, preferably overnight. If it’s still soft after 4 hours, put it in the freezer for 30 minutes. That usually firms it up. Also, make sure you didn’t overmix the filling, which can incorporate too much air and prevent setting.
Q: Can I make this ahead for a dinner party?
A: Absolutely! This is actually better when made ahead. I make it the day before the party. It keeps well in the fridge for up to 5 days. Just cover it tightly with plastic wrap to prevent it from absorbing fridge odors. I’ve made it 2 days in advance, and it’s still perfect.
Q: Why did my ganache seize up?
A: The cream was probably too hot, or water got into the chocolate. Always use hot (not boiling) cream, and make sure your bowl is completely dry. If it seizes, add a tablespoon of warm cream and whisk vigorously. It should come back together. I’ve saved seized ganache this way, and it works.
Q: Can I use a different pan?
A: You can use a 9-inch round pan lined with parchment paper, but removal will be tricky. A springform pan is best because the sides pop off. If you don’t have one, a regular pan works, but you’ll need to lift the cheesecake out with parchment paper. I’ve done it, and it’s messy. Just get a springform pan.
Q: How do I store leftovers?
A: Store in an airtight container in the fridge for up to 5 days. The cheesecake will keep well. I usually eat it within 3 days because it’s too good to last longer. Don’t freeze it; the texture will suffer.
Q: Can I double this recipe?
A: Yes, but you’ll need a larger springform pan (10-inch or 12-inch). Double the ingredients and follow the same steps. The chilling time remains the same. I’ve doubled this for large parties, and it works great. Just make sure your bowl is big enough to mix everything.
Pin This Recipe!
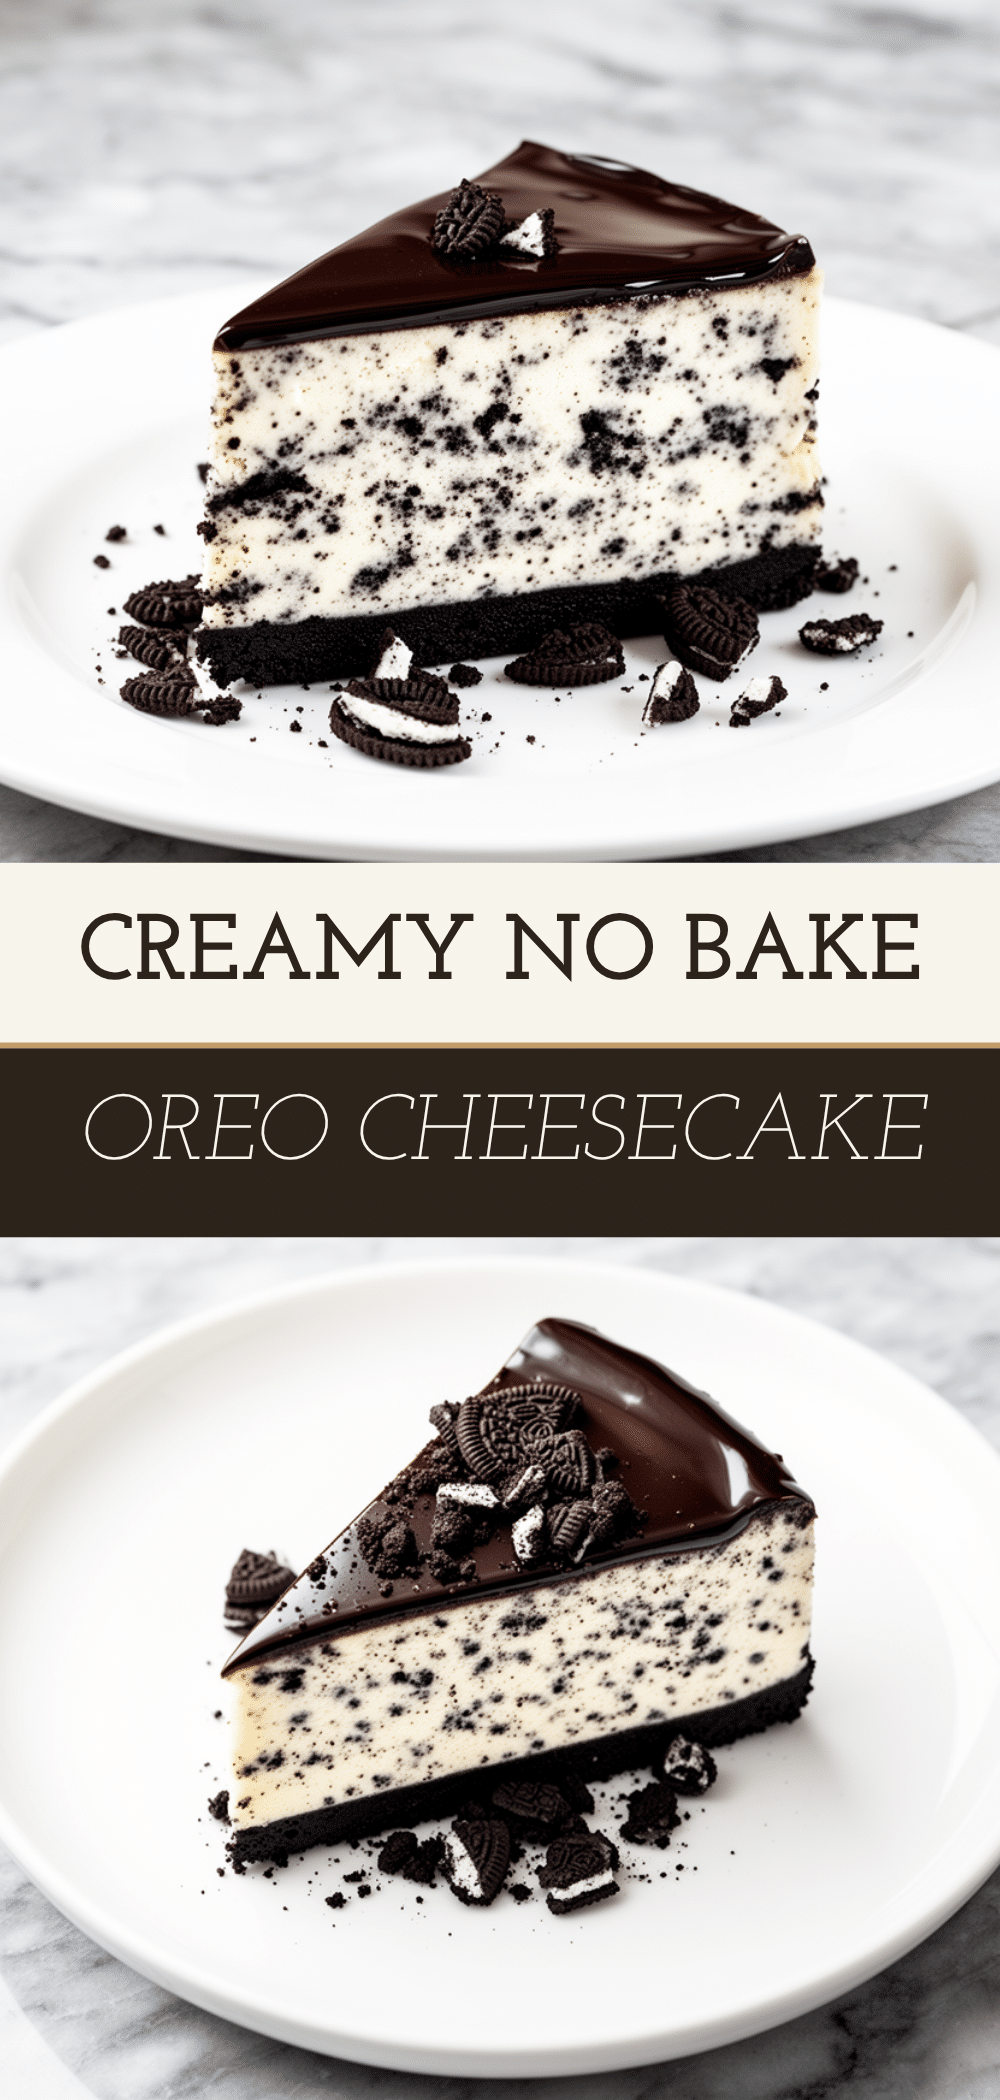
No-Bake Oreo Cheesecake: The Best Easy Dessert
- Total Time: 4 hours 30 minutes
- Yield: 12 servings 1x
Description
A foolproof, no-bake Oreo cheesecake with a crunchy cookie crust, creamy cream cheese filling, and rich chocolate ganache. This dessert is easy to make, looks impressive, and feeds a crowd.
Ingredients
- 24 Oreo cookies (about 300g)
- 6 tablespoons unsalted butter, melted
- 1 tablespoon granulated sugar (optional)
- 24 ounces full-fat cream cheese, softened
- 8 ounces full-fat cream cheese, softened
- 2 cups heavy whipping cream, cold
- 1 cup powdered sugar, sifted
- 2 teaspoons vanilla extract
- 1 cup dark chocolate chips
- ½ cup heavy cream (for ganache)
- Pinch of salt
- ½ cup crushed Oreos (optional, for garnish)
- Chocolate shavings (optional, for garnish)
- Whipped cream (optional, for serving)
Instructions
- Crush 24 Oreo cookies into fine crumbs using a food processor or rolling pin. Mix with melted butter and optional sugar until it resembles wet sand.
- Press the crust mixture firmly into the bottom and up the sides of a 9-inch springform pan. Chill in the refrigerator for 15 minutes.
- In a large bowl, whip the cold heavy cream, powdered sugar, and vanilla extract until stiff peaks form. Set aside.
- In another large bowl, beat the softened cream cheese (both blocks) until smooth. Add powdered sugar slowly and mix until combined, being careful not to overmix.
- Gently fold the whipped cream into the cream cheese mixture until uniform and no white streaks remain.
- Pour the filling over the chilled crust, smooth the top, and refrigerate for at least 4 hours or overnight.
- While the cheesecake chills, heat the heavy cream for the ganache until simmering. Pour over chocolate chips in a bowl and let sit for 5 minutes.
- Whisk the ganache until smooth and glossy. If needed, microwave for 10 seconds to melt remaining lumps.
- Pour the ganache over the set cheesecake, allowing it to drip down the sides. Garnish with crushed Oreos or chocolate shavings.
- Let the cheesecake sit at room temperature for 15-20 minutes before slicing with a hot, dry knife. Serve with whipped cream or berries if desired.
Notes
Ensure cream cheese is at room temperature to avoid lumps. Do not overmix the filling to maintain a light texture. The cheesecake tastes better if made ahead and chilled overnight. Do not freeze as the texture may become grainy.
- Prep Time: 30 minutes
- Cook Time: 0 minutes
- Category: Dessert
- Cuisine: American
Nutrition
- Serving Size: 1 slice
- Calories: 450
- Sugar: 32
- Sodium: 280
- Fat: 28
- Saturated Fat: 16
- Carbohydrates: 42
- Fiber: 2
- Protein: 6
Keywords: no-bake cheesecake, Oreo dessert, chocolate ganache, easy dessert, crowd-pleaser, make-ahead dessert


