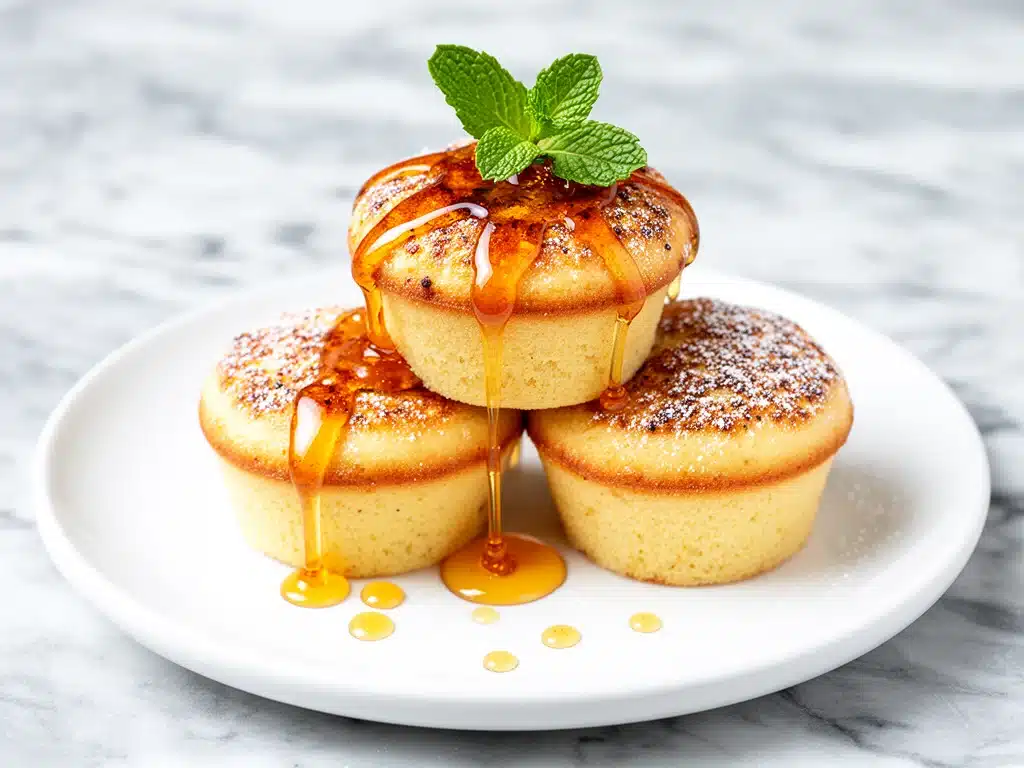
Last Tuesday, I was running on three hours of sleep and a cup of cold coffee when I heard the familiar, desperate chorus of “Mom, I’m hungry!” from the kitchen. It was 6:45 AM on a school day. The clock was ticking, the bus was coming in twenty minutes, and my usual go-to breakfast—scrambled eggs—felt like too much effort. My kids were already arguing over who got the bigger piece of toast, and I was one step away from just handing them granola bars for dinner (which is basically breakfast, right?).
That was the breaking point. I couldn’t keep living this way. I needed a breakfast that was faster than cereal, healthier than a donut, and something my kids would actually eat without complaining. That’s when I stumbled on the idea for these make-ahead back-to-school pancake muffins. I tweaked the recipe a dozen times, testing different flours, sweeteners, and add-ins, until I landed on the perfect balance of fluffy pancake texture and portable muffin convenience.
Now, my mornings look completely different. I spend twenty minutes on Sunday evening mixing batter and filling muffin tins. By Monday morning, I’m pulling warm, maple-drizzled pancakes out of the freezer, microwaving them for thirty seconds, and handing them to my kids. It’s like magic. And the best part? They taste like a treat, not like “healthy food.” If you’re drowning in morning chaos like I was, these muffins are going to save your sanity. I’ve made these at least twenty times since last September, and my family still asks for them every weekend.
Why You’ll Love These Pancake Muffins
Let’s be real: breakfast shouldn’t feel like a second job. These pancake muffins have completely transformed our mornings. Here’s why they’ve earned a permanent spot in our weekly rotation:
- Zero Morning Stress — Seriously, if you can mix a bowl, you can make these. I’ve even let my seven-year-old help with the mixing. The prep happens on Sunday, so Monday through Friday mornings are just “grab and go.” No chopping, no frying, no standing over a hot stove.
- Actually Healthy — These aren’t just sugary cupcakes in disguise. I use whole wheat flour, mashed bananas for natural sweetness, and yogurt for protein. They’re filling enough to keep little humans focused in math class until snack time. Plus, they’re smaller than a full pancake, so you don’t feel guilty eating two or three.
- Kid-Approved Texture — The biggest complaint about most “healthy” breakfasts is that they’re dry or dense. These are fluffy, moist, and have that classic pancake tang thanks to the buttermilk (or yogurt mix). They hold together well in lunchboxes too, which is a huge win for picky eaters.
- Freezer-Friendly — I make a double batch every Sunday. They freeze beautifully for up to three months. When I run out of fresh ones, I just pull a few from the freezer. They reheat perfectly in the microwave or toaster.
- Versatile Add-Ins — Got leftover blueberries? Throw them in. Want to sneak in some protein powder? Go for it. I’ve made chocolate chip, banana walnut, and plain vanilla versions. My kids let me pick the flavor, and I’ve never had a complaint.
This is my answer to the daily “what’s for breakfast?” question. It’s reliable, delicious, and makes everyone happy. No more rushing. No more begging them to eat. Just simple, tasty fuel for the school day.
Ingredients You’ll Need
Here’s the best part: you probably have most of these ingredients already. This isn’t a complicated recipe with hard-to-find superfoods. It’s pantry-friendly cooking at its finest. I’m particular about three things here—fresh baking powder, real maple syrup, and good quality yogurt—but everything else is basic.
For the Batter
All-purpose flour (2 cups / 250g) — I use all-purpose for the lightest texture, but you can substitute half with whole wheat pastry flour if you want a bit more fiber. Don’t use whole wheat flour exclusively; it makes them dense.
Baking powder (2 teaspoons) — Fresh is crucial. If your baking powder is older than six months, your muffins won’t rise properly. I buy a new tin every time I start a new school year.
Salt (½ teaspoon) — Just a pinch to balance the sweetness. Don’t skip it.
Eggs (2 large) — Room temperature eggs mix better into the batter. I take them out of the fridge while I prep the dry ingredients.
Milk (1 cup / 240ml) — Any milk works: dairy, almond, oat, or soy. I usually use whole milk for richness.
Unsalted butter (¼ cup / 57g, melted) — Melted and cooled slightly. You can substitute with coconut oil if you’re dairy-free, but butter tastes best.
Vanilla extract (1 teaspoon) — Pure vanilla, not imitation. It adds that classic pancake flavor.
For the Moisture & Sweetness
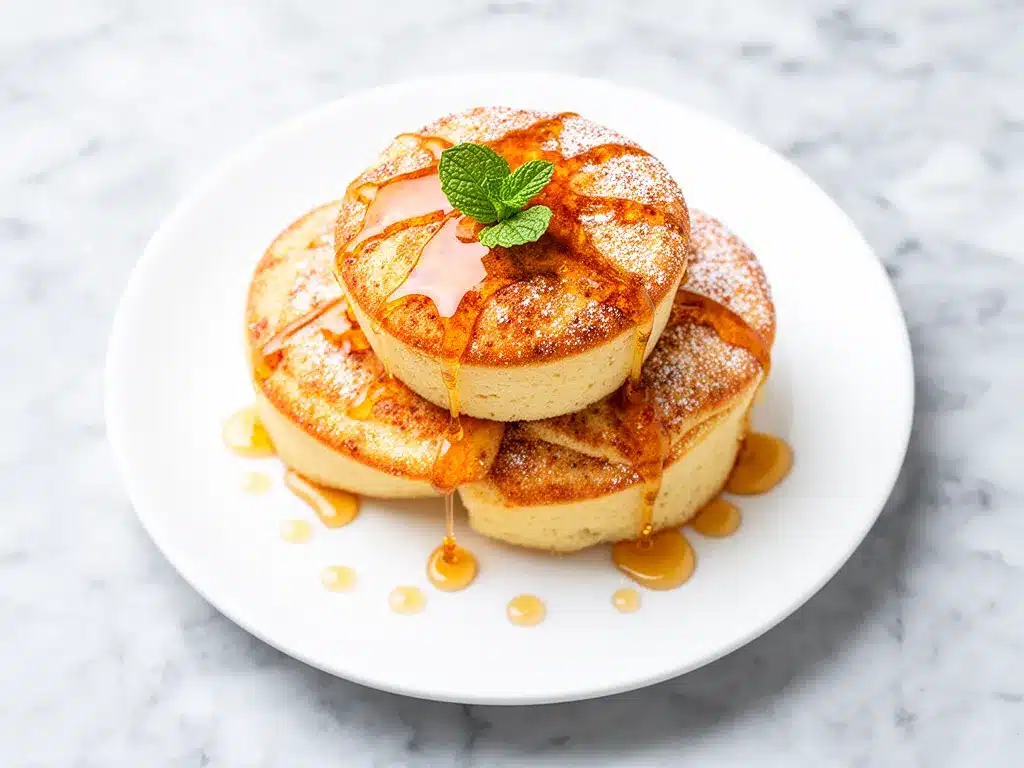
Plain Greek yogurt (½ cup / 120g) — This is the secret ingredient. It keeps the muffins moist and adds protein. Vanilla yogurt works too, but plain lets you control the sweetness. I use Fage 2% because it’s thick and creamy.
Ripe banana (1 large, mashed) — Adds natural sweetness and binds the batter. If your bananas aren’t super ripe, add an extra tablespoon of maple syrup. The browner the spots, the sweeter the muffin.
Maple syrup (¼ cup / 60ml) — Pure maple syrup, not pancake syrup. It adds a deep, rich flavor that sugar just can’t match. This goes into the batter and the drizzle.
For the Maple Drizzle
Maple syrup (3 tablespoons) — For the topping. Use the same good stuff.
Milk (1-2 teaspoons) — Just enough to thin the syrup so it drizzles nicely. Don’t overdo it; you want it glossy, not watery.
Cinnamon (½ teaspoon, optional) — Adds warmth and pairs beautifully with the maple. I always add this.
Optional Mix-Ins
Blueberries (½ cup fresh or frozen) — Fresh is nice, but frozen works great too. Toss them in flour before adding to prevent sinking.
Chocolate chips (½ cup) — Mini chips distribute better. My kids go crazy for these.
Walnuts or pecans (¼ cup, chopped) — Adds crunch and healthy fats. Great for older kids.
Pro Tip — I buy pre-minced garlic when I’m being lazy, but that’s for savory stuff. For these, I actually like measuring everything out by hand. It takes two minutes and ensures the ratios are right. Also, I keep a stash of these muffins in the freezer at all times. You never know when you’ll need a quick breakfast.
Equipment Needed
You don’t need fancy equipment for this. Here’s what I actually use:
Muffin tin — Standard 12-cup tin. I use a non-stick one because cleanup is easier. If you don’t have non-stick, grease the cups well or use liners.
Muffin liners — Paper or silicone. I prefer paper for easy removal, but silicone is great for the environment. I’ve tried both and paper is less sticky for these particular muffins.
Mixing bowls — Two bowls: one for dry ingredients, one for wet. I use large ceramic bowls because they don’t slip around.
Whisk — For mixing the wet ingredients smoothly. A fork works too, but a whisk incorporates air better.
Spatula — Rubber or silicone. Essential for folding in the mix-ins without overmixing the batter. Overmixing makes tough muffins.
Measuring cups and spoons — Standard stuff. Dollar store versions work fine.
Freezer-safe container or zip-top bags — For storing the finished muffins. I use heavy-duty freezer bags because they’re flat and stackable.
Optional but nice:
- Cookie scoop — Makes portioning the batter even. I use a ¼-cup scoop for consistent size.
- Pastry brush — For brushing the tops with butter after baking. Adds a nice finish.
How to Make It: Step-by-Step
Alright, let’s make this! I’m walking you through exactly how I do it, including the little tricks I’ve picked up. This process takes about 15 minutes of active time, plus baking and cooling.
Step 1: Prep Your Station (5 minutes)
Preheat your oven to 375°F (190°C). Line your muffin tin with liners or grease the cups lightly with butter or cooking spray. I always spray the liners too, just in case. Set out your mixing bowls, whisk, and spatula. Having everything ready makes the mixing process smooth and fast.
Step 2: Mix the Dry Ingredients (2 minutes)
In a large bowl, whisk together the flour, baking powder, and salt. Make sure there are no lumps of baking powder, or you’ll get bitter spots. If you’re adding cinnamon or nutmeg now, add it here. Set this bowl aside.
Step 3: Combine the Wet Ingredients (3 minutes)
In a separate bowl, whisk the eggs until beaten. Add the milk, melted butter, vanilla extract, Greek yogurt, mashed banana, and maple syrup. Whisk until smooth and well combined. The mixture might look a bit curdled if the butter is cold, but that’s okay—it will smooth out when mixed with the flour.
Step 4: Fold the Batter Together (2 minutes)
Pour the wet ingredients into the dry ingredients. Gently fold them together using a spatula. Stop as soon as the flour disappears. Do not overmix. Lumps are good. Overmixing develops gluten and makes the muffins tough. I usually do about 10-15 folds. If you’re adding mix-ins like blueberries or chocolate chips, fold them in now. Be gentle so they don’t break apart.
Step 5: Fill the Muffin Tin (2 minutes)
Distribute the batter evenly among the 12 muffin cups. Fill each cup about ¾ full. If you’re using a cookie scoop, this is super easy. If not, use a spoon and try to make them even. Even baking is key for consistent results.
Step 6: Bake (18-20 minutes)
Place the tin in the preheated oven. Bake for 18-20 minutes, or until the tops are golden brown and a toothpick inserted into the center comes out clean. I rotate the tin halfway through baking to ensure even browning. Don’t open the oven door too early, or the muffins might collapse.
Step 7: Cool and Drizzle (10 minutes)
Remove the tin from the oven and let the muffins cool in the pan for 5 minutes. Then, transfer them to a wire rack to cool completely. Once cool, whisk together the maple syrup, milk, and cinnamon for the drizzle. Drizzle generously over the tops. I like to do this while they’re still slightly warm, but not hot, so the syrup soaks in a little.
Total Time: About 35 minutes (15 minutes active, 20 minutes baking)
Built-in Troubleshooting:
- Muffins are dense? You probably overmixed the batter. Next time, fold fewer times.
- Top is burning? Your oven runs hot. Check them at 15 minutes. If they’re browning too fast, cover with foil.
- Center is raw? Bake 2-3 minutes longer. Every oven is different.
Expert Tips & Tricks
Here’s everything I’ve learned from making these dozens of times. These tips will save you from my mistakes.
Don’t Overmix the Batter
This is the #1 mistake people make. Lumpy batter = fluffy muffins. Smooth batter = dense pancakes. I’ve ruined batches by trying to get it perfect. Stop mixing when you see streaks of flour. The residual heat and folding will finish the job.
Use Ripe Bananas
The browner the banana, the sweeter the muffin. If your bananas are green, they’ll add starchiness, not sweetness. I keep bananas on the counter until they’re almost black, then freeze them for baking. It’s a game-changer.
Freeze Properly
Let the muffins cool completely before freezing. If you freeze them warm, you’ll get condensation and soggy muffins. Wrap them tightly in plastic wrap or put them in a freezer bag with as much air squeezed out as possible. They last up to 3 months.
Reheat Correctly
For the best texture, reheat in the microwave for 30-45 seconds. If you have time, toast them in the toaster oven for 5 minutes at 350°F. They get slightly crispy on the outside and soft inside. Microwave only is fine for speed, but toaster oven is better.
Customize the Drizzle
Not a maple fan? Try a vanilla glaze (powdered sugar + milk + vanilla) or a simple honey drizzle. I’ve even done a chocolate drizzle for special occasions. The base recipe is neutral enough to pair with anything.
Variations & Substitutions
Once you’ve nailed the basic version, here’s how you can mix it up. I’ve tried all of these.
Banana Walnut Version
Add ½ cup chopped walnuts to the batter. The crunch pairs perfectly with the banana. My husband loves this version.
Blueberry Lemon
Add ½ cup fresh blueberries and the zest of one lemon to the batter. The lemon brightens up the blueberries. It’s like a summer breakfast.
Chocolate Chip
Add ½ cup mini chocolate chips. My kids’ favorite. I sometimes add a tablespoon of cocoa powder to the dry ingredients for a chocolate pancake flavor.
Protein-Packed
Add 1 scoop of vanilla protein powder. You might need an extra tablespoon of milk because protein powder absorbs liquid. Great for post-workout breakfasts.
Dairy-Free
Use almond milk and coconut oil instead of butter. Use dairy-free yogurt. The texture is slightly different but still tasty. My lactose-intolerant friend loves these.
Gluten-Free
Use a 1:1 gluten-free flour blend. The results are very similar to all-purpose. I’ve used Bob’s Red Mill and King Arthur, and both work well.
Serving & Storage
How to Serve:
I usually serve these warm, straight from the microwave. They’re perfect for breakfast on the go. I also pack them in my kids’ lunchboxes with a piece of fruit. They hold up well for a few hours. If you’re having guests, serve them with fresh berries and whipped cream. They look fancy but are super simple.
Side Dishes:
- Fresh fruit salad
- Yogurt parfait
- Side of bacon or sausage
- Smoothie
Storage Instructions:
Refrigerator: Store in an airtight container for up to 4 days. They stay moist but will firm up slightly.
Freezer: Store in a freezer-safe bag for up to 3 months. Label with the date so you don’t forget. They freeze beautifully.
Reheating: Microwave for 30-45 seconds. Toast in toaster oven for 5 minutes at 350°F. Do not refreeze after thawing.
Pro Tip: If you’re making these for meal prep, make a double batch. They freeze so well that you’ll always have breakfast ready to go. I keep a stash in the freezer at all times. It’s my secret weapon for busy mornings.
Nutrition Information
I’m not a nutritionist, but here’s the breakdown if you’re tracking. This is per muffin, based on 12 servings, without the drizzle.
| Nutrient | Amount per Muffin |
|---|---|
| Calories | 140 |
| Protein | 5g |
| Carbs | 22g |
| Fiber | 2g |
| Sugar | 8g |
| Fat | 4g |
| Saturated Fat | 2g |
| Cholesterol | 25mg |
| Sodium | 150mg |
What’s Good: Decent protein from yogurt and eggs. Fiber from whole wheat flour. Lower in sugar than traditional pancakes. What to Know: Contains dairy and gluten. Can be modified for dietary restrictions. Moderate calories for a breakfast item.
Final Thoughts
So that’s my go-to make-ahead back-to-school pancake muffins! I’ve probably talked your ear off at this point, but when you make a recipe this often, you have a lot to say about it. These muffins have saved my mornings. They’re my answer to “what’s for breakfast?” when I’m tired, don’t want to cook, and still want something healthy. My kids are happy, I’m happy, and we’re all happy because we’re not stressed about breakfast.
Make it yours! Try different add-ins, swap in your favorite fruits, or adjust the sweetness. The best recipes are the ones you adapt to your family’s tastes. If you make this, drop a comment and let me know what you think! I love hearing how recipes turn out in your kitchen. And if something doesn’t work, tell me that too—I’m here to help troubleshoot.
Happy cooking! And I hope your mornings are half as calm as mine are now.
Frequently Asked Questions
Can I use self-rising flour instead of all-purpose?
Yes, but you need to adjust the baking powder and salt. Self-rising flour already has leavening agents. Use 2 cups self-rising flour and omit the baking powder and salt in the recipe. It works well, but the texture might be slightly different. I prefer all-purpose for consistency.
Why did my muffins turn out dry?
Overbaking is the most common cause. Check them at 15 minutes. If the toothpick comes out clean, they’re done. Also, make sure you’re using ripe bananas and enough yogurt. If you’re using low-fat yogurt, the muffins might be drier. Full-fat yogurt adds moisture.
Can I freeze the batter?
No, I don’t recommend freezing the batter. The baking powder loses its effectiveness over time, and the bananas might brown. It’s best to bake them first, then freeze the finished muffins. They freeze much better that way.
How do I reheat frozen muffins?
Microwave for 30-45 seconds. For a crispier texture, toast in the toaster oven at 350°F for 5 minutes. They should be warm and soft throughout. Don’t microwave for too long, or they’ll become chewy.
Can I make these without bananas?
Yes, but you’ll need a substitute for the moisture and binding. Applesauce works well (use ½ cup). Pumpkin puree is another option. You might need to add a little extra milk to get the right consistency. The flavor will change, but they’ll still be good.
Are these suitable for school lunchboxes?
Absolutely. They’re portable, don’t require refrigeration for a few hours, and are easy to eat. I pack them in a small container with a napkin. They’re a hit with my kids’ friends too. Just make sure your school doesn’t have nut restrictions if you use nuts.
Can I double this recipe?
Yes, double everything and use two muffin tins. The baking time stays the same. I do this every Sunday to have enough for the whole week. Just make sure your oven has room for two tins, or bake in batches.
Pin This Recipe!
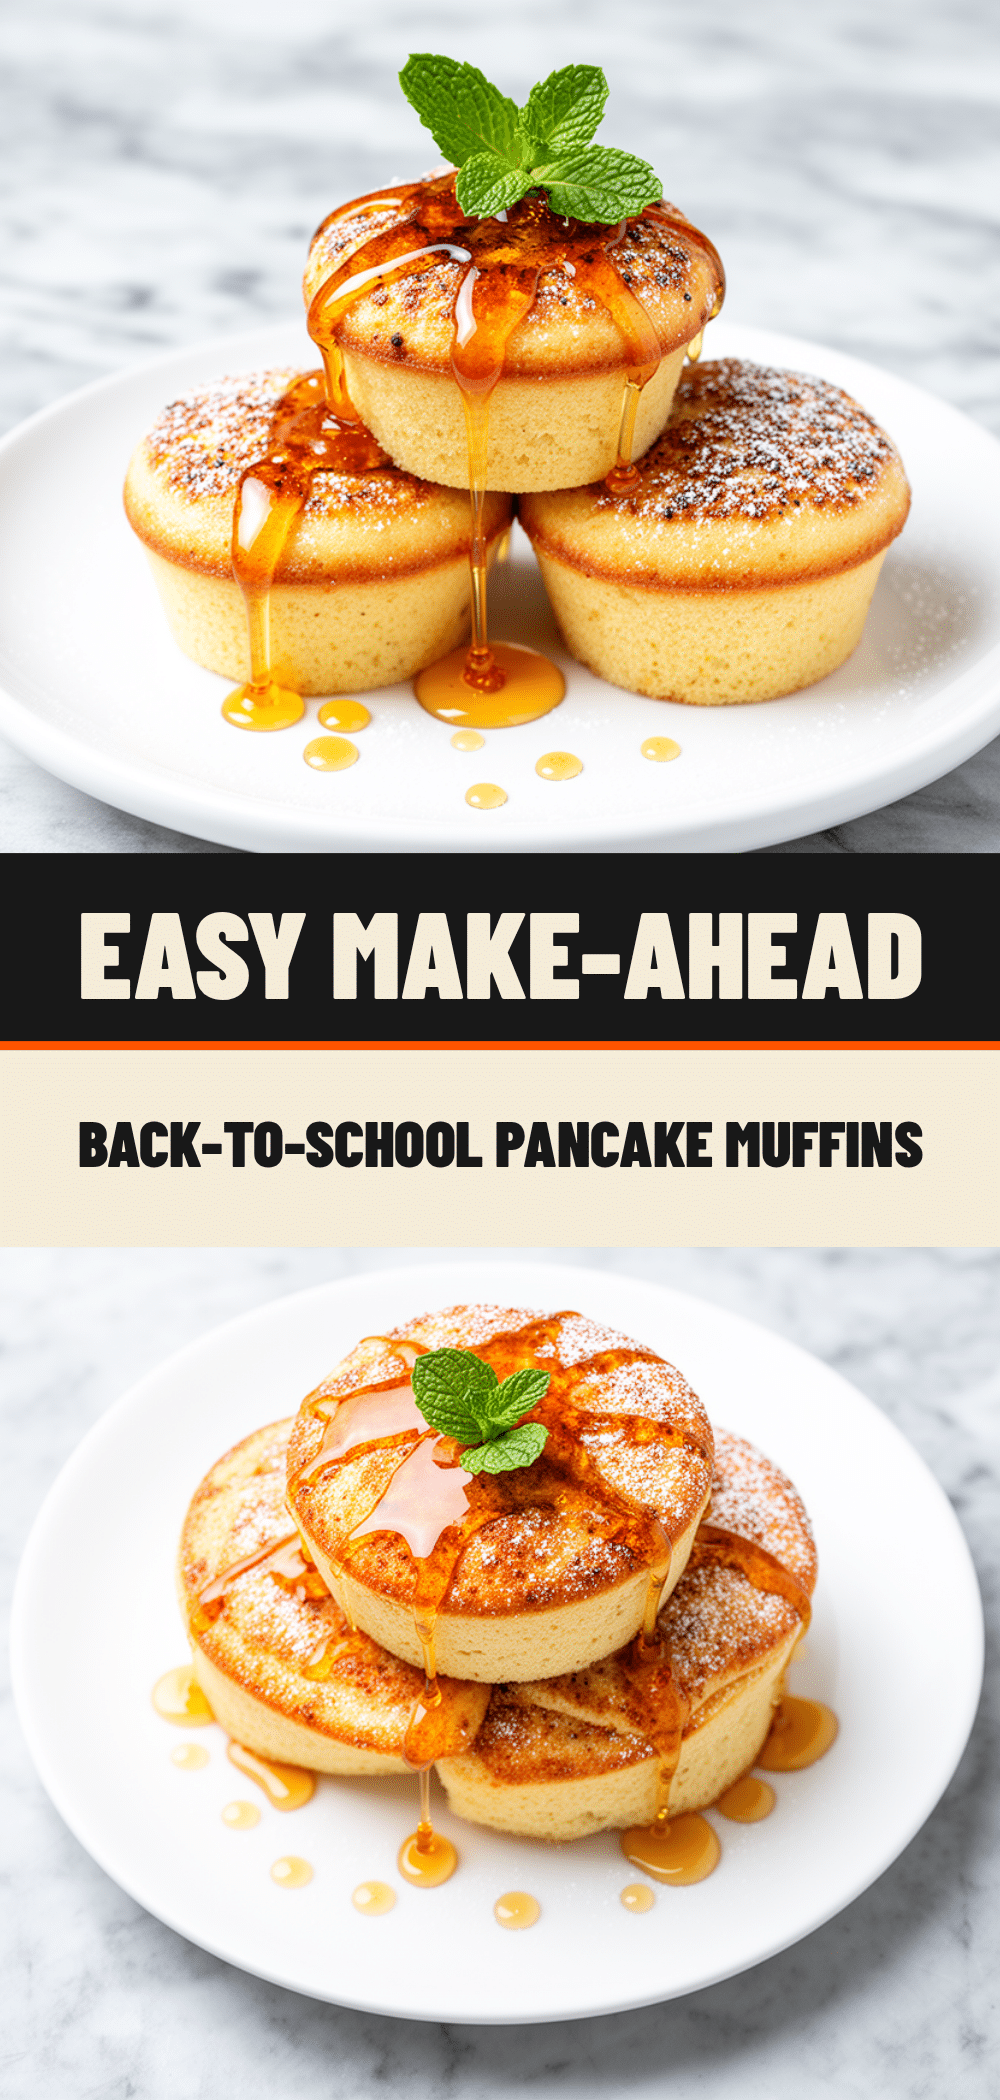
Make-Ahead Back-to-School Pancake Muffins
- Total Time: 35 minutes
- Yield: 12 servings 1x
Description
These easy, kid-approved pancake muffins are perfect for busy school mornings. Made with whole wheat flour, yogurt, and banana, they are freezer-friendly, healthy, and delicious.
Ingredients
- 2 cups all-purpose flour
- 2 teaspoons baking powder
- ½ teaspoon salt
- 2 large eggs, room temperature
- 1 cup milk (dairy or non-dairy)
- ¼ cup unsalted butter, melted and cooled
- 1 teaspoon vanilla extract
- ½ cup plain Greek yogurt
- 1 large ripe banana, mashed
- ¼ cup pure maple syrup
- 3 tablespoons maple syrup (for drizzle)
- 1–2 teaspoons milk (for drizzle)
- ½ teaspoon cinnamon (optional, for drizzle)
- Optional mix-ins: ½ cup blueberries, ½ cup chocolate chips, or ¼ cup chopped nuts
Instructions
- Preheat oven to 375°F (190°C). Line a standard 12-cup muffin tin with liners or grease lightly.
- In a large bowl, whisk together the flour, baking powder, and salt until no lumps remain.
- In a separate bowl, whisk the eggs. Add the milk, melted butter, vanilla extract, Greek yogurt, mashed banana, and ¼ cup maple syrup. Whisk until smooth.
- Pour the wet ingredients into the dry ingredients. Gently fold together with a spatula until just combined. Do not overmix; lumps are okay. Fold in any optional mix-ins.
- Divide the batter evenly among the 12 muffin cups, filling each about ¾ full.
- Bake for 18-20 minutes, or until the tops are golden brown and a toothpick inserted into the center comes out clean. Rotate the tin halfway through baking for even browning.
- Let muffins cool in the pan for 5 minutes, then transfer to a wire rack to cool completely.
- For the drizzle, whisk together 3 tablespoons maple syrup, 1-2 teaspoons milk, and cinnamon. Drizzle over the cooled muffins.
Notes
Do not overmix the batter to ensure fluffy muffins. Use ripe bananas for natural sweetness. Muffins can be frozen for up to 3 months. Reheat in microwave for 30-45 seconds or toaster oven at 350°F for 5 minutes.
- Prep Time: 15 minutes
- Cook Time: 20 minutes
- Category: Breakfast
- Cuisine: American
Nutrition
- Serving Size: 1 muffin
- Calories: 140
- Sugar: 8
- Sodium: 150
- Fat: 4
- Saturated Fat: 2
- Carbohydrates: 22
- Fiber: 2
- Protein: 5
Keywords: pancake muffins, make-ahead breakfast, kids breakfast, back-to-school recipes, healthy muffins, freezer-friendly breakfast, easy morning meal


