It’s that time of year again. The leaves are turning, the air smells like woodsmoke, and my kitchen is about to become a flour-dusted war zone. But honestly? I wouldn’t trade it for anything.
Last Saturday, my seven-year-old, Leo, stood on his step stool and carefully poured a cup of oats into a bowl. He got it everywhere. Oats were on the counter, on his shirt, and in his hair. I watched him carefully sprinkle cinnamon, his little tongue poking out in concentration. Then came the most important part: the butter cubes. He dropped them in one by one, counting under his breath. “One, two, three…”
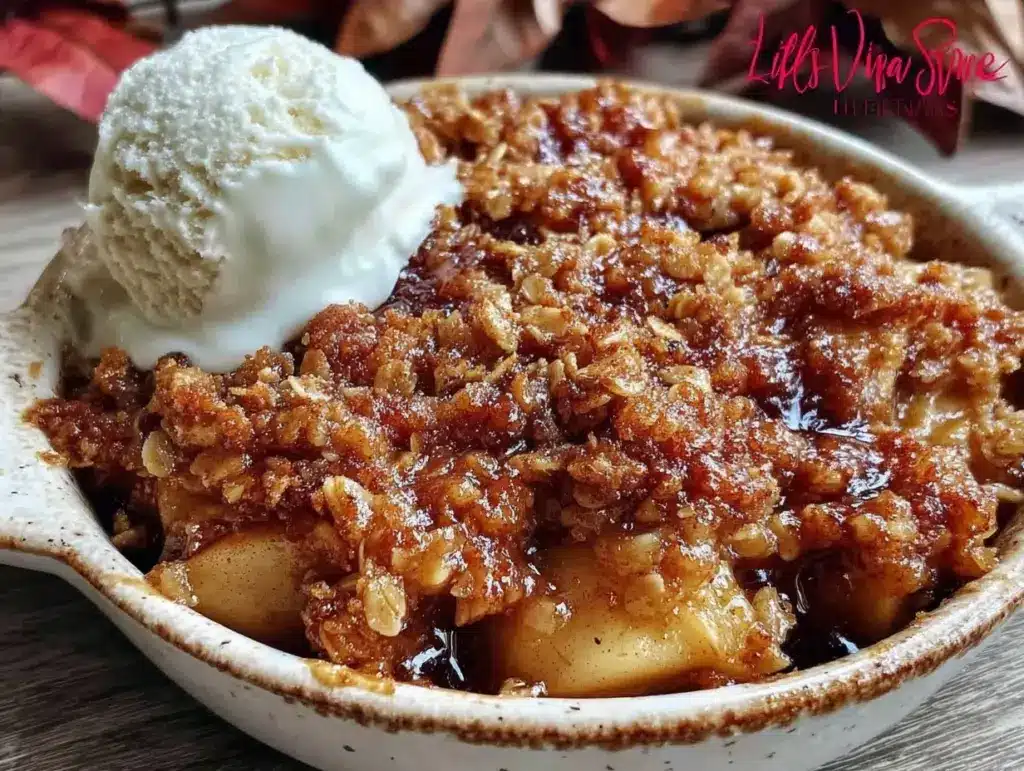
When the timer dinged and we pulled that Easy Fall Cinnamon Apple Crisp Kids Love to Make out of the oven, the smell hit us before we even opened the door. Leo looked up at me, flour on his nose, and said, “I made this. It’s warm.”
That’s the magic moment. Not the eating (though we definitely ate a lot of that). It’s the pride. It’s the shared time. It’s the fact that we spent an hour together, making a mess, laughing when the apples spilled over the counter, and waiting patiently for the oven to do its thing.
I’ve been making this Easy Fall Cinnamon Apple Crisp Kids Love to Make for three years now. It’s become our autumn ritual. We go to the orchard, pick apples, come home, and bake. It’s simple enough for a five-year-old to help with, but delicious enough that even my picky-eater husband asks for seconds. If you’re looking for a way to slow down and connect with your little ones this season, this is it.
Here’s the thing about baking with kids: it’s not about the perfect result. It’s about the process. And this Easy Fall Cinnamon Apple Crisp Kids Love to Make is forgiving. It’s messy. It’s sweet. And it’s perfect.
Why You’ll Love Making This Together
There are a million things to do in the fall. But finding an activity that keeps kids engaged, uses simple ingredients, and results in a warm, comforting treat is rare. This crisp checks every box.
It’s Actually Kid-Proof — Most baking recipes fail with kids because they require precision. This one doesn’t. You can eyeball the flour. You can chop apples with a plastic knife (safety first!). The crisp is forgiving. If the topping is chunky? Perfect. If it’s crumbly? Also perfect.
Minimal Cleanup (Relatively) — I know, “minimal cleanup” with kids is a myth. But compared to making pie dough from scratch? This is a breeze. You only need one bowl for the topping and one baking dish for the apples. That’s it. No mixing two crusts, no rolling pins, no flour clouds in the air.
Sensory Play Built-In — Kids learn through their senses. This recipe engages sight (the golden brown color), smell (cinnamon and baked apples), touch (the crumbly texture of the topping), and taste. It’s a full sensory experience.
It Teaches Patience — In a world of instant gratification, waiting for the oven is a hard lesson. But when they help make it, the wait feels shorter. Plus, the reward is worth it. It teaches them that good things take time.
It’s Versatile — Have too many apples? Add some pears. Want to add nuts? Go for it. Want to make it gluten-free? Easy swap. This Easy Fall Cinnamon Apple Crisp Kids Love to Make is a base recipe that can grow with your family’s needs.
So, put down the takeout menu. Let’s get messy. This is my go-to when I want to create a memory, not just a meal.
Key Ingredients (And Why They Matter)
You don’t need fancy ingredients for this. In fact, the beauty of this Easy Fall Cinnamon Apple Crisp Kids Love to Make is its simplicity. Here’s what you’ll need, with exact measurements so you don’t have to guess.
Apples (6 medium, peeled and sliced / approx. 1.5 kg) — Use a mix of tart and sweet apples. I love using a combination of Granny Smith and Honeycrisp. Granny Smith holds its shape and adds tang, while Honeycrisp adds sweetness and softness. Avoid Red Delicious—they turn to mush. Tip: Let your kids help peel and slice. Use a serrated knife for safety, or buy pre-sliced if you’re short on time.
All-Purpose Flour (1 cup / 125g) — This is the base of the crumbly topping. It gives structure. Tip: If you want to make it gluten-free, use a 1:1 gluten-free flour blend. It works perfectly here.
Old-Fashioned Rolled Oats (1 cup / 90g) — Oats add chewiness and heartiness. Don’t use instant oats; they’ll turn into paste. Tip: Let your kids measure this. It’s fun to pour the oats from the bag into the cup.
Brown Sugar (1 cup / 200g) — Packed tightly. Brown sugar adds moisture and a caramel-like flavor. Light or dark brown both work, but dark has a deeper molasses taste. Tip: Let your kids pack the sugar. It’s great for fine motor skills.
Cold Butter (1/2 cup / 113g, cut into cubes) — Cold butter is crucial. It creates those flaky, crumbly bits in the topping. If the butter is soft, the topping will be more like a cookie. Tip: Cut the butter into cubes ahead of time. It’s easier for kids to handle cold cubes than soft butter.
Cinnamon (2 teaspoons / 4g) — The star of the show. Don’t skimp. Use a good quality cinnamon for the best flavor. Tip: This is where the sensory magic happens. Let your kids smell the cinnamon before adding it.
Nutmeg (1/4 teaspoon / 0.5g) — Just a pinch. It adds warmth without overpowering. Tip: If you don’t have nutmeg, skip it. It’s optional.
Salt (1/4 teaspoon / 1.5g) — Salt balances the sweetness. Don’t skip it. Tip: It’s easy to forget, but it makes the cinnamon pop.
Tools Needed
You don’t need fancy equipment. Here’s what I use, and what you can swap if needed.
Large Mixing Bowl — I use a 5-quart stainless steel bowl. Any bowl that’s big enough to hold all the topping ingredients works. Tip: A bowl with a wide rim is easier for kids to mix in without spilling.
Baking Dish — I use a 9×13 inch glass baking dish. Glass heats evenly and lets you see the bubbling apples. You can also use a ceramic dish or a metal pan. Tip: Grease the dish lightly before adding the apples. It prevents sticking.
Fork or Pastry Cutter — To cut the butter into the dry ingredients. A fork works fine, and it’s safer for kids than a pastry cutter. Tip: Let your kids use the fork to “cut” the butter. It’s like a game.
Peeler and Knife — For prepping the apples. Tip: For younger kids, use a Y-peeler. It’s easier to grip. For slicing, use a plastic knife or let an adult handle the knife.
Oven — Obviously. Preheat to 375°F (190°C). Tip: Let your kids help set the oven temperature. It’s a good math exercise.
How to Make It (Step-by-Step)
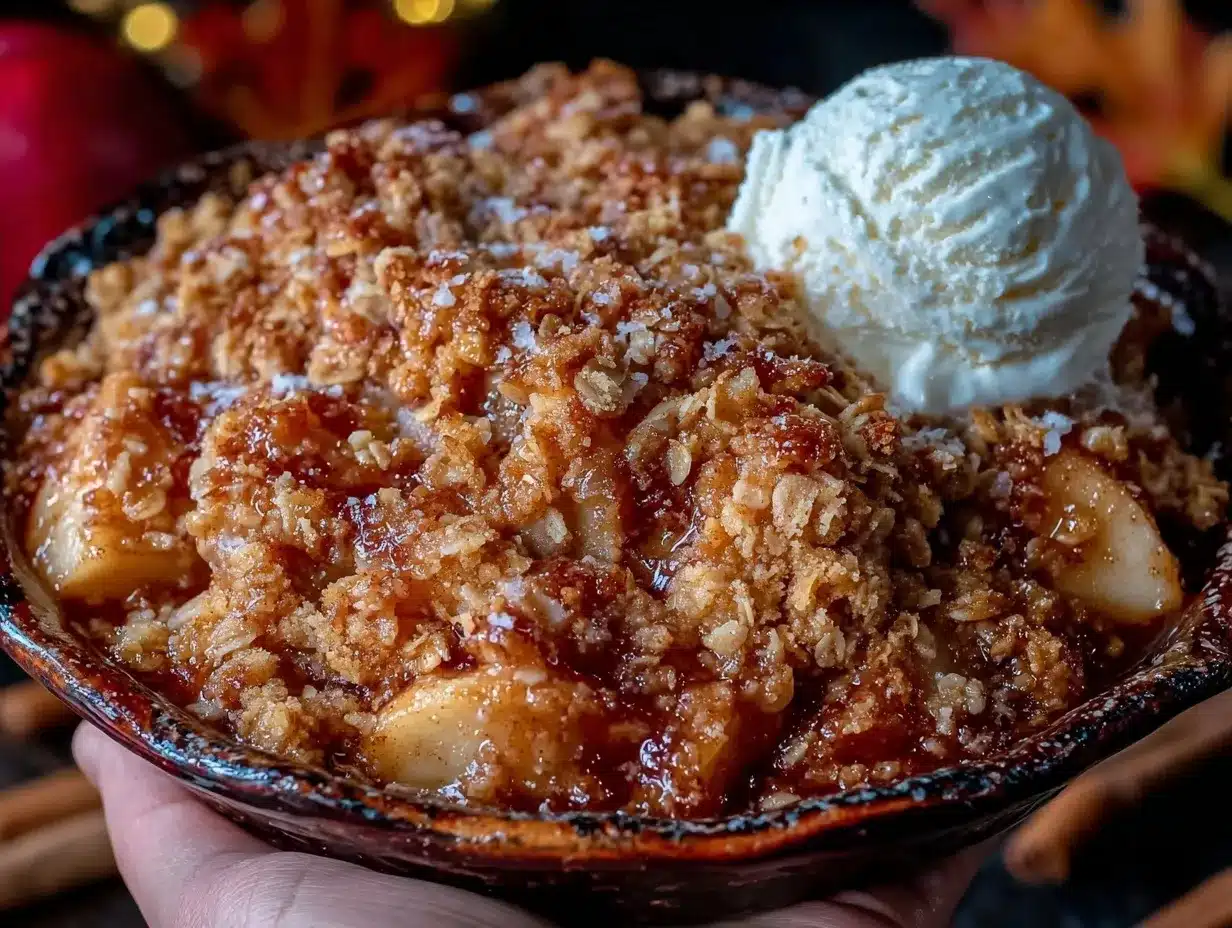
Here’s exactly how I make this Easy Fall Cinnamon Apple Crisp Kids Love to Make. I’ve broken it down into steps that are easy for kids to follow.
Step 1: Prep the Apples (10 minutes)
Wash the apples. Peel them (you can leave the skin on for more fiber, but peeled is softer for kids). Slice them into thin, even slices. Aim for about 1/4-inch thick. Why it matters: Even slices cook evenly. If some are thick and some are thin, the thick ones will be raw when the thin ones are mushy. Common mistake: Slicing too thick. Keep them thin! Tip: Let your kids slice the apples. Use a plastic knife for safety, or supervise closely with a real knife. Place the sliced apples in the baking dish. Sprinkle with 1 tablespoon of flour (this thickens the juices). Toss gently to coat.
Step 2: Make the Topping (10 minutes)
In the large mixing bowl, combine the flour, oats, brown sugar, cinnamon, nutmeg, and salt. Mix with a fork until combined. Why it matters: Even distribution ensures every bite has flavor. Add the cold butter cubes. Use the fork to cut the butter into the dry mixture. Press the fork into the butter and drag it through the flour. Keep doing this until the mixture looks like coarse crumbs with some larger clumps. Why it matters: The clumps create texture. You want some big chunks and some fine crumbs. Common mistake: Over-mixing. Stop when you see crumbs. If it’s too wet, add more flour. If it’s too dry, add more butter. Tip: Let your kids do the “cutting” with the fork. It’s messy but fun. Sprinkle the topping evenly over the apples.
Step 3: Bake (45-50 minutes)
Place the baking dish on a baking sheet (to catch any drips). Bake at 375°F (190°C) for 45-50 minutes. Why it matters: Baking on a sheet prevents overflow messes. The crisp is done when the topping is golden brown and the apples are bubbling around the edges. Why it matters: Bubbling means the apples are cooked and the juices have thickened. Common mistake: Taking it out too early. Wait for the bubbles. Undercooked apples are sour and crunchy. Tip: Let your kids watch the oven. It’s exciting to see the color change. Let it cool for 10-15 minutes before serving. Why it matters: It’s hot! Letting it cool allows the juices to set, so it’s not soupy.
Total Time: 10 minutes prep + 45-50 minutes bake + 10 minutes cool = ~1 hour.
Expert Tips From a Mom Who’s Made This Too Many Times
Here’s everything I learned from making this too many times. Some of these are game-changers.
The Butter Must Be Cold
This is the #1 mistake. If the butter is soft, the topping will be greasy and cookie-like. Cold butter creates steam as it melts, which creates flaky layers. Personal note: I once used room-temp butter and regretted it. The texture was off. Always chill your butter.
Don’t Skip the Baking Sheet
Apples release a lot of juice. If it bubbles over, it will burn on the bottom of your oven. A baking sheet catches the mess. Personal note: I burned my oven floor once. Never again. It’s a pain to clean.
Let It Cool
I know it’s tempting to dig in immediately. But wait. The juices need to set. If you serve it hot, it’s soupy. If you wait 10 minutes, it’s perfect. Personal note: My kids always want to eat it right away. I tell them, “Good things come to those who wait.” It works 50% of the time.
Add a Pinch of Salt
It sounds basic, but salt enhances the cinnamon and apple flavors. Don’t skip it. Personal note: I once forgot the salt. It tasted flat. Added salt next time and it was better.
Use a Mix of Apples
One type of apple can be too tart or too soft. A mix gives balance. Personal note: I use Granny Smith and Honeycrisp. It’s my favorite combo.
Recipe Variations
Once you’ve nailed the basic version, here’s how to mix it up.
Pear Crisp
Swap apples for pears. Pears are softer and sweeter. Use Bosc or Anjou pears. Why it works: Pairs well with cinnamon. Personal note: My kids love pears. It’s a nice change.
Berry Crisp
Swap apples for mixed berries (blueberries, raspberries, blackberries). Reduce sugar by 1/4 cup because berries are sweeter. Why it works: Berries cook faster. Bake for 30-35 minutes. Personal note: I make this in summer. It’s delicious.
Gluten-Free
Use a 1:1 gluten-free flour blend. Why it works: The texture is similar. Personal note: My gluten-free friend loved this. She couldn’t tell the difference.
Vegan
Use vegan butter. Why it works: Vegan butter melts like regular butter. Personal note: I use Earth Balance. It works great.
Add Nuts
Add 1/2 cup chopped pecans or walnuts to the topping. Why it works: Adds crunch and flavor. Personal note: I love pecans. They add a nice earthy taste.
Spice It Up
Add 1/2 teaspoon cardamom or allspice. Why it works: Adds warmth. Personal note: I like cardamom. It’s unique.
Serving & Storage
Serving:
Serve warm. I love it with a scoop of vanilla ice cream or a dollop of whipped cream. It’s classic. For a healthier option, serve with Greek yogurt. Side dish ideas: Serve with roasted chicken or pork chops for a complete meal. It’s a great comfort food side.
Storage:
Cover with plastic wrap or aluminum foil. Room temp: Up to 2 days. Refrigerator: Up to 5 days. Reheat in the microwave for 1-2 minutes or in the oven at 350°F for 10-15 minutes. Freezer: Yes, it freezes well. Wrap tightly in foil and freeze for up to 3 months. Thaw in the fridge overnight and reheat. Personal note: I freeze leftovers in individual portions. It’s great for quick snacks.
Nutrition Information
I’m not a nutritionist, but here’s the breakdown per serving (approx. 1/8 of the recipe).
| Nutrient | Amount |
|---|---|
| Calories | 280 |
| Protein | 3g |
| Carbs | 45g |
| Fiber | 4g |
| Fat | 10g |
| Sodium | 150mg |
My Take:
This is comfort food with sugar and butter. Not diet food. But it’s better than store-bought desserts, and I know exactly what’s in it. It’s a treat, not a staple. Enjoy it in moderation.
Final Thoughts
This Easy Fall Cinnamon Apple Crisp Kids Love to Make is more than a recipe. It’s a memory-maker. It’s about the flour on the counter, the smell of cinnamon, and the pride in your child’s eyes when they say, “I made this.”
If you make this, drop a comment! I love hearing how it turns out in your kitchen. Did your kids help? What did they think? Share your stories. I read every comment.
Happy cooking!
FAQs
Can I use frozen apples?
Yes, but thaw them first and drain the excess liquid. Frozen apples release more water, so you might need to add an extra tablespoon of flour to the topping to absorb it.
Why did my topping turn out soggy?
This usually happens if the butter was too soft or if you didn’t bake it long enough. Make sure the butter is cold and bake until the edges are bubbling.
Can I make this ahead of time?
Yes! Prepare the apples and topping separately. Store them in the fridge. Assemble and bake when ready. It saves time on busy days.
What’s the best apple for crisp?
Granny Smith and Honeycrisp are my favorites. They balance tartness and sweetness. Avoid Red Delicious—they get mushy.
Can I add chocolate chips?
Absolutely! Add 1/2 cup chocolate chips to the topping. It’s like an apple crumble bar. My kids love it.
How do I store leftovers?
Cover with foil and refrigerate for up to 5 days. Reheat in the microwave or oven. It’s best fresh, but leftovers are still good.
Can I make this gluten-free?
Yes. Use a 1:1 gluten-free flour blend. The texture will be slightly different, but it’s still delicious. I’ve made this with gluten-free flour, and my gluten-free friends loved it.
Pin This Recipe!
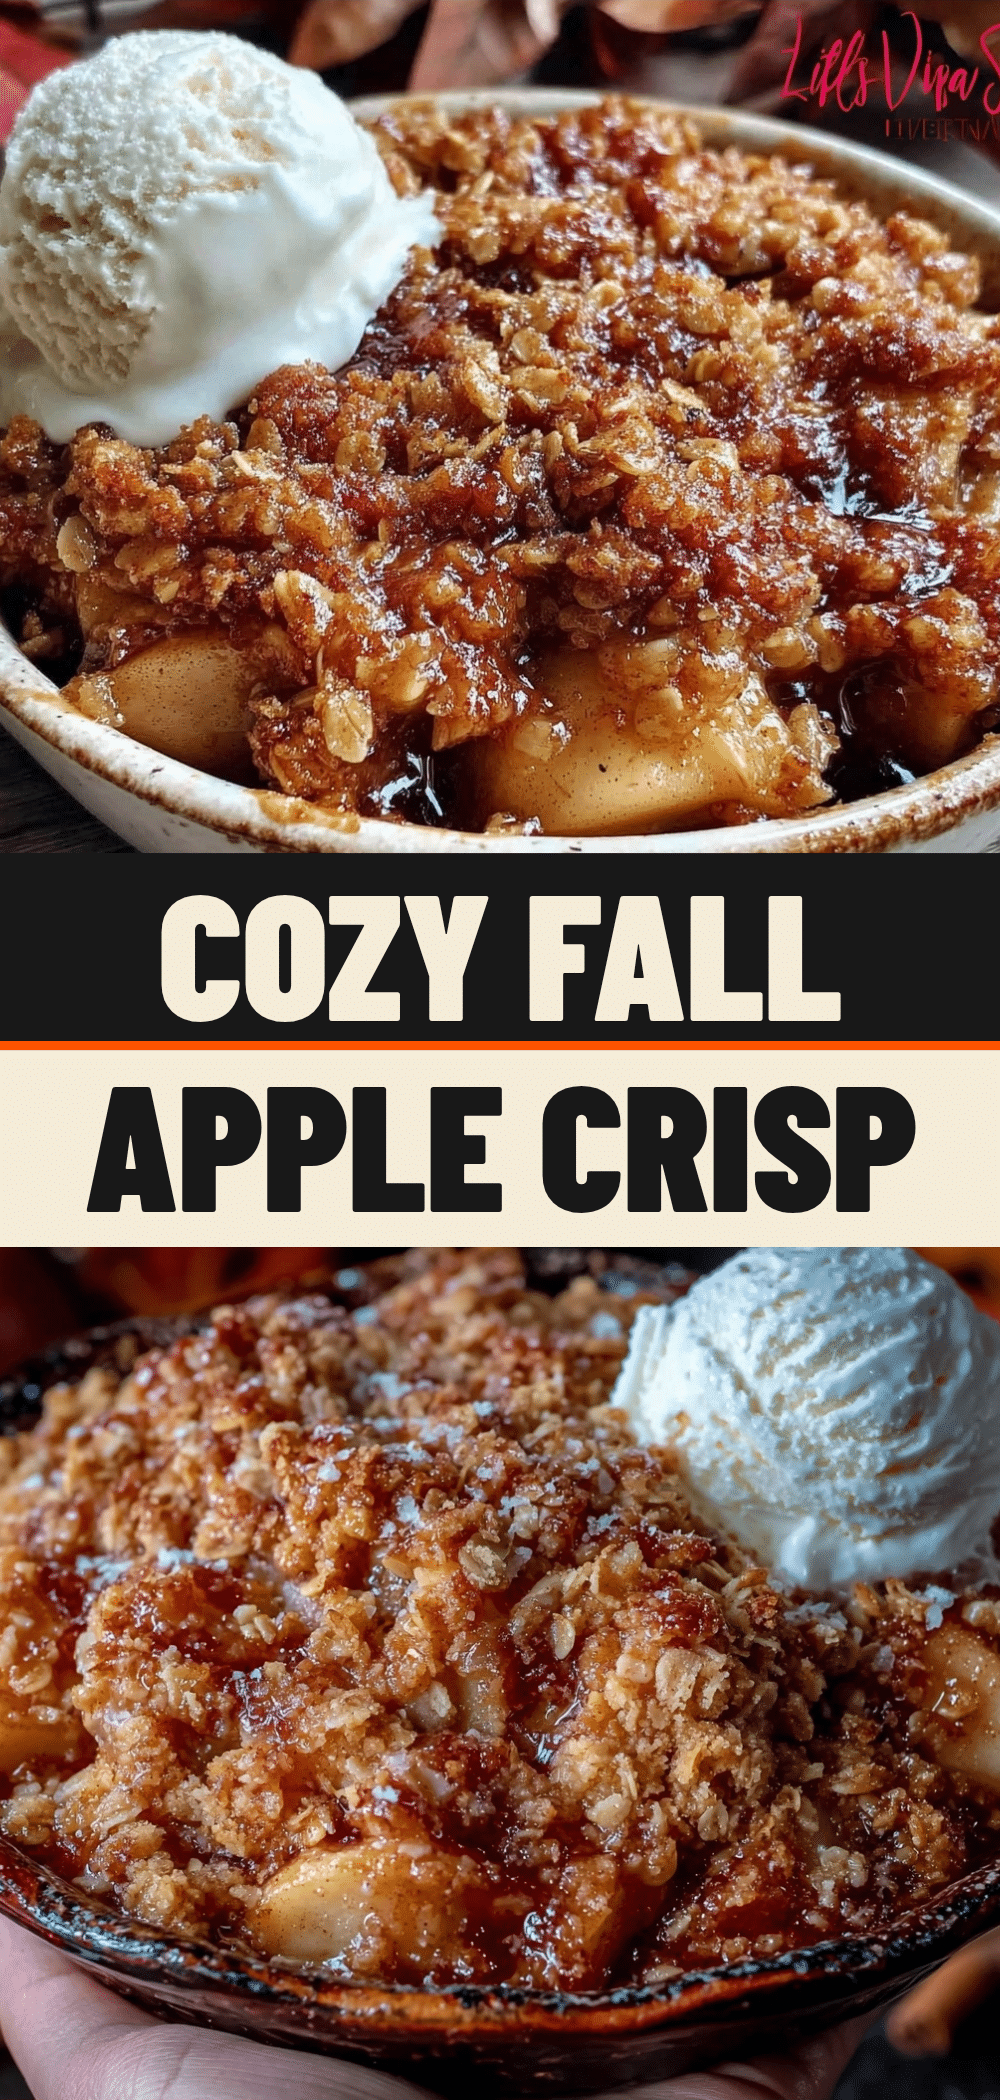

Easy Fall Cinnamon Apple Crisp Kids Love to Make
- Total Time: 1 hour
- Yield: 8 servings 1x
Description
A forgiving, kid-friendly apple crisp recipe that encourages family bonding through baking. It features a simple oat and brown sugar topping over tart and sweet apples, requiring minimal cleanup and offering sensory play opportunities for children.
Ingredients
- 6 medium apples (peeled and sliced, approx. 1.5 kg; mix of Granny Smith and Honeycrisp recommended)
- 1 cup all-purpose flour (125g)
- 1 cup old-fashioned rolled oats (90g)
- 1 cup brown sugar, packed (200g)
- 1/2 cup cold butter, cut into cubes (113g)
- 2 teaspoons cinnamon
- 1/4 teaspoon nutmeg
- 1/4 teaspoon salt
- 1 tablespoon flour (for tossing with apples)
Instructions
- Preheat oven to 375°F (190°C).
- Wash, peel, and slice apples into thin, even slices (approx. 1/4-inch thick).
- Place sliced apples in a 9×13 inch baking dish. Sprinkle with 1 tablespoon of flour and toss gently to coat.
- In a large mixing bowl, combine 1 cup flour, oats, brown sugar, cinnamon, nutmeg, and salt. Mix with a fork until combined.
- Add cold butter cubes to the dry mixture. Use a fork to cut the butter into the mixture until it resembles coarse crumbs with some larger clumps.
- Sprinkle the topping evenly over the apples.
- Place the baking dish on a baking sheet to catch any drips.
- Bake at 375°F (190°C) for 45-50 minutes, or until the topping is golden brown and apples are bubbling around the edges.
- Let cool for 10-15 minutes before serving to allow juices to set.
Notes
Ensure butter is cold for a flaky topping. Use a mix of tart (Granny Smith) and sweet (Honeycrisp) apples for best flavor. Avoid Red Delicious as they turn to mush. Let the crisp cool for 10-15 minutes before serving to prevent it from being soupy. Can be made gluten-free by using a 1:1 gluten-free flour blend, or vegan by using vegan butter.
- Prep Time: 10 minutes
- Cook Time: 45-50 minutes
- Category: Dessert
- Cuisine: American
Nutrition
- Serving Size: 1/8 of the recipe
- Calories: 280
- Sugar: 30
- Sodium: 150
- Fat: 10
- Saturated Fat: 6
- Carbohydrates: 45
- Fiber: 4
- Protein: 3
Keywords: apple crisp, fall recipe, kids baking, cinnamon apples, easy dessert, family activity, gluten-free option, vegan option