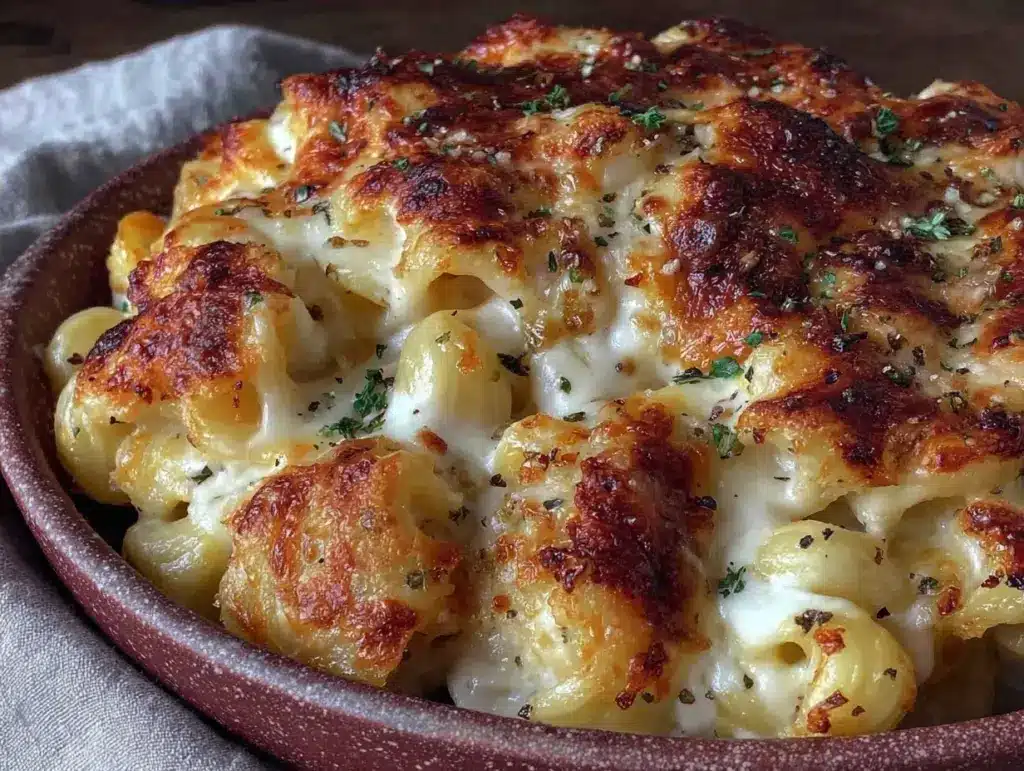
I can still smell it. Not the cheese, exactly, but the buttery, toasted breadcrumbs and the sharp, tangy scent of cheddar melting into the steam. It’s a specific smell that hits you right in the chest and instantly takes you back to my grandmother’s kitchen in Ohio. It was always November or December there. The kind of cold where the wind rattles the windowpanes and the only thing that matters is sitting at that Formica table with a bowl of mac and cheese that’s so hot it burns the roof of your mouth.
My grandma didn’t make mac and cheese from a box. She didn’t have time for shortcuts, and she certainly didn’t trust processed cheese products. Her version was slow. It was patient. It was built on a roux that she whisked until it was silky smooth, and a cheese blend that she grated by hand, block by block, while she told stories about her own mother. It was creamy, yes, but it also had structure. It held together on the fork but melted the second it hit your tongue. That texture—that perfect balance of creamy interior and crisp, golden top—is what I’ve been chasing for twenty years.
Last weekend, I decided to finally nail it. Not the “diet” version, not the “quick 15-minute” version, but the real deal. The kind that makes your family ask for seconds before they’ve even finished the first bowl. I used simple ingredients: butter, flour, milk, and three cheeses that play nicely together. No fancy powders, no hidden thickeners. Just honest, home-cooked comfort food. And honestly? It tasted exactly like the memory I’ve held onto for decades. If you’ve been looking for a mac and cheese recipe that actually tastes homemade, this is it. It’s worth every minute of the prep.
Why You’ll Love This Recipe
There are a lot of mac and cheese recipes out there. Some are too soupy, some are too dry, and some taste like they came from a can. This Grandma’s Creamy 3 Cheese Baked Mac and Cheese is different. It’s the kind of dish that feels like a hug on a plate. Here’s why it’s become a permanent fixture in our weekly rotation:
It’s Actually Creamy — I’m not talking about that thick, paste-like texture you get from boxed mixes. This is silky, pourable-on-the-fork creaminess. The secret is in the ratio of milk to roux, and using a mix of cheeses that have different melting points. It stays creamy even after it sits for a few minutes.
Simple Ingredients You Already Have — You don’t need to go to three different specialty stores. You need butter, flour, milk, eggs (for structure), and three cheeses. That’s it. If you can make a grilled cheese sandwich, you can make this sauce. It’s approachable, not intimidating.
The Crispy Top is Non-Negotiable — There is nothing worse than soft, soggy baked mac. This recipe uses a simple buttery breadcrumb topping that gets toasted in the oven until it’s golden brown and crunchy. That contrast between the soft pasta underneath and the crisp top is what elevates it from “side dish” to “main event.”
It Freezes Like a Dream — I know, I know, people say don’t freeze mac and cheese. But this version? It holds up. I make a double batch when I’m feeling generous, freeze half of it unbaked, and pull it out on busy weeknights. It reheats beautifully, just like it did fresh. It’s my secret weapon for busy Tuesdays.
It Feeds a Crowd for Cheap — This recipe feeds six to eight people comfortably, and the ingredients are inexpensive. Pasta and milk are pantry staples. Cheese is the only splurge, but you don’t need anything fancy. It’s budget-friendly comfort food that looks and tastes like you spent hours in the kitchen.
This is my go-to when I need to feed a family, bring a dish to a potluck, or just need something warm and familiar on a cold night. It’s reliable. It’s delicious. And it never fails to make people smile.
Ingredients You’ll Need
Here’s the thing about this recipe: it looks like a lot of steps, but the ingredient list is short. I’m particular about three things here: the type of pasta, the quality of the cheese, and the butter. Don’t skimp on those. Here’s exactly what you need and why.
Elbow Macaroni (1 pound / 450g) — Stick with elbows. They hold the sauce in their little curves. Penne works if you’re desperate, but elbows are traditional for a reason. I use Barilla because they cook evenly and don’t get mushy. Don’t overcook them! They’ll finish cooking in the oven.
Unsalted Butter (½ cup / 115g) — This is for the roux and the topping. Use real butter. Margarine or oil won’t give you that rich, nutty flavor. I keep a block in the fridge, not the softener, so I can measure it out easily.
All-Purpose Flour (½ cup / 60g) — This is what thickens the milk into a sauce. Don’t use whole wheat here; it changes the flavor and texture. Sift it if you’re being fancy, but spooning it in is fine.
Whole Milk (3 cups / 720ml) — Don’t use skim. You need the fat for richness. 2% works if you’re in a pinch, but whole milk makes it genuinely creamy. I warm it up slightly before adding it to the roux—it prevents lumps. Trust me on this.
Sharp Cheddar Cheese (2 cups / 200g, grated) — This is your primary cheese. Use sharp cheddar, not mild. Mild cheddar is too bland for baked mac. Buy a block and grate it yourself. Pre-shredded cheese has cornstarch that prevents it from melting smoothly. I’ve made the mistake before, and the sauce was grainy. Don’t do it.
Monterey Jack Cheese (1 cup / 100g, grated) — This is your melting cheese. It’s mild and creamy, and it helps bind everything together. It balances out the sharpness of the cheddar.
Parmesan Cheese (½ cup / 50g, freshly grated) — This adds saltiness and umami. It’s not the main cheese, but it deepens the flavor. Use the hard kind, not the soft pre-grated stuff. Grate it fine.
Eggs (2 large) — This is the grandma secret. Adding eggs helps set the sauce so it’s not just soup when you cut into it. It gives it that custardy, rich texture. Don’t skip them.
Breadcrumbs (1 cup / 100g) — Panko is great for crunch, but traditional dried breadcrumbs are more authentic to my grandma’s style. I mix them with a little melted butter and a pinch of paprika for color.
Seasonings — Salt, black pepper, and a pinch of mustard powder. Mustard powder sounds weird, but it amplifies the cheese flavor without making it taste like mustard. It’s a game-changer. Paprika for the topping.
Equipment Needed
You don’t need fancy gadgets. Here’s what I actually use, and what works.
Large Pot — For boiling the pasta. I use a 6-quart pot. Make sure it’s big enough so the water doesn’t boil over.
Large Skillet or Saucepan — For making the roux and sauce. I prefer a heavy-bottomed saucepan because it distributes heat evenly and prevents scorching. Stainless steel or enamel-coated cast iron is best.
Whisk — Essential for the roux. You need to break up any lumps of flour. A balloon whisk is perfect.
9×13 Inch Baking Dish — Standard size. Glass or ceramic works well. Metal pans cook faster, so keep an eye on the top.
Box Grater — For grating the cheese blocks. A microplane is nice for the Parmesan, but a box grater is fine for cheddar and jack.
Wooden Spoon — For stirring the sauce and tossing the pasta.
How to Make It: Step-by-Step
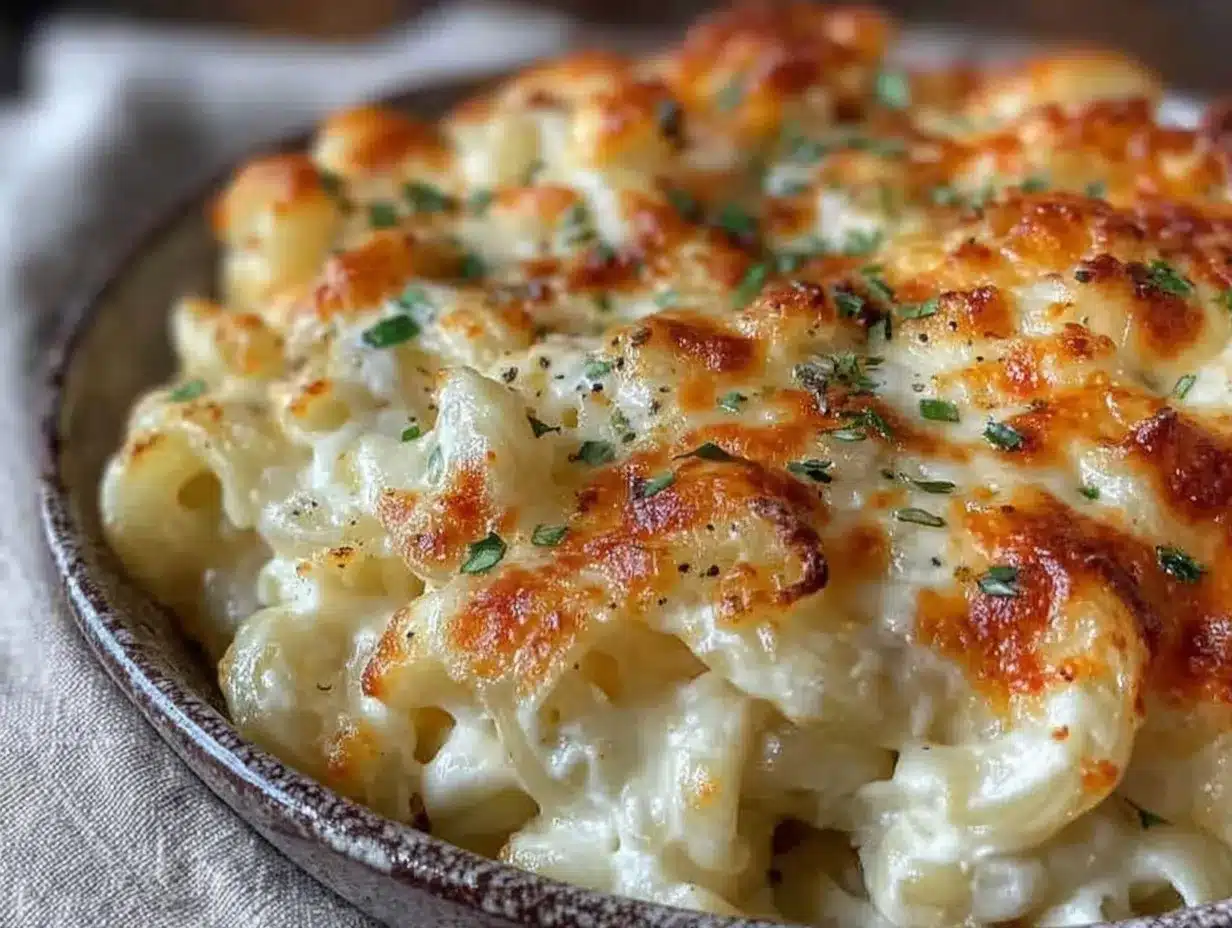
Alright, let’s make this. It’s not complicated, but it does require attention. I’m walking you through exactly how I do it, including the little tricks I’ve picked up over the years.
Step 1: Prep Your Cheese and Oven
Grate all your cheeses. Yes, it takes time, but it’s worth it. Set them aside in separate bowls. Preheat your oven to 350°F (175°C). Grease your 9×13 baking dish with a little butter or cooking spray. This prevents sticking and adds flavor.
Step 2: Cook the Pasta
Bring a large pot of salted water to a boil. The water should taste like the ocean. Add the elbow macaroni and cook until al dente. This means it should still have a slight bite to it because it will cook more in the oven. Drain the pasta and set it aside. Do not rinse it! The starch helps the sauce stick.
Step 3: Make the Roux
In your large skillet or saucepan, melt the butter over medium heat. Once it’s foaming, sprinkle in the flour. Whisk constantly for about 2 minutes. You want it to turn a light golden color and smell nutty. This cooks out the raw flour taste. Don’t rush this step.
Step 4: Build the Sauce
Slowly pour in the warm milk, whisking constantly. This is crucial. If you pour it in too fast, you’ll get lumps. Keep whisking until the mixture thickens and comes to a gentle simmer. It should coat the back of a spoon. This might take 5-7 minutes. Stir frequently to prevent scorching on the bottom.
Step 5: Add the Cheese and Eggs
Remove the pan from the heat. This is important! High heat can make cheese grainy. Stir in the cheddar, Monterey Jack, and Parmesan gradually. Wait until each addition is melted before adding more. Once the cheese is smooth, whisk in the eggs, salt, pepper, and mustard powder. The sauce should be glossy and thick.
Step 6: Combine and Assemble
Toss the cooked pasta with the cheese sauce. Pour everything into your prepared baking dish. Smooth the top with a spoon. In a small bowl, mix the breadcrumbs with melted butter and paprika. Sprinkle this evenly over the top. This will become your crispy, golden crust.
Step 7: Bake
Bake for 25-30 minutes. You’re looking for the sauce to be bubbling around the edges and the top to be golden brown. If the top is browning too fast, cover it loosely with foil for the last 10 minutes. Let it rest for 10 minutes before serving. This allows the sauce to set so it’s not soupy when you scoop it.
Total Time: About 45 minutes (15 minutes active, 30 minutes baking/resting)
Expert Tips & Tricks
Here’s everything I’ve learned from making this dozens of times. These tips will save you from my mistakes.
Don’t Overcook the Pasta
If you cook the pasta until it’s perfectly tender in the pot, it will turn to mush in the oven. Undercook it by 1-2 minutes. It’ll finish cooking in the sauce.
Warm the Milk
Cold milk added to hot roux can shock the mixture and create lumps. Warm the milk in the microwave or a separate pot before adding it. It helps the sauce come together smoother.
Grate Your Own Cheese
I cannot stress this enough. Pre-shredded cheese is coated in cellulose to prevent clumping. That coating stops it from melting properly. Your sauce will be gritty. Buy a block of cheddar and a block of Jack, and grate them. It takes 5 minutes and makes a world of difference.
Rest Before Serving
I know it’s hard to wait, but if you cut into it immediately, the sauce will run. Letting it rest for 10 minutes allows the eggs and cheese to set. It makes for cleaner slices and a better texture.
The Mustard Powder Secret
It sounds strange, but a ½ teaspoon of dry mustard powder enhances the flavor of the cheese without making it taste like mustard. It’s a classic chef’s trick. If you don’t have it, a dash of hot sauce works too, but mustard powder is more subtle.
Common Mistakes (and how to avoid them)
Mistake: Sauce is too thin.
Fix: You didn’t cook the roux long enough, or you added too much milk. Simmer it longer on low heat to reduce.
Mistake: Sauce is grainy.
Fix: The heat was too high when you added the cheese, or you used pre-shredded cheese. Always remove from heat before adding cheese, and grate your own.
Mistake: Top is burnt.
Fix: Your oven runs hot, or you baked it too long. Cover with foil if it’s browning too quickly.
Variations & Substitutions
Once you’ve nailed the basic version, here’s how you can mix it up. I’ve tried all of these, and they all work.
Bacon Mac and Cheese
Add ½ cup of cooked, crumbled bacon to the pasta before baking. The salty crunch is amazing. My husband’s favorite version.
Broccoli Mac
Toss in 2 cups of steamed broccoli florets. It adds color and nutrition. My kids actually eat their vegetables when they’re hidden in cheese.
Spicy Mac
Add a diced jalapeño to the roux, or stir in ½ teaspoon of cayenne pepper. For a kick, use Pepper Jack cheese instead of Monterey Jack.
Lighter Version
Use 2% milk and reduce the butter in the topping. It’s still good, but less rich. I make this when I’m trying to be mindful of calories.
Gluten-Free
Use gluten-free elbow pasta. Most brands work well in baked dishes. Use gluten-free breadcrumbs for the topping.
Dairy-Free
This is harder because cheese is the star. Use a high-quality vegan cheddar and vegan butter. It won’t be the same, but it’s doable. I’ve used Violife cheddar and it melts okay.
Serving & Storage
How to Serve:
I usually serve this straight from the baking dish at the dinner table. It looks rustic and stays warm. Pair it with a simple green salad to cut through the richness. Garlic bread is optional but recommended.
Refrigerator:
Store leftovers in an airtight container for up to 4 days. The sauce will thicken in the fridge. This is normal.
Reheating:
Best method: Add a splash of milk to a skillet and reheat gently over low heat, stirring frequently. The milk brings back the creaminess.
Microwave method: Heat in 30-second intervals, stirring between each. Add a splash of milk if it’s too thick.
Avoid: Reheating in the oven without adding liquid—it will dry out.
Freezing:
You can freeze this unbaked. Assemble the dish, cover tightly with foil, and freeze. When ready to cook, thaw in the fridge overnight, then bake as directed, adding 10-15 minutes to the cook time. I’ve done this with great success.
Nutrition Information
I’m not a nutritionist, but here’s the breakdown if you’re tracking. Keep in mind, this is a rich, indulgent dish.
Per Serving (based on 8 servings):
Calories: 480
Protein: 20g
Carbs: 45g
Fiber: 2g
Sugar: 6g
Fat: 22g
Saturated Fat: 12g
Cholesterol: 85mg
Sodium: 650mg
Look, this is comfort food. It’s not a salad. But it’s made with real ingredients, and you know exactly what’s in it. When I want to make it lighter, I use the 2% milk version and add extra broccoli. But usually? I just enjoy a reasonable portion and savor it.
Final Thoughts
So that’s my Grandma’s Creamy 3 Cheese Baked Mac and Cheese. It’s not just a recipe; it’s a memory. It’s the smell of my grandmother’s kitchen, the sound of her humming, and the taste of pure comfort. I hope it brings that same warmth to your table.
Make it yours! Add bacon, add veggies, add hot sauce. The best recipes are the ones you adapt to your family’s tastes. If you make this, drop a comment and let me know how it turns out. I love hearing your stories. And if something doesn’t work, tell me—I’m here to help.
Happy cooking! I hope your kitchen smells as good as mine does right now.
Frequently Asked Questions
Can I use different pasta shapes?
Yes, but stick to short, sturdy pastas. Cavatappi, penne, or fusilli work well. Avoid long pasta like spaghetti; it doesn’t hold the sauce the same way and is hard to mix into a baked dish. Elbows are traditional, but cavatappi is my personal favorite because the spirals trap the cheese sauce beautifully.
Why did my sauce turn out grainy?
This usually happens for two reasons: either the heat was too high when you added the cheese, or you used pre-shredded cheese. Cheese contains anti-caking agents that prevent smooth melting. Always remove the pan from the heat before adding cheese, and grate your own from a block. If your sauce is already grainy, you can try whisking in a splash of warm milk to smooth it out, but prevention is better.
Can I make this ahead of time?
Absolutely. Assemble the mac and cheese completely, cover it tightly with plastic wrap and foil, and refrigerate for up to 24 hours. When you’re ready to bake, take it out of the fridge, let it sit for 30 minutes to take the chill off, and bake as directed. You may need to add 10-15 minutes to the baking time since it’s starting cold.
What kind of cheese is best?
I recommend a mix of sharp cheddar for flavor, Monterey Jack for melting, and Parmesan for saltiness. You can use Gruyère or Gouda if you want a more complex flavor, but avoid soft cheeses like brie or cream cheese—they don’t melt into a sauce the same way. The key is using cheeses that melt smoothly.
How do I reheat leftovers without it getting dry?
Mac and cheese tends to dry out in the fridge because the pasta absorbs the sauce. To reheat, add a splash of milk or cream to the leftovers. Warm it gently in a skillet over low heat, stirring frequently. The liquid will rehydrate the pasta and restore the creamy texture. Microwave works too, but add the milk and stir often to prevent hot spots.
Can I freeze baked mac and cheese?
It’s better to freeze it unbaked. If you bake it first, the texture of the pasta can become mushy upon reheating. Assemble the dish, cover tightly, and freeze. When ready to eat, thaw in the fridge overnight and bake as usual. If you must freeze baked leftovers, expect some texture changes, but it will still taste good.
Pin This Recipe!
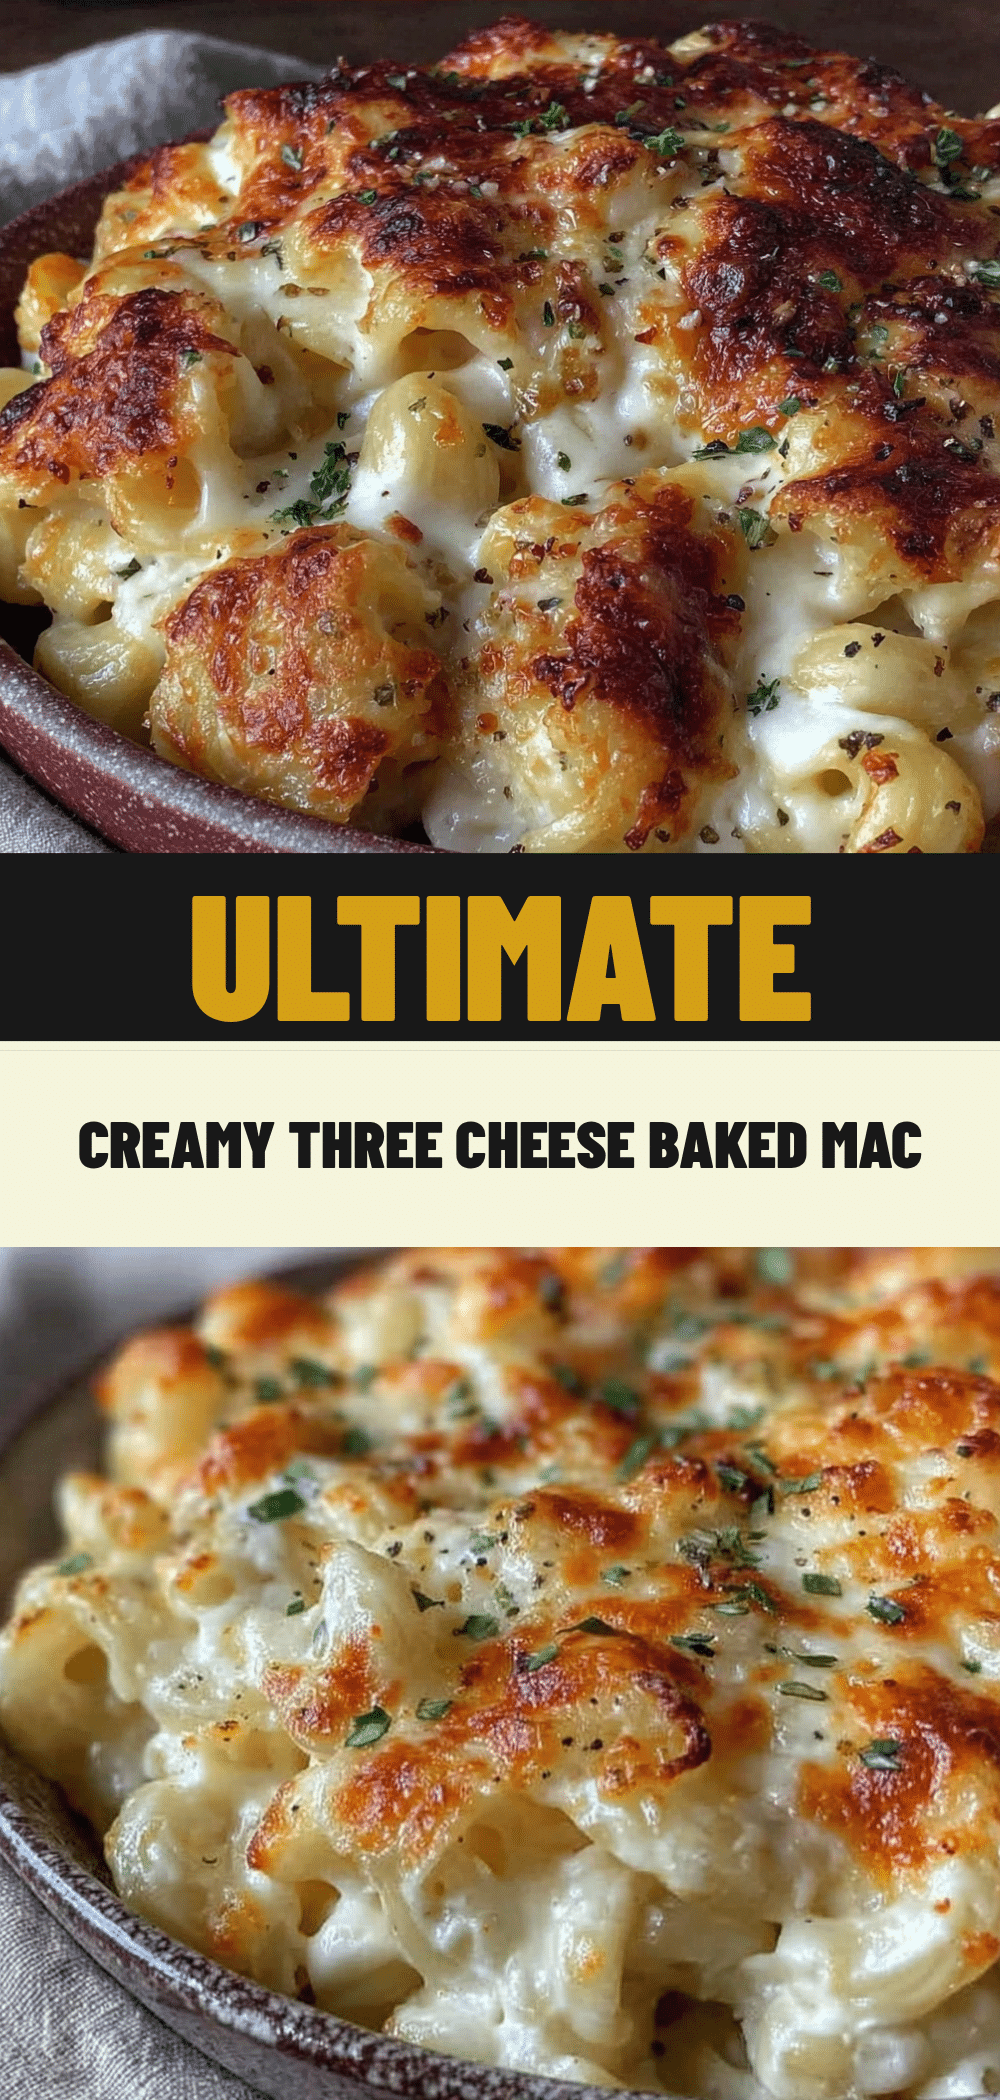
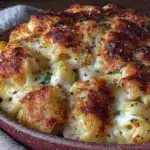
Grandma’s Creamy 3 Cheese Baked Mac and Cheese
- Total Time: 45 minutes
- Yield: 8 servings 1x
Description
A rich, creamy baked mac and cheese featuring a homemade roux-based sauce with sharp cheddar, Monterey Jack, and Parmesan cheeses, topped with crispy buttery breadcrumbs.
Ingredients
- 1 pound elbow macaroni
- ½ cup unsalted butter
- ½ cup all-purpose flour
- 3 cups whole milk
- 2 cups sharp cheddar cheese, grated
- 1 cup Monterey Jack cheese, grated
- ½ cup Parmesan cheese, freshly grated
- 2 large eggs
- 1 cup breadcrumbs
- Salt and black pepper to taste
- ½ teaspoon mustard powder
- Pinch of paprika (for topping)
Instructions
- Preheat oven to 350°F (175°C) and grease a 9×13 inch baking dish.
- Grate all cheeses and set aside in separate bowls.
- Bring a large pot of salted water to a boil and cook elbow macaroni until al dente. Drain and set aside (do not rinse).
- In a large saucepan, melt butter over medium heat. Whisk in flour and cook for 2 minutes until light golden and nutty.
- Slowly pour in warm milk while whisking constantly until the mixture thickens and coats the back of a spoon (5-7 minutes).
- Remove pan from heat and stir in cheddar, Monterey Jack, and Parmesan until melted and smooth.
- Whisk in eggs, salt, pepper, and mustard powder until the sauce is glossy.
- Toss cooked pasta with the cheese sauce and pour into the prepared baking dish.
- Mix breadcrumbs with melted butter and paprika, then sprinkle evenly over the top.
- Bake for 25-30 minutes until bubbling and golden brown. Cover with foil if browning too quickly.
- Let rest for 10 minutes before serving to allow the sauce to set.
Notes
Do not overcook the pasta as it will finish cooking in the oven. Warm the milk before adding to the roux to prevent lumps. Always grate your own cheese to avoid anti-caking agents that prevent smooth melting. Let the dish rest for 10 minutes before serving to ensure a creamy, non-soupy texture.
- Prep Time: 15 minutes
- Cook Time: 30 minutes
- Category: Main Course
- Cuisine: American
Nutrition
- Serving Size: 1 serving
- Calories: 480
- Sugar: 6
- Sodium: 650
- Fat: 22
- Saturated Fat: 12
- Carbohydrates: 45
- Fiber: 2
- Protein: 20
Keywords: mac and cheese, baked mac, comfort food, 3 cheese, creamy mac, family dinner, holiday recipe